VonHaus 3000124 User manual

CANTILEVER TV
BRACKET FOR 20 -
50” TVS
3000124 - Instruction Manual

Safety Instructions 1
Safety Instructions, Safety Symbols, Tools Required 2
Components 3
Wall Fitmant Guide 4
Assembly 5,6
Warranty 7
CONTENTS

Please read all instructions carefully
before use and retain for future
reference.
WARNING! Do not exceed the
maximum stated load capacity of
15kg/33lbs. Installing appliances
heavier than recommended may
result in damage or serious injury.
For strength with certain weaker walls
and materials, the unit should only
be affixed to wall studs. If uncertain,
contact a qualified contractor for
guidance.
CAUTION: To ensure continued
safety, check the unit is secure and
safe to use at regular intervals (every
3 months) take appropriate action to
rectify any unstable or unsafe units.
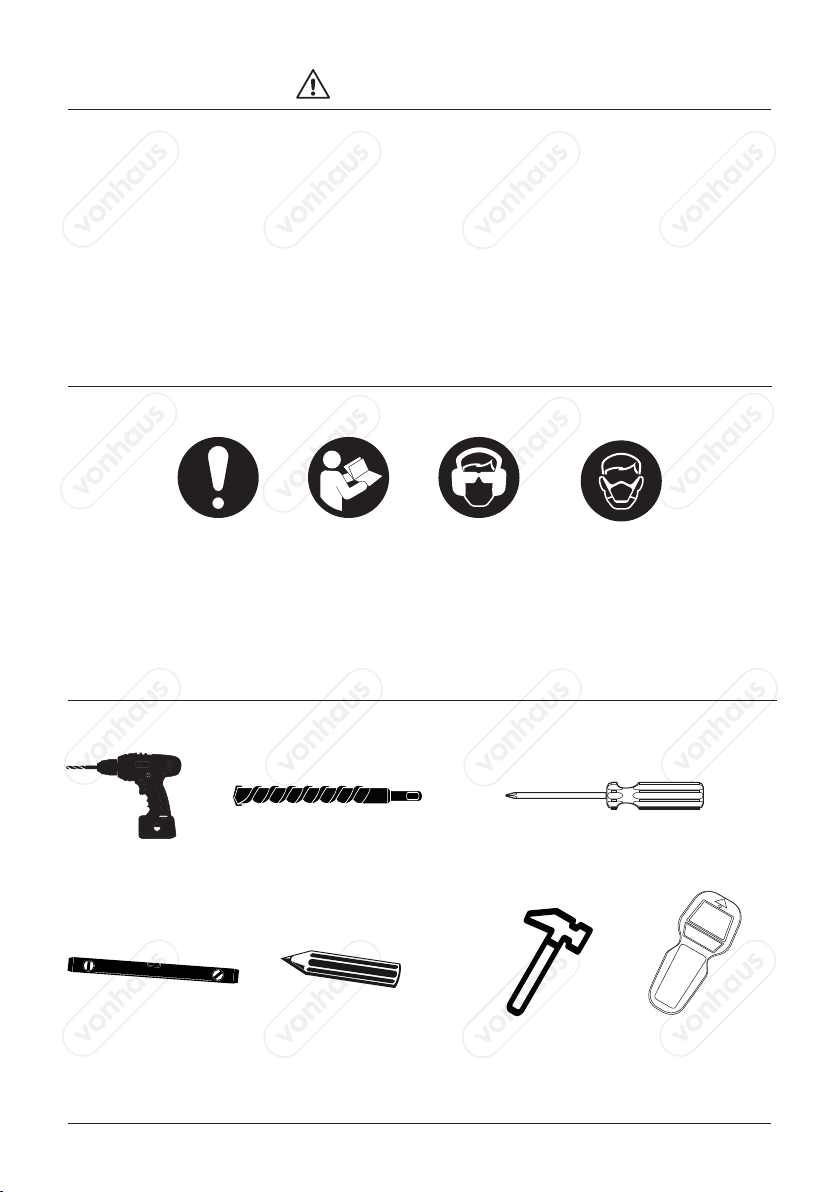
Appropriate safety gear and
precautions must be taken when
installing this unit.
This unit is not a toy. Children should
not be allowed to play with the unit.
Children should be supervised at all
times around this unit.
This unit contains small parts and
components, which pose a choking
hazard to children and animals. Keep
these parts clear from children and
pets.
Ensure the supporting surface will
safely support the combined weight
of the equipment and all hardware
and supporting components before
installation. If unsure, contact a
qualified contractor for guidance.
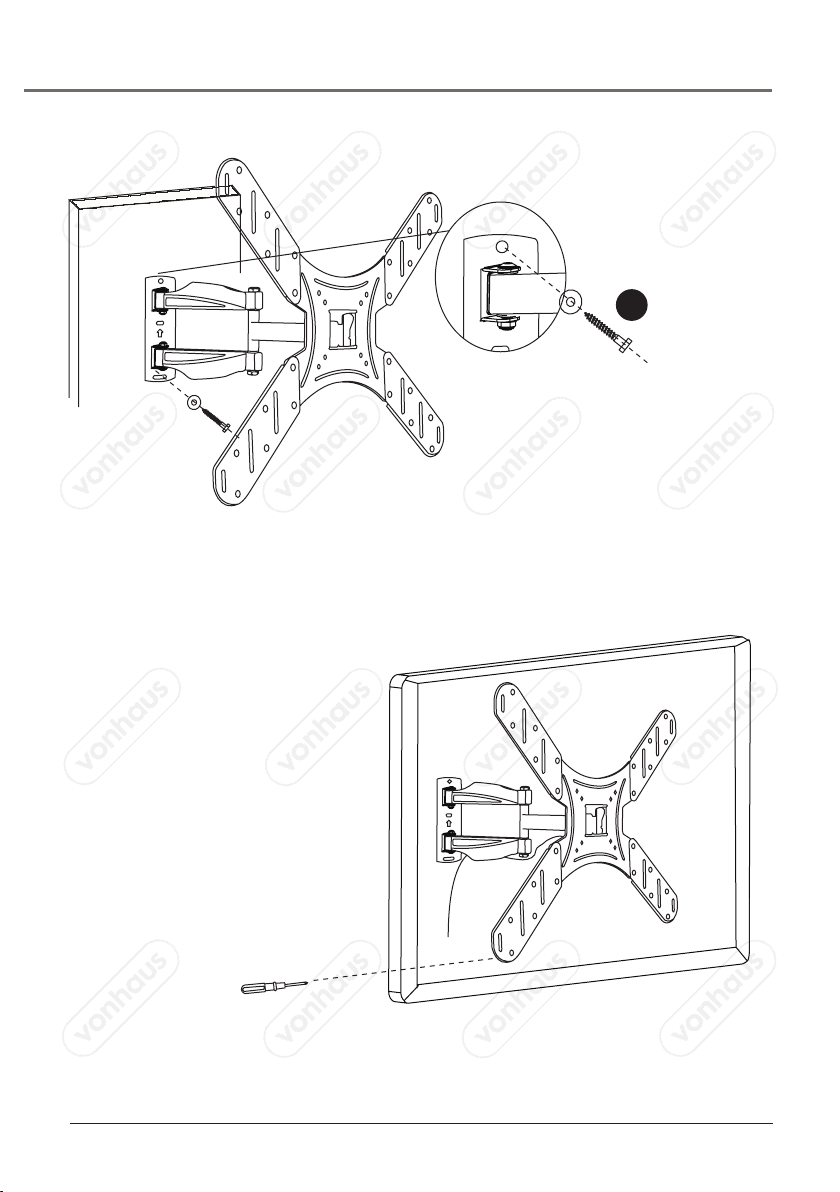
Do not over tighten the mounting
Screws.
This unit is intended for indoor use
only.
If you do not understand these
directions, or have any doubts
regarding the safety of the
installation, please seek advice and
guidance from a qualified contractor.
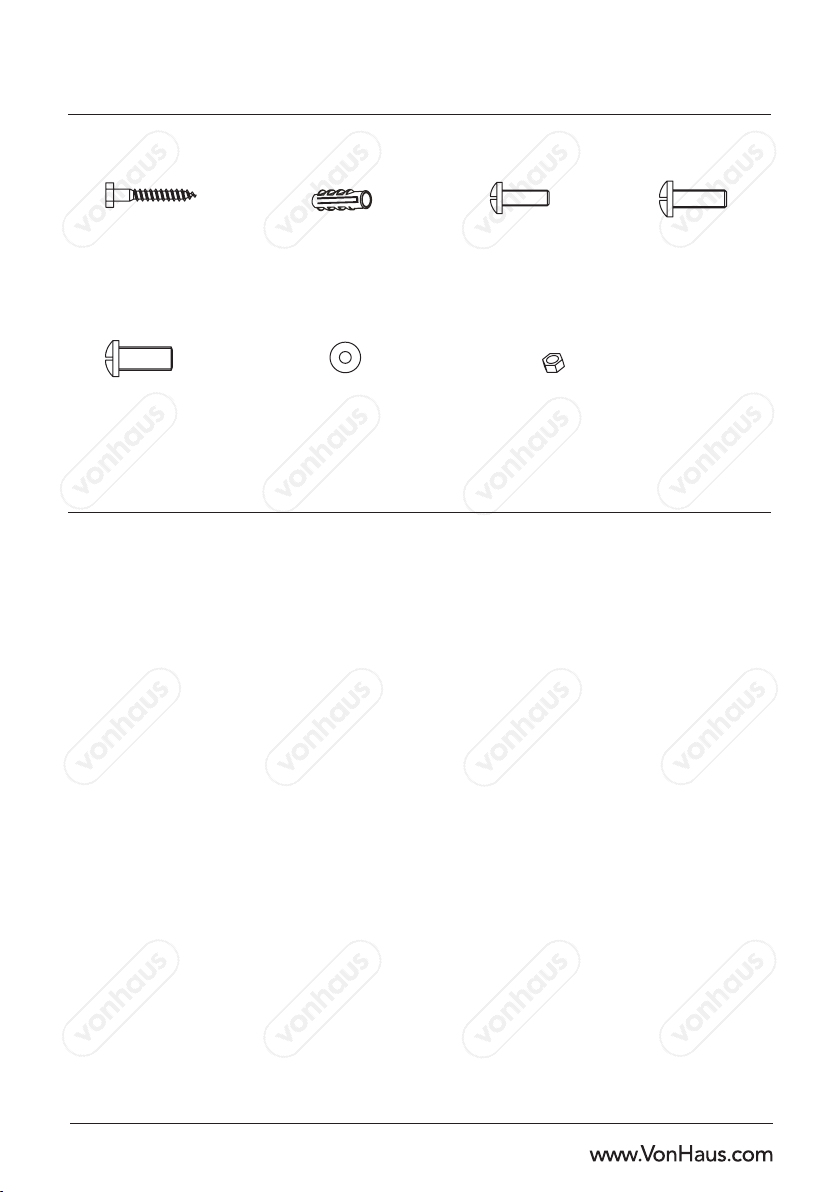
Check the contents of the packaging
against this manual to ensure there
are no missing or defective parts.
Never use defective parts.
Improper installation may cause
damage or serious injury.
Install only as instructed within this
manual. Any deviation or shortcut
may lead to improper installation,
incorrect assembly or be considered
customer misuse.
Do not use this unit for any purpose
that is not explicitly specified in this
manual.
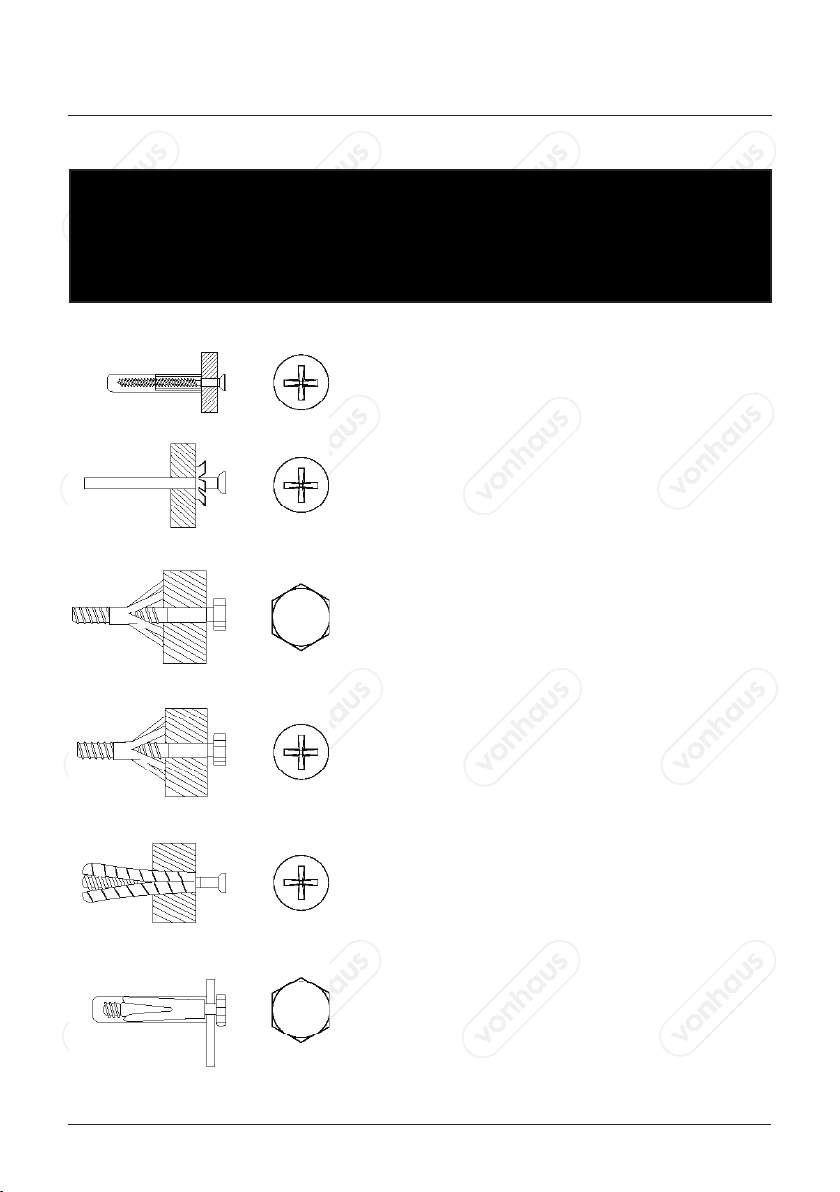
The supplied mounting hardware is
suitable for mounting on most types
of wall; it should not be mounted on
steel stud or old cinder block walls. If
the hardware you require for your wall
is not included, please consult your
local hardware store for guidance. If
you are uncertain about the material,
quality or suitability of the wall, refer
to a qualified contractor for guidance.
We recommend two people are
present to install this TV Bracket.
Use of a Stud Finder (not included) is
recommended.
WARNING
PLEASE READ THESE INSTRUCTIONS CAREFULLY, AND KEEP FOR FUTURE REFERENCE

2
(NOT INCLUDED)
Power Drill
TOOLS REQUIRED
Suitable Drill Bit Cross-Head Screwdriver
Spirit Level Pencil Hammer Stud Finder
WARNING
PLEASE READ THESE INSTRUCTIONS CAREFULLY, AND KEEP FOR FUTURE REFERENCE
suitability of the wall, refer to a
qualified contractor for guidance.
We recommend two people are
present to install this TV Bracket.
Use of a Stud Finder (not included) is
recommended.
Please follow the following safety and guidence.
WARNING! Pay
attention to all
safety and
guidance
Read manual
before use Wear a dust
mask
Wear eye and
ear protection
SAFETY SYMBOLS

COMPONENTS
A. Wood Screw (x3) B. Concrete Anchor (x3) C. M5x15 (x4) D. M6x15 (x4)
E. M8x15 (x4) F. M6 Flat Washer (x3) G. M6 Nut (x8)

Standard Wall Plug: Suitable for use on most
types of wall such as brick, breeze block, con-
crete, stone, wood or plaster.
Hammer Fixing: For use with wall stuck with plas-
ter board. The Hammer fixing allows it to be fixed
to a wall rather than the plaster board.
Cavity Fixing Heavy Duty: For use when sup-
poting heavy loads for example cabinets and
shelving.
Cavity Fixing: For use with plaster board parti-
tions or hollow wooden doors.
Shield Anchor: For use with heavier items such as
TVs.
Standard Wall Plug: Suitable for use on most
types of wall such as brick, breeze block, con-
crete, stone, wood or plaster.
IMPORTANT: When drilling into walls always check that the there are no hidden wires
or pipes ect.
Ensure that the screws and wall plugs being used are suitable for supporting the unit to
be installed.
WALL FITMENT GUIDE
4

ASSEMBLY
B
Use the wall plate as a template to drill
three holes of M10 diameter and 50mm
depth into the concrete wall.
Insert the concrete anchors into the
holes.
If the mounting holes are spaced
400x400mm apart, use the adaptor
plates.

Place the panel on the wall, and then
screw 3 Wood screws (A) into the
concrete anchors.
A
Install the bracket onto your TV. Use
the correct sized bolt that suitable for
your TV to secure.
6

DISPOSAL INFORMATION
COPYRIGHT
WARRANTY
Please recycle where facilities exist. Check with your local authority for recycling advice.
All material in this instruction manual are copyrighted by DOMU Brands Ltd.
Any unauthorised use may violate worldwide copyright, trademark, and other laws.
To register your product and find out if
you qualify for a free extended warranty,
go to:
www.VonHaus.com/warranty
Please retain a proof of purchase receipt
or statement as proof of the purchase
date.
The warranty only applies if the product
is used solely in the manner indicated in
the Warnings page of this manual, and
all other instructions have been followed
accurately. Any abuse of the product
or the manner in which it is used will
invalidate the warranty.

Consignes de sécurité 1
Consignes de sécurité, Symboles de sécurité, Outils nécessaires 2
Composants 3
Guide de montage mural 4
Montage 5,6
Garantie 7
SOMMAIRE

Veuillez lire attentivement ces
instructions avant utilisation et
conservez-les pour pouvoir les
consulter à l’avenir.
ATTENTION ! Ne dépassez pas la
capacité de charge maximale de 15
kg/33 lb. Installer des appareils plus
lourds que le poids recommandé
pourrait donner lieu à des dégâts et à
des blessures graves.
En raison de murs ou de matériaux
moins résistants que d’autres, l’unité
ne devrait être
fixée qu’à un goujon de fixation
mural. En cas de doute, contactez un
entrepreneur qualifié pour obtenir
plus d’informations.
ATTENTION : Pour assurer la
sécurité, vérifiez à intervalles réguliers
que l’unité est stable et peut être
utilisée sans risque (tous les 3 mois).
Prenez les mesures appropriées
pour rectifier les parties instables
ou dangereuses de l’unité. Lorsque
vous installez cette unité, portez de
l’équipement de sécurité approprié
et prenez toutes les précautions
requises.
Ce produit n’est pas un jouet.
Les enfants ne devraient pas être
autorisés à jouer avec l’unité.
Lorsqu’ils se trouvent autour de cette
unité, les enfants devraient toujours
être supervisés.
Cette unité contient de petites
pièces et composants qui pourraient
présenter un danger pour les enfants
et les animaux. Tenez éloigné des
enfants et des animaux.
Vérifiez, avant installation, que la
surface porteuse soutiendra sans
problème le poids combiné de
l’équipement, de tous les matériels
et des éléments de soutien. En cas
de doute, contactez un entrepreneur
qualifié pour obtenir plus
d’informations.
Ne serrez pas trop les vis de fixation.
Cette unité est uniquement conçue
pour une utilisation en intérieur.
Si vous ne comprenez pas ces
directives, ou si vous avez des
doutes à propos de la sécurité de
l’installation, veuillez demander
conseil à un entrepreneur qualifié.
Vérifiez le contenu de l’emballage vis-
à-vis de ce mode d’emploi pour vous
assurer qu’aucune pièce ne manque
ou n’est défectueuse.
N’utilisez jamais de pièces
défectueuses. Un montage incorrect
pourrait entraîner des dégâts ou
causer de graves blessures.
Installez uniquement comme indiqué
dans ce mode d’emploi. Tout écart
ou raccourci pourrait conduire à
une installation incorrecte ou être
considérée comme un emploi abusif
de la part du client.
N’utilisez pas cette unité à d’autres
fins que celles explicitement précisées
dans ce mode d’emploi.
Le matériel de montage fourni
convient aux principaux types de
murs ; il ne doit pas être fixé à une
solive métallique ni à de vieux murs
en parpaings. Si le matériel nécessaire
pour votre mur n’est pas fourni,
AVERTISSEMENT
VEUILLEZ LIRE CES INSTRUCTIONS ATTENTIVEMENT ET LES CONSERVEZ POUR POUVOIR LES CONSULTER À L’AVENIR

2
Perceuse électrique Foret adapté Tournevis cruciforme
Niveau à bulle Crayon Marteau Localisateur de montants
veuillez demander l’avis de votre
magasin de bricolage pour obtenir
les informations requises. Si vous avez
des doutes à propos du matériel,
de la qualité ou de la compatibilité
du mur, consultez un entrepreneur
qualifié. Nous recommandons la
présence de deux personnes pour
installer ce Support pour TV.
L’utilisation d’un localisateur
de montants (non compris) est
conseillée.
AVERTISSEMENT
VEUILLEZ LIRE CES INSTRUCTIONS ATTENTIVEMENT ET LES CONSERVEZ POUR POUVOIR LES CONSULTER À L’AVENIR
(NON COMPRIS)
OUTILS NÉCESSAIRES
Veuillez suivre les conseils de sécurité et
les directives suivantes.
ATTENTION ! Prêtez
attention à toutes les
sécurités et à tous les
conseils
Lisez le guide
avant utilisation Portez un
masque anti-
poussière
Portez des
protections
oculaires et
auditives
SYMBOLES
DE SÉCURITÉ

COMPOSANTS
A. Vis à bois (x3) B. Cheville pour béton (x3) C. M5x15 (x4) D. M6x15 (x4)
E. M8x15 (x4) F. Rondelle plate M6 (x3) G. Écrou M6 (x8)

Cheville standard : convient à la plupart des
types de mur, par exemple en briques, en par-
paings, en ciment, en pierre, en bois ou en plâtre.
Scellement au marteau : à utiliser dans les murs
collés avec des panneaux de plâtre. Le scellement
au marteau permet de le fixer au mur plutôt qu’au
plâtre.
Fixation robuste sur cavité : à utiliser lorsque
vous devez soutenir des lourdes charges, par
exemple des vitrines ou des étagères.
Fixation sur cavité : à utiliser sur les cloisons en
plâtre ou les portes de bois creuses.
Cheville blindée : à utiliser avec des objets plus
lourds, par exemple des TV.
Cheville standard : convient à la plupart des
types de mur, par exemple en briques, en
parpaings, en ciment, en pierre, en bois ou en
plâtre.
IMPORTANT : lorsque vous percez dans un mur, vérifiez toujours qu’il n’y a pas de
tuyaux ou de fils cachés.
Vérifiez que les vis et les chevilles utilisées conviennent au support de l’unité installée.
GUIDE DE MONTAGE MURAL
4

MONTAGE
B
Utilisez les platines de montage en tant
que modèle pour percer trois trous de
diamètre M10 et d’une profondeur de
50 mm dans le mur en ciment.
Insérez les chevilles pour ciment dans les
trous.
Si les trous de montage sont espacés de
400 x 400 mm, utilisez les platines de
montage.

Placez le panneau sur le mur, puis
vissez 3 vis à bois (A) dans les
chevilles pour ciment.
A
Installez le support dans votre TV.
Utilisez le boulon de taille appropriée
pour bien fixer votre TV.
6

INFORMATIONS RELATIVES
AU RECYCLAGE
DROITS D’AUTEUR
GARANTIE
Veuillez recycler là où il existe des installations adéquates. Vérifiez auprès de vos
autorités locales pour obtenir des conseils sur le recyclage.
Toutes les informations de ce manuel d’utilisation sont protégées par droit d’auteur
par DOMU Brands Ltd.
Toute utilisation non autorisée pourrait enfreindre les lois mondiales de droit d’auteur,
de marque déposée ainsi que d’autres lois.
Pour enregistrer votre produit et
découvrir si vous vous qualifiez pour une
extension gratuite de garantie, rendez-
vous sur :
www.VonHaus.com/warranty
Conservez une preuve d’achat, reçu
ou attestation, pour prouver la date de
l’achat.
La garantie ne s’applique que si le
produit a été utilisé de la manière
indiquée dans les pages d’Avertissement
de ce manuel et que toutes les
instructions ont été suivies de manière
précise. Tout utilisation abusive du
produit ou de la manière dont il a été
utilisé, rendront la garantie caduque.

Sicherheitshinweise 1
Sicherheitshinweise, Sicherheitssymbole, Nötiges Werkzeug 2
Komponenten 3
Wandmontageanleitung 4
Aufbau 5,6
Garantie 7
INHALT

Bitte lesen Sie die Anleitung
sorgfältig und bewahren Sie sie als
Referenz auf.
WARNUNG! Überschreiten Sie
nicht die maximale Kapazität von
15kg/33lbs. Die Installation von
Geräten, die schwerer als empfohlen
sind, kann zu Schäden oder schweren
Verletzungen führen.
Bei bestimmten schwächeren Wänden
und Materialien sollte das Gerät nur
an Wandbolzen befestigt werden.
nur an Wandbolzen befestigt
werden. Wenn Sie unsicher sind,
wenden Sie sich bitte an einen
geeigneten Fachmann.
VORSICHT: Um dauerhafte Sicherheit
zu gewährleisten prüfen Sie bitte
in regelmäßigen Abständen (alle 3
Monate), ob das Möbelstück sicher
genutzt werden kann. Beim der
Montage dieser Halterung sollten Sie
geeignete Sicherheitskleidung tragen
und bestimmte Vorsichtsmaßnahmen
treffen.
Dieses Produkt ist kein Spielzeug.
Kinder dürfen nicht mit dem Produkt
spielen. Kinder und Haustiere sollten
in der Umgebung dieses Produkts
ständig beaufsichtigt werden.
Dieses Produkt enthält für die
Montage Kleinteile, die für Kinder
und Tiere gefährlich sein können.
Halten Sie Kinder und Haustiere
immer fern.
Stellen Sie vor der Installation sicher,
dass die Auflagefläche das Gewicht
des Geräts und aller Hardware- und
unterstützenden Komponenten
sicher trägt. Wenn Sie unsicher
sind, wenden Sie sich bitte an einen
geeigneten Fachmann.
Überziehen Sie die Schrauben nicht.
Dieser Artikel ist nur für den
Hausgebrauch im Innenbereich
gedacht.
Wenn Sie diese Anleitung nicht
verstehen oder Zweifel in Bezug
auf die Sicherheit der Installation
haben, lassen Sie sich bitte von einem
geeigneten Fachmann beraten und
helfen. Prüfen Sie den Inhalt der
Verpackung um sicherzustellen, dass
keine Teile fehlen oder defekt sind.
Verwenden Sie keine defekten
Teile. Unsachgemäße Montage
kann zu Schäden oder ernsthaften
Verletzungen führen.
Bauen Sie das Gerät nur wie in dieser
Anleitung beschrieben auf. Jede
Abweichung oder Abkürzung kann
zu falscher Montage führen oder
als Missbrauch durch den Kunden
betrachtet werden.
Verwenden Sie diesen Artikel zu
keinem Zweck, der nicht explizit in
dieser Bedienungsanleitung genannt
wird.
Die enthaltenen Befestigungen sind
für die Anbringung an den meisten
Wandarten geeignet. Sie sollten
nicht an Stahlbalken oder alten
Schlackensteinwänden angebracht
werden. Wenn die Schrauben, die
Sie für Ihre Wand benötigen, nicht
enthalten sind, fragen Sie bitte bei
Ihrem örtlichen Baumarkt nach.
Wenn Sie sich über Material, Qualität
WARNUNG
BITTE LESEN SIE DIESE ANWEISUNGEN SORGFÄLTIG UND BEWAHREN SIE SIE ALS REFERENZ AUF.

2
Bohrmaschine Geeigneter Bohrer Kreuzschlitzschraubendreher
Wasserwaage Bleistift Hammer Balkenfinder
oder Eignung der Wand nicht sicher
sind, wenden Sie sich bitte an
einen qualifizierten Fachmann. Wir
empfehlen, diese TV-Halterung zu
zweit aufzubauen.
Die Verwendung eines Balkenfinders
(nicht enthalten) wird empfohlen.
WARNUNG
BITTE LESEN SIE DIESE ANWEISUNGEN SORGFÄLTIG UND BEWAHREN SIE SIE ALS REFERENZ AUF.
(NICHT ENTHALTEN)
NÖTIGES WERKZEUG
Bitte befolgen Sie folgende
Sicherheitsrichtlinien.
WARNUNG!
Beachten Sie alle
Sicherheits-hinweise
und Anleitungen
Lesen Sie vor
der Verwendung
die Anleitung
Tragen Sie eine
Staubmaske
Tragen Sie
Augen- und
Ohrschutz
SICHERHEITSSYMBOLE
Table of contents
Languages:
Other VonHaus TV Mount manuals

VonHaus
VonHaus 350097 User manual

VonHaus
VonHaus 3005118 User manual

VonHaus
VonHaus 3000177 User manual

VonHaus
VonHaus 3000174 User manual

VonHaus
VonHaus 3005117 User manual

VonHaus
VonHaus 3005062 User manual

VonHaus
VonHaus 05/038 User manual

VonHaus
VonHaus 3000112 User manual

VonHaus
VonHaus 3000165 User manual

VonHaus
VonHaus 3000115 User manual
Popular TV Mount manuals by other brands

New Star
New Star NeoMounts FL50-540BL1 instruction manual

Cable-Tronix
Cable-Tronix CT-LCD-402A installation manual

One Forall
One Forall WM7475 Quick installation guide

New Star
New Star Neomounts NMPRO-CMB1 quick start guide

Black Box
Black Box JPM080-R4 Installation

New Star
New Star NeoMounts FL40-430BL11 instruction manual