W.L. Walker ISOTHERM 2000 Guide

Using the
ISOTHERM
2000
W. L. Walker Co., Inc.
Tulsa,Oklahoma
(888) 397- 9255

2
Operating the ISOTHERM 2000
WARNING:
Static Electricity can cause an EXPLOSION!
BEFORE opening a tank hatch, attach the grounding clamp to the hatch cover.
After you are done, close the tank hatch, THEN remove the grounding clamp.
WARNING:
REPLACE BATTERY WITH ANY GENERAL PURPOSE OR HEAVY DUTY 9-VOLT CELL. FOR
LONGER LIFE USE DURACELL 1604, ENERGIZER NO. 522, RADIOSHACK NO. 23-653,
EVEREADY NO. 1222, RAYOVAC NO. A1604.
Brief Description
The ISOTHERM 2000 is a hand-held portable digital thermometer designed specifically for use in
hazardous locations. The ISOTHERM 2000 is built to be durable and easy to operate. It displays
temperature readings on a 7-digit LCD with a backlight for easy reading in all viewing situations.
Turning the ISOTHERM 2000 on
PRESS AND HOLD the power button to keep the Isotherm power on.
When the POWER button is DEPRESSED. The display will show:
8.8.8.8.8.8.8
This demonstrates that all of the display segments are still working. After the initial display, the
ISOTHERM 2000 will switch to displaying the current temperature (as measured by the tip of the
attached probe).
ISOTHERM 2000 Instructions
The ISOTHERM 2000 can read temperature in either Fahrenheit or Celsius. It also features a
digital calibration tool that allows precision calibration without "tweaking pots" or doing clumsy
calibration calculations.
ISOTHERM 2000 KEYPAD
Taking a temperature reading
WARNING:
Static Electricity can cause an EXPLOSION!
BEFORE opening a tank hatch, attach the grounding clamp to the hatch cover.
After you are done, close the tank hatch, THEN remove the grounding clamp.
Take the stainless steel probe and place it in the fluid to be measured. After the probe has been
in the fluid for approximately 30 to 45 seconds, turn on the ISOTHERM 2000 and read the current
temperature. For the greatest accuracy, leave the probe in the fluid for five minutes or more.

3
Replacing the battery WARNING:
REPLACE BATTERY WITH ANY GENERAL PURPOSE OR HEAVY DUTY 9-VOLT CELL. FOR
LONGER LIFE USE DURACELL 1604, ENERGIZER NO. 522, RADIOSHACK NO. 23-653,
EVEREADY NO. 1222, RAYOVAC NO. A1604.
To replace the battery you will need to remove the bottom end of the ISOTHERM 2000's handle.
It unscrews similar to a common flashlight. Inside the handle, there is a 9V battery attached to a
long connector with leads back into the handle..
1) Remove the battery from the handle
2) Remove the battery connector from the battery
3) Connect the new battery to the connector
4) Put the battery back into the handle
5) Replace the end of the handle
Reel Version
1) Remove the six screws from the face and remove
2) Remove the battery from the battery holder
3) Disconnect the battery
4) Connect the new battery
5) Put the battery back in the battery holder
6) Replace the face and screws (be sure that o-ring is seated properly)
Replacing the cable WARNING:
SUBSTITUTION OF COMPONENTS MAY IMPAIR INTRINSIC SAFETY
AVERTISSEMENT:
LA SUBSTITUTION DE COMPOSANTS PEUT COMPROMETTRE LA SÉCURITÉ
INTRINSÉQUE
The probe and cable assembly on the ISOTHERM 2000 is designed to be replaced with minimal
effort. Follow these easy steps:
1) Obtain a good replacement cable (new or rebuilt from W.L. Walker Co., Inc.)
2) Unwrap the old cable from the ISOTHERM
3) Unscrew the two screws that attach the end of the cable to the ISOTHERM
4) Remove the old cable
5) Attach the new cable to the screws vacated by the old cable
6) Replace the screws removed in step 3.
7) Test the connection by turning the unit on. If the unit displays the current temperature
correctly then proceed to step 8. Otherwise, check the replacement cable to determine
that is attached to the ISOTHERM 2000 properly.
8) Attach the ground clip to the probe and turn on the ISOTHERM again. If the ISOTHERM
still reads the correct temperature, then you are done installing the new cable. If the
ISOTHERM now reads SHRT (for short), then you have attached the two ends of the
cable backwards. Swap there positions and restart with step 5.
9) Wind the new cable onto the ISOTHERM

4
CALIBRATING THE ISOTHERM 2000
You will need to purchase a Calibration Tool (W.L. Walker part number 69550) in order to perform
a calibration.
The Calibration Tool
The Calibration Tool is a small box that allows you to calibrate the ISOTHERM. It has four
buttons which allow you to adjust the displayed temperature up and down until the desired
temperature is displayed. The Tool also has a phone-type jack that the cable (from inside the
ISOTHERM 2000 handle) plugs into. If the ISOTHERM is plugged into the Tool, it will
automatically turn on into the Calibration mode. For the REEL TYPE use the patch cable that is
provided with the calibration tool.
Using the Calibration Tool 2000
While in the calibration mode, you can adjust the temperature up and down with the Calibration
Tool 2000. Press the up button (Save High) on the Tool to increment the temperature shown
(make it go up by 0.1 degrees) and press the down button (Save Low) on the Tool to decrement
the temperature shown (make it go down by 0.1 degrees). Holding either button will cause the
temperature shown to continue incrementing/decrementing until you release it.
The following page contains the calibration procedure for the ISOTHERM 2000. It details most of
the information needed to perform a proper calibration. It is recommended that a copy of the
following page be prominently displayed in any calibration area.

5
ISOTHERM 2000 CALIBRATION PROCEDURE
Plug the ISOTHERM 2000 into the Calibration Tool 2000
The plug is located in the ISOTHERM's handle or calibration compartment(Reel)
NOTE: The Isotherm 2000 MUST remain plugged into the Calibration
Tool during the calibration process. Unplugging the Isotherm
when moving from the cold bath to the hot bath will cause
wrong temperature readings after calibration.
Pick a low calibration temperature
The ice-point (32°F or 0°C) is a good "low" calibration point (it's what we do the
factory calibration at). Any other convenient point can be used however, the
accuracy of the ISOTHERM can be adversely affected by a badly chosen
calibration point. It is suggested that you do the low calibration at the ice-point
and then do the high calibration at (or just above) the maximum temperature that
will normally be measured by the ISOTHERM being calibrated (or at the
maximum temperature less than or equal to 325°F (450°F if you have a high-
temperature probe assembly) that you can attain for calibration).
Set the probe into a bath set to the low temperature
This could be a properly prepared ice-bath. You will need a certified Liquid-In-
Glass thermometer positioned very close to the probe tip to get the exact
temperature of the bath.
Wait for the bath and the probe to settle to the temperature
If you don't wait 5 minutes or more, you won't get a good calibration.
Adjust the ISOTHERM's temperature until it matches the bath temperature
See Using The Calibration Tool 2000(above) to find out how to adjust the shown
temp.
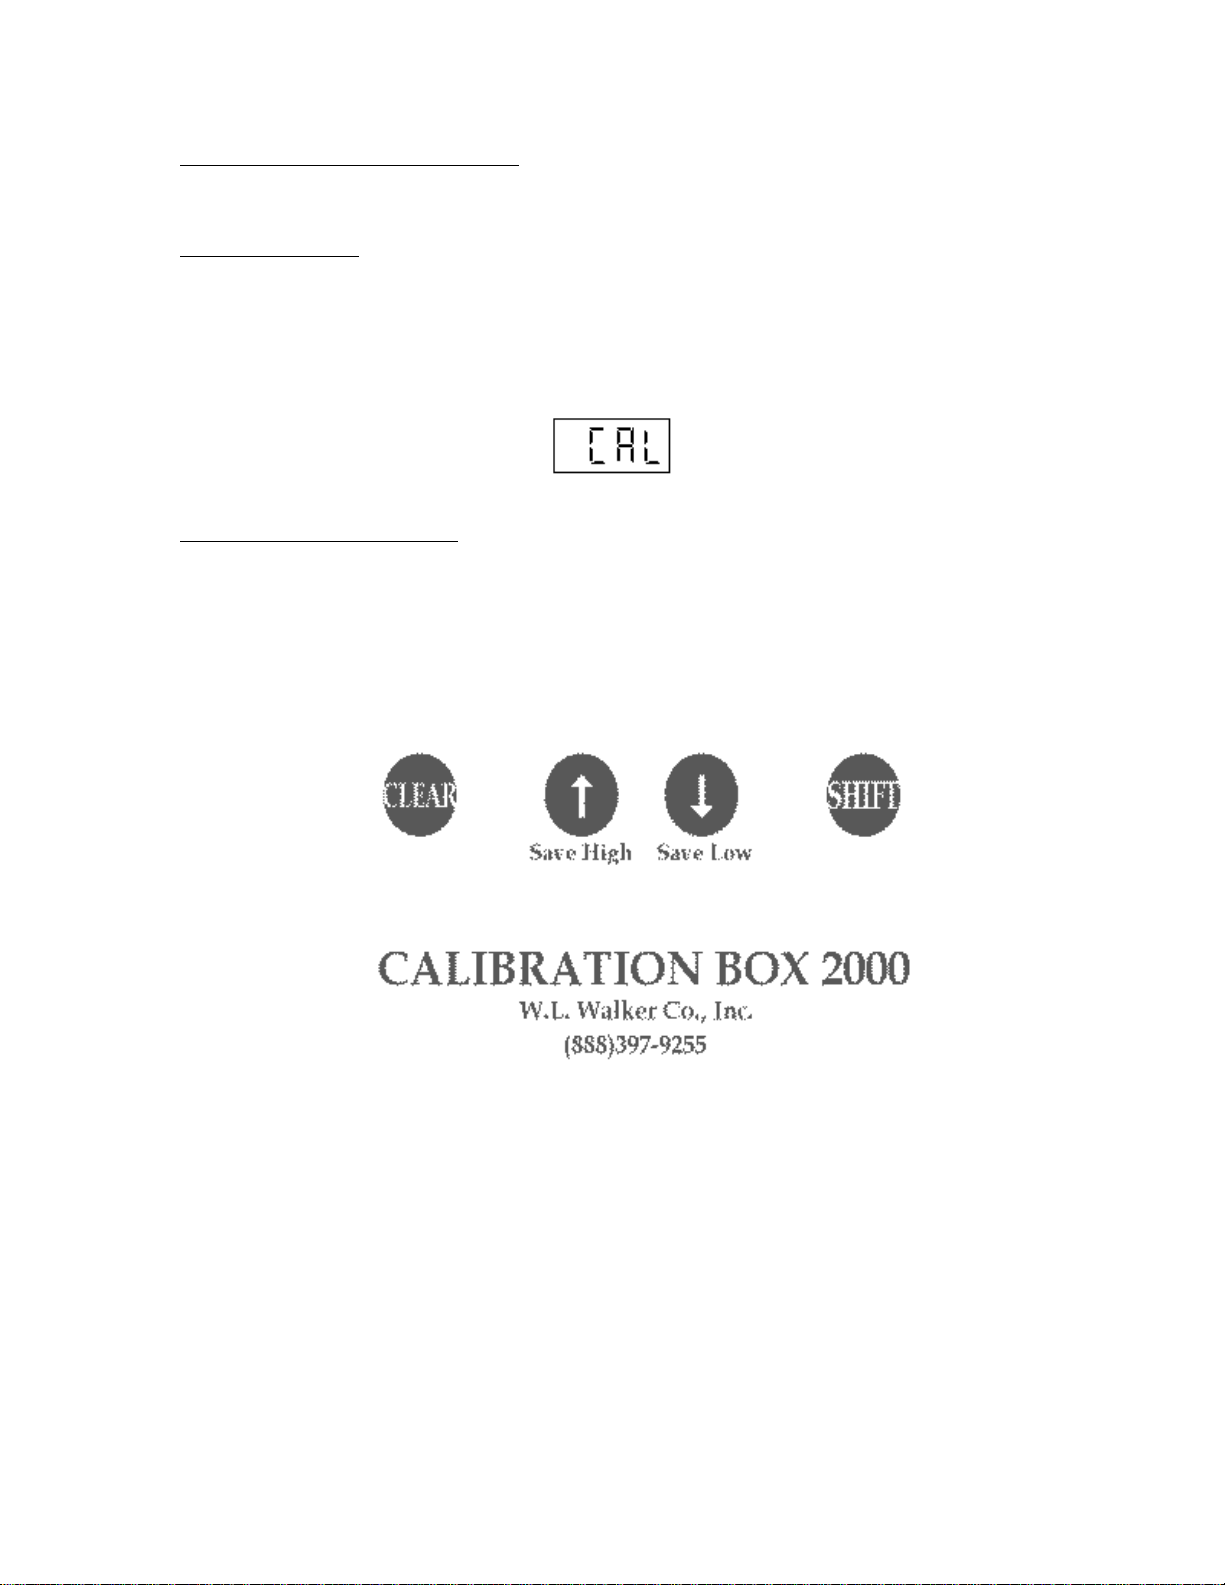
Store the Low calibration temperature
While holding down the SHIFT button, depress the button marked SAVE LOW,
you'll see:
Pick a high calibration temperature
The boiling point of water (212°F or 100°C) is a good "high" point. Any other
convenient point can be used however, the accuracy of the ISOTHERM can be
adversely affected by a badly chosen calibration point. It is suggested that you do
the high calibration at (or just above) the maximum temperature that will normally
be measured by the ISOTHERM being calibrated (or at the maximum
temperature less than or equal to 325°F (450°F if you have a high-temperature
probe assembly) that you can attain for calibration).
Set the probe into a bath set to the high temperature
This could be a pot of boiling water. You will need a certified Liquid-In-Glass
thermometer positioned very close to the probe tip to get the exact temperature
Wait for the bath and the probe to settle to the temperature
If you don't wait 5 minutes or more, you won't get a good calibration.
Adjust the ISOTHERM's temperature until it matches the bath temperature
See Using The Calibration Tool 2000(above) to find out how to adjust the shown
temp.
Store the High calibration temperature
While holding down the SHIFT button, depress the button marked SAVE HIGH,
you'll see:

6
Clearing the Calibration (Resetting it to the Factory Calibration)
If you wish to reset the ISOTHERM to the Factory Calibration, you will need to be in the calibration
mode (turn the ISOTHERM on by plugging it into the Calibration Tool 2000).
Once in the calibration mode, press and hold the SHIFT button, then press the button
marked CLEAR, you'll see:
Any calibrations that have been done since the last time the ISOTHERM was in the factory will be
cleared and the ISOTHERM will be reset to the calibration that was performed at the factory.
Troubleshooting
There are several troubleshooting displays that may appear on the screen:
The "nEEd bAtt" display will appear if the battery is almost dead. Once this message starts
appearing, you will want to replace your battery immediately to prevent down-time for the unit.
The "OPEn" display could appear in the following cases:
1) There is no Probe & Cable assembly attached to the ISOTHERM
2) The Probe & Cable assembly is improperly installed
3) The Probe & Cable assembly is malfunctioning (most likely)
Examine the cable looking for kinks or breaks. Also pay close attention to where
the cable enters the probe.
4) The ISOTHERM's electronics are malfunctioning
The "Shrt" (for SHORT) display could appear in the following cases:
1) The Probe & Cable assembly is malfunctioning (most likely)
Examine the cable looking for kinks or breaks. Also pay close attention to where
the cable enters the probe.
Returning Units for Repair
When you need to return an ISOTHERM or Probe and Cable assembly to W.L. Walker for repair,
you will need to fill out a copy of the ISOTHERM REPAIR TAG located at the end of this
document and include it with the unit you are returning

7
TROUBLESHOOTING TABLE
PROBLEM(S) POSSIBLE CAUSE(S) WHAT TO DO
------------------------------- ------------------------------- -------------------------------
I can't turn the A dead battery. Replace the battery
ISOTHERM on
Bad battery connection. Check battery connector & battery cable
Electronics locked up. Disconnect battery and reconnect it
Electronics malfunctioning. Return ISOTHERM for repair
------------------------------- ------------------------------- -------------------------------
I can't calibrate Calibration box was not Plug the cal-box into the ISOTHERM
the ISOTHERM plugged into the ISOTHERM
2000 2000
Using incorrect procedure. Review the ISOTHERM MARK
calibration instructions
------------------------------- ------------------------------- -------------------------------
I can't get a good, Temperature hasn't stabilized Wait about 5 minutes and
stable reading see if the reading stabilizes
Improper calibration Clear the calibration and then see if you
get a stable reading.(see the document:
"Calibrating the ISOTHERM 2000" for
instructions on clearing the calibration)
The probe & cable is Return the probe and cable for repair
Malfunctioning and/or replace the probe & cable
assembly with a new one.
------------------------------- ------------------------------- -------------------------------

8
ISOTHERM REPAIR TAG
FOR FASTEST SERVICE, SHIP TO:
W.L. Walker Co., Inc.
1201 South Main Street
Tulsa, OK 74119
CUSTOMER INFORMATION: DATE:____/____/____
Name: _____________________________
Address: _____________________________
_____________________________
Contact: ____________ Phone #: (__ __ __)__ __ __ - __ __ __ __
- - - - - - - - - - - - - - - - - - - - - - - - - - - - - - - - - - - - - - - - - - - - - - - - - - - - - - - - - -
ISOTHERM INFORMATION
COMPLETE UNIT:
Circle Model: Mark I / Mark II / Mark IX / 2000 /2000 Reel
Serial #: _________________
PROBE & CABLE ONLY:
Circle type: Normal (black) / High Temp(orange)
Description of Problem (be as detailed as possible):
________________________________________________________________
________________________________________________________________
________________________________________________________________
- - - - - - - - - - - - - - - - - - - - - - - - - - - - - - - - - - - - - - - - - - - - - - - - - - - - - - - - - -
WALKER LAB USE:
Date @ Tulsa: ____/____/____ by __________
Description of Estimate:_____________________________________________
________________________________________________________________
________________________________________________________________
Date Estimate completed: ____/____/____ by __________
Date Repair authorized: ____/____/____ by __________ PO# ____________
Comments:_______________________________________________________
________________________________________________________________
________________________________________________________________
Date Repair complete: ____/____/____ by __________
Date Shipped: ____/____/____ by __________
Table of contents