For more information visit: www.designerheater.com
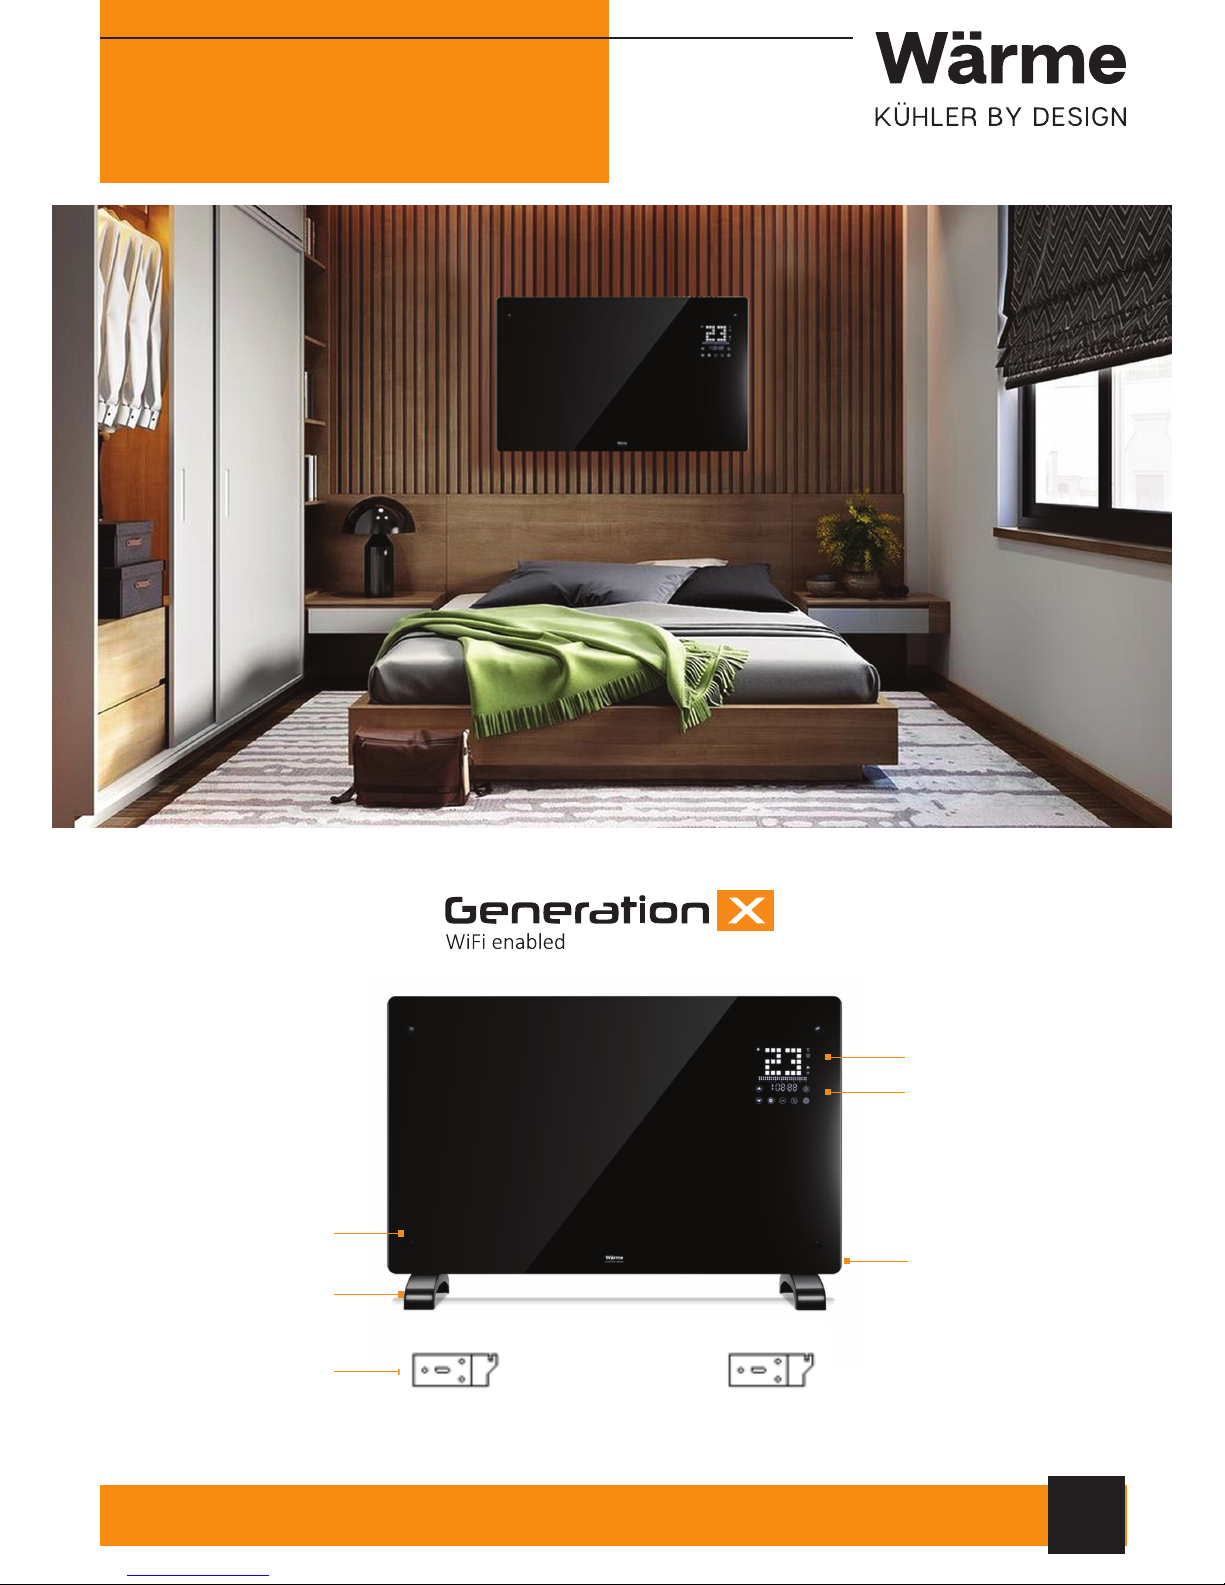
PRODUCT
DESCRIPTION
02
03
Dear Customer,
Thank you for purchasing a Wärme Designer Heater. Please read this user manual carefully and take care of the follow-
ing hints to avoid damages. Any failure caused by ignoring the items and cautions mentioned in this user manual are not
covered by our warranty.
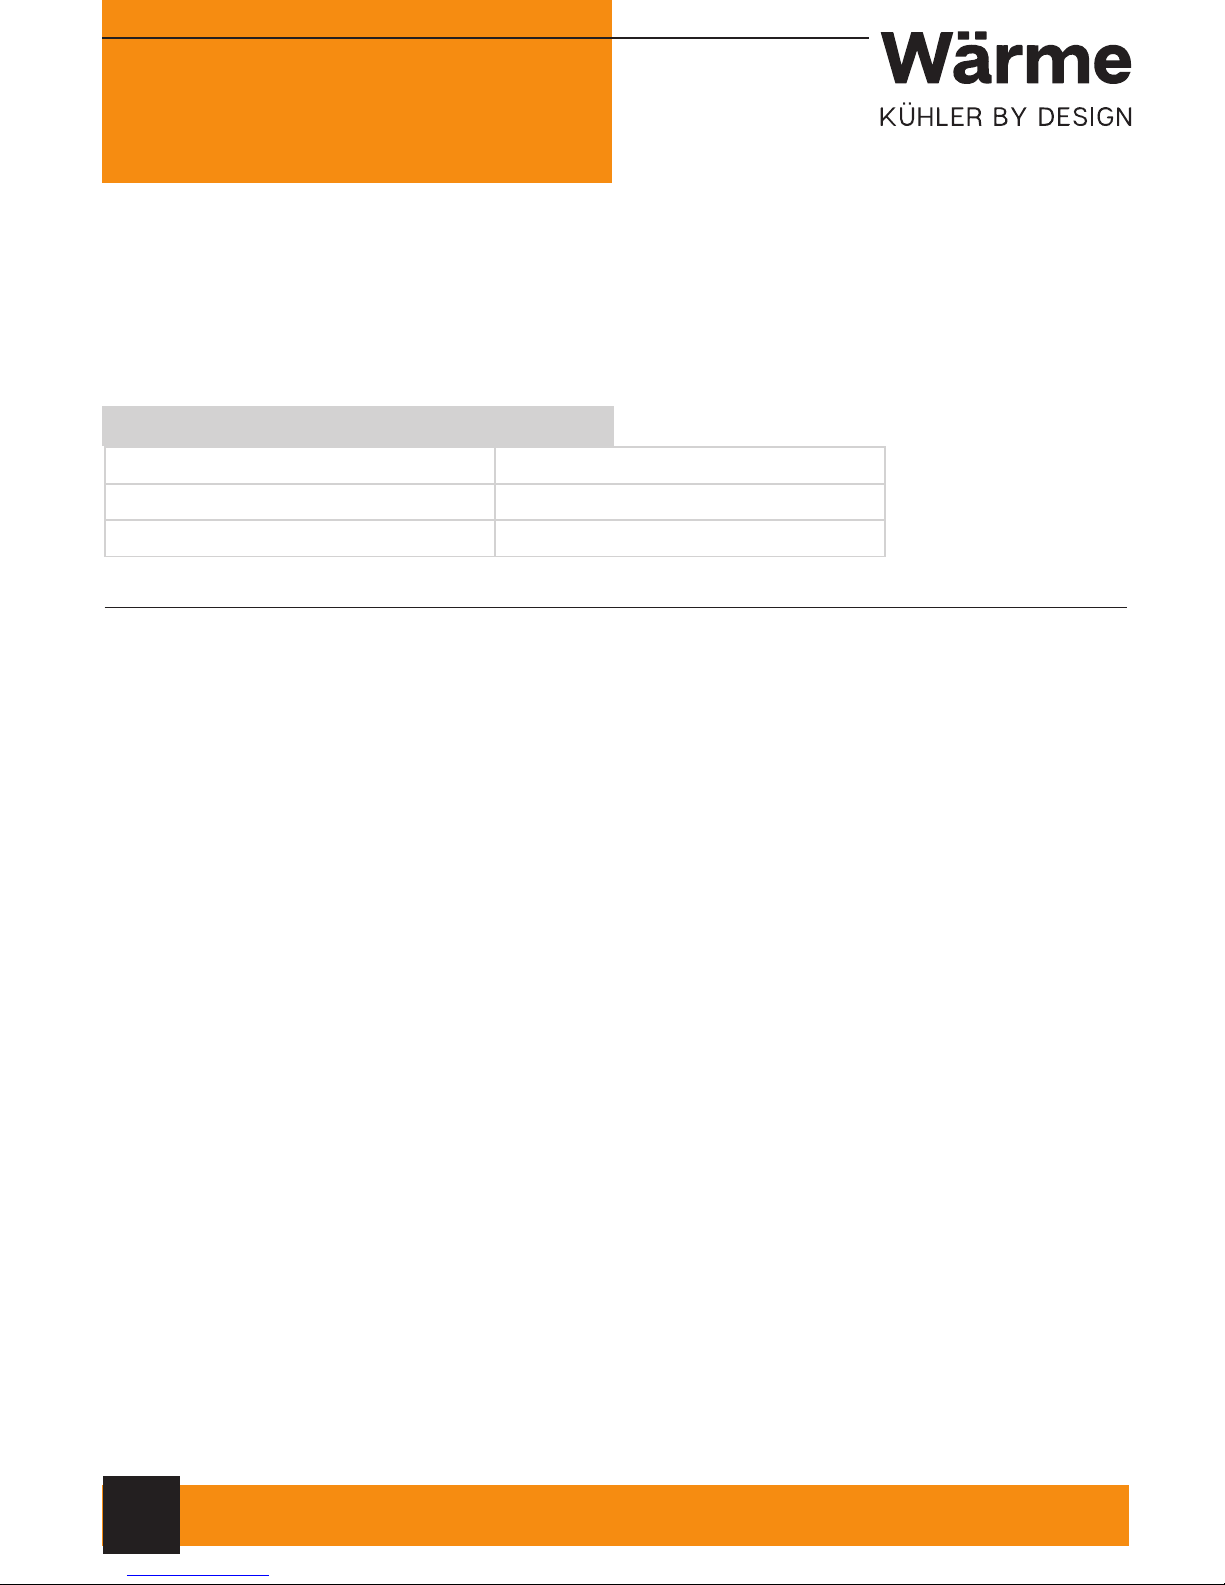
TECHNICAL DATA
Item number WH-24P
Power supply 230 V ~ 50 Hz
Power consumption 2000 W
Safety Instructions
• Read all instructions carefully before use.
• Make sure the voltage is the same as that indicated on the rating plate of the appliance.
• Do not operate this appliance if the cable or plug becomes damaged.
• Keep the appliance and cable away from sources of heat, sharp objects or anything that may cause damage.
•If the power cord is damaged it must be replaced by the manufacturer, its service agent or similarly qualified person
in order to avoid a hazard.
• Ensure the appliance is switched o before connecting to the mains power supply.
•Switch o the power supply and disconnect from mains supply when not in use, before cleaning or during any maintenance.
•To disconnect the appliance, switch it “OFF”, and then remove the plug from outlet. Do not pull the cord to disconnect
the plug. The heater must not be located immediately below a power socket.
• Do not operate in areas where gasoline, paint or other flammable liquids are used or stored.
• Indoor use only. In order to avoid overheating, do not cover the heater.
• To prevent a possible fire, do not block or cover air intakes or exhaust.
• Do not touch the hot surfaces.
•Do not insert or allow foreign objects to enter any ventilation or exhaust opening, as this may cause an electric shock,
fire or damage to the appliance.
•Always ensure that hands are dry before operating or adjusting any switch on the product or touching the plug and
socket-outlet.
•This appliance is not intended for use by persons (including children) with reduced physical, sensory or mental capa-
bilities, or lack of experience and knowledge, unless they have been given supervision or instruction concerning use of
the appliance by a person responsible for their safety.
• Children should be supervised to ensure that they do not play with the appliance.
• Do not leave this appliance unattended when it’s in use.
•The most common cause of overheating is deposits of dust or flu in the appliance. Ensure these deposits are
removed regularly by disconnecting the appliance and vacuum cleaning air vents and grilles.
• Do not place the cable under carpets. Arrange cord away from traic areas so that it will not be tripped over.
• Do not use this heater in the immediate surroundings of a bath, shower or a swimming pool.