manuals.online logo
Brands
  1. Home
  2. •
  3. Brands
  4. •
  5. W.Schillig
  6. •
  7. Indoor Furnishing
  8. •
  9. W.Schillig Advice Nr.42 User manual

W.Schillig Advice Nr.42 User manual

Hinweise/Advice
zu Ihrer Garnitur mit Querschläfer
for your upholstery with cross sleeper
Der Querschläfer ist nicht für
mehrere Personen, sondern
nur für eine Person mit einer
Belastung bis max. 100 kg
ausgelegt!
The cross sleeper is not designed for
multiple people, but only for a single
person, with a load up to max. 100 kg!
Hat Ihre Garnitur ein sehr breites Seitenteil, muss aus statischen
Gründen folgendes beachtet werden: Um spätere Schäden
an Querschläfer- bzw. Sofagestell zu vermeiden, muss der
mitgelieferte Stützfuß unbedingt korrekt unter dem Seitenteil
angebracht werden. Für die Montage ist ein Hinweis sowohl an
der Verpackung des Stützfußes als auch an der Unterseite des
Seitenteils angebracht.
If your sofa has a very wide side part, you must observe the following for structural
reasons: To prevent later damage to the cross sleeper or sofa frame, the enclosed
support leg must be placed correctly under the side part. A note for installation is
placed on the packaging of the support leg as well as on the bottom of the side part.
Abb. 1/Fig. 1 Abb. 3/Fig. 3Abb. 2/Fig. 2
• 4 x 2cm Senkkopfschrauben ▻ Abb. 1
• 6 x 3cm Holzschrauben ▻ Abb. 2
• 2 x Auszugssicherung ▻ Abb. 3
• 4 x 2cm countersunk screws ▻ Fig. 1
• 6 x 3cm wood screws ▻ Fig. 2
• 2 x pull-out protection ▻ Fig. 3
Montage der Führungsschienen/Installation of the guide rails:
Nr. 42
Nur die untere Sicherungsschraube entfernen.
Remove only the lower locking screw.
Schiene bis zur Bohrung nach vorn verschieben und
mit der Senkkopfschraube fest anschrauben.
Move the rail forward to the hole and screw it on tightly with the
countersunk screw.
Nun können Sie die obere Schraube nachziehen.
Now you can tighten the upper screw.
Position bei
AUSLIEFERUNG:
Metallschiene
gerade
Position at
DELIVERY:
Metal rail straight
ENDPOSITION:
Metallschiene
schräg
END POSITION:
Metal rail oblique
Um Schäden beim Transport zu vermeiden, ist die Schiene unten bündig an der Garnitur montiert.
To avoid damage during transport, the rail is mounted flush with the bottom of the set..
Eine weitere Senkkopfschraube in das mittlere Bohrung
der Schiene schrauben.
Screw another countersunk screw into the middle hole of the rail.
Wenn beide Schiene fest fixiert sind, bitte nun die Auszugssicherung ▻ Abb. 3 montieren. Hierzu legen
Sie einen mitgelieferten Auszugssicherung an die oberen Bohrlöcher an und schrauben diesen mit drei
mitgelieferten Holzschrauben fest. Gehen Sie bitte auf der anderen Seite genauso vor. Nun können Sie den
Querschläfer wie folgt einhängen.
When both rails are firmly fixed, please now mount the pull-out protection ▻ Fig. 3. to do this, place a supplied pull-out protection against
the upper drill holes and screw it tight with three supplied wood screws. Please proceed in the same way on the other side. Now you can hang
the cross-sleeper as follows..
Aufbau/Setup
Schritt 1/Step 1:
Richten Sie das Gestell waagerecht vor dem Sofa aus.
Zunächst müssen Sie die Liegefläche am Metallbügel
ein bisschen herausziehen. ▻ A
Nun üben Sie mit Ihrer freien Hand einen Gegendruck
auf die Mitte des Querschläfergestells aus und ziehen
die Liegefläche am Bügel auf sich zu. ▻ B
Mit Hilfe dieser Hebelwirkung sollten sich die hinteren
kleinen Rollen auf der Schiene „einfädeln“ lassen.
Schritt 2/Step 2:
Ist die Funktion eingefädelt, schieben Sieden Aus-
zug vorsichtig mit beiden Händen und gleichmäßi-
gem Druck ein. Ein Anschauungsvideo finden sie über
unseren abgebildeten QR-Code oder unter
https://bit.ly/3v5koTs.
Once the function is threaded, carefullypush in
the pull-out with both hands and even pres-
sure. You can find a demonstration video via our
QR-Code shown here or at https://bit.ly/3v5koTs.
1
AB
C
Der Querschläfer wird aus Transporttechnischen Gründen in 2 Teile geliefert.
Vor dem Zusammenbau sollte die Garnitur komplett ausgerichtet auf Füße gestellt werden.
The cross sleeper is delivered in 2 parts for transportation reasons. Before assembling the set should be completely aligned on feet.
2
Hilfreich wäre es die Einhängerolle „C“ leicht schräg versetzt einzufädeln. ▻ C
Align the frame horizontally in front of the sofa. First you need to pull out the lying surface a little bit on the metal bracket ▻ A
Now use your free hand to exert counterpressure on the center of the cross-sleeper frame and pull the lying surface on the bracket toward
yourself. ▻ B With the help of this leverage, it should be possible to „thread“ the rear small rollers on the rail. It would be helpful to thread
in the hanging roller „C“ at a slight angle. ▻ C
Falls Sie den Querschläfer komplett abbauen möchten, gehen Sie
wie folgt vor: Folgen Sie den Anweisungen von „Schritt 1“ für den
Aufbau in umgekehrter Reihenfolge. Achten Sie hierbei allerdings
darauf, dass Sie den Querschläfer nicht komplett herausziehen,
sondern nur bis ca. 10cm vor der Endposition, um die hinteren
Rollen über den Stopper zu heben.
If you want to dismantle the cross-sleeper completely, please do as following: If you
want to dismantle the cross-sleeper completely, please do as following: Follow the
instructions from „Step 1“ for the setup in reverse order. Make sure, that you do
not pull out the cross-sleeper completely, but only up to about 10cm before the final
position, in order to lift the rear rollers over the stopper.
Ausfahren des Querschläfers/
Extension of the cross sleeper
Einfahren des Querschläfers/
Retracting the cross sleeper
Ziehen Sie die Liegefläche vorsichtig am Bügel leicht
schräg nach oben. Die Liegefläche sollte nun wieder
einklappen.Ist die Liegefläche eingeklappt, schieben
Sie das Gestell mit beiden Händen vorsichtig, mit
gleichmäßigem Druck ein.
Carefully raise the lying surface at a slight angle using the bracket.
The lying surface should now fold in again automatically. Carefully
raise the lying surface at a slight angle using the bracket. The lying
surface should now fold in again automatically.
Greifen Sie mit einer Hand nach dem angebrachten
Bügel und ziehen damit die Liegefläche nach oben
heraus. Verwenden Sie Ihre freie Hand, um einen
Gegendruck von oben auf die Liegefläche einzuwirken.
Reach for the attached bracket with one hand and pull out the lying
surface with it upwards. Use your free hand to apply counter-pressure
onto the lying surface from above.
Ziehen Sie das Gestell mit beiden Händen vorsichtig
heraus. Achten Sie bitte darauf, dass Sie möglichst
gleichmäßig anziehen, um ein Verkanten des Gestelles
zu vermeiden.
Pull out the cross sleeper frame carefully with both hands. Pull as
evenly as possible to keep the frame from catching.
Other W.Schillig Indoor Furnishing manuals

W.Schillig Ergoslide Series Quick start guide

W.Schillig

W.Schillig Ergoslide Series Quick start guide

W.Schillig 42 Quick start guide

W.Schillig

W.Schillig 42 Quick start guide

W.Schillig BAJAZZO Quick start guide

W.Schillig

W.Schillig BAJAZZO Quick start guide

W.Schillig move 202.11 User manual

W.Schillig

W.Schillig move 202.11 User manual

W.Schillig Quadroo 17350 User manual

W.Schillig

W.Schillig Quadroo 17350 User manual

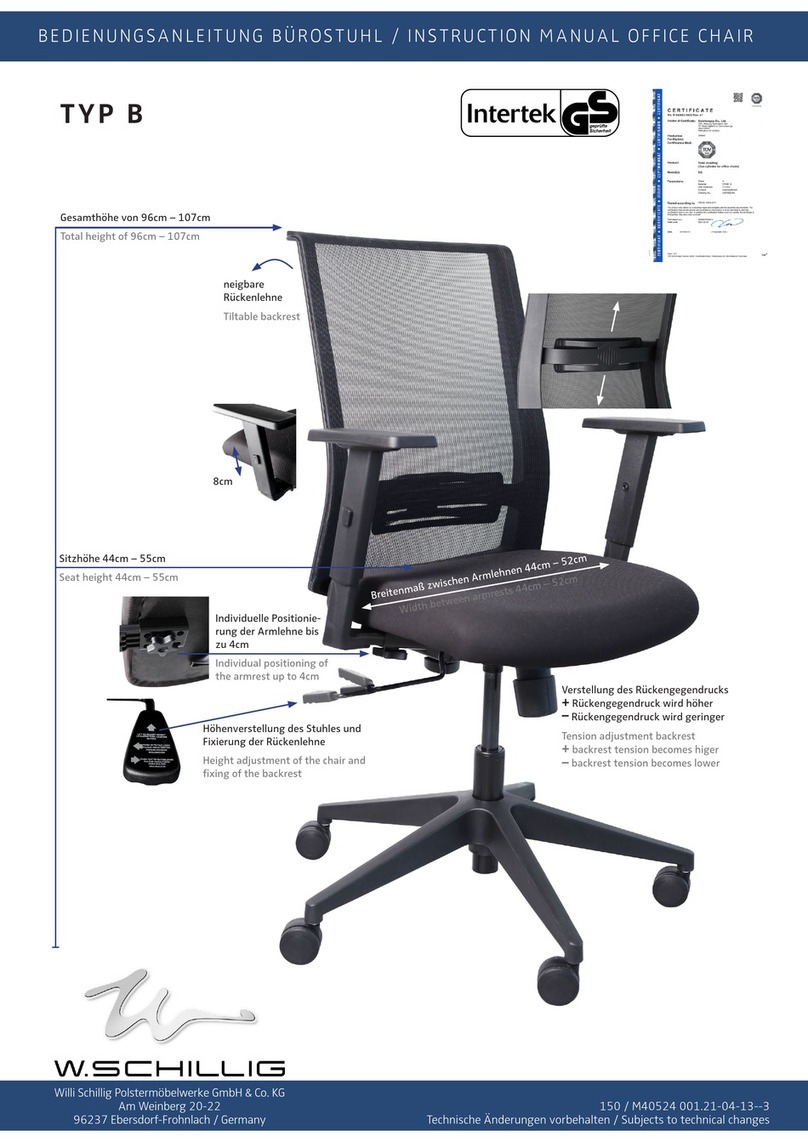
W.Schillig TYP B User manual

W.Schillig

W.Schillig TYP B User manual

W.Schillig Chaises Nr. 26 User manual

W.Schillig

W.Schillig Chaises Nr. 26 User manual

Popular Indoor Furnishing manuals by other brands

Staples 23566 easy instructions

Staples

Staples 23566 easy instructions

Landscape Fusion F2114 Assembly instructions

Landscape Fusion

Landscape Fusion F2114 Assembly instructions

Notável Móveis NT 1000 Assembly instructions

Notável Móveis

Notável Móveis NT 1000 Assembly instructions

Cosco 5925321COM manual

Cosco

Cosco 5925321COM manual

TYPE A 068-1504-6 Assembly instructions

TYPE A

TYPE A 068-1504-6 Assembly instructions

DGS BAKERY/WINE WALL DUMP BIN Assembly instructions

DGS

DGS BAKERY/WINE WALL DUMP BIN Assembly instructions

Lightolier LYTECASTER 1029 SERIES installation instructions

Lightolier

Lightolier LYTECASTER 1029 SERIES installation instructions

Coaster 700321 Assembly instruction

Coaster

Coaster 700321 Assembly instruction

VITRA Antonio Citterio ACX Assembly instructions

VITRA

VITRA Antonio Citterio ACX Assembly instructions

Blooma ROCKALL KIDS PICNIC TABLE quick start guide

Blooma

Blooma ROCKALL KIDS PICNIC TABLE quick start guide

Belleze Annett 014-HG-40005 Assembly instructions

Belleze

Belleze Annett 014-HG-40005 Assembly instructions

AmazonBasics B07SQXH1YJ Easy assembly

AmazonBasics

AmazonBasics B07SQXH1YJ Easy assembly

Drive DeVilbiss Healthcare GRAVIMED BARITEXX Instructions for use

Drive DeVilbiss Healthcare

Drive DeVilbiss Healthcare GRAVIMED BARITEXX Instructions for use

Reform WOOD DRAWER product manual

Reform

Reform WOOD DRAWER product manual

TRINITY Pro TIJZ-0949 owner's manual

TRINITY Pro

TRINITY Pro TIJZ-0949 owner's manual

BROSA Hans Narrow Bookcase Assembly guide

BROSA

BROSA Hans Narrow Bookcase Assembly guide

Brevi 337 Instructions for use

Brevi

Brevi 337 Instructions for use

Cambro CamKiosk KSC402 owner's manual

Cambro

Cambro CamKiosk KSC402 owner's manual

manuals.online logo
manuals.online logoBrands
  • About & Mission
  • Contact us
  • Privacy Policy
  • Terms and Conditions

Copyright 2025 Manuals.Online. All Rights Reserved.