9
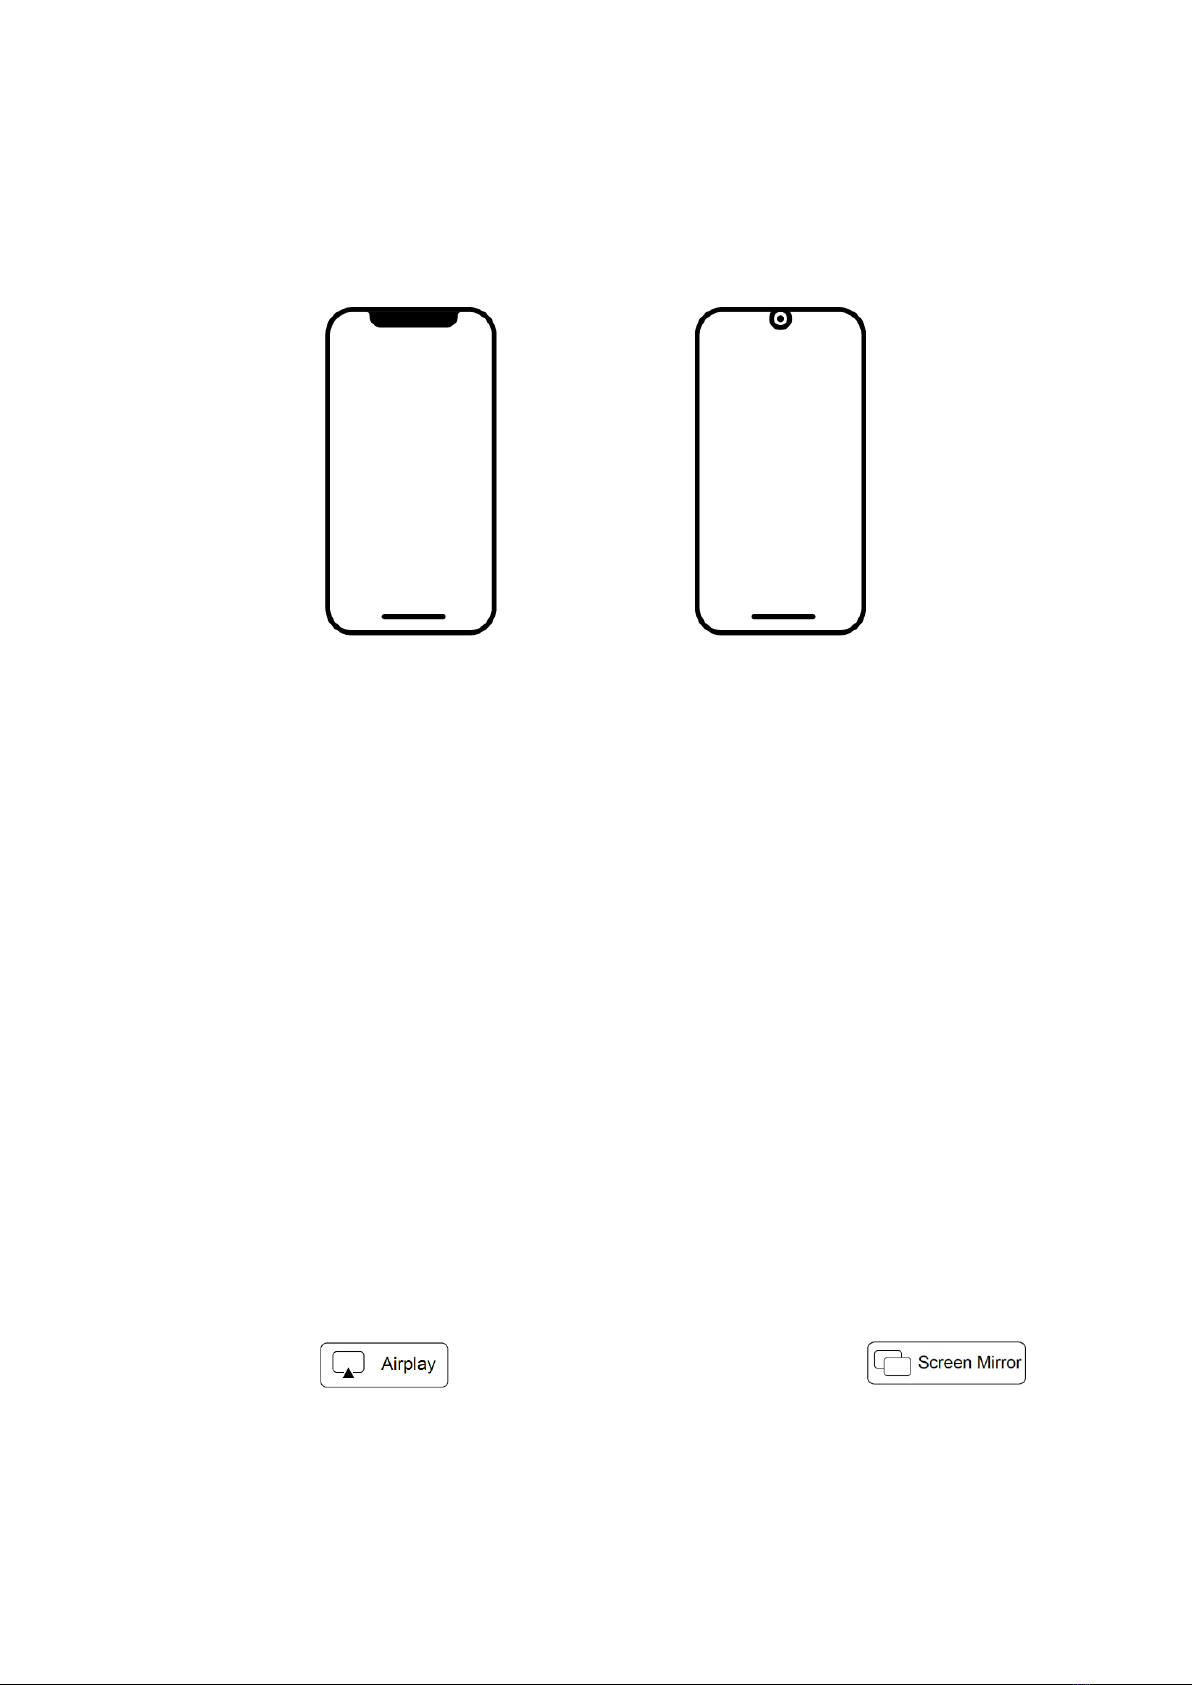
Mobile Phone with the Same Screen
How to be with the same screen for iPhone under status of No Wifi
1. If there has no WIFI, firstly open 4G network of iPhone, then open WIFI hot spot in
the "Settings" interface of the phone.
2. Collect iPhone’s hot spot WIFI for the projector.
3. Open "Eshare".
4. Open "Airplay" / "Screen Mirror".
5. Find the projector and click.
Mobile Phone Projection
How to "push" contents to the projector
* Note: Advantage of push is it does not affect normal use of the mobile phone.
1. Ensure the Phone and Projector are under the same WIFI.
2. Open "Eshare".
3. Open "Airplay" / "Screen Mirror".
4. Find the projector and click.
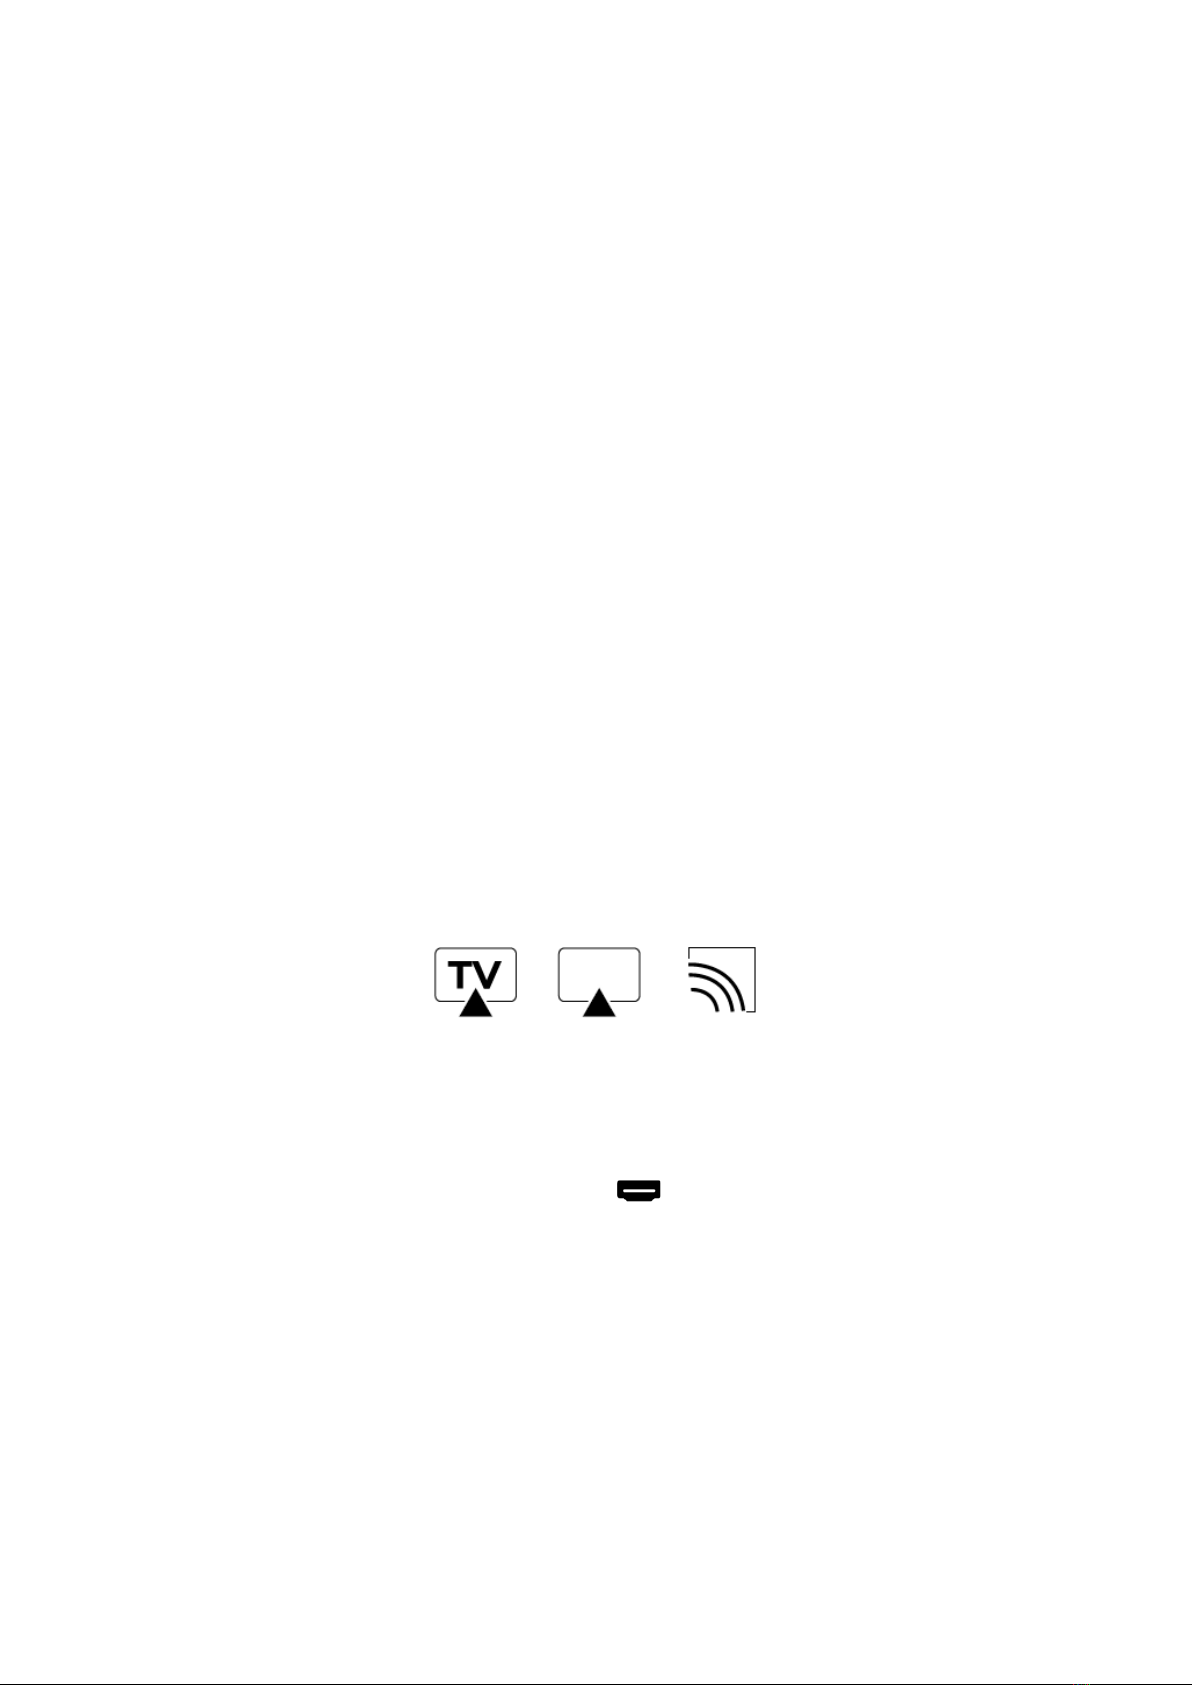
5. Open video software of the mobile phone and finds the TV push icon in the four
corners (it’s usually on the top right or on the bottom right) (Each APPs have different
push icon design).
* Note: Not all video software have function of push.
6. Click this icon to push videos to the projector. At the same time, we can have other.
operations on the phone, it will have no conflict
Schematic diagram of some push icons
Signal Source Setting
Enter Setting interface in the main screen and select input source. Enter into HDMI
signal channel, Press "OK" " to switch input source.
Note:
If you want to return to the previous layer, please press the return key;
If you want to return to the main interface, please press the main screen key.