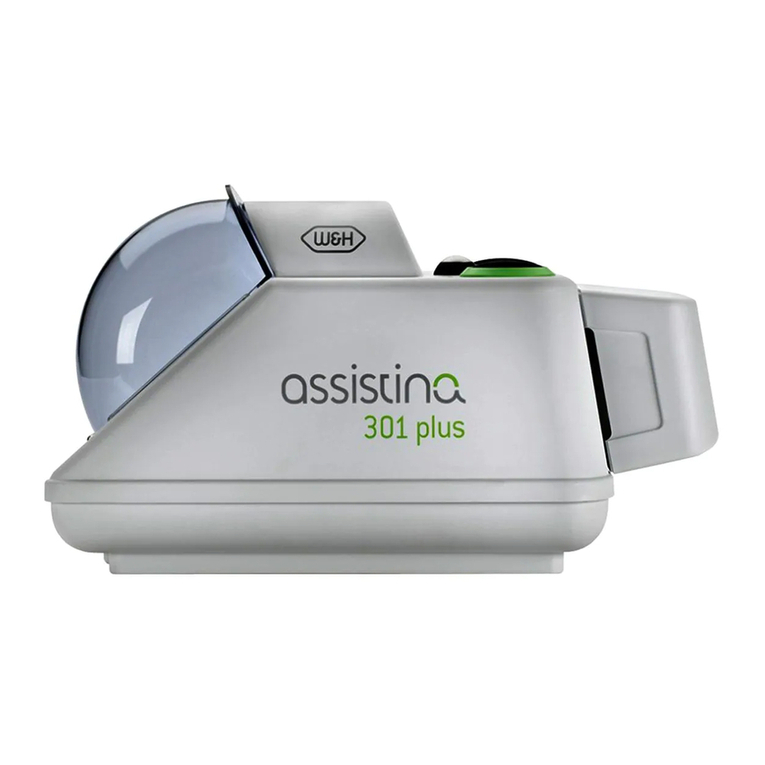
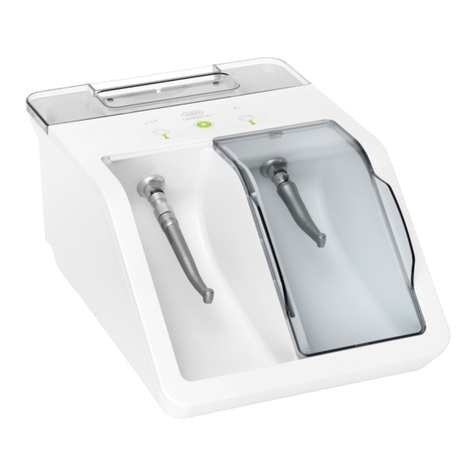
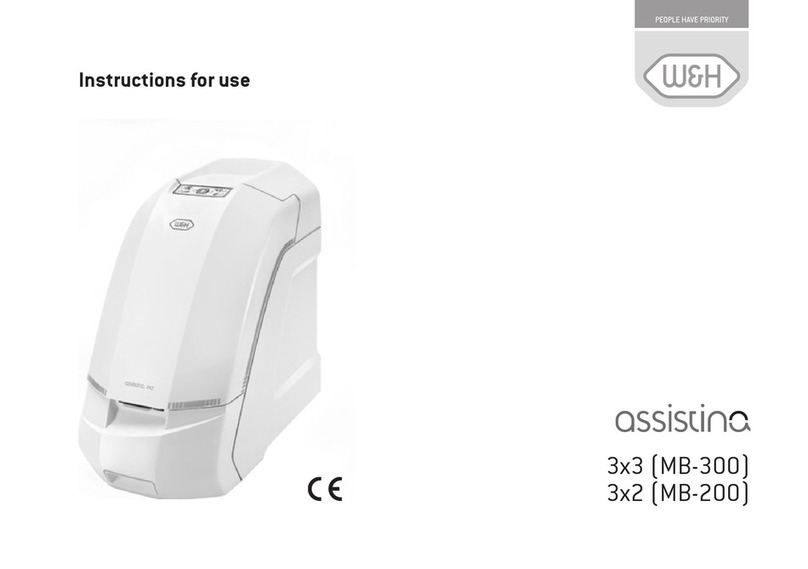
W&H Assistina MB-302 User manual

Instructions for use
MB-302

2
Contents
Symbols.......................................................................................................................................................................................................... 4
1. Introduction ............................................................................................................................................................................................... 7
2. Electromagnetic compatibility (EMC)..................................................................................................................................................... 9
3. Unpacking ................................................................................................................................................................................................ 10
4. Scope of delivery..................................................................................................................................................................................... 11
5. Safety notes .............................................................................................................................................................................................12
6. Description ...............................................................................................................................................................................................14
Front panel ...........................................................................................................................................................................................14
LED display ......................................................................................................................................................................................... 15
HPI adaptor.......................................................................................................................................................................................... 16
Rear panel ............................................................................................................................................................................................17
7. Start-up..................................................................................................................................................................................................... 18
Insertion/removal of a cartridge........................................................................................................................................................ 18
Insertion/removal of a filter............................................................................................................................................................... 19
Connection/disconnection of the air connection hose .................................................................................................................... 20
Connection of the power supply unit................................................................................................................................................. 20
General ................................................................................................................................................................................................ 20
Switching the Assistina TWIN on/off...................................................................................................................................................21
Initial filling ......................................................................................................................................................................................... 22
Standby mode..................................................................................................................................................................................... 24
Test run................................................................................................................................................................................................ 25
3
Contents
8. Operation.................................................................................................................................................................................................. 26
General ................................................................................................................................................................................................ 26
Attaching/removing the adaptor........................................................................................................................................................ 27
Loading/Removing of the transmission instruments with ISO or Roto Quick connection.............................................................. 28
Loading/Removing of the fixed RM connection................................................................................................................................. 29
Maintenance process ......................................................................................................................................................................... 30
Oil service of chucking system .......................................................................................................................................................... 32
9. Cleaning.................................................................................................................................................................................................... 35
Device.................................................................................................................................................................................................. 36
Sliding window .................................................................................................................................................................................... 36
Start-up after cleaning........................................................................................................................................................................ 37
10. Maintencance ........................................................................................................................................................................................ 38
Replacing O-rings................................................................................................................................................................................ 38
Replacing the air filter ........................................................................................................................................................................ 39
11. Error messages...................................................................................................................................................................................... 40
12. W&H Accessories and spare parts....................................................................................................................................................... 45
13. Servicing ................................................................................................................................................................................................ 48
14. Technical data........................................................................................................................................................................................ 49
15. Disposal ................................................................................................................................................................................................. 51
Explanation of warranty terms................................................................................................................................................................... 52
Authorized W&H service partners.............................................................................................................................................................. 53

4
WARNING!
(risk of injury)
ATTENTION!
(to prevent damage occuring)
General explanations,
without risk to
persons or property
CE mark Do not dispose of with
domestic waste
Symbols in the Instructions for Use

5
Consult instructions
for use
Date of manufacture
Do not dispose of with domestic
waste
DC – direct current
Supply voltage
of the unit
V
Data Matrix code
for product information
including UDI (Unique
Device Identification)
Catalogue number
Serial number
CE mark
Symbols on the device

6
This way up Caution: According to Federal
law, this medical
device may
only be sold by or
on the order
of a dentist,
physician or any
other medical practitioner
licensed by the law of the
State in which he or she
practices, and who intends
to use or order the use of this
medical device.
Fragile, handle with care
Keep dry
Permitted temperature
range for storage
Humidity,
limitation
CE mark
Keep away from heat
Use by
Permitted temperature
range for transport:
“Der Grüne Punkt” (The Green
Dot) trademark of Duales
System Deutschland GmbH
Trademark of RESY OfW GmbH
for identification of recyclable
transport and outer packaging
of paper and cardboard
Symbols on the packaging/cartridge

7
For your safety and the safety of your patients
Prior to initial use please read the Instructions for use. These explain how to use your medical device and guarantee a smooth
and efficient operation.
Observe the safety notes.
Intended use
Unit for cleaning the spray channels and lubricating the moving parts of dental and surgical handpieces, turbines, air motors
and air-driven dental scalers.
Misuse may damage the medical device and hence cause risks and hazards for patient, user and third parties.
When transmission instruments are prepared with the medical device, they are neither disinfected nor sterilized.
After cleaning of the spray channels and oil service of the transmission instruments with the medical device,
they subsequently need to be disinfected and sterilized.
Qualifications of the user
We have based the development and design of the medical device on the target group of dentists, dental hygienists
and dental assistants.
1. Introduction

8
Production according to EU Directive
The medical device meets the requirements of Directive 93/42/EEC.
Responsibility of the manufacturer
The manufacturer can only accept responsibility for the safety, reliability and performance of the medical device if it is used in
compliance with the following directions:
> The medical device must be used in accordance with these instructions for use.
> The medical device has no components that can be repaired by the user (with the exception of replacing the O-rings,
cartridges, filter and air filter). Assembly, modifications or repairs must only be undertaken by an authorized
W&H service partner (see page 53).
> The electrical installation at the premises must comply with the regulations laid out in IEC 60364-7-710 (»Installation of
electrical equipment in rooms used for medical purposes«) or with the regulations applicable in your country.
> Unauthorized opening of the equipment invalidates all claims made under warranty and any other claims.
Improper use
Improper use and unauthorized assembly, installation and modification of or repairs to the medical device or
failure to comply with
our instructions invalidates all claims under warranty and releases us from all other claims!
Introduction

9
Medical electrical equipment is subject to particular precautions with regard to EMC and must be installed and put
into operation in accordance with the EMC notes included.
W&H only guarantees compliance of the medical device with the EMC Directives when it is used with original W&H
accessories and spare parts. The use of accessories and spare parts that have not been approved by W&H may lead
to increased emission of electromagnetic interference or to reduced resistance to electromagnetic interference.
2. Electromagnetic compatibility (EMC)

10
W&H packaging is environmentally friendly and can be
disposed of by industrial recycling companies.
However, we recommend that you keep the original packaging.
Remove the cardboard box
with the TWIN Care SET.
Lift out the device.
eRemove the cardboard box
with the:
> HPI adaptor;
> air connection hose;
> power supply unit.
3. Unpacking

11
REF Description
REF 30310
REF 07477400
REF 02697000
REF 07477500
REF 07484000
W&H Assistina TWIN (MB-302)
HPI adaptor
Air connection hose
Power supply unit MB-302
TWIN Care SET MB-302:
> W&H Active Fluid cartridge, MC-302, 200 ml
> W&H Service Oil F1 cartridge, MD-302, 200 ml
> filter
4. Scope of delivery

12
Please observe the following instructions under all circumstances
> Before using the medical device for the first time, store it at room temperature for 24 hours.
> Only set up the device in sufficiently well ventilated rooms!
> Always ensure that the correct operating conditions are provided.
> Check the medical device for damage, leaks and loose parts each time before using
(e.g., adaptor, filter compartment cover).
> Always close the sliding window before you use the device!
> Keep the device closed during the maintenance process!
Power supply unit
> Only use the power supply unit supplied.
> Arrange the device in such a way that the power supply unit is easily accessible.
> In dangerous situations, the device can be disconnected from the power supply using the power supply unit.
Always place the medical device on a flat, level surface.
5. Safety notes

13
Process fluids
> If inhaled: Supply fresh air; consult doctor in case of complaints.
> Following contact with skin: Wash off with soap and plenty of water.
> Following contact with eyes: Rinse opened eye for several minutes under running water.
If symptoms persist, consult a doctor.
> If swallowed: If symptoms persist, consult a doctor.
> Only use process fluids which have been approved by the manufacturer.
Approved process fluids
> W&H Active Fluid, MC-302
> W&H Service Oil F1, MD-302
Cartridges
> Replace cartridges immediately if they display faults or leak!
> Do not expose the cartridges to direct sunlight!
The cartridge spike in the device is sharp.
Be careful not to injure yourself on the projecting spike.
Device
The medical device is classed as »conventional equipment« (closed equipment without protection against the ingress of water).
Safety notes

14
Operating controls
Connection port
with union nut
Cartridge compartment for
W&H Active Fluid MC-302
Cartridge compartment for
W&H Service Oil F1 MD-302
Cover cartridge compartment
Sliding window
Left chamber
Right chamber
Air duct
6. Description Front panel

15
Cartridge compartment for
W&H Active Fluid MC-302
Start button
W&H Activefluid, MC-302W&H Service Oil F1, MD-302
Right chamberLeft chamber
Description LED display

16
Seal
Release button
O-rings
Description HPI adaptor

17
Connecting socket for
Air connection hose
Connecting socket for
power supply unit
USB port
(for Service only!)
Filter compartment cover
Description Rear panel

18
The cartridges must be at room temperature when they are inserted.
The cartridge spike is sharp.
Be careful not to injure yourself on the projecting spike.
Remove the cartridge
compartment cover.
Inserting a cartridge.
> Push the cartridge in as far
as it will go.
eRemoving a cartridge.
> Pull out the cartridge.
Replace the cartridge
compartment cover.
Whenever you replace a cartridge:
> always clean and disinfect the cartridge compartment,
> perform the initial filling.
Observe the manufacturer’s instructions on use of the disinfectant.
7. Start-up Insertion/removal of a cartridge

19
eClose the filter
compartment cover.
Open the filter
compartment cover.
Insertion/removal of a filter.
> Push the filter in as far as
it will go.
> Pull out the filter.
Always clean and disinfect the filter compartment whenever you replace a filter.
Observe the manufacturer’s instructions on use of the disinfectant.
Start-up Insertion/removal of a filter

20
Connection/disconnection of the air connection hose
Connect the air connection hose.
Disconnect the air connection hose.
Only use clean, filtered compressed air.
> Unfiltered or contaminated compressor air is not cleaned.
> Replace the filter if contaminated.
Connection of the power supply unit
eConnect the power supply unit to the medical device.
Start-up General
Other manuals for Assistina MB-302
1
Table of contents
Other W&H Dental Equipment manuals

W&H
W&H Perfecta 900 User manual

W&H
W&H S-11 L G User manual

W&H
W&H 945 User manual

W&H
W&H S-NW User manual

W&H
W&H Roto Quick RQ-03 User manual

W&H
W&H proxeo TWIST User manual

W&H
W&H proxeo TWIST PL-40 H User manual

W&H
W&H assistina MB-300 User manual

W&H
W&H Lara RIS-311 User manual

W&H
W&H Endea Endo Cursor EB-62 User manual