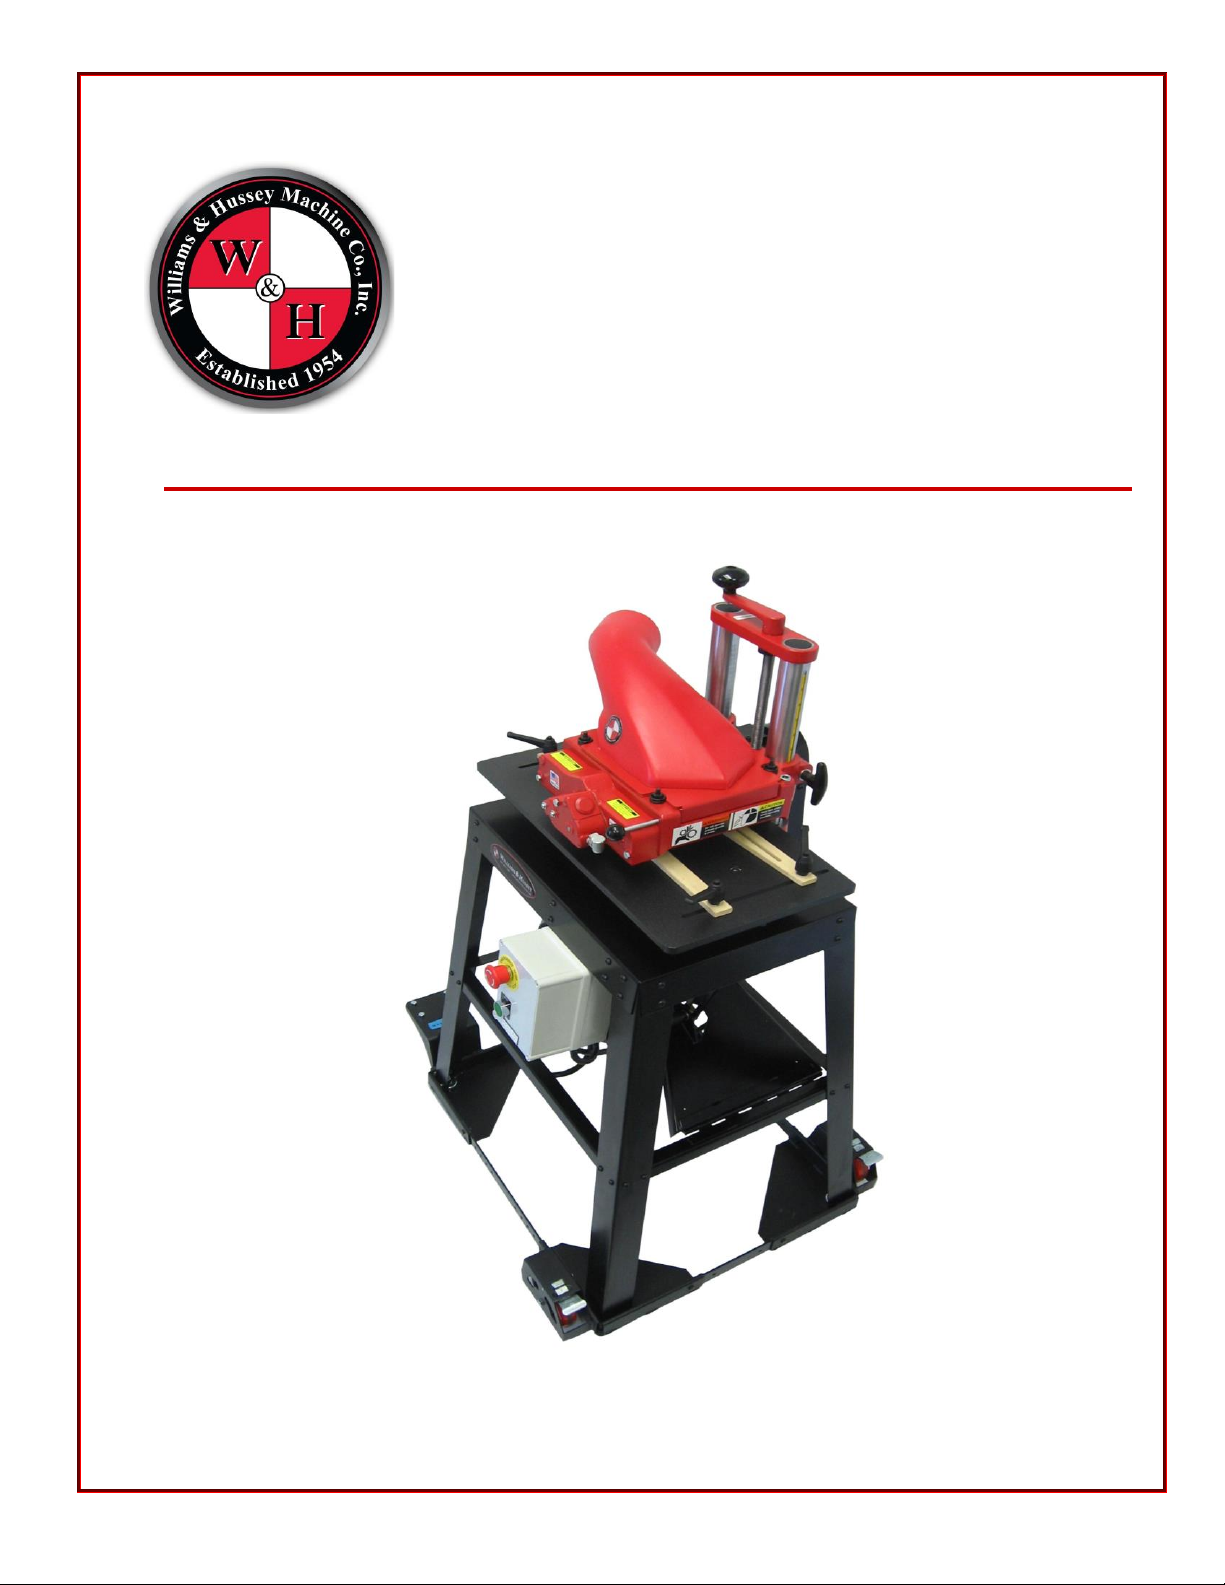
W&H 154CE User manual

MODEL 154 & 154CE HAVE DIFFERENT
CHAINS AND SPROCKETS!
When in doubt on what sprockets you
have, count the teeth and give us a call!
Wrong parts will give you a
headache!
customerservice@williamsnhussey.com
800-258-1380 or local 603-732-0219

Manual # OM-981 Revision 4 –October 2018
MODEL 154CE
Single Phase, 240V, AC
Shown with optional mobile base

Williams & Hussey
www.williamsnhussey.com
2
Contact Information
Williams & Hussey Machine Co., Inc.
105 State Route 101A, Unit 4
Amherst, NH 03031
603-732-0219 (local) customerservice@williamsnhussey.com (e-mail)
800-258-1380 (toll free) williamsnhussey.com (website)
603-732-4048 (fax) Business Hours: Monday –Friday
8:00 am –4:30 pm EST
THANK YOU for purchasing a Williams & Hussey Molder. Our molders have been
manufactured in the United States since 1954. Our molders are built to last with little
maintenance and easy set up. We are proud to produce a safe, quality and versatile molder for
our woodworking customers.
Safety First! We encourage all operators to carefully read through this manual BEFORE using
the molder. This manual provides instructions for assembling the molder to the machine base,
and wiring the control to the motor. The manual provides instructions how to operate the molder
safely, how to mold, plane, tips on guide set ups and trouble shooting and much more.
Do Not Modify!Our molders are designed for specific applications. Do not modify or use this
molder for any purpose other than what this manual describes as its capabilities. Substituting a
motor with a horsepower rating over 2HP constitutes a modification. Any modifications or
improper use to the molder may result in personal injury, and will void the warranty.
Proper Knife Sizes! Our molders are intended to use knife sizes no larger than a 7” knife
blank and depth of cut no deeper than ¾”. Modifications to these specifications could lead to the
knives shattering possibly causing bodily injury.
Use The Operators Manual!This manual is designed to assist you in operating the
molder safely, setting up the molder, proper application use, troubleshooting, parts listing and
much more. Keep your manual available for future use.
Important! Read this manual before starting your molder, safety first!
If you have ANY questions regarding the set up, operation or proper applications please feel free
to contact us.

Williams & Hussey
Toll Free: 800-258-1380
3
WARRANTY INFORMATION
Molder –7 Year Limited
Williams & Hussey Machine Co., Inc. warrants its molders for a period of seven years from the
original date of purchase.
WHAT IS COVERED?
The warranty covers any defects in workmanship or materials.
WHAT IS NOT COVERED?
The warranty does not cover damage due to; modifications, misuse, improper maintenance,
normal wear, wood jams or using a knife motor with a horse power rating over 2HP.
WHO IS COVERED?
The warranty covers the initial purchaser only.
LIMITATIONS ON WARRANTY
Williams & Hussey shall in no event be liable for death, injuries to persons or property, or for
incidental, contingent, special, or consequential damages arising from the use of our products.
Motors - 2 year Limited
Warranty covers any defects in workmanship or materials on original parts. Warranty does not
cover defects due directly or indirectly to misuse, abuse, negligence or accidents, normal wear-
and-tear, lack of maintenance, or improper repair or alteration.
Controls & Elliptical Jig - 1 year Limited
Same as motors.
VF-104 and VF-106 Vary Feed Kits
Refer to applicable motor and control warranties.
AUTHORIZATION FROM WILLIAMS & HUSSEY IS REQUIRED
BEFORE ITEMS ARE RETURNED FOR EVALUATION.

Williams & Hussey
www.williamsnhussey.com
4
Molder Package Items:
Item #
Description
154CE
Molder
54-413
Control, Single Phase, 240V, AC
54-426-BLDR
Motor, 2 HP, Single Phase, 230V-BALDOR
GS-2-1
Guide System, Textured with GS-01-1 Hardware & Guides
54-402
Stand
54-05
45” Belt / 5” Pulley & Arbor Bolt Bag
54-416
Oil, Pint, Mobil Gear 600XP 460
OM-981
Operators Manual & Set Up Instructions
NOTE: A plug is NOT supplied with our molder. Because of plug receptacle variations we do not include this with the
molder purchase. Purchase the proper plug and follow the manufacturer’s instructions for proper installation.
Model 154CE Specifications:
Feed Type
11 Feet Per Minute, Constant Feed
Knife Motor
2 HP (3450 rpm)
Voltage
240V
Phase
Single
Knife Arbor
6900 rpm
Maximum Profile Depth
¾”
Maximum Profile Width
6 ¾”
Maximum Planing Width
7”
Maximum Height Above Final Cut
3/16”
Maximum Stock Thickness
8”
Minimum Stock Length
9”
Minimum Stock Thickness
¼”
Machine Base Steel Construction
28”L x 22”W x 33”H
Overall Machine Dimensions
28”L x 22”W x 50”H
Working Height
35”
Optional Accessories:
In-Stock Knives
View our catalog or website.
Custom Knives
View our catalog, website, or send us a sample or drawing
for a quotation and turnaround time.
Mobile Base
Move your molder with ease with a Rockler mobile base.
Elliptical Jig
Make elliptical cuts with ease.
Vari-Feed Retro Kits
Replace your 11 FPM constant feed rate gear box to a
Vari-Feed to vary feed rates from 0 -19 FPM.
Replacement Parts
All molder parts can be ordered by phone.

Williams & Hussey
Toll Free: 800-258-1380
5
Feel free to contact us by phone, fax, e-mail, or visit our website for molders,
accessories, replacement parts and technical service. Our molders come with a
lifetime guarantee of technical assistance!
SAFETY CHECK LIST
We encourage ALL operators of Williams & Hussey molders to carefully read this manual BEFORE
operating the molder. Our molders are designed to specific applications and should NOT be
modified. The Safety Checklist is for your safety and should be followed each time your molder is
used.
Recommendation: It is recommended to use a dust collection system at all times with your
molder. This cuts down on dust, chips and keeps your work area cleaner.
√Disconnect the power source BEFORE changing knives or servicing the molder.
√Wear safety glasses while operating the molder.
√Molder should be used on stable flooring. If using a mobile base lock the wheels before
starting the molder.
√Stand beside the molder, DO NOT stand in the way of the infeed or outfeed areas.
√Keep the knives sharp and clean. This also extends the life of your knives.
√Use clean stock, check for loose knots, nails, and foreign matter.
√When attaching knives use a bolt in each hole. Tighten knives and spin the knife arbor to
check for knife clearance.
√Before starting the molder make sure the infeed and outfeed path is clear to run stock.
√Attach the chip extractor and secure with the axis pin.
Please continue reading this manual before running your molder!

Williams & Hussey
www.williamsnhussey.com
6
PREPARING TO USE THE MOLDER
Steps 1-13 on pages 6-8 should be followed every time the molder is used. Understanding the molder
and how to use it properly will ensure your safety, cut down on maintenance issues, and give your stock
an excellent finish.
PLEASE READ ALL REFERENCED PAGES BEFORE STARTING YOUR MOLDER!
1. SIZING STOCK –We recommend sizing stock on all (4) sides BEFORE running stock.
Stock should be “sized” before using. Planing all (4) sides within 1/32” of the finished
molding size, stock should not extend beyond knife edges. Using dry, clean and sized stock
will give a better finish and will aid in prolonging the knife life. See Page 15 for Planing.
2. POWER –Disconnect power source while preparing the molder.
Power should always be disconnected at the power source when not in use! The knife arbor
spins at 6900 rpms, always make sure the knives are clear before powering molder up. Lack
of power may be caused from improper wiring, follow the wiring instructions provided for
proper wiring.
3. OIL –Check oil daily.
The gear box oil should be checked daily before starting or several times a day if running the
molder continuously. The gear box holds 2 oz. of oil. The oil cup should be filled just to the
top of the opening to the gear box. Some minor oil leaking is normal.
Do not overfill the oil cup; overfilling will result in the gearbox leaking. This is not a serious
issue; eventually the molder will use the oil. We have found in older molders, worn shaft
bushings are normally the cause of significant leakage.
We recommend using our W&H Gear Box Oil. Our molders are shipped using Mobil Mineral
Gear Oil, 600XP 460. Mobil 600XP, 460 is formulated to meet the stress by providing extra
protection for gears, bearings & seals. Not using the proper oil or not maintaining oil levels
will result in burned out gears and bearings.
4. CHIP EXTRACTOR –Remove the chip extractor to change knives.
The chip extractor is designed to be used in combination with a dust collection system. The
chip extractor has been designed to keep most chip waste contained and into the dust
collection system. Remove the chip extractor by removing the axis pin. When attaching the
chip extractor the plate should sit on the head of the molder evenly, insert the pin until you

Williams & Hussey
Toll Free: 800-258-1380
7
feel the “catch”, its now attached safely. DO NOT use the molder without the chip extractor
safely attached!
5. KNIFE ATTACHMENT –The molder requires (2) knives, attach the knives using (1) screw for
each hole.
The molder requires (2) knives (1 set) and screws to hold the knives safely in place. Use (1)
screw for each knife hole. A 7/32” allen wrench and (12) screws have been provided with the
molder. Knives should be clean and sharp and the molder arbor should be clean from any
dust debris. NOTE: Do not use washers with screws; this may cause markings on the stock.
Knife attachment is for both molding and planing knives.
Set one knife at a time in place with the bevel edge positioned as shown in the illustration
below. Push the knife firmly down against the arbor lip and sideways against the bolts in the
direction of the tube side of the machine. Hold secure while tightening the bolts.
We do not recommend shimming out molding or planing knives
6. PLANING - Loosen the (4) 54-25 Pressure Screws exposing ¼” of thread. This will give you
proper roller pressure.
Loosen all (4) pressure screws exposing ¼” of thread, this will give you correct roller pressure.
Failure to do so will cause feeding difficulties and feed system damage. This is only done for
planing; when molding; make sure the (4) pressure screws have been tightened.
7. GUIDES –Molding, set both guides to support the stock. Planing does not require guides, but
can be used if you prefer. One guide will be used when running wide boards.
Guides are used to align the knives with the stock and to secure the stock in place.
The molder came with a GS-2-1 Guide System with a set of Baltic Birch guides. See Page 9
for setting up guides.
8. SET THE HEAD –Molding; the (yellow) scale setting must be set to within 3/16” of the height
of your stock entering the machine, compensating for any sub-plate thickness. Setting the
head to the proper height will provide proper roller tension.
Use the locking handle to loosen or tighten head. Handle should always be tightened before
using the molder. This cuts down on vibration.
The head is set when the knives have been attached, the stock and the knives are aligned,
and the guide handles are locked in place. See Page 9.

Williams & Hussey
www.williamsnhussey.com
8
When molding, the head scale setting must be set to within 3/16” of the height of the stock
entering the molder, compensating for any sub plate thickness. This setting will provide
proper roller tension. NOT setting the head at the correct height is not safe.
9. KNIFE CLEARANCE –After the head is set, spin the knife arbor to check for clearance.
Before running any stock through the molder it should be clear of extra bolts, wrenches and
debris. The arbor spins at 6900 rpms, the only thing that should be in the path are the knives
and the stock.
10. MOTOR TENSIONER –The machine base has a lock, called a motor tensioner. This was
designed to cut back on motor vibration. Lock the motor in place by tightening the motor
tensioner. You will need to adjust the motor tensioner each time you change your head
setting.
To reduce tension, crank the head down to within ¼” of the actual setting and lock the motor.
Reset the head to the ¼” lower running position and the tension will be reduced. You can
vary the ¼” factor to achieve the tension desired.
NOTE: Always unlock the motor before resetting the molder head height!
11. CHIP EXTRACTOR –Attach chip extractor with axis pin, when you feel the “catch”, the
extractor is on securely.
12. POWER –Power the molder on.
13. FEED STOCK –Once all 12 steps have been followed run your stock. We recommend not
standing to the infeed or outfeed of the molder; stand to the side where the control is.

Williams & Hussey
Toll Free: 800-258-1380
9
HOW TO MOLD
“SIZE”STOCK –See page 6, #1
SUB PLATE USE
A sub plate made of knife millable material is recommended to be used at all times, except when
using the optional elliptical jig. The GS-2-1 Guide System included in your molder package has a
½” thick HDPE black texture sub plate. Some knives cut below the stock. If the knives cut below
the stock the millable material will be cut into. If a sub plate has not been used and the steel
knives hit the cast iron base this will result in the knives shattering. This is extremely dangerous
and should be avoided at all times.
Some examples of knives that cut below the knife stock would be quarter rounds, half rounds,
crowns, bed moldings and many more.
If you ordered a machine package a GS-2-1 Guide System was included in your shipment. The GS-
2-1 has a ½” thick black HDPE texture sub plate, this is considered millable material.
SETTING STOCK WITH THE GS-2-1
1. A GS-2-1 guide system includes a ½” sub plate, a flex guide, a solid guide and the hardware.
2. To set the guides, attach the knives to the knife arbor and position to the far right of the knife
arbor. See page 7, #5, Knife Attachment.
3. The flex guide and solid guide may be interchanged from one side to the other. Generally you
would want the flex guide on the highest side of the molding to protect it from being cut into
by the long side of the knife. This will preserve your flex guide.
4. Attach the flex guide (do not tighten) to the side of the profile that will cut the least deep into
your stock. The beveled portion of the guide should be facing the stock.
5. Attach the solid guide (do not tighten) on the other side of the stock.
6. Place a sample piece of stock on the sub plate. Lower the molder head and point the knives
toward the stock, knives should be positioned slightly above stock. Align knives and stock,
when knives and stock are aligned lower molder head until rollers touch the stock.
7. Press both guides against stock, tighten handles, pull handles up position them out of the
stock path.
8. Raise the molder head, remove the sample stock piece and replace with the actual “sized”
stock to be used. This allows you to make any additional adjustments to the guide tension if
needed, stock should move freely between the guides.

Williams & Hussey
www.williamsnhussey.com
10
SETTING THE SCALE FOR SINGLE OR MULTIPLE PASSES
The “0” on the yellow scale references the top of the GS-2-1 guide system ½” sub plate.Insert
stock after head setting has been determined.
Full pass cut example: ¾” Stock, set scale at ¾” achieving a finished profile.
Multiple pass example: ¾” Stock, set scale up to 3/16” above stock thickness, run profile.
Continue lowering the head until the finished profile is achieved.
These settings allow you to achieve proper roller tension for holding the stock and providing a safe
operation. Check knife rotation clearance by turning the knife arbor to insure.
NOTE: Some profiles may require a relief cut in the deep section with a roughing knife or dado
cut. This cut relieves stress on the motor and lessens the load on the feed system.
Relieving deep cuts allows the molder to not bog down, will have less tear out.
OPERATIONAL TIPS
●Do not cut a wider stock area than the knife was designed to cut. This will cause excessive
heat in the knife, burn your stock and puts a harmful load on the feed system.
●The roll pressure screws are set at maximum molding pressure from the factory. They are
screwed into the head as far as possible and the check nut is tightened. This ensures
proper roller tension.

Williams & Hussey
Toll Free: 800-258-1380
11
MOLDING TECHNIQUES
When making guides for molding applications we recommend running a test piece through, top
and bottom before cutting finished pieces. Store guides along with the knives for future use.
MOLDINGS THAT REQUIRE TOP & BOTTOM CUTS
Crown Top & Bottom
Some profiles require top and bottom cuts. Cut bottom profile first. After the
bottom cuts have been made, change the knives over to the top profile knives.
For proper top and bottom alignment the bottom bevel cut will need to be
supported. A couple of options would be if ordering a bottom knife you can
have a key path cut as a guiding mechanism for your top profile. Option 2
would be make a set of angled guides similar to the “V” block guides. This will
allow stability when cutting the top profile.
Rabbet/Dado
Some profiles require rabbet or dado cuts. Cut the rabbet or dado first. After the rabbet or dado
cuts have been made, change the knives over to the profile knives.
Make a guide to support the rabbet or dado cut. This will allow stability when cutting the top
profile.
Relief
Relief cuts maybe needed for casing profiles for flexibility to the surface. Cut the relief first. After
the relief cut has been made, change the knives over to the profile knives. No special guide is
needed.
Key Cut Example

Williams & Hussey
www.williamsnhussey.com
12
SPECIAL GUIDE SET UP & KNIFE SHARPENING
“V” BLOCKS
The deepest cut that can be made on the molder is ¾”. If your depth of
cut is greater than ¾” and you’re running straight molding a “V” block
maybe your solution.
A “V” block is a cradle that is built from wood on angle(s). By elevating
the stock at an angle, it enables you to maximize your use of the ¾”
depth of cut.
TONGUE AND GROOVE
Inspect stock for cupping and warping before cutting. Plane stock to one uniform size, this will
ensure the tongue and groove fit properly.
Wooden guides are required for cutting tongue and groove. Guide thickness should be 3/8”
thinner than stock or the roller will scuff on the guides when the stock leaves the molder. When
cutting thin stock fastens a sub plate between the guides to maintain a thick enough guide to
control the stock.
Check the knife clearance to the guide. Clear away any interfering portion of the guide by gently
lowering your knife down into the guides to just below the running position.
KNIFE SHARPENING
Keeping knives sharp will prolong the life of the knives and give stock a quality finish. Our
standard technique is surface grinding the (back) of the knives. Sharpening the face may cause a
change in the profile; we only use this technique if the sharpening can be performed without
changing the profile.
Minimum thickness for molding knives is 5/32”
Minimum height for planing knives is 1 3/8”, angle should always be 57◦
Our in stock and custom knives are manufactured using M2 high speed steel flat or corrugated
material. The molder requires (2) knives of the same profile. Our knives are sold in a set of 2.
“V” Block Example

Williams & Hussey
Toll Free: 800-258-1380
13
CONSTANT RADIUS MOLDING
The molder has the capabilities to cut constant radius molding. A constant radius means the
radius does not change. A changing radius will require the EJ-92 Elliptical Jig.
When molding constant or changing radius profiles the deep cut of the profile normally is on the
open side of the molder. Using of the tube side will limit the radius. Our in stock and custom
knives are manufactured with the deep cut on the open side of the molder. TIP: When ordering
custom knives specify deep cut location.
STOCK & TEMPLATE PREPARATION
This is one example of how to make a radius template and radius stock.
First determine the angle needed to cut the wood sections in order to stay within the selected
radius. Lay out the wood sections by marking the angles while being careful to select cuts for
grain structure and color. Cut the sections and biscuit join them together with glue.
Make a fixture to band saw the inside and outside radii consisting of a pivot bar and bracket.
Mount the pivot bar to the stock on the scrap portion of the inside radius. The pivot bar is drilled
with numerous holes to accommodate various radius sizes. Make sure the outside radius is cut
first.
Make the guides to 20” long using the GS-2-1 guide system. The guides may be made using the
band saw set up. Make one guide for the inside radius and one for the outside radius.
SET UP
1. Disconnect power source.
2. Attach the knives.
3. Raise molder head and set the stock on the sub plate.
4. Align the stock with the molding profile.
5. Lower the head to pinch the stock.
6. Set the guides and lock in place.
7. Raise the molder head, remove the stock, and reset the
head to within 3/16” of stock thickness.
8. Check knife area for clearance.
9. Attach the chip extractor with the axis pin.
10. Power up and feed stock.
CAUTION: DO NOT ATTEMPT CLOSED LOOP MOLDING
This can cause knife breakage.
CHANGING RADIUS SET UP
Curved Guides & Stock Example

Williams & Hussey
www.williamsnhussey.com
14
Our EJ-92 Elliptical Jig is required.
RAISED PANEL MOLDING
NOTE: Panel must always have 9” for rollers to engage
Our in stock panel knives are designed to produce a ¼” tongue on stock sizes ¾” or 5/8”. Select a
panel knife based on the finished panel thickness. A panel must be 9” or more in the direction
you are molding in order to not have the panel come off of one roller before it engages the second
roller. When using multiple passes you must always have at least 9” of panel remaining in the
direction of the cut, maintaining roller pressure.
In this example the straight guide is used on our sub plate toward the tubes. Normally raised
panels would exceed sub plate capacity. In the case of wide panels where only one guide can be
used, the operator will need to assist the panel through the molding process.
HELPFUL TIPS
●Most panels will extend beyond the open side.
●While molding raised panels apply upward pressure on panel along with pressure against
the guide.
●There is approximately 1/32” clearance between the top of the panel and the head of the
molder if the head is at stock size setting.
●Modifying tongue size or making deeper cuts will cause imperfections on the stock. Avoid
setting the head below stock size.
THE SET UP
1. Disconnect power source.
2. Attach the knives.
3. Raise molder head and set the stock on the sub plate.
4. Align the stock with the molding profile.
5. Lower the head to pinch the stock.
6. Set the guide and lock in place.
7. Raise the molder head, remove the stock, and reset the head to within 3/16” of stock thickness.
8. Check knife area for clearance.
9. Attach the chip extractor with the axis pin.
10. Stand somewhere between the open side and infeed side to assist panel through. Mold the
panel cross grain ends first.
11. Power up and feed stock.

Williams & Hussey
Toll Free: 800-258-1380
15
PLANING
The planing operation removes excess wood from rough lumber to create a uniform smooth
surface. Plane rough lumber on all (4) sides until you reach the dimensional wood stock size.
The amount of stock removed in one pass is dependent on the density of the wood (relative
hardness), how wide the cut is, and the moisture content of the stock. The chart below refers to
general guidelines planing depth of cut.
GENERAL GUIDELINES FOR DEPTH OF CUT
WOOD THICKNESS
TYPE OF WOOD
PLANING DEPTH OF CUT
1”
Poplar
¼”
1”
Red Oak
3/16”
3”
White Pine
3/16”
3”
White Oak
1/8”
6”
Poplar
1/8”
6”
Red Oak
1/16”
THE SET UP
1. Disconnect power source.
2. Loosen all (4) 54-25 pressure screws ¼” (see caution note).
3. Attach the planing knives.
4. Set the head position to a height 1/32” less than the dimension of the stock.
5. One-third of a turn on the elevating handle will equal 1/32”. Tighten the locking handle.
6. Check knife area for clearance.
7. Attach the chip extractor with the axis pin.
8. Stand somewhere between the open side and in feed side to assist panel through.
9. Power up and feed stock.
PLANING THE EDGE OF STOCK
When planing the edge of stock, a high, square, relieved guide is
needed in order to have the edge square and to provide stability.
To reduce friction relieve inside of both guides.
CAUTION! When using the molder as a planer back off all (4) 54-25 pressure screws ¼”, this will
provide less roller tension. Too much tension could risk shearing the P-223 roll pin in the P-108
Rev A large bronze worm gear and will minimize snipe.
Planing Edge Example

Williams & Hussey
www.williamsnhussey.com
16
WIDE BOARDS
Our molders are open ended allowing stock to cut wide boards such as base boards and raised
panel doors. Wide stock cuts may need support from the open ended side. Below are some
guidelines to follow for this application.
HELPFUL TIPS
●Larger pieces such as a door two people or supports on each end of the molder may be
needed to allow the operator to apply pressure on the stock as it feeds through.
1. Stand somewhere between the open side and the infeed side to assist stock through.
2. While molding apply upward pressure on the stock along with pressure against the guide.
3. Page 14, details how to run “Raised Panel Molding” wide boards is a similar process.
THE SET UP
1. Disconnect power source.
2. Attach the knives.
3. Raise molder head and set the stock on the sub plate.
4. Align the stock with the molding profile.
5. Lower the head to pinch the stock.
6. Set the guide and lock in place.
7. Raise the molder head, remove the stock, and reset the head to within 3/16” of stock
thickness.
8. Check knife area for clearance.
9. Attach the chip extractor with the axis pin.
10. Stand somewhere between the open side and in feed side to assist panel through.
11. Power up and feed stock.

Williams & Hussey
Toll Free: 800-258-1380
17
TROUBLESHOOTING
CHATTER - Chatter marks are irregularities in the finish quality of the surface of the wood. They
can be evenly spaced or randomly distributed.
Chatter marks are caused by vibration. Below is a list of possible causes of vibration.
●Is the head locked in place?
●Is the motor tensioner locked?
●Is the head height set correctly?
oIf the head setting is incorrect this could cause lack of proper roller tension.
●Are your knives sharp?
oDull knives cause intermittent feeding.
●How is the belt condition?
oBelt should be running smoothly. Belt should be aligned on the pulley correctly.
SNIPE - Snipe is generally an undercut in the stock. It occurs in the first and last few inches of
the stock length. Snipe occurs when the knives hit the stock before outfeed roller engages and
when the stock leaves infeed roller. The suggestions below are to minimize snipe.
1. Use a jointer for cupped, warped or twisted stock.
2. Lock the head in place.
3. Butt the stock pieces tight end to end.
4. Put slight upward pressure during infeed and outfeed operation.
5. If using infeed and outfeed supports for long boards, set supports slightly higher than the
molder bed.
6. Use slightly longer stock length than needed and cut off snipe.
STOCK MARKS –Along with chatter & snipe another cause of irregular marks on stock would
be using incorrect knife attaching screws. Our molders are shipped with (12) 3/8-16 X 1” button
head cap screws. Use (1) screw for each hole on the knife, do NOT use a washer. Adding to the
height of the screw may result in the screw head hitting the stock causing marks.

Williams & Hussey
www.williamsnhussey.com
18
FEEDING PROBLEMS
1. The stock stops but the feed-rollers continue to turn. This is a traction or friction problem.
●Make sure the stock is not binding in the guides.
●Make sure the stock is of consistent width. Sizing stock is recommended.
●Make sure the stock is the proper width for the knife profile.
●Make sure the head is set at the correct height.
●Check the rollers for wear or residue.
●Check the pressure screw tension.
2. One roller stops while the other continues to operate.
●Make sure the set screws on the P-111 sprockets are tight.
3. Both feed rollers stop when stock is engaged.
●Check for a broken P-223 roll pin located in P-108 Rev A bronze gear, located in the
gearbox.
●Insert a straightened paper clip through roll pin hole. Roll pin is damaged and will need to
be replaced if the paperclip does not go through both ends.
4. Both feed rollers will not turn with or without stock.
●Check for a broken P-117 fiber drive, located in the knife arbor.
●Check for a broken P-203 primary shaft, located in the gearbox.
●Check for a stripped P-105 small bronze worm gear, located in the gearbox.

Williams & Hussey
Toll Free: 800-258-1380
19
REMOVING FEED ROLLS
If axles are removed easily they can be reused. In some cases the P-122 short axle will not
remove easily, mainly because thread locker has been used. If you have difficulty removing the
P-122 short axle you will need to use a hack saw to cut it, in this case you will not be able to reuse
the feed roll.
1. Disconnect power source. Remove the 54-514 chip extractor and raise the 54-2 Rev A molder
head.
2. Remove all (4) of the following (if changing both feed rolls):
54-25 pressure screws
54-26 spring guides
54-24 REV A roller pressure springs
54-51 check nuts
3. Remove the (2) 54-15 pivot screws from the 54-505 infeed swing arm assembly. Remove the
swing arm by rolling it over the 54-16 rest pin, disconnecting it from the chain and leaving the
chain connected to P-150 drive sprocket. Same steps for the 54-506 outfeed swing arm
assembly.
4. Take the P-111 chain sprocket off the swing arm P-124 axle (infeed) or P-224 axle (outfeed).
Remove feed roll.
5. To remove feed roll from the swing arm place the feed roller in a vise lengthwise. Use two
adjustable wrenches and attach to the flat on the P-124 or P-224 sprocket axle and remove
the axle. Using a screw driver, push in as hard as you can while using a wrench on the square
shank of the screw driver and remove P-122 short axle.
Table of contents
Popular Power Tools manuals by other brands

Universal Tool
Universal Tool UT079 Operator instructions

Milwaukee
Milwaukee FNB16 user manual

Kaindl
Kaindl KSS Operation manual

Spectronics
Spectronics TRACERLINE 09870-DYEKIT instruction manual

Habasit
Habasit PM-1056/160 General manual use and maintenance

Black & Decker
Black & Decker CS3651LC Original instructions