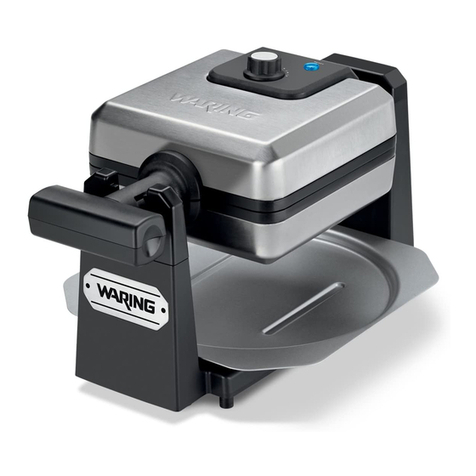
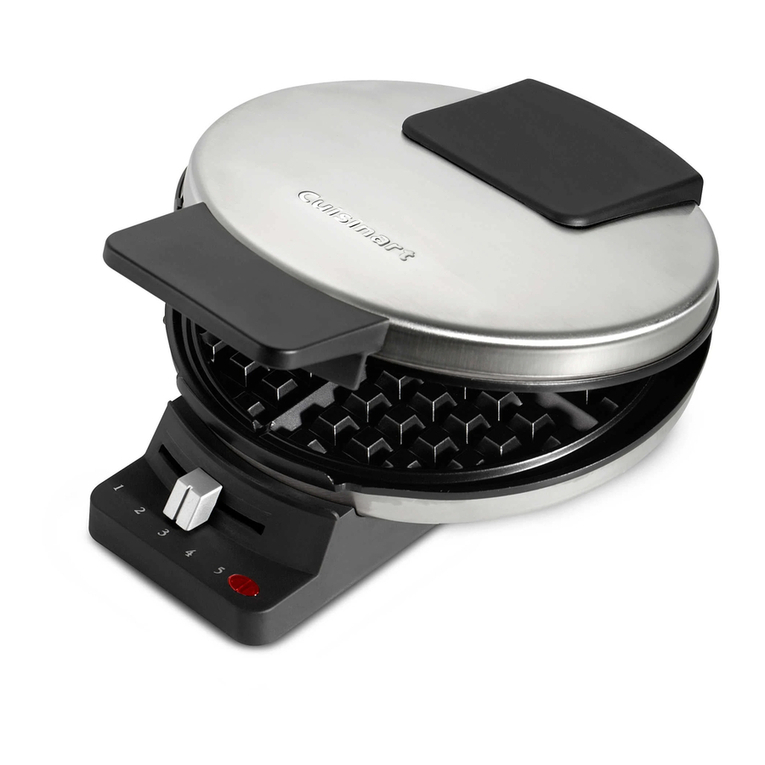
Waring X E Series User manual

For your safety and continued enjoyment of this product,
always read the instruction book carefully before using.
Per garantire la sicurezza dell’utente e per usufruire costantemente in modo soddisfacente
del prodotto, leggere sempre con attenzione il libretto delle istruzioni prima dell’uso.
X Series E/K/NA/NNA
Serie X E/K/NA/NNA IB
SINGLE AND DOUBLE
SERVICEABLE -PLATE WAFFLE MAKERS
CIALDIERA PER WAFFLE SINGOLA
E DOPPIA CON PIASTRE SOSTITUIBILI

2
IMPORTANT SAFEGUARDS
When using electrical appliances, especially when children are
present, basic safety precautions should always be taken, including
the following:
1. READ ALL INSTRUCTIONS.
2. Always unplug from outlet prior to
handling or cleaning.
3. Appliances are not intended to be operated by means of an
external timer or separate remote-control system.
4. This appliance is not intended for use by persons (including
children) with reduced physical, sensory or mental capabilities,
or lack of experience and knowledge, unless they have been
given supervision or instruction concerning use of the
appliance by a person responsible for their safety.
5. This appliance shall not be used by children. Keep the
appliance and its cord out of reach of children.
6. This appliance can be used by children aged from 8 years and
above, and persons with reduced physical, sensory, or mental
capabilities or lack of experience and knowledge if they have
been given supervision or instruction concerning use of the
appliance in a safe way and understand the hazards involved.
Children shall not play with the appliance.
7. Cleaning and user maintenance shall not be made by children
without supervision.
8. Once you have nished baking, turn control to setting #1,
switch toggle to OFF position, and remove plug from electrical
outlet. Leave top lid open and allow grids to cool before
cleaning. Simply brush crumbs from grooves and absorb any
excess cooking oil by wiping with a dry cloth or paper towel.
You may clean the grids by wiping with a damp cloth to prevent
staining and sticking from batter or oil buildup.
9. The temperature of all surfaces marked with this symbol will
be very hot when the appliance is in use. DO NOT TOUCH
these surfaces as possible injury could occur. Allow to cool
completely before handling this appliance.
10. The outer surface may get hot when the appliance is operating.
11. If the supply cord is damaged, it must be replaced by the
manufacturer, its service agent, or similarly qualied persons
in order to avoid a hazard.

3
12. The use of accessory attachments not recommended or sold
by the manufacturer may result in re, electric shock, or injury
to persons.
13. Do not use outdoors, or use appliance for other than its
intended use.
14. Do not let power cord hang over edge of table or counter, or
touch hot surfaces.
15. Do not place on or near a hot gas or electric burner, or in a
heated oven.
16. Extreme caution must be used when moving an appliance
containing hot oil or other hot liquids.
17. Always begin by plugging appliance into wall outlet. To
disconnect, turn control to setting #1, switch toggle to OFF
position, then remove plug from wall outlet.
18. WARNING: TO REDUCE THE RISK OF FIRE OR ELECTRIC
SHOCK, REPAIRS SHOULD BE MADE ONLY BY
AUTHORIZED PERSONNEL. DO NOT REMOVE THE BASE
PANEL. NO USER SERVICEABLE PARTS ARE INSIDE.
19. To acquire another instruction manual, go to
www.waringcommercialproducts.com
20. This appliance is intended to be used in a household and
similiar applications such as:
– Staff kitchen areas in shops, ofces and other working
environments;
– Farmhouses;
– By clients in hotels, motels and other residential-type
environments;
– Bed and breakfast-type environments
SAVE THESE INSTRUCTIONS
APPROVED FOR HOUSEHOLD USE

4
CONTENTS
Important Safeguards ...................................................................... 2
Grounding Instructions..................................................................... 4
Special Cord Set Instructions .......................................................... 4
Special Features............................................................................... 7
Instructions for Use.......................................................................... 8
Wafe Plate Cleaning & Maintenance .............................................. 9
GROUNDING INSTRUCTIONS
For your protection, Waring®Commercial
Wafe Makers are supplied with a molded,
3-prong, grounding-type plug and should
be used in combination with a properly
connected, grounding-type outlet as shown
in the gure.
SPECIAL CORD SET INSTRUCTIONS
A short power-supply cord is provided to reduce the risks resulting
from becoming entangled in or tripping over a longer cord.
Extension cords may be used if care is exercised in their use.
If an extension cord is used, the marked electrical rating of the
extension cord should be at least as great as the electrical rating of
the appliance, and the longer cord should be arranged so that it will
not drape over the countertop or tabletop where it can be pulled on
by children or animals, or tripped over.

5
TYPE G PLUG
(UNITED KINGDOM, IRELAND,
CYPRUS, MALTA, MALAYSIA,
SINGAPORE AND HONG KONG)
This grounded plug has three rectangular prongs that form a
triangle. Line up the prongs to the socket and ensure that the
plug is fully inserted. This plug is also fuse-protected for power
surges.
This grounded plug has two round prongs and there are two
grounding clips on the sides of the socket. This plug is non-
polarized so the plug can be inserted in either direction into
the socket. Grounding is accomplished when the clips on the
socket meet the contact on the plug. Ensure that the plug is fully
inserted.
TYPE F PLUG
(GERMANY, AUSTRIA, NETHERLANDS,
SWEDEN, NORWAY, FINLAND,
PORTUGAL, SPAIN, EASTERN EUROPE)
TYPE I PLUG
(ARGENTINA, AUSTRALIA, CHINA,
NEW ZEALAND, PAPUA NEW GUINEA)
This grounded plug has two flat pins in a V shape, as well as a
grounding pin.
TO ENSURE PROPER USE OF THIS UNIT, PLEASE SEE IMPORTANT GROUNDING
INSTRUCTIONS. PRIMARY COUNTRIES USING THE DIFFERENT PLUG TYPES ARE
LISTED FOR REFERENCE ONLY. REFER TO THE ACTUAL UNIT TO DETERMINE
WHICH PLUG TYPE IS APPLICABLE.
Correct Disposal of this Product
This marking indicates that this product should not be disposed of with
other household wastes throughout the EU. To prevent possible harm
to the environment or human health from uncontrolled waste disposal,
recycle it responsibly to promote the sustainable reuse of material
resources. To return your used device, please use the return and
collection systems or contact the retailer where the product was
purchased. They can take this product for environmentally safe recycling.

6
Model Name Plug Type
WWD180XCE/200XCE Classic Wafe Maker Type F
WW180XCE/200XCE Belgian Wafe Maker Type F
WMB400XCE/800XCE Mini Belgian Wafe Maker Type F
WBW300XCE Bubble Wafe Maker Type F
WWD180XCK/200XCK Classic Wafe Maker Type G
WW180XCK/200XCK Belgian Wafe Maker Type G
WMB400XCK/800XCK Mini Belgian Wafe Maker Type G
WBW300XCK Bubble Wafe Maker Type G
WWD180XCNA/NAA,
WWD200XCNA/NAA Classic Wafe Maker Type I
WW180XCNA/NAA,
WW200XCNA/NAA Belgian Wafe Maker Type I
WMB400XCNA/NAA,
WMB800XCNA/NAA Mini Belgian Wafe Maker Type I
WBW300XCNA/NAA Bubble Wafe Maker Type I

8
7
4
10
5
3
2
1
8
7
4
10
5
3
2
1
7
SPECIAL FEATURES
1. Waffle Grids – Belgian,
Mini Belgian, Classic
and Bubble
(Belgian wafe grids shown)
Wafe plates are triple coated
with Whitford®QuanTanium®
nonstick coating*.
2. Browning Control Adjustment
– Adjustable for different batters
and personal preference.
3. Power Indicator Light
– Lights red when wafe maker
is on and heating up.
4. Ready Indicator Light
– Lights green when wafe
maker is ready to bake.
5. Power Switch
6. Indicator Beeps (not shown)
– Will beep 6 times when unit
is ready to bake for rst
wafe of every baking
session.
– Will beep 3 times when
wafe is done.
7. Base
8. Handle
9. 4 oz. Measuring Scoop
(not shown)
For the WMB400X unit, use
1 oz. of batter per mini Belgian.
10. Removable Drip Tray
WW180X Series WW200X Series
*Whitford®QuanTanium®nonstick coating is a registered trademark of Whitford.

WARING®COMMERCIAL WAFFLE MAKERS
WWD180X/200X Series Classic Wafe, 5/8" thick
WW180X/200X Series Belgian Wafe, 1" thick
WMB400X/800X Series Mini Belgian Wafe, four 1" thick
WBW300X Series Bubble Wafe
8
BEFORE FIRST USE
1. These Waring®Commercial Wafe Maker plates are
triple coated with Whitford®nonstick coating.* Before the
rst use, we suggest you season the wafe grids by preheating
and then brushing them with cooking oil. Wipe with a paper
towel or pastry brush.
2. Remove any dust from shipping by wiping the plates with a
damp cloth. Remove all protective paper and wrapping.
INSTRUCTIONS FOR USE
1. Plug cord into wall outlet.
2. Switch the toggle switch to the ON position. The RED light will
illuminate to signal power.
3. Preheat your Waring®Commercial Wafe Maker on setting #4
or preferred setting. It will now begin the preheating process.
This should take about 4 minutes. The machine will sound 6
beeps and the GREEN indicator light will go on to signal the
unit is ready for baking. Season the wafe grids by spraying
with cooking spray or brushing with a avorless oil.
For initial use, it is important that the wafe maker is
preheated before seasoning with cooking spray or oil.
NOTE: The rst time you use your wafe maker, it may have a slight
odor and may smoke a bit. This is normal, and common to heating
appliances.
4. Choose a setting on the browning control dial. For golden
brown wafes, we recommend using setting #4. When the
wafe is completely baked, the wafe maker will sound 3
beeps. Baking time is determined by browning level chosen.

9
5. Fill measuring scoop with batter to ll line. Pour batter evenly
into the center of the wafe grid. For mini Belgian units, pour
1 oz. of batter in each wafe mold. Use a heatproof spatula to
spread the batter evenly over the grid. Close the lid and rotate
the unit 180°.
6. Once the wafe is ready and the wafe maker has beeped
3 times, rotate the wafe maker 180°, open the lid and remove
wafe by gently loosening the edges with a heatproof plastic
spatula. Never use metal utensils, as they may damage the
nonstick coating.
7. For double wafe makers, multiple wafes can be baked at
one time. For one wafe, simply follow previous instructions.
For more than one wafe at once, pour batter into top wafe
compartment, then rotate 180˚. You will now be able to open
the other wafe compartment. Pour the batter in the grid and
rotate another 180˚ in the other direction. Both wafes will
now cook. There are individual green READY lights that will
illuminate when each wafe is baked, and when an empty
compartment is ready to bake another wafe.
THERMAL PROTECTION
IF UNIT OVERHEATS, THE MACHINE WILL AUTOMATICALLY
TURN OFF. UNPLUG, LET MACHINE COOL FOR 10 MINUTES,
PLUG IN AND CONTINUE USE.
IF POWER IS LOST DURING OPERATION, UNPLUG AND LET
COOL 10 MINUTES. PLUG IN AND CONTINUE USE.
WAFFLE PLATE CLEANING & MAINTENANCE
Clean daily and diligently; doing so will ensure that your wafe
maker works properly and continues to work well over time.
How to Clean Waffle Plates
Once you have nished baking each day, turn the switch to the OFF
position and remove plug from electrical outlet. Leave top lid open
and allow plates to cool before cleaning. Be certain plates have
cooled completely before cleaning
Never take your wafe maker apart for cleaning. Brush crumbs
from grooves and absorb any excess cooking oil by wiping with a
dry cloth or paper towel. You may clean the plates by wiping with
a damp cloth to prevent staining and sticking from batter or oil
buildup. If batter adheres to plates, simply pour a little cooking oil
onto the baked batter and let stand approximately 5 minutes. This
will allow the batter to soften and will make it easier to remove.
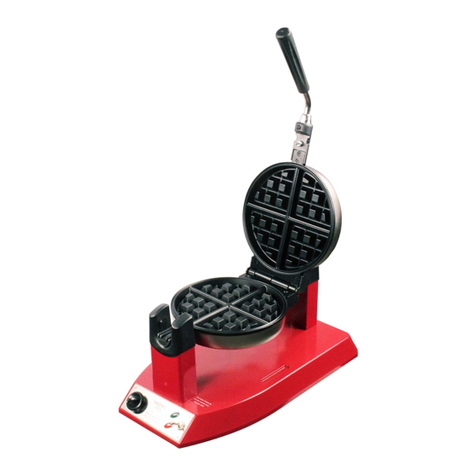
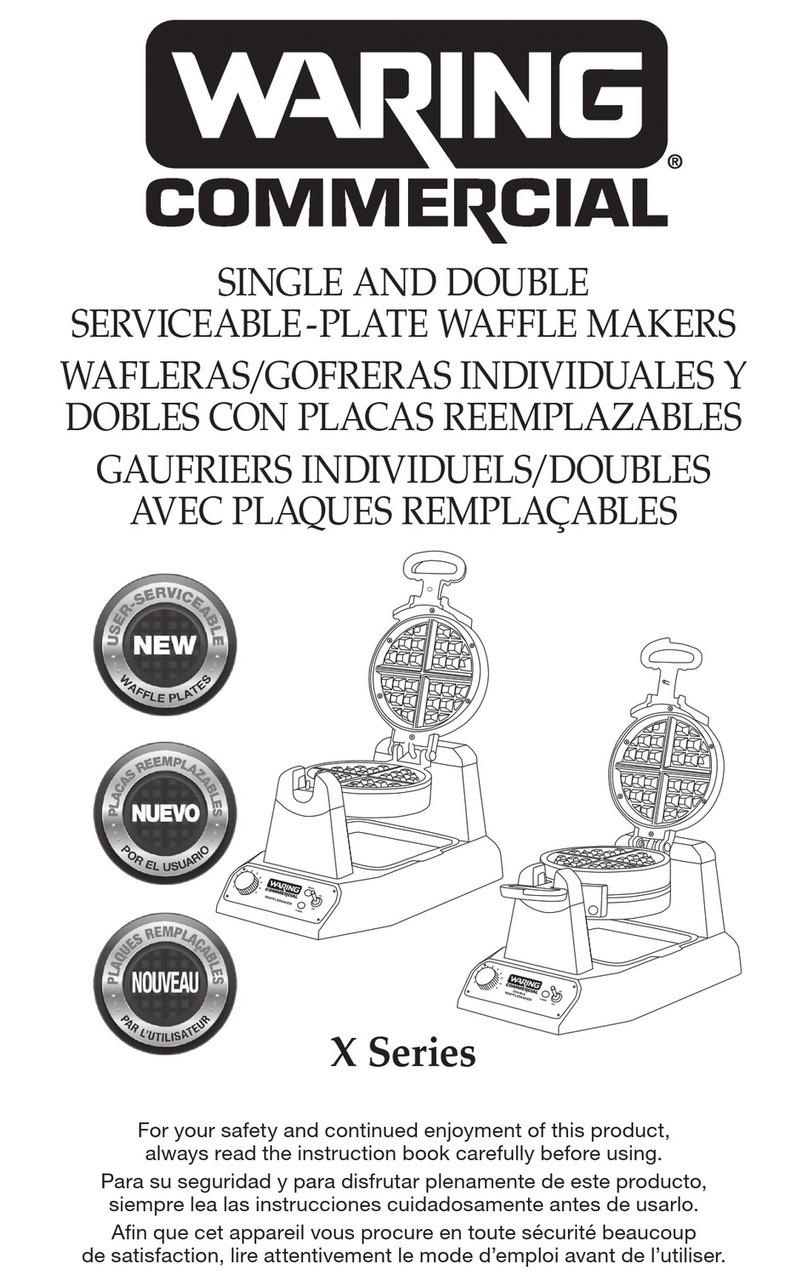
10
To help remove oil buildup and batter residue, place a damp paper
towel in between the wafe plates and close the lid. Allow to sit for a
few minutes.
To clean exterior, wipe with a soft, dry cloth. Never use an abrasive
cleanser or harsh pad. NEVER IMMERSE CORD, PLUG OR UNIT IN
WATER OR OTHER LIQUIDS.
Serviceable Plates
To order replacement plates, find a local distributor or
service center.
Although removable, these plates are not intended to be removed
for routine cleaning. Plates are ONLY meant to be removed if there is
a scratch on the nonstick coating and you need to replace the plate.
If removed for cleaning, the plates are dishwasher safe.
How to Remove the Waffle Plates
PARTS
• 2 wafe plates
• 4 large screws (2 extra)
• 16 small screws (6 extra)
• Screwdriver
INSTRUCTIONS
1. Carefully unpack the replacement kit.
2. Using the provided screwdriver, carefully remove the screws
from the perimeter edge of wafe plate/s. Lift plates up and off
the housing. Slight force may be needed to release the plates
completely. Discard the old plate/s and screws.
3. Starting with the lower grid, place the new plate onto the housing
by aligning rear and front projections onto the base. The wider
projections will t into the rear.
4. Install 1 large screw into the slot located near the handle.
5. Install the smaller screws around the perimeter.
6. Repeat steps 2–5 for the upper grid replacement.

11
PRECAUZIONI IMPORTANTI
Quando si utilizzano elettrodomestici, specialmente in presenza
di bambini, è sempre necessario adottare precauzioni di sicurezza
di base, che comprendono quanto segue.
1. LEGGERE TUTTE LE ISTRUZIONI.
2. Scollegare sempre la spina dalla presa
prima di manipolare o pulire.
3. Non è previsto che i dispositivi siano utilizzati tramite timer esterno
o sistema di telecomando separato.
4. Questa unità non è destinata all’uso da parte di persone
(bambini compresi) con ridotte abilità siche, sensoriali o mentali,
oppure prive di esperienza e competenza, a meno che una
persona responsabile della loro sicurezza non ne garantisca la
sorveglianza e fornisca le istruzioni relative all’utilizzo.
5. Questo apparecchio non deve essere utilizzato da bambini. Tenere
l’elettrodomestico e il relativo cavo fuori dalla portata dei bambini.
6. Questo apparecchio può essere utilizzato da bambini a partire da
8 anni, persone con capacità siche, sensoriali o mentali ridotte
o persone prive di esperienza e conoscenza, soltanto sotto
sorveglianza o dopo che abbiano ricevuto istruzioni relative all’uso
sicuro dell’apparecchio e compreso i pericoli implicati. I bambini
non devono giocare con l’elettrodomestico.
7. La pulizia e la manutenzione svolte dall’utente non devono essere
eseguite da bambini senza sorveglianza.
8. Dopo aver terminato la cottura, selezionare la posizione 1 con
il comando, spostare l’interruttore sulla posizione OFF ed estrarre
la spina dalla presa elettrica. Prima di effettuare la pulizia, lasciare
aperto il coperchio superiore e attendere che le griglie si siano
raffreddate. Spazzolare via le briciole dalle scanalature; assorbire
l’eventuale olio di cottura in eccesso stronando con un panno
asciutto o carta da cucina. Per evitare la formazione di macchie,
l’adesione della pastella o l’accumulo di olio, è possibile pulire le
griglie stronandole con un panno umido.
9. Quando l’elettrodomestico viene utilizzato, la temperatura di
tutte le superci contrassegnate da questo simbolo saranno
estremamente bollenti. NON TOCCARE tali superci, per evitare
possibili lesioni. Prima di maneggiare questo apparecchio,
attendere che si sia raffreddato completamente.
10. Quando l’elettrodomestico è in funzione, la supercie esterna può
diventare bollente.
11. Se il cavo di alimentazione è danneggiato, deve essere sostituito
dal produttore, un suo tecnico di assistenza o una persona dotata
di qualiche analoghe, per evitare pericoli.

12
12. L’utilizzo di accessori e componenti non raccomandati o venduti
dal produttore può provocare incendi, scosse elettriche o lesioni
alle persone.
13. Non utilizzare all’aperto o per nalità diverse da quelle previste.
14. Evitare che il cavo di alimentazione penda oltre l’orlo del tavolo
o del banco di lavoro o che venga a contatto con superci calde.
15. Non collocare sopra o vicino a fornelli a gas o elettrici o in un
forno acceso.
16. Occorre prestare la massima attenzione quando si sposta un
apparecchio che contiene olio o altri liquidi bollenti.
17. Iniziare sempre inserendo la spina dell’unità nella presa a parete.
Per scollegare, posizionare il comando sulla posizione 1, spostare
l’interruttore sulla posizione OFF, inne estrarre la spina dalla
presa a parete.
18. ATTENZIONE: AVVERTENZA: PER RIDURRE IL RISCHIO DI
INCENDI O SCOSSE ELETTRICHE, LE RIPARAZIONI DEVONO
ESSERE ESEGUITE ESCLUSIVAMENTE DA PERSONALE
AUTORIZZATO. NON RIMUOVERE IL PANNELLO DELLA
BASE. NON SONO PRESENTI COMPONENTI RIPARABILI
DALL’UTENTE ALL’INTERNO.
19. Per ottenere un altro manuale di istruzioni, visitare il sito
www.waringcommercialproducts.com
20. Questo elettrodomestico è destinato all’uso in casa e per
applicazioni simili, ad esempio:
– Zone ristoro per il personale all’interno di negozi, ufci e altri
ambienti di lavoro;
– Agriturismi;
– Clientela di alberghi, motel e altri ambienti residenziali;
– Ambienti di tipo Bed and Breakfast.
CONSERVARE LE PRESENTI ISTRUZIONI
APPROVATE PER L’USO DOMESTICO

13
INDICE
Precauzioni importanti .........................................................................11
Istruzioni per la messa a terra..............................................................13
Istruzioni speciali per il cavo ................................................................13
Componenti..........................................................................................16
Istruzioni per l’uso ................................................................................17
Pulizia e manutenzione della piastra....................................................18
ISTRUZIONI PER LA MESSA
A TERRA
Per la protezione dell’utente, le cialdiere
Waring®Commercial sono dotate di una spina
sagomata a 3 perni messa a terra, e devono
essere collegate correttamente a una presa
elettrica con messa a terra, come mostrato
nell’illustrazione.
ISTRUZIONI SPECIALI PER IL CAVO
Viene fornito un cavo di alimentazione corto, per ridurre il rischio
di restare impigliati o inciampare in un cavo di lunghezza maggiore.
È possibile utilizzare prolunghe, ma occorre prestare molta attenzione.
Se si utilizza una prolunga, il suo valore elettrico nominale
contrassegnato deve come minimo coincidere con il valore nominale
elettrico dell’apparecchio. Inoltre sarà necessario sistemare il cavo
più lungo in modo che non ricada sul banco di lavoro o sul piano del
tavolo, dove rischierebbe di essere trascinato da bambini o animali,
o di fare inciampare.
CONDUTTORE
DI TERRA DEL
CIRCUITO COLLEGATO
CORRETTAMENTE
PERNO DI MESSA
A TERRA

14
SPINA DI TIPO G
(REGNO UNITO, IRLANDA, CIPRO,
MALTA, MALESIA, SINGAPORE
E HONG KONG)
Questa spina con messa a terra è provvista di tre perni rettangolari
che formano un triangolo. Allineare i perni alla presa e verificare
che la spina sia inserita fino in fondo. Un fusibile protegge inoltre
la spina contro i rischi di sovratensione.
La spina messa a terra ha due perni circolari, e due morsetti
di messa a terra si trovano sul lato della presa. È una spina non
polarizzata e, pertanto, può essere inserita in entrambe le posizioni
nella presa. La spina è messa a terra quando i morsetti sulla presa
si adattano esattamente al contatto sulla spina. Verificare che la
spina sia inserita fino in fondo.
SPINA DI TIPO F
(GERMANIA, AUSTRIA,
PAESI BASSI, SVEZIA, NORVEGIA,
FINLANDIA, PORTOGALLO, SPAGNA,
EUROPA ORIENTALE)
SPINA DI TIPO I
(ARGENTINA, AUSTRALIA,
CINA, NUOVA ZELANDA,
PAPUA NUOVA GUINEA)
Questa spina con messa a terra ha due perni piatti che formano
una V e un contatto di messa a terra.
PER GARANTIRE L’USO CORRETTO DI QUESTO APPARECCHIO, CONSULTARE LE
IMPORTANTI ISTRUZIONI SULLA MESSA A TERRA. I PRINCIPALI PAESI CHE UTILIZZANO
TIPI DI PRESE DIVERSI SONO ELENCATI SOLO PER RIFERIMENTO. FARE RIFERIMENTO
ALL’UNITÀ EFFETTIVA PER DETERMINARE QUALE TIPO DI SPINA PUÒ ESSERE UTILIZZATO.
Smaltimento corretto di questo prodotto
Questo marchio indica che questo prodotto non può essere smaltito con i rifiuti
domestici in tutta l’UE. Per evitare possibili danni all’ambiente o alla salute umana
in seguito allo smaltimento incontrollato dei rifiuti, riciclarlo responsabilmente per
promuovere il riuso sostenibile delle risorse materiali. Per restituire il dispositivo
usato, utilizzare i sistemi di restituzione e raccolta o contattare il rivenditore dal
quale è stato acquistato il prodotto. I rivenditori possono ritirare il prodotto per
destinarlo a un riciclaggio sicuro dal punto di vista ambientale.

15
Modello Nome Tipo di spina
WWD180XCE/200XCE Cialdiera per wafe classica Tipo F
WW180XCE/200XCE Cialdiera per wafe alla belga Tipo F
WMB400XCE/800XCE Mini cialdiera per wafe
alla belga
Tipo F
WBW300XCE Cialdiera per wafe con bolle Tipo F
WWD180XCK/200XCK Cialdiera per wafe classica Tipo G
WW180XCK/200XCK Cialdiera per wafe alla belga Tipo G
WMB400XCK/800XCK Mini cialdiera per wafe
alla belga
Tipo G
WBW300XCK Cialdiera per wafe con bolle Tipo G
WWD180XCNA/NAA,
WWD200XCNA/NAA
Cialdiera per wafe classica Tipo I
WW180XCNA/NAA,
WW200XCNA/NAA
Cialdiera per wafe alla belga Tipo I
WMB400XCNA/NAA,
WMB800XCNA/NAA
Mini cialdiera per wafe
alla belga
Tipo I
WBW300XCNA/NAA Cialdiera per wafe con bolle Tipo I

8
7
4
10
5
3
2
1
8
7
4
10
5
3
2
1
16
COMPONENTI
1. Griglie per waffle – belga,
belga mini, classica e a bolle
(cialdiera alla belga illustrata)
Le piastre della cialdiera
sono dotate del rivestimento
antiaderente Whitford®
QuanTanium®.*
2. Regolazione del comando
di doratura
– Regolabile per pastelle diverse
e secondo le preferenze personali.
3. Spia indicatore di accensione
– Si illumina in rosso quando
la cialdiera è accesa e si sta
riscaldando.
4. Spia indicatore "pronta per
la cottura"
– Si illumina di verde quando la
cialdiera è pronta per la cottura.
5. Interruttore di alimentazione
6. Segnali acustici di segnalazione
(non illustrati)
– Saranno emessi 6 volte quando
l’unità sarà pronta a cuocere
la prima cialda di ogni sessione
di cottura.
– Saranno emessi 3 volte quando
la cialda sarà pronta.
7. Base
8. Maniglia
9. Mestolo dosatore da 113 g
(non illustrato)
Per l’unità WMB400X, usare 28 g
di pastella per ogni mini wafe
alla belga.
10. Vassoio di gocciolamento
rimovibile
Serie WW180X Serie WW200X
*Il rivestimento antiaderente Whitford®QuanTanium®è un marchio registrato di Whitford.

17
CIALDIERE WARING®COMMERCIAL
Serie WWD180X/200X Wafe classico, spessore 1,58 cm
Serie WW180X/200X Wafe alla belga, spessore 2,54 cm
Serie WMB400X/800X Mini wafe alla belga (x 4),
spessore 2,54 cm
Serie WBW300X Wafe con bolle
17
AVVERTENZE PRIMA DELL’UTILIZZO
1. Le piastre della cialdiera per wafe Waring®Commercial
sono dotate del rivestimento antiaderente Whitford®.* Prima
dell’utilizzo iniziale, si consiglia di bagnare le griglie della cialdiera
spennellandole con olio di cottura. Stronare con carta da cucina
o pennello da pasticcere.
2. Eliminare ogni traccia di polvere dovuta alla spedizione,
stronando le piastre con un panno umido. Togliere la carta e
l’imballaggio di protezione.
ISTRUZIONI PER L’USO
1. Collegare il cavo di alimentazione alla presa a parete.
2. Spostare l’interruttore sulla posizione ON. La spia rossa
dell’alimentazione si illuminerà.
3. Preriscaldare la cialdiera Waring®Commercial selezionando
l’impostazione 4 o quella desiderata. Il processo di preriscaldamento
viene avviato, e dura circa 4 minuti. La macchina emette 6 segnali
acustici e l’indicatore VERDE si illumina, per segnalare che l’unità
è pronta per iniziare a cuocere. Bagnare le griglie per le cialde con
spray di cottura o spennellarle con un olio insapore.
Per il primo utilizzo, è importante che la cialdiera venga
preriscaldata prima di versare sulla griglia lo spray di
cottura o l’olio.
NOTA: Al primo utilizzo, la cialdiera potrebbe emanare un leggero
odore e sprigionare del fumo. È un fenomeno normale e frequente per
gli apparecchi che vengono riscaldati.
4. Scegliere un’impostazione sulla ghiera di controllo della doratura.
Per cialde dorate, i consiglia di usare l’impostazione 4. Quando la
cottura della cialda è terminata, la cialdiera emette 3 segnali acustici.
Il tempo di cottura è determinato in base al livello di doratura.

18
5. Riempire il mestolo dosatore di pastella no alla linea di
riempimento. Versare in modo uniforme la pastella al centro
della griglia per cialde. Per le cialdiere per mini wafe, versare
28 g di pastella in ogni forma della piastra. Utilizzare una spatola
atermica per distribuire uniformemente la pastella sulla griglia.
Chiudere il coperchio e ruotare l’unità di 180°.
6. Quando la cialda è pronta e la cialdiera ha emesso 3 volte il
segnale acustico, ruotare la cialdiera di 180°, aprire il coperchio
e togliere la cialda staccando con delicatezza i bordi con una
spatola di plastica atermica. Non utilizzare mai utensili di metallo,
poiché possono danneggiare il rivestimento antiaderente.
7. Per le cialdiere doppie, è possibile cuocere insieme più wafe.
Per cuocere una sola cialda, è sufciente seguire le istruzioni
precedenti. Per cuocere simultaneamente più wafe, versare la
pastella nel vano superiore della cialdiera e ruotare di 180°.
A questo punto è possibile aprire l’altro vano per cialde. Versare
la pastella nelle griglie e ruotare ancora di 180° nell’altro senso.
Entrambe le cialde vengono così cotte. Ci sono singole spie VERDI
che si illuminano quando ciascuna cialda è pronta, e quando uno
scomparto vuoto è pronto per cuocere un’altra cialda.
PROTEZIONE TERMICA
L’UNITÀ SI SPEGNE AUTOMATICAMENTE QUANDO SI
SURRISCALDA. SCOLLEGARE LA SPINA, FARE RAFFREDDARE
L’UNITÀ PER 10 MINUTI, REINSERIRE LA SPINA
E RIPRENDERE L’USO.
QUALORA L’ALIMENTAZIONE SI INTERROMPA DURANTE L’USO,
SCOLLEGARE LA SPINA E FARE RAFFREDDARE L’UNITÀ PER
10 MINUTI. REINSERIRE POI LA SPINA E RIPRENDERE L’USO.
PULIZIA E MANUTENZIONE DELLA PIASTRA
Pulire attentamente ogni giorno: questo garantirà che la cialdiera
funzioni correttamente e continui a farlo a lungo.
Pulizia delle piastre della cialdiera
Al termine della cottura, spostare l’interruttore sulla posizione OFF ed
estrarre la spina dalla presa elettrica. Prima di pulirle, lasciare aperto
il coperchio superiore e attendere che le piastre si siano raffreddate.
Prima di pulirle, accertarsi che le piastre si siano raffreddate
completamente.
Non smontare mai la cialdiera per effettuare la pulizia. Spazzolare
via le briciole dalle scanalature; assorbire l’eventuale olio di cottura
in eccesso stronando con un panno asciutto o carta da cucina. Per
evitare la formazione di macchie, l’adesione della pastella o l’accumulo
di olio, è possibile pulire le piastre stronandole con un panno umido.

19
Se la pastella aderisce alle piastre, è sufciente versare un po’ d’olio di
cottura sulla pastella cotta e aspettare circa 5 minuti. In questo modo,
la pastella si ammorbidisce ed è più facile rimuoverla.
Per rimuovere gli accumuli di olio e i residui di pastella, collocare della
carta da cucina umida tra le piastre, chiudere il coperchio, e attendere
alcuni minuti.
Per pulire la parte esterna dell’unità, stronare con un panno morbido
e asciutto. Non utilizzare mai un detergente abrasivo o un tampone
ruvido. NON IMMERGERE MAI IL CAVO, LA PRESA O L’UNITÀ IN
ACQUA O ALTRI LIQUIDI.
Piastre sostituibili
Per ordinare delle piastre sostitutive, rivolgersi al distributore
o al centro assistenza più vicino.
Benché siano rimovibili, le piastre non sono destinate a essere rimosse
durante la pulizia ordinaria. Le piastre possono essere rimosse
SOLTANTO se il rivestimento antiaderente è grafato ed è necessario
sostituirle. Le piastre possono essere lavate nella lavastoviglie.
Rimozione delle piastre della cialdiera
PARTI
• 2 piastre per wafe
• 4 viti grandi (2 di scorta)
• 16 viti piccole (6 di scorta)
• Cacciavite
ISTRUZIONI
1. Rimuovere il kit di sostituzione dalla confezione.
2. Usando il cacciavite fornito, rimuovere con cautela le viti dal bordo
della/e piastra/e della cialdiera. Sollevare e staccare le piastre.
Per staccarle completamente è necessario esercitare una leggera
pressione. Smaltire le piastre e le viti sostituite.
3. Partendo dalla griglia inferiore, collocare la nuova piastra
sull’alloggiamento allineando la sporgenza anteriore e posteriore alla
base. Le sporgenze più grandi si incastrano nel lato posteriore.
4. Installare una vite grande nel foro situato vicino al manico.
5. Installare le viti piccole lungo il bordo.
6. Ripetere i passi 2-5 per sostituire la griglia superiore.

©2020 Waring Commercial
314 Ella T. Grasso Ave.
Torrington, CT 06790
www.waringcommercialproducts.com
1-800-4-WARING
Printed in China
Stampato in Cina
X Series E/K/NA/NNA IB
Serie X E/K/NA/NNA IB
20WI074773
IB-16956
Trademarks or service marks of third parties used herein are
the trademarks or service marks of their respective owners.
I marchi commerciali o di servizio delle terze parti citate in questo documento
sono marchi commerciali o di servizio di proprietà dei rispettivi titolari.
This manual suits for next models
38
Table of contents
Languages:
Other Waring Waffle Maker manuals

Waring
Waring WW180 User manual

Waring
Waring WW250X2 User manual

Waring
Waring WWCM180 User manual

Waring
Waring WW180 User manual

Waring
Waring WW180K User manual

Waring
Waring WW300BX User manual

Waring
Waring WWD200 User manual

Waring
Waring WMK300 User manual

Waring
Waring WMK200 User manual

Waring
Waring WWCM180E/K User manual

Waring
Waring WW250 User manual

Waring
Waring Breakfast Express WMR300 Series User manual

Waring
Waring X Series User manual

Waring
Waring WMK Series User manual

Waring
Waring WMK600 User manual

Waring
Waring WW200 User manual

Waring
Waring PROFESSIONAL BELGIAN IB08WR119 User manual

Waring
Waring WMK250SQ User manual