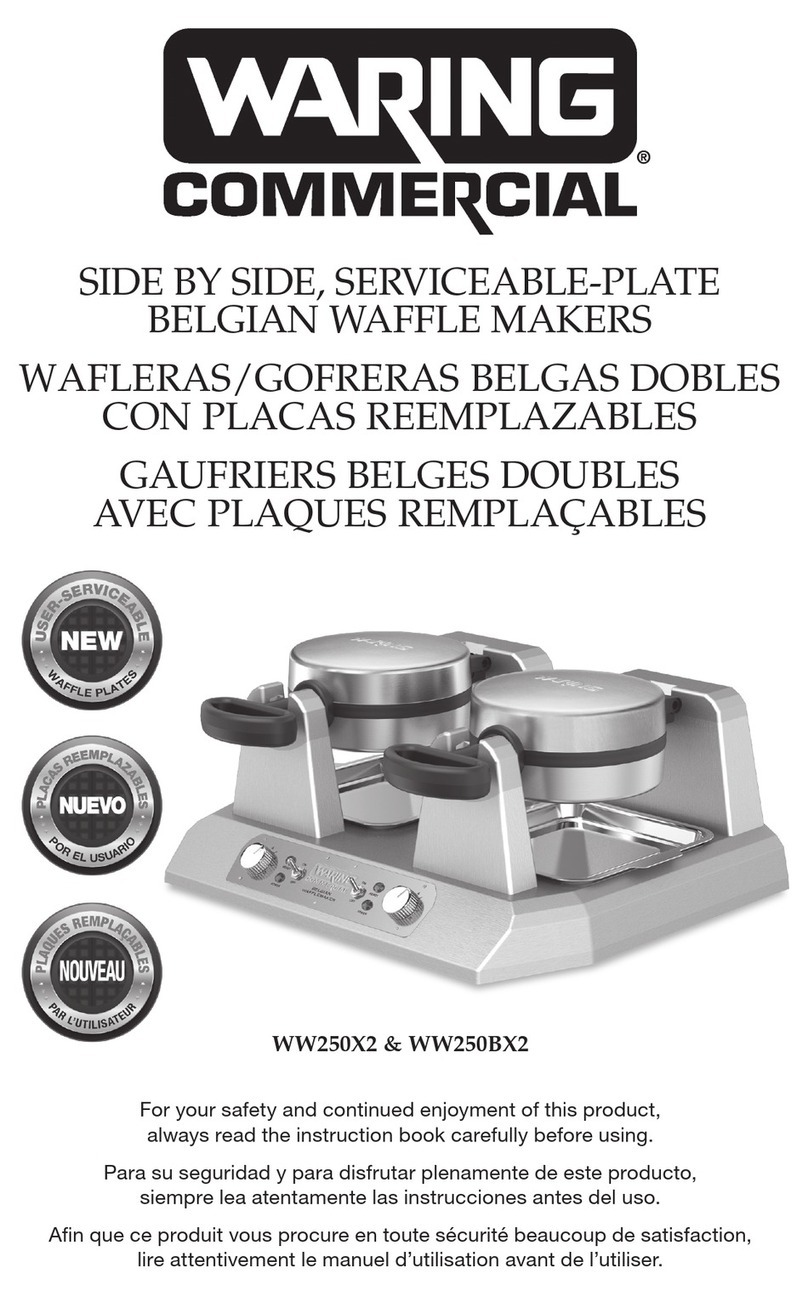
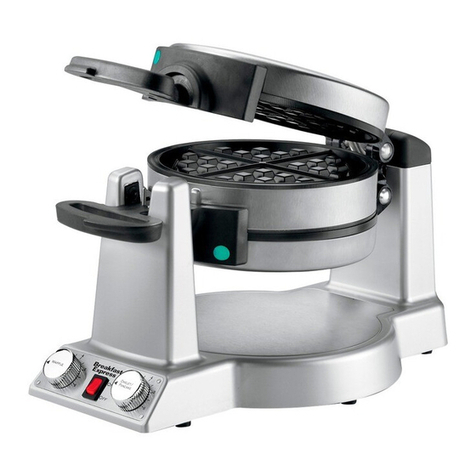
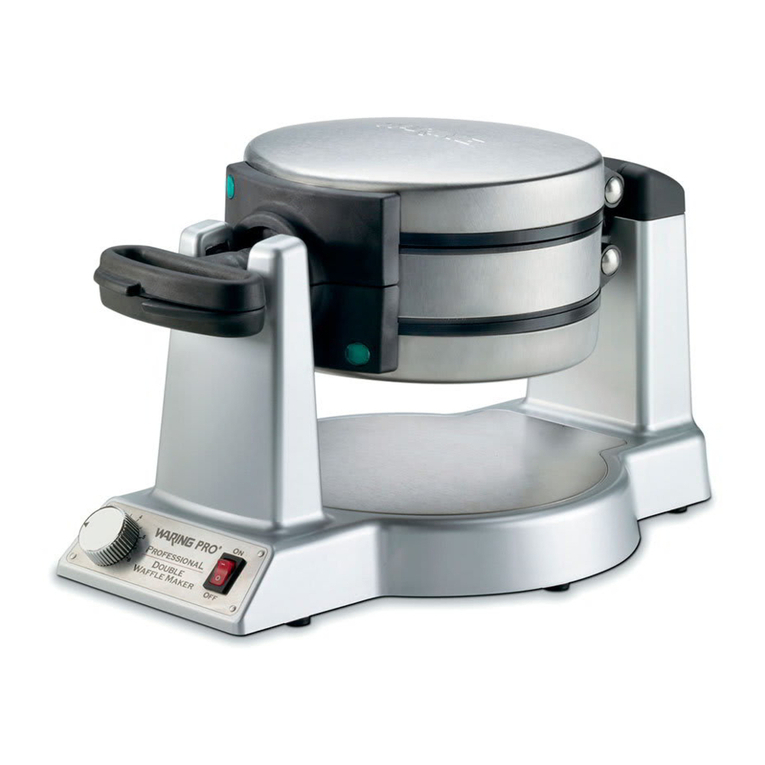
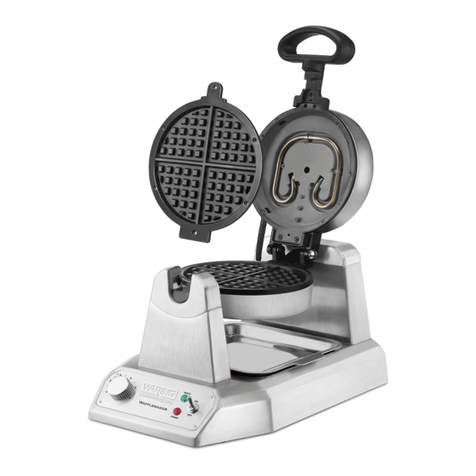
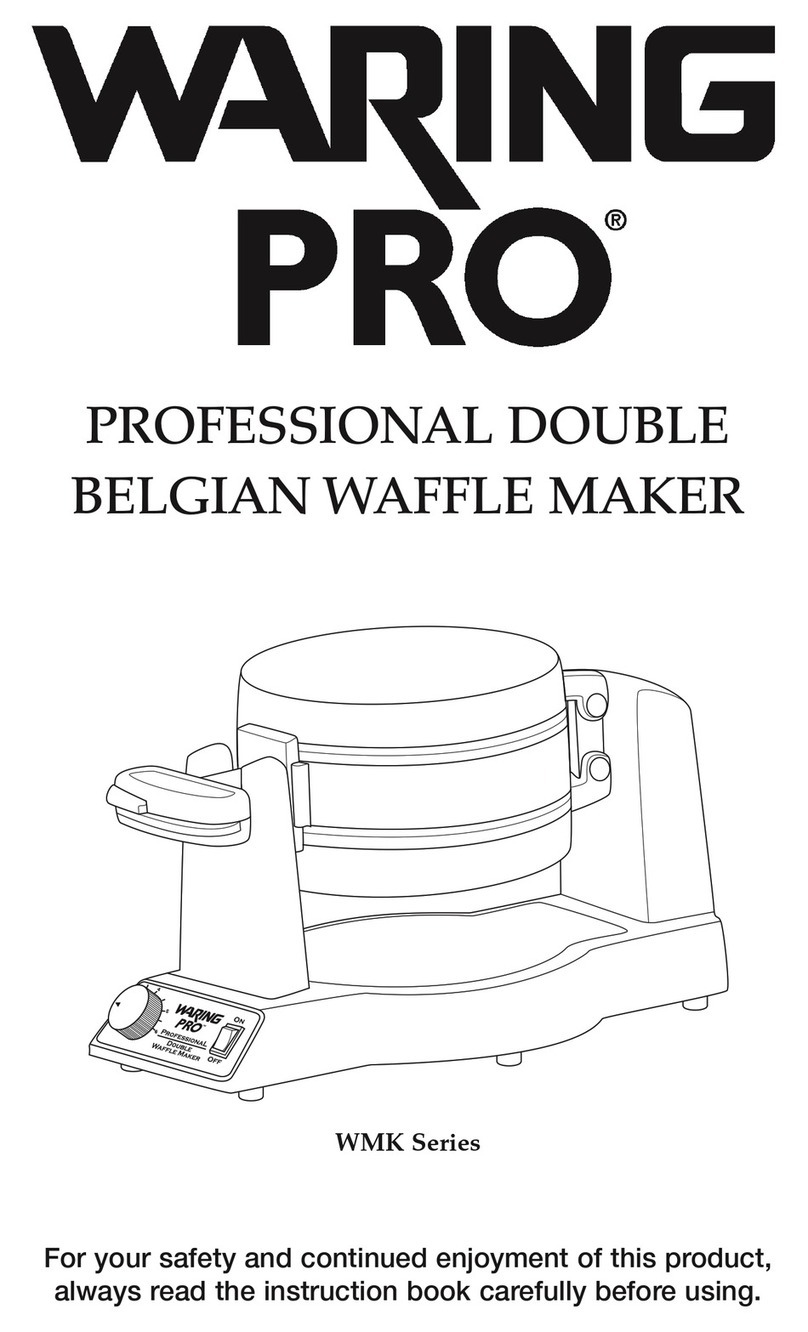
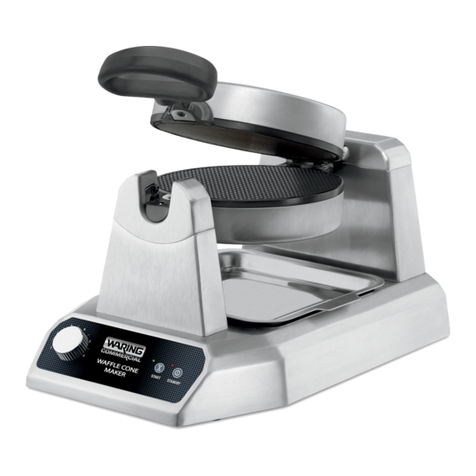
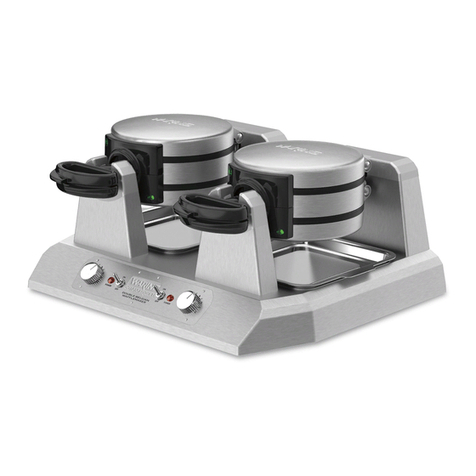
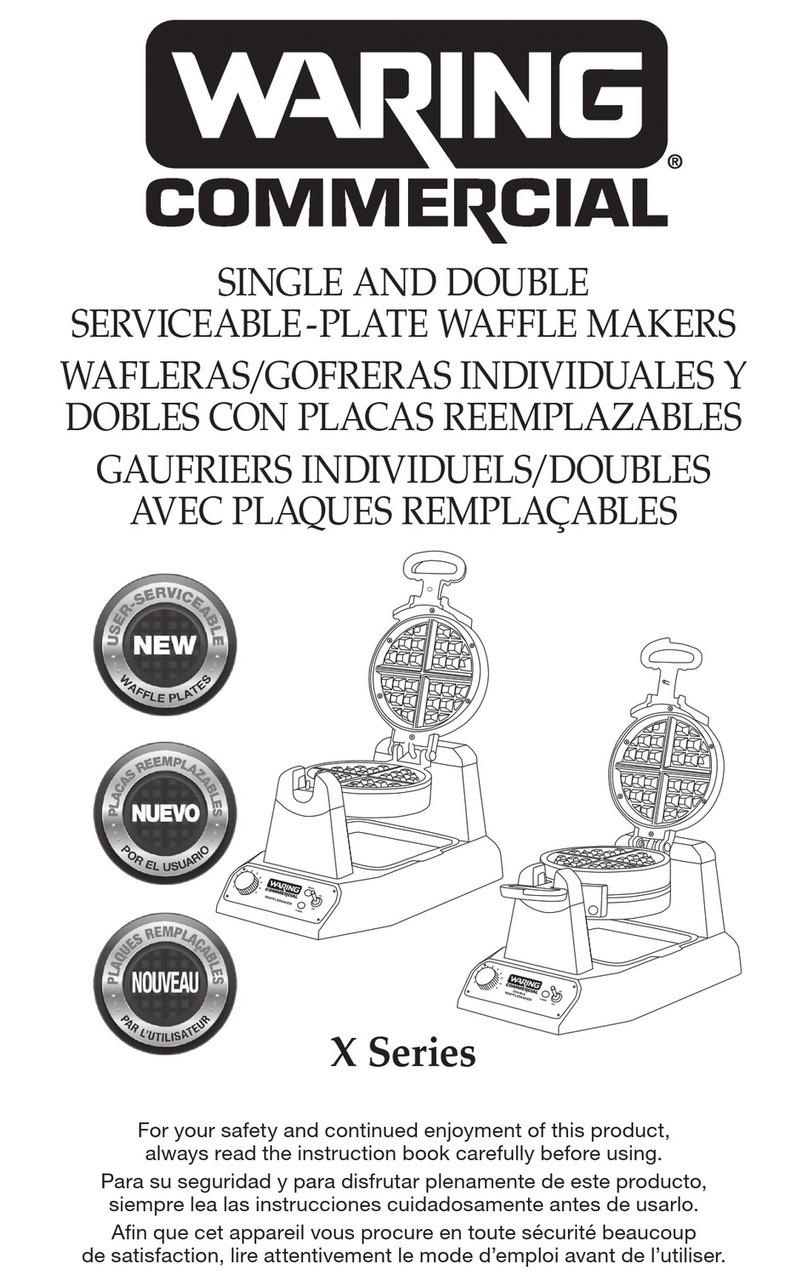
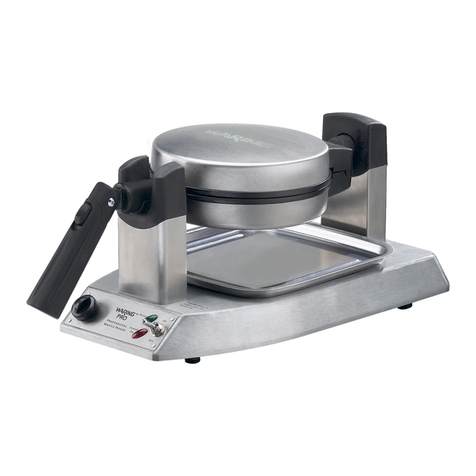
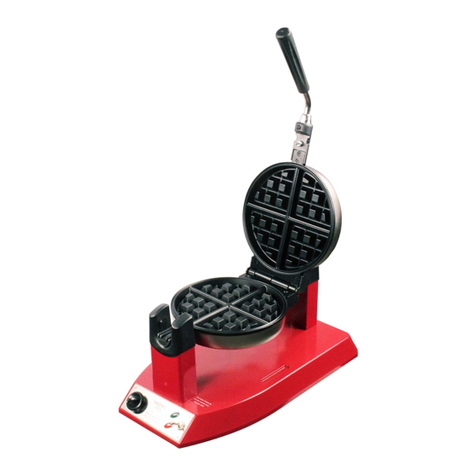
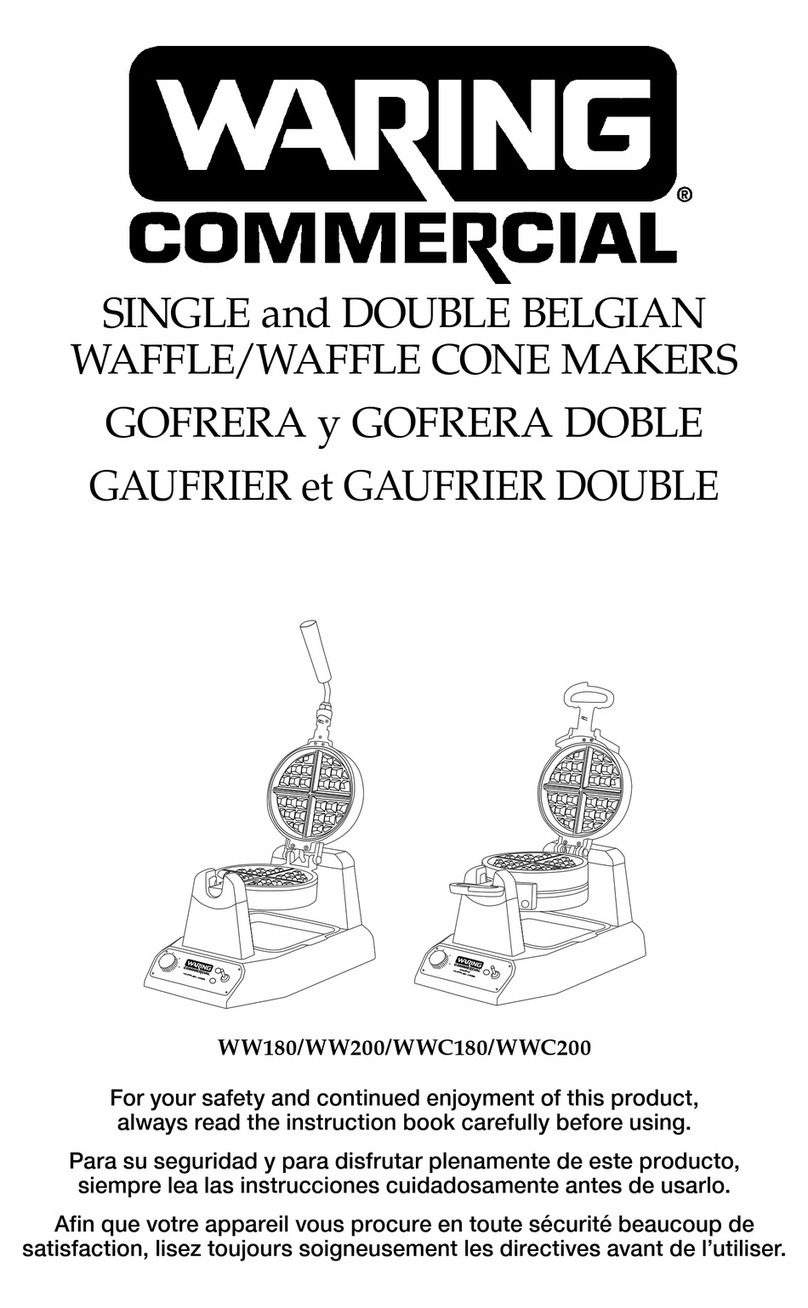
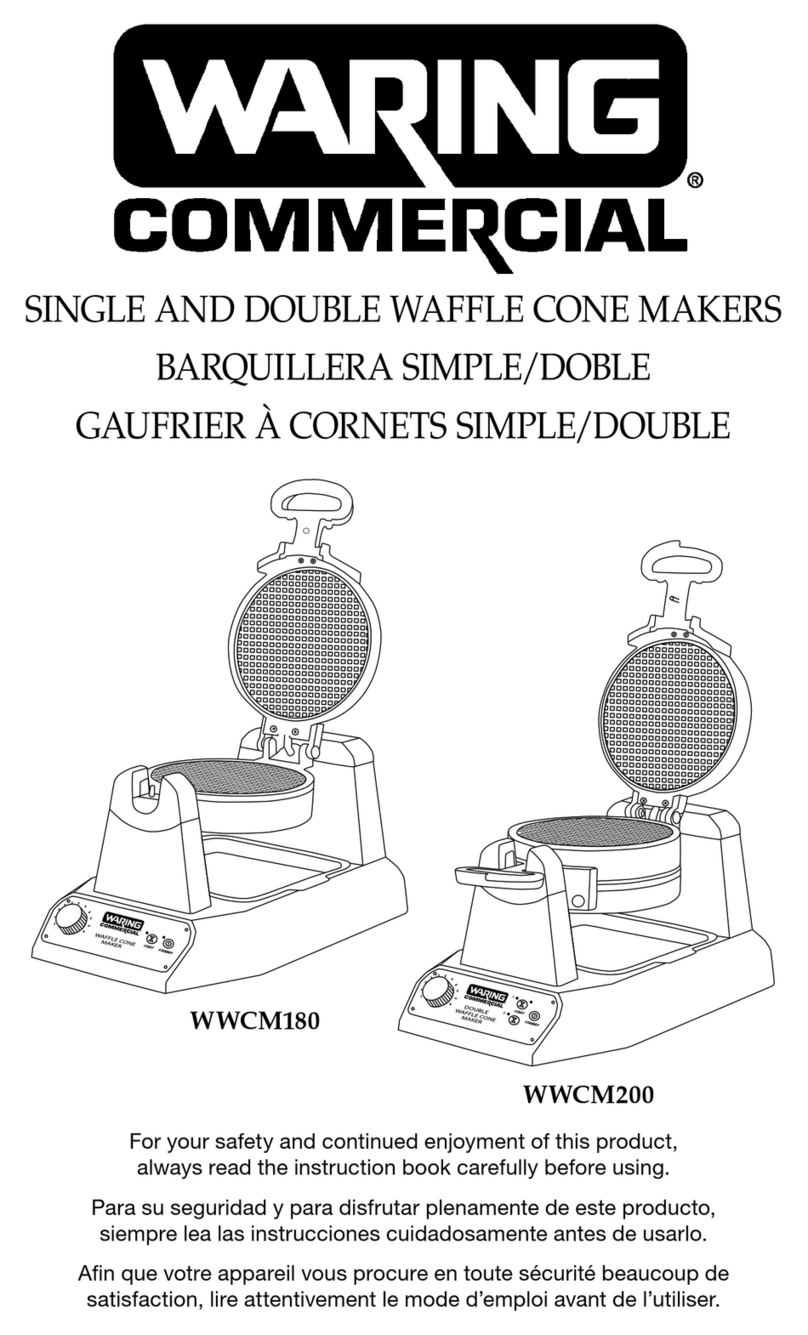
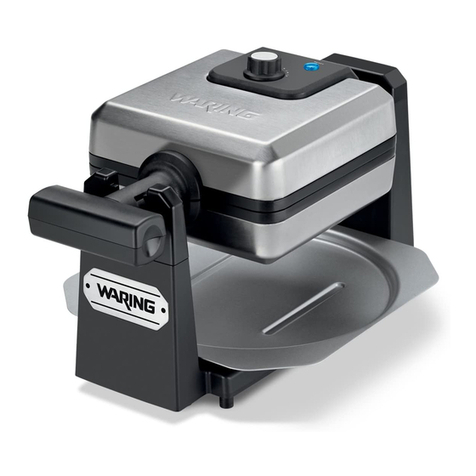
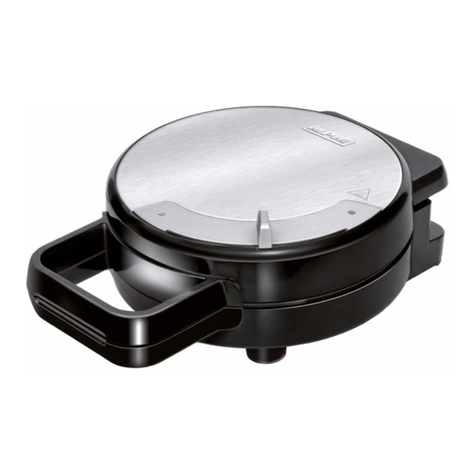
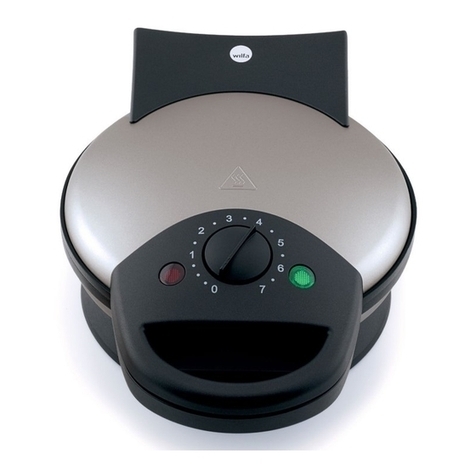
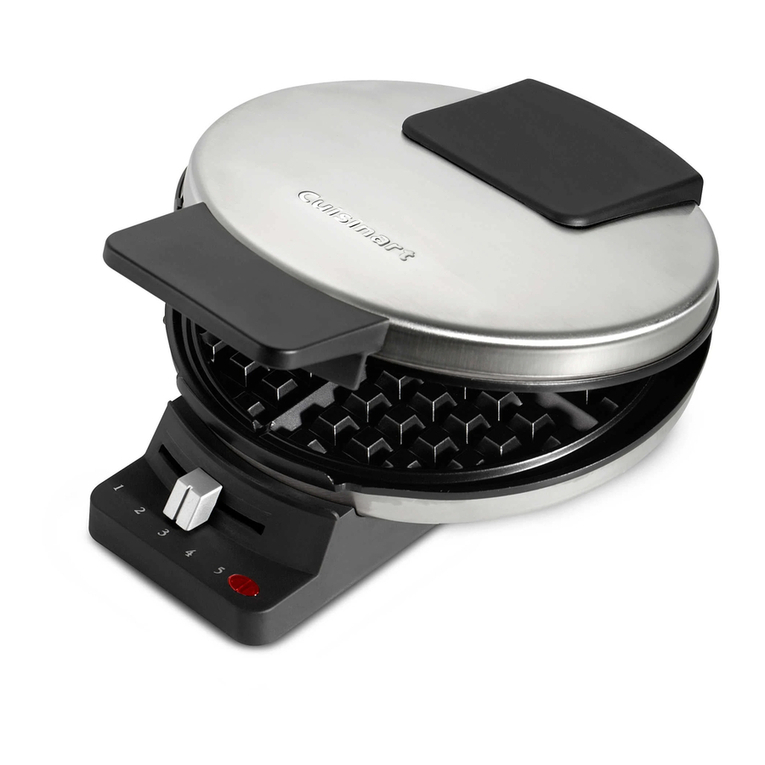
Waring WW180K User manual

2
1
34
5
6
READY
ON
OFF
POWER
WAFFLEMAKER
2
1
34
5
6
ON
OFF
POWER
Double
WAFFLEMAKER
For your safety and continued enjoyment of this product,
always read the instruction book carefully before using.
Para su seguridad y para disfrutar plenamente de este producto,
siempre lea las instrucciones cuidadosamente antes de usarlo.
Afin que cet appareil vous procure en toute sécurité beaucoup de
satisfaction, lire attentivement le mode d'emploi avant de l’utiliser.
Para sua segurança e satisfação contínua com este produto,
sempre leia o livreto de instruções com cuidado antes de utilizar.
Für Gebrauchssicherheit und optimale Ergebnisse, lesen Sie bitte immer
vor der Benutzung des Gerätes die Gebrauchsanweisung aufmerksam durch.
Per garantire un utilizzo in sicurezza e per lungo tempo del prodotto,
leggere sempre con attenzione il libretto di istruzioni prima dell’uso.
Voor uw veiligheid en plezierig gebruik van dit product,
dient u voor ingebruikname deze instructies altijd zorgvuldig te lezen.
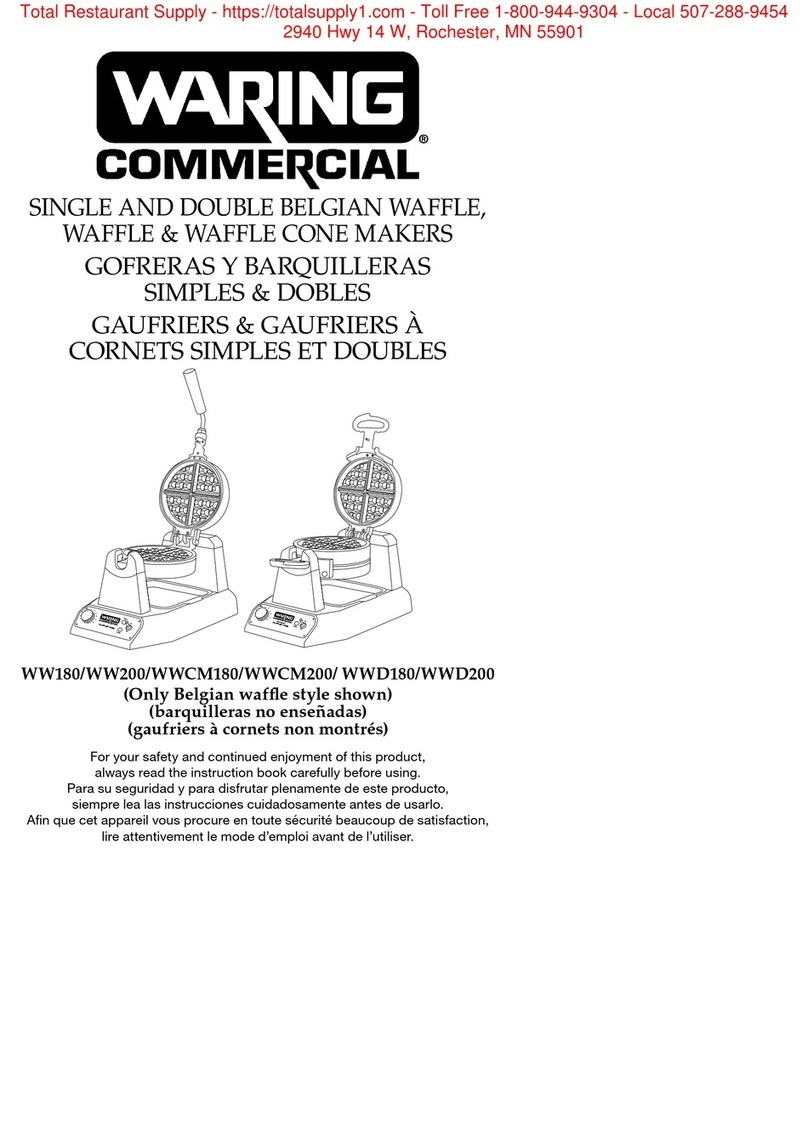
SINGLE AND DOUBLE BELGIAN WAFFLE & WAFFLE CONE MAKERS
GOFRERAS Y BARQUILLERAS SIMPLES & DOBLES
GAUFRIERS & GAUFRIERS À CORNETS SIMPLES ET DOUBLES
MÁQUINAS DE WAFFLE EM CONE e WAFFLE BELGA SIMPLES e DUPLO
EINFACHES und DOPPELTES WAFFELBACKGERÄT FÜR
BELGISCHE WAFFELN und WAFFELTÜTEN
CIALDIERA SINGOLA e DOPPIA PER WAFFLE ALLA BELGA e CONI GELATO
ENKELE en DUBBELE BELGISCHE WAFEL & IJSHOORN MAKER
WW180E/K/WW200E/K/WWCM180E/K/WWCM200E/K
(Only Belgian waffle style shown)
(barquilleras no enseñadas)
(gaufriers à cornets non montrés)
(Apenas o estilo Waffle belga está sendo mostrado)
(gezeigt wird nur das Modell für Belgische Waffeln)
(Illustrato solo modello per waffle alla belga)
(Alleen de Belgische wafelstijl wordt getoond)

2
IMPORTANT SAFEGUARDS
When using electrical appliances, basic safety precautions
should always be followed, including the following:
1. READ ALL INSTRUCTIONS.
2. Always unplug from outlet prior to
handling or cleaning.
3. Appliances are not intended to be operated by means of an
external timer or separate remote-control system.
4. This appliance can be used by children aged 8 years and
above and persons with reduced physical, sensory or
mental capabilities or lack of experience and knowledge if
they have been given supervision or instruction concerning
use of the appliance in a safe way and understand the
hazards involved. Children shall not play with the appliance.
Cleaning and user maintenance shall not be done by
children unless they are older than 8 and supervised.
5. Keep the appliance and its cord out of reach of children less
than 8 years old.
6. Once you have nished baking, turn control to setting
#1, switch toggle to OFF position, and remove plug from
electrical outlet. Leave top lid open and allow grids to cool
before cleaning. Simply brush crumbs from grooves and
absorb any excess cooking oil by wiping with a dry cloth
or paper towel. You may clean the grids by wiping with a
damp cloth to prevent staining and sticking from batter or
oil buildup.
7. The temperature of all surfaces marked with this
symbol will be very hot when the appliance is in
use. DO NOT TOUCH these surfaces as possible
injury could occur. Allow to cool completely before
handling this appliance.
8. The outer surface may get hot when the appliance is
operating.
9. Do not operate any appliance with a damaged cord or plug
or after the appliance malfunctions or has been damaged
in any manner. Return appliance to the nearest Waring
Authorized Service Facility for examination, repair, or
adjustment.
10. The use of accessory attachments not recommended or
sold by the manufacturer may result in re, electrical shock,
or injury to persons.
11. Do not use outdoors, or use for other than intended use.

3
12. Do not let power cord hang over edge of table or counter, or
touch hot surfaces.
13. Do not place on or near a hot gas or electric burner, or in a
heated oven.
14. Extreme caution must be used when moving an appliance
containing hot oil or other hot liquids.
15. Always begin by plugging appliance into wall outlet. To
disconnect, turn control to setting #1, switch toggle to off
position, then remove plug from wall outlet.
16. WARNING: TO REDUCE THE RISK OF FIRE OR ELECTRIC
SHOCK, REPAIRS SHOULD BE MADE ONLY BY
AUTHORIZED PERSONNEL. DO NOT REMOVE THE BASE
PANEL. NO USER SERVICEABLE PARTS ARE INSIDE.
17. To acquire another instruction manual go to
www.waringcommercialproducts.com.
SAVE THESE INSTRUCTIONS
SPECIAL CORD SET INSTRUCTIONS
A short power-supply cord is provided to reduce the risks
resulting from becoming entangled in or tripping over a longer
cord. Longer extension cords may be used if care is exercised
in their use.
If a long extension cord is used, the marked electrical rating of
the extension cord should be at least as great as the electrical
rating of the appliance, and the longer cord should be arranged
so that it will not drape over the countertop or tabletop where it
can be pulled on by children or animals, or tripped over.
Correct Disposal of this product
This marking indicates that this product should not be disposed with other
household wastes throughout the EU. To prevent possible harm to the
environment or human health from uncontrolled waste disposal, recycle
it responsibly to promote the sustainable reuse of material resources. To
return your used device, please use the return and collection systems or
contact the retailer where the product was purchased. They can take this
product for environmentally safe recycling.
TO ENSURE PROPER USE OF THIS UNIT, PLEASE SEE IMPORTANT GROUNDING
INSTRUCTIONS BELOW. PRIMARY COUNTRIES USING THE DIFFERENT PLUG TYPES
ARE LISTED FOR REFERENCE ONLY. REFER TO THE ACTUAL UNIT TO DETERMINE
WHICH PLUG TYPE IS APPLICABLE.

4
Model Name
WW180E/K Single Belgian Wafe Maker
WW200E/K Double Belgian Wafe Maker
WWCM180E/K Single Wafe Cone Maker
WWCM200E/K Double Wafe Cone Maker
INSTRUCTIONS FOR USE
1. Before using your Waring®Commercial Wafe/Wafe Cone
Maker for the rst time, remove any dust from shipping by
wiping the plates with a damp cloth. Remove all protective
paper and wrapping.
2. Plug cord into wall outlet. Switch the toggle switch to the
ON position. The RED light will illuminate to signal power.
Preheat your Waring®Commercial Wafe/Wafe Cone
Maker on preferred setting. It will now begin the preheating
process. This should take about 4 minutes. The machine
will sound 6 beeps and the GREEN indicator light will go on
to signal the unit is ready for baking.
NOTE: For initial use, it is important that the wafe/wafe cone
maker is preheated before seasoning the grid with cooking spray
or oil. Season the wafe/wafe cone grids by spraying with
cooking spray or brushing with a avorless oil. Wipe with a paper
towel or pastry brush.
NOTE: The rst time you use your wafe/wafe cone maker, it
may have a slight odor and may smoke a bit. This is normal, and
common to heating appliances.
TYPE G PLUG
(UNITED KINGDOM, IRELAND,
CYPRUS, MALTA, MALAYSIA,
SINGAPORE AND HONG KONG)
This grounded plug has three rectangular prongs that form a triangle.
Line up the prongs to the socket and ensure that the plug is fully
inserted. This plug is also fuse-protected for power surges.
This grounded plug has two round prongs and there are two
grounding clips on the sides of the socket. This plug is non-polarized
so the plug can be inserted in either direction into the socket.
Grounding is accomplished when the clips on the socket meet the
contact on the plug. Ensure that the plug is fully inserted.
TYPE F PLUG
(GERMANY, AUSTRIA, NETHERLANDS,
SWEDEN, NORWAY, FINLAND,
PORTUGAL, SPAIN, EASTERN EUROPE)

5
CAUTION:
The temperature of all surfaces marked with this symbol:
will be very hot when the appliance is in use. DO NOT
TOUCH these surfaces as possible injury could occur.
Allow to cool completely before handling this appliance.
The outer surface may get hot when the appliance is operating.
3. For Belgian waffles: Fill measuring scoop with batter
to ll line ¾ or to top of measuring scoop, depending on
the recipe. For loose batters, ll to the ¾ mark; for thicker
batters ll to the top. Pour batter evenly into the center of
the wafe grids. Use a heat-proof spatula to spread the
batter evenly over the grids. Close the lid and rotate the
unit 180°.
For waffle cones: Use the small plastic scoop included or
3 tablespoons of thick wafe cone batter (batter amount
may be adjusted per recipe). Drop the batter into the center
of the grid and close. As the grids close, the batter will
spread throughout the grid to form the appropriate shape.
Rotate the unit 180˚.
For best results, do not open wafe/wafe cone maker
during cooking process. Doing so will interfere with the
timing mechanism.
4. When the wafe/wafe cone is completely baked, the wafe
maker will sound 3 beeps and the green ready light will
illuminate. Baking time is determined by browning level.
Choose a setting on the browning control dial. For golden
brown wafes/wafe cones, we recommend using setting
#4 for wafes and setting #3 for wafe cones.
5. Once the wafe/wafe cone is ready and the wafe maker
has beeped 3 times, rotate the wafe maker 180°, open the
lid and remove wafe by gently loosening the edges with a
heat-proof plastic spatula. Never use metal utensils, as they
may damage the nonstick coating.
6. For WW200E/K Double Wafe Maker and WWCM200E/K
Double Wafe Cone Maker, one or two wafes (or wafe
cones) can be baked at once. For one waffle/waffle
cone, simply follow previous instructions. For two waffles/
waffle cones at once, pour batter into top wafe/wafe
cone compartment grids, then rotate 180˚. You will now be
able to open the other wafe/wafe cone compartment.
Pour the batter into the grids and rotate another 180˚ in the
other direction. Both wafes/wafe cones will now cook.
There are individual green “ready” lights that will illuminate
when each wafe/wafe cone is ready, and when an empty
compartment is ready to bake another wafe/wafe cone.
2
1
34
5
6
READY
ON
OFF
POWER
WAFFLEMAKER
8
7
6
11
4
3
2
2
1
34
5
6
ON
OFF
POWER
Double
WAFFLEMAKER
8
7
6
11
4
3
2
6
SPECIAL FEATURES
1. Waffle/Waffle Cone Grids
(only Belgian wafe grids shown)
WW180E/K and WWCM180E/K
– Single grid set for making one
wafe/wafe cone at a time
WW200E/K and WWCM200E/K
– Double grid set for making two
wafes/wafe cones at a time
2. Browning Control Adjustment
– Adjustable for different batters
and personal preference
3. Power Indicator Light
– Lights red when wafe maker is
on and heating up
4. Power Switch
5. Indicator Beeps (not shown)
– Will beep 6 times when unit is
ready to bake for rst wafe of
every baking session
– Will beep 3 times when wafe is
done
6. Ready Indicator Light
(only 1 shown on WW200E and
K/WWCM200E/K)
– Lights green when wafe maker is
ready to bake
– Light turns off after rotating grids
180˚ for baking, and lights green
when the wafe/wafe cone is
ready
7. Base
8. Handle
9. Belgian Waffle Measuring Cup
(not shown)
10. Waffle Cone Measuring Scoop
(not shown)
11. Removable Drip Tray
WW180E/K
WWCM180E/K (not shown)
WW200E/K
WWCM200E/K (not shown)
1

7
7. Waffle Cone Rolling Directions (WWCM180E/K,
WWCM200E/K): It is best to roll the at wafe into a cone
as soon as possible after the baking process, while it is
still hot. A cool wafe is difcult to roll without breaking.
Caution: Take care during this process as the waffle
will be hot. Once the wafe cone maker beeps and the
ready light illuminates, open the grid and remove the hot
at wafe. Place the metal wafe cone forming tool on a
at surface. Place the at wafe in the forming tool, with
the edge of the wafe as close to the opening of the metal
form as possible. The at wafe should start to turn up
inside the rounded metal form. Insert the plastic rolling tool
fully inside the rounded part of the metal forming tool and
begin to rotate COUNTERCLOCKWISE. The ribs on the
rolling tool will pull the at wafe up around the rounded
area of the metal forming tool, creating a cone. You may
need to help feed the at wafe with your hand. Once the
cone is fully formed, let it cool for about 20 seconds until it
keeps its shape. You can leave the cone to cool around the
rolling tool in the metal forming tool, or pull it out and keep
it formed with your hands. Tip: while the cone is still hot,
pinch the tip to seal it. It will ensure that melted ice cream
stays in the cone.
Waffle Cone Forming and Rolling Tools
Waffle Bowl Mold and Pusher
(optional accessory)
ACCESSORIES FOR WWCM180E/K
AND WWCM200E/K
Waffle Cone Form Roller
Waffle Bowl Mold Pusher

8
8. Waffle Bowl Making Directions: The Wafe Bowl Mold
and Pusher are available as optional accessories. It is best
to create a wafe bowl as soon as possible after the baking
process while the at wafe is still hot. A cool wafe bowl
is difcult to create without breaking. Caution: Take care
during this process as the waffle will be hot. Once the
wafe cone maker beeps and the ready light illuminates,
open the grid and remove the hot at wafe. Place the
metal Wafe Bowl Mold on a at surface. Place the at
wafe in the mold, centered as much as possible. Gently
use the pusher to push the at wafe fully into the mold,
creating a bowl. Be careful not to push too hard or you may
break the bowl. Leave the wafe bowl like this, between the
mold and the pusher, to cool for about 20 seconds. Remove
the pusher and carefully remove your wafe bowl.
9. Once you have nished baking, turn control to setting
#1, switch toggle to OFF position and remove plug from
electrical outlet. Leave top lid open and allow grids to cool
before cleaning (details on page 9).
NOTE: These Waring Commercial Waffle/Waffle Cone
Makers have been treated with a special nonstick coating.
Before the first use, we suggest you season the waffle/
waffle cone grids by brushing with cooking oil. Wipe with a
paper towel or pastry brush.
TIPS FOR MAKING PERFECT
BELGIAN WAFFLES
We recommend setting #4 when using commercial pancake/
wafe mixes.
We also recommend setting #4 for Belgian wafe recipes. If you
prefer crisper, darker Belgian wafes, increase the browning
control.
For evenly lled wafes, pour the batter into the center of the
lower grid and spread out evenly to the edges. The entire lower
grid should be lled.
For best results, we recommend using ¾ cup batter or enough to
ll the entire lower grid.

9
For added convenience while baking wafes, rest measuring
scoop with handle hanging on outside of bowl and scoop on
inside of bowl until the next baking cycle.
To measure our, stir the our rst to aerate it, since it settles
when it sits. Then spoon it into a measuring cup, leveling off the
top with the back of a knife – do not pack down into measuring
cup. These quick steps will help you avoid heavy wafes. Belgian
wafes taste best when made to order, but baked Belgian wafes
may be kept warm in a 200˚F oven. Place in a baking pan or wrap
in foil while in the oven. Wafes wrapped in foil may lose their
crispness.
Baked wafes may be frozen. Allow to cool completely, and then
place in plastic food storage bag. Use waxed paper to keep
wafes separated. Reheat in an oven, toaster or toaster oven
when ready to use.
TIPS FOR MAKING PERFECT WAFFLE CONES
We recommend setting #3 when using commercial wafe cone
mixes and batter recipes. If you prefer crisper, darker wafe
cones, increase the browning control number. You may also apply
light downward pressure with the handle for 5–10 seconds to
spread the batter before rotation.
For evenly lled wafe cones, place the batter in the center of
the lower grid and close the grid immediately. Most batters will
spread out evenly with the pressure of the upper grid. If you have
a very thick batter, you may need to spread the batter out a little
more, very quickly, with a heat-proof spatula.
Try to roll the at wafe into a cone as soon as possible, while still
hot. A cool at wafe is difcult to roll without breaking. However,
be careful not to burn your hands on the hot wafe or wafe cone
maker.
While rolling the wafe cone, concentrate on keeping the edge of
the wafe nearest to the tip of the cone roller directly on the tool.
This will become the tip of the cone and it is best to have a sealed
tip when using ice cream.
Allow wafe cones to cool completely before placing ice cream or
any other lling in the cone.
10
THERMAL PROTECTION
IF THE UNIT HEATS UP BEYOND THE RECOMMENDED
TEMPERATURE LEVEL, IT WILL AUTOMATICALLY TURN OFF. IF
POWER IS LOST DURING OPERATION, UNPLUG AND LET COOL
10 MINUTES. PLUG IN AND CONTINUE USE.
CLEANING AND MAINTENANCE
Once you have nished baking, turn control setting to 1, switch
toggle to OFF position, remove plug from electrical outlet. Leave
top lid open and allow grids to cool before cleaning.
Never take your wafe/wafe cone maker apart for cleaning.
Simply brush crumbs from grooves and absorb any excess
cooking oil by wiping with a dry cloth or paper towel. You may
clean the grids by wiping with a damp cloth to prevent staining
and sticking from batter or oil buildup.
Be certain grids have cooled completely before cleaning. If
batter adheres to plates, simply pour a little cooking oil onto the
baked batter and let stand approximately 5 minutes, thus allowing
batter to soften for easy removal.
To clean exterior, wipe with a soft dry cloth. Never use an
abrasive cleanser or harsh pad. NEVER IMMERSE CORD,
PLUG OR UNIT IN WATER OR OTHER LIQUIDS.
Any other servicing should be performed by an authorized service
center.
WARRANTY
For Waring products sold outside of the U.S. and Canada, the
warranty is the responsibility of the local importer or distributor.
This warranty may vary according to local regulations.
WARNING: Any express or implied warranty on this product is
void if appliance is used on Direct Current (DC).

11
MEDIDAS DE SEGURIDAD
IMPORTANTES
Siempre que use aparatos eléctricos, debe tomar precauciones
básicas de seguridad, entre las cuales las siguientes:
1. LEA TODAS LAS INSTRUCCIONES.
2.
Desconecte el aparato antes de
cualquier manipulación o mantenimiento.
3. Este aparato no ha sido diseñado para ser puesto en
marcha mediante un temporizador o control remoto
independiente.
4. Este aparato puede ser usado por niños mayores de 8
años, personas que carecen de los conocimientos o la
experiencia necesarios para manipularlo, o personas cuyas
capacidades físicas, sensoriales o mentales están limitadas,
siempre que una persona responsable por su seguridad le
haya explicado el funcionamiento y los riesgos o supervise
el uso del aparato. Asegúrese de que los niños no jueguen
con este aparato. La limpieza y el mantenimiento no deben
ser llevados a cabo por niños, al menos que sean mayores
de 8 años y supervisados por un adulto.
5. Mantenga el aparato y el cable fuera del alcance de los
niños menores de 8 años.
6. Después de terminar, ponga el control de temperatura
en la posición "1" y el interruptor en la posición "OFF", y
luego desenchufe el aparato. Abra las placas y permita
que enfríen antes de limpiarlas. Elimine los residuos de las
placas con una brocha y absorbe el aceite con un papel
toalla o un paño seco. Limpie las placas con un paño
ligeramente húmedo se desea para eliminar y prevenir las
manchas y los residuos pegajosos.
7. Las piezas marcadas con el símbolo contiguo
se vuelven muy calientes durante el uso. NO
LAS TOQUE. Riesgo de quemadura. Permita
que el aparato enfríe completamente antes de
manipularlo.
8. El cuerpo del aparato puede volverse caliente durante del
uso.
9. No utilice este aparato si el cordón o la clavija estuviesen
dañados, después de que hubiese funcionado mal o que se
hubiese caído o si estuviese dañado. Regrese el aparato a
un centro de servicio autorizado para su revisión, reparación
o ajuste.

12
10. El uso de accesorios no recomendados o vendidos por el
fabricante presenta un riesgo de incendio, electrocución o
herida.
11. No lo utilice en exteriores, ni para ningún otro n que no sea
el indicado.
12. No permita que el cordón cuelgue del borde de la encimera
o de la mesa, ni que haga contacto con supercies
calientes.
13. No coloque el aparato sobre o cerca de un quemador a gas
o una hornilla eléctrica caliente, ni en un horno caliente.
14. Tenga sumo cuidado al mover un aparato que contenga
aceite u otros líquidos calientes.
15. Siempre conecte el cable a la toma de corriente antes
de encender el aparato. Siempre ponga el control de
temperatura en la posición no.1 y el interruptor en la
posición "OFF" antes de desconectar el aparato.
16. ADVERTENCIA: PARA REDUCIR EL RIESGO DE INCENDIO
O ELECTROCUCIÓN, LAS REPARACIONES DEBEN
SER REALIZADAS POR UN TÉCNICO CALIFICADO. NO
DESARME EL APARATO. NO CONTIENE PIEZAS QUE
PUEDAN SER REPARADAS POR EL USUARIO.
17. Para conseguir una copia de este manual de instrucciones,
visite www.waringcommercialproducts.com.
GUARDE ESTAS INSTRUCCIONES
INSTRUCCIONES ESPECIALES RELATIVAS AL
USO DE EXTENSIONES
El cable proveído con este aparato es corto, para reducir el
peligro de que alguien se enganche o tropiece con un cable más
largo. Se podrá usar una extensión eléctrica, siempre que respete
las precauciones siguientes.
La clasicación nominal de la extensión debe ser por lo menos
igual a la del aparato. Es importante colocar la extensión sobre la
encimera o la mesa de tal forma que niños o animales no puedan
jalarla o tropezar con ella.

13
Modelo Aparato
WW180E/K Gofrera
WW200E/K Gofrera doble
WWCM180E/K Barquillera
WWCM200E/K Barquillera doble
INSTRUCCIONES DE USO
1. Antes de usar el aparato por primera vez, limpie las placas
con un paño ligeramente húmedo para remover el polvo
acumulado durante el transporte. Retire el material de
embalaje y protección.
2. Enchufe el cable en una toma de corriente. Ponga el
interruptor en la posición "ON". La luz ROJA se encenderá.
Elija el nivel de temperatura deseado. El aparato empezará
Reciclado
Este símbolo indica que este producto no debe eliminarse junto con los
desechos domésticos en ningún país de la U.E. Para proteger el medio
ambiente, evitar perjuicios a la salud pública resultantes de la eliminación
de desechos no controlada y promover la utilización sostenible de los
recursos materiales, recíclelo. Lleve el producto a un centro de reciclaje o
un punto de recogida designado para su reciclado, o póngase en contacto
con el establecimiento donde adquirió el producto. Ellos se asegurarán
que el producto esté reciclado de manera ecológica.
SIGA LAS INSTRUCCIONES A CONTINUACIÓN PARA ASEGURARSE DE QUE EL
APARATO ESTÉ DEBIDAMENTE PUESTO A TIERRA. EL ENCHUFE, QUE VARIA SEGÚN
EL MODELO, SIEMPRE DEBE ESTAR PUESTO A TIERRA. LA LISTA DE PAÍSES A
CONTINUACIÓN NO ES EXHAUSTIVA. SIEMPRE AVERIGÜE EL TIPO DE ENCHUFE
DEL APARATO.
ENCHUFE DE TIPO G
(REINO UNIDO, IRLANDA,
CHIPRE, MALTA, MALASIA,
SINGAPUR, HONG KONG)
Enchufe con tres patas rectangulares que forman un triángulo.
Asegúrese de que el enchufe esté debidamente introducido en la
toma de corriente. Este enchufe protege contra el sobrevoltaje.
Clavija con dos patas cilíndricas. Hay un polo de puesta a tierra
en ambos lados de la toma de corriente. Este tipo de enchufe no
está polarizado. Por lo tanto, encajará en la toma de corriente
de cualquiera manera. Se realiza la puesta tierra al introducir la
clavija en la toma de corriente. Asegúrese de que el enchufe esté
debidamente introducido en la toma de corriente.
ENCHUFE DE TIPO F
(ALEMANIA, AUSTRIA, PAÍSES BAJOS,
SUECIA, NORUEGA, FINLANDIA,
PORTUGAL, ESPAÑA, EUROPA DEL ESTE)

14
a calentar. Esto debería demorar aproximadamente 4
minutos. Cuando esté listo, el indicador luminoso VERDE se
encenderá y el aparato emitirá 6 pitidos.
NOTA: Antes del primer uso, es importante engrasar las placas,
después de precalentarlas. Rocíe spray vegetal o cepille aceite
vegetal sobre las placas. Distribuya el aceite con una toallita de
papel o una brocha.
NOTA: Puede que el aparato produzca humo y un
ligero olor a quemado la primera vez que lo use.
Esto es normal.
PRECAUCIÓN: Las piezas marcadas con el símbolo
se vuelven muy calientes durante el uso. NO LAS TOQUE. Riesgo
de quemadura. Permita que el aparato enfríe completamente
antes de manipularlo. El cuerpo del aparato puede volverse
caliente durante del uso.
3. Para preparar gofres: Llene el vaso medidor con mezcla,
hasta los ¾ si la mezcla está líquida o hasta arriba si la
mezcla está espesa. Vierta la mezcla en el centro de las
placas. Espárzala uniformemente con una espátula a prueba
de calor. Cierre la gofrera y gire las placas 180°.
Para preparar barquillos: Llene la cuchara medidora con
mezcla o utilice 3 cucharadas de mezcla por barquillo (la
cantidad variará según el tipo y el espesor de la mezcla).
Vierta la mezcla en el centro de la placa y cierre las placas.
La mezcla se esparcirá uniformemente al cerrar las placas.
Gire las placas 180°.
Para lograr resultados óptimos, no abra el aparato
hasta que el gofre esté listo. Esto podría afectar el buen
funcionamiento del temporizador.
4. Cuando el gofre esté listo, la gofrera emitirá 3 pitidos y
el indicador luminoso verde se encenderá. El ajuste de
temperatura elegido determinará el tiempo de cocción.
Elija el nivel de temperatura deseado Para preparar gofres/
barquillos bien dorados, le aconsejamos que utilice el nivel
no. 4 (gofres)/no. 3 (barquillos).
5. Gire las placas 180°, ábralas y retire el gofre, soltando los
bordes con una espátula a prueba de calor. Nunca utilice
utensilios de metal. Esto podría dañar el revestimiento
antiadherente de las placas.
6. Los modelos WW200E/K y WWCM200E/K permiten
preparar dos gofres al mismo tiempo. Para preparar
solamente un gofre, siga las instrucciones más arriba. Para
preparar dos gofres al mismo tiempo, vierta la mezcla en el

15
2
1
34
5
6
READY
ON
OFF
POWER
WAFFLEMAKER
8
7
6
11
4
3
2
2
1
34
5
6
ON
OFF
POWER
Double
WAFFLEMAKER
8
7
6
11
4
3
2
CARACTERÍSTICAS
1. Placas para gofres/barquillos
(barquilleras no enseñadas)
WW180E/K y WWCM180E/K – Un
juego de placas, para preparar un
gofre/barquillo a la vez
WW200E/K y WWCM200E/K – Dos
juegos de placas, para preparar dos
gofres/barquillos a la vez
2. Temperatura variable
– Ajuste la temperatura según la
mezcla
o al gusto
3. Luz de encendido (roja)
– Indica que la gofrera está
calentando
4. Interruptor
5. Señal sonora (no enseñada)
– El aparato emite 6 pitidos cuando
está listo para cocer (primer gofre
solamente).
– Emite 3 pitidos cuando el gofre
está listo
6. Luz de listo (verde)
(luces independientes sobre los
modelos
WW200E y K/WWCM200E/K)
– Indica que la gofrera está lista
– Se apaga durante la cocción y se
vuelve a encender para indicar que
el gofre/barquillo está listo
7. Base
8. Asa
9. Vaso medidor (no enseñado)
10. Cuchara medidora (no enseñada)
11. Bandeja de goteo extraíble
WW180E/K
WWCM180E/K (no enseñado)
WW200E/K
WWCM200E/K (no enseñado)
1

16
Molde para barquillos y cono formador
Molde para tulipas y empujador
(accesorio opcionales)
ACCESORIOS PARA LOS MODELOS
WWCM180E/K & WWCM200E/K
centro de la primera placa, cierre las placas y gírelas 180°.
Abra entonces el otro lado. Vierta la mezcla en el centro de
la otra placa, cierre la placas y gírelas 180° en la dirección
opuesta. Los dos gofres cocerán simultáneamente. Los
indicadores luminosos verdes se encenderán cuando los
gofres estén listos, y también cuando las placas estén listas
para preparar los gofres siguientes.
7. Cómo formar barquillos (modelos WWCM180E/K y
WWCM200E/K): Forme el barquillo lo más pronto posible,
mientras el gofre esté aún caliente; los gofres fríos suelen
romperse. Precaución: Tenga cuidado, puesto que el
gofre estará caliente. Retire el gofre de la placa al nal
de la cocción. Ponga el molde para barquillos sobre una
supercie plana. Coloque el gofre sobre la parte plana
del molde, la orilla del gofre lo más cerca posible de la
abertura del cilindro. Empuje el gofre ligeramente adentro
del cilindro. Introduzca el cono de plástico adentro del
molde y gire en sentido ANTIHORARIO. Las ranuras del
cono guiarán el gofre adentro del molde para darle forma.
Empuje suavemente el gofre con la mano si fuera necesario.
Una vez formado el barquillo, permita que enfríe durante
aproximadamente 20 segundos. Deje el barquillo enfriar
adentro el molde, sin retirar el cono de plástico, o retírelo

17
del molde y mantenga su forma con las manos. Consejo:
Apriete la punta de barquillo antes de que éste enfríe. Esto
sellará la punta del barquillo y mantendrá el helado derretido
adentro del mismo.
8. Cómo formar tulipas: El molde para tulipas y el empujador
son accesorios opcionales. Forme la tulipa lo más pronto
posible, mientras el gofre esté aún caliente; los gofres fríos
suelen romperse. Precaución: Tenga cuidado, puesto que el
gofre estará caliente. Retire el gofre de la placa al nal de la
cocción. Ponga el molde para tulipas sobre una supercie
plana. Coloque el gofre en el centro del molde. Empuje
suavemente el gofre con el empujador. Tenga cuidado de
no presionar mucho; esto podría romper el gofre. Permita
que la tulipa enfríe, entre el molde y el empujador, durante
aproximadamente 20 segundos. Alce el empujador y retire
delicadamente la tulipa.
9. Después de terminar, ponga el control de temperatura
en la posición "1" y el interruptor en la posición "OFF", y
luego desenchufe el aparato. Abra las placas y permita que
enfríen antes de limpiarlas (véase la sección "Limpieza y
mantenimiento").
NOTA: Las placas de las gofreras/barquilleras Waring
Commercial están cubiertas con un revestimiento
antiadherente. Sin embargo, le aconsejamos que engrase las
placas con aceite vegetal antes del primer uso. Distribuya el
aceite con una toallita de papel o una brocha.
CONSEJOS PARA PREPARAR
GOFRES PERFECTOS
Utilice el ajuste de temperatura no. 4 para preparar gofres con
mezcla preparada para gofres o “pancakes”.
También le aconsejamos que utilice el nivel 4 para preparar
gofres belgas. Para que los gofres sean más crujientes y cocidos,
elija un ajuste más alto.
Para que los gofres sean homogéneos, vierta la mezcla en el
centro de la placa y espárzala hacia las orillas, hasta cubrir
totalmente la supercie de la placa.
Llene el vaso medidor hasta los ¾ o más.

18
El asa del vaso medidor le permitirá colgar éste en el borde del
tazón.
Revuelva la harina antes de medirla. Después de echarla en el
vaso medidor, pase el lo de un cuchillo encima de éste para
eliminar el exceso. Medir la harina precisamente le permitirá
preparar gofres más ligeros. Los gofres son mejores recién
hechos, pero si desea, los puede mantener calientes en un horno
precalentado a 95°C (200 °F), adentro de un molde o envueltos
en papel de aluminio. Nota: los gofres envueltos en papel de
aluminio serán menos crujientes.
Los gofres se congelan muy bien. Permita que enfríen, y luego
póngalos en una bolsa hermética, entre hojas de papel encerado.
Recaliéntelos en el horno o en la tostadora.
CONSEJOS PARA PREPARAR
BARQUILLOS PERFECTOS
Le aconsejamos que utilice el ajuste de temperatura no. 3 para
preparar barquillos. Para que los barquillos sean más crujientes
y cocidos, elija un ajuste más alto o presione el asa durante 5–10
segundos antes de girar las placas.
Para conseguir resultados homogéneos, vierta la mezcla en el
dentro de la placa y cierre las placas inmediatamente. Por lo
general, la mezcla se esparcirá bajo el peso de la placa superior.
Sin embargo, si la mezcla es muy espesa, se podrá esparcir (muy
rápidamente) con una espátula a prueba de calor.
Forme el barquillo lo más pronto posible, mientras el gofre esté
aún caliente; los gofres fríos suelen romperse. Tenga cuidado de
no quemarse.
Procure mantener la punta del cono formador lo más cerca
posible de la orilla del gofre al formar el barquillo. Esto sellará la
punta del barquillo y mantendrá el helado derretido adentro del
mismo.
Permita que los barquillos enfríen completamente antes de
usarlos.

19
PROTECCIÓN ANTI-SOBRECALENTAMIENTO
ESTE APARATO ESTÁ EQUIPADO CON UN SISTEMA DE
PROTECCIÓN QUE APAGA AUTOMÁTICAMENTE EL APARATO
EN CASO DE RECALENTAMIENTO. SI ESTO OCURRIERA,
DESCONECTE EL APARATO Y PERMITA QUE ENFRÍE DURANTE
10 MINUTOS ANTES DE CONTINUAR.
LIMPIEZA Y MANTENIMIENTO
Después de terminar, ponga el control de temperatura en
la posición "1" y el interruptor en la posición "OFF", y luego
desenchufe el aparato. Abra las placas y permita que enfríen
antes de limpiarlas.
Nunca desarme el aparato para limpiarlo. Elimine los residuos
de las placas con una brocha y absorbe el aceite con un papel
toalla o un paño seco. Limpie las placas con un paño ligeramente
húmedo se desea para eliminar y prevenir las manchas y los
residuos pegajosos.
Compruebe que las placas están completamente frías antes
de limpiarlas. Si hay mezcla pegada sobre las placas, vierta
un poco de aceite encima y espere durante aproximadamente 5
minutos. Esto remojará la mezcla seca para facilitar la limpieza.
Limpie el cuerpo del aparato con un paño suave seco. Nunca
utilice limpiadores abrasivos o estropajos metálicos. NUNCA
SUMERJA EL CORDÓN, LA CLAVIJA O EL APARATO EN AGUA
U OTRO LÍQUIDO.
Cualquier otro servicio debe ser realizado por un técnico
autorizado.
GARANTÍA
La garantía de los productos Waring adquiridos fuera de
los Estados Unidos y del Canadá es la responsabilidad del
importador/distribuidor local. Los derechos de garantía pueden
variar según las regulaciones locales.
ADVERTENCIA: El utilizar este aparato con corriente directa (C.D.)
invalidará la garantía.

20
IMPORTANTES CONSIGNES DE
SÉCURITÉ
L'utilisation d'appareils électriques requiert la prise de
précautions élémentaires, parmi lesquelles les suivantes :
1. LIRE TOUTES LES INSTRUCTIONS.
2. Débrancher l'appareil avant toute
manipulation ou entretien.
3. Cet appareil n'est pas compatible avec une minuterie
ou un dispositif de mise en marche par télécommande
indépendant.
4. Cet appareil peut être utilisé par des enfants de plus
de 8 ans ou des personnes souffrant d’un handicap
physique, mental ou sensoriel, ou qui ne disposent pas
des connaissances ou de l'expérience nécessaires, à
condition qu'une personne responsable de leur sécurité
leur en ait expliqué le fonctionnement et les risques, ou
bien les encadre. Il convient de surveiller les enfants an de
s'assurer qu'ils ne jouent pas avec l'appareil. Le nettoyage et
l'entretien ne devraient pas être effectués par des enfants, à
moins qu'ils n'aient plus de 8 ans et ne soient encadrés par
un adulte.
5. Garder l'appareil et le cordon hors de portée des enfants de
moins de 8 ans.
6. Lorsque vous avez terminé, placer le cadran de réglage
de température sur "1" et l’interrupteur sur "OFF", puis
débrancher l'appareil. Ouvrir les plaques et les laisser
refroidir avant de les nettoyer. Éliminer les miettes à l’aide
d’un pinceau à pâtisserie et essuyer les plaques avec une
serviette en papier ou un linge sec pour absorber l’huile.
Utiliser un linge humide au besoin pour éliminer y prévenir
les taches et les résidus collants.
7. Les pièces marquées du symbole ci-
contre deviennent très chaudes pendant le
fonctionnement. NE PAS LES TOUCHER. Risque
de brûlure. Laisser refroidir l'appareil avant de le
manipuler.
8. Le corps de l'appareil peut devenir chaud pendant le
fonctionnement.
9. Ne pas utiliser l'appareil si le cordon d’alimentation
ou la che sont endommagés, s’il ne fonctionne pas
correctement, s’il est tombé ou s’il est abîmé. Envoyer
This manual suits for next models
7
Table of contents
Languages:
Other Waring Waffle Maker manuals

Waring
Waring WMK200 User manual

Waring
Waring WMK600 User manual

Waring
Waring WWCM180 User manual

Waring
Waring WW250X2 User manual

Waring
Waring WWD200 User manual

Waring
Waring X E Series User manual

Waring
Waring WMK300 User manual

Waring
Waring WWCM180E/K User manual

Waring
Waring WMK250SQ User manual

Waring
Waring WMK Series User manual