Navigating the Menus….
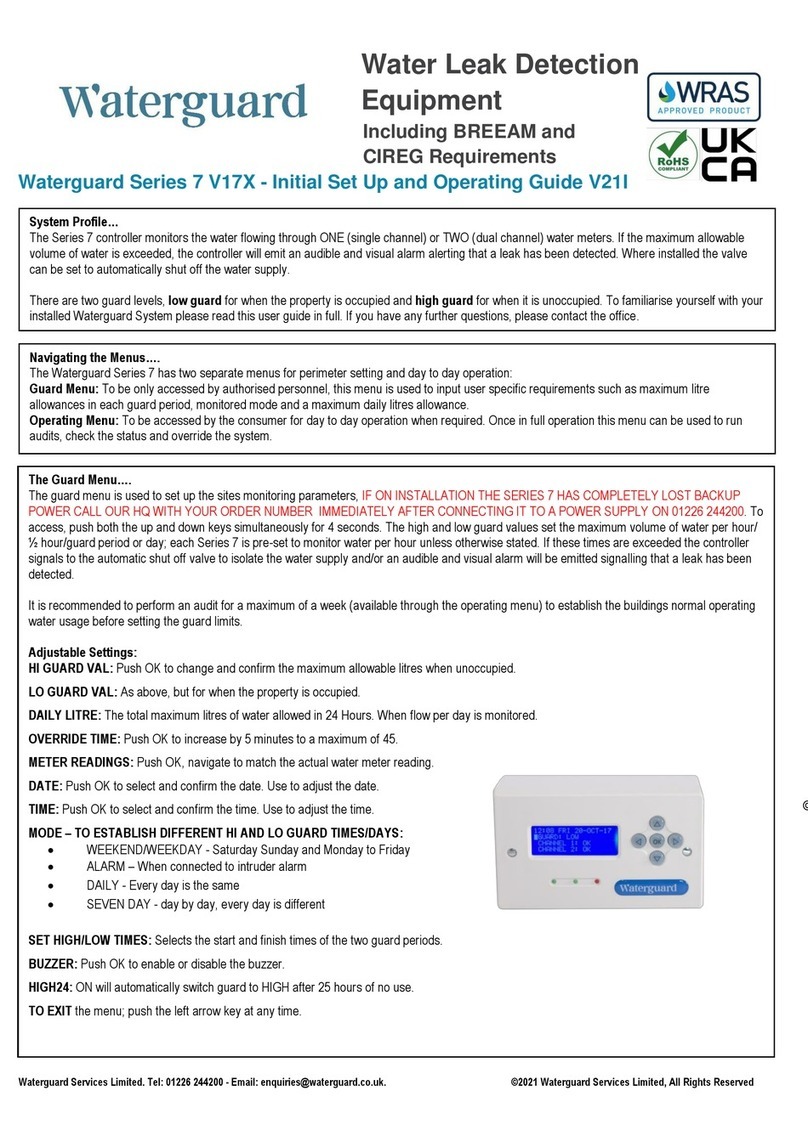
The Waterguard Flow 7 has two separate menus for perimeter setting and day to day operation:
Guard Menu: This menu is used to input user specific requirements such as maximum litre allowances in each
guard period, monitored mode and a maximum daily litres allowance.
Operating Menu: To be accessed by the home owner for day to day operation when required. Once in full
operation this menu can be used to run audits, check the status and override the system.
Waterguard
Services
Limited:
22
Oakwell
Business
Centre,
Oakwell
View,
Barnsley
,
South
Yorkshire,
S71
1HX.
Tel:
01226
244200.
Email:
[email protected].
©2023
Waterguard
Services
Limited,
All
Rights
Reserved
The Operating Menu….
Push any key to wake the display which will show the Home Page. You can then navigate from left to right
to six menu pages:
OVERRIDE PAGE (LEFT ARROW KEY): Pressing OK will allow unlimited use of water for a selected
length of time up to 45 minutes. The controller will revert to normal operation after this time has ended. The
override can be cancelled at any time by using the left arrow key and pressing OK when on this page.
HOME PAGE (ANY KEY): This page is the first page to be displayed. Using the navigation keys, you can
change the guard level between high and low, open and close any valves and check the status of each
channel. Each channel will show either:
•OK: Valve(s) open, no unusual water usage.
•CLOSED: Valve(s) manually closed, to do this press OK on selected channel.
•HI CLOSE: Only when the Flow 7 is set to close the valve during high guard periods.
•LEAK CLOSED: Valve(s) automatically closed. Water limits have been exceeded and a leak
has been detected.
Guard levels can be manually changed outside set times by pressing OK, guard level will then show either
MANUAL HI or MANUAL LOW.
MODE PAGE (RIGHT ARROW KEY): The mode can be either PERMANENT HIGH GUARD or NORMAL
where the guard levels change as selected in the Guard menu. POWER display is either mains or backup
battery. This page also displays the meter readings.
AUDIT PAGE (RIGHT ARROW KEY x 2): The audit page records the maximum and minimum litres of
water used in a period. Depending on the system setting, the period can be 1/2 Hour, 1 Hour Guard Period
or 24 Hour.
EVENTS LOG PAGE (RIGHT ARROW KEY x 3): The events log page records all major events in reverse
order. Each event is time and date stamped and includes:
•LEAK DETECTED
•ACCESS GUARD MENU
•USER OPENED VALVE 1
•CONTROLLER STARTUP
SYSTEM INFORMATION (RIGHT ARROW KEY x 4): This page displays system information and
Waterguard contact details for customer support.
Power Loss….
In the event of any mains power loss the Flow 7 is equipped with a backup battery which will continue to
provide uninterrupted power for at least 12 months up to 5 years.
The Guard Menu….
The guard menu is used to set up the sites monitoring parameters, IF ON INSTALLATION THE FLOW 7
HAS COMPLETELY LOST BACKUP POWER CALL OUR HQ WITH YOUR ORDER NUMBER
IMMEDIATELY AFTER CONNECTING IT TO A POWER SUPPLY ON 01226 244200. To access, push
both the up and down keys simultaneously for 4 seconds. The high and low guard values set the maximum
volume of water per hour/ ½ hour/guard period or day; each Flow 7 is pre-set to monitor water per hour
unless otherwise stated. If these times are exceeded the controller signals to the automatic shut off valve
to isolate the water supply and an audible and visual alarm will be emitted signalling that a leak has been
detected.
It is recommended to perform an audit for a maximum of a week (available through the operating menu) to
establish the buildings normal operating water usage before setting the guard limits.
Adjustable Settings:
HI GUARD VAL: Push OK to change and confirm the maximum allowable litres when unoccupied.
LO GUARD VAL: As above, but for when the property is occupied.
DAILY LITRE: The total maximum litres of water allowed in 24 Hours. When flow per day is monitored.
OVERRIDE TIME: Push OK to increase by 5 minutes to a maximum of 45.
METER READINGS: Push OK, navigate to match the actual water meter reading.
DATE: Push OK to select and confirm the date. Use to adjust the date.
TIME: Push OK to select and confirm the time. Use to adjust the time.
MODE –TO ESTABLISH DIFFERENT HI AND LO GUARD TIMES/DAYS:
•WEEKEND/WEEKDAY - Saturday Sunday and Monday to Friday
•ALARM –When connected to intruder alarm
•DAILY - Every day is the same
•SEVEN DAY - day by day, every day is different
SET HIGH/LOW TIMES: Selects the start and finish times of the two guard periods.
BUZZER: Push OK to enable or disable the buzzer.
HIGH24: ON will automatically switch guard to HIGH after 25 hours of no water use.
TO EXIT the menu; push the left arrow key at any time.

