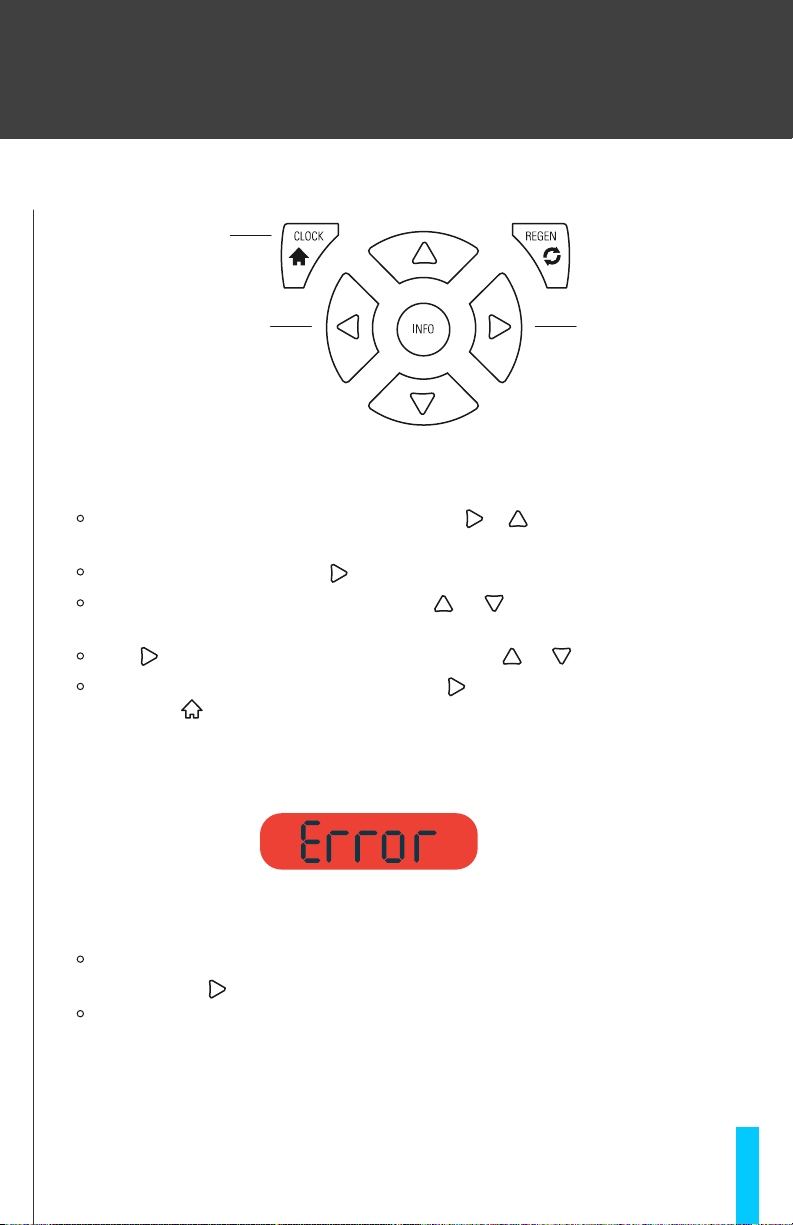
Enter the Installer Screens by pressing and holding +simultaneously for
3-5 seconds.
Once the display changes, press until you reach the “Regeneration Time” display.
When on the “Regeneration Time” display, use or to adjust the hour. The hours will
cycle through AM and PM.
Press to move the cursor to adjust the minutes. Use or to adjust the minutes.
Advance to the next Installer Screen by pressing OR you can return to the home display
by pressing
MAINTENANCE
This manual is applicable to one of the following model numbers:
Pro Series: SMX10, SMX12, SMX13
With minimal care, your system is designed to serve you for many years. While constant attention
to your system is not necessary, the following suggestions will ensure your system’s performance
and your convenience and satisfaction.
MAINTENANCE
• Salt in the brine tank is used as a resin ‘cleaner’ to remove contaminants during the
regeneration process. Check the salt level of the brine tank every month to make
sure your system is using salt. Your SOFTMAX PRO® will function properly whether the
salt tank is near full or near empty, refill when there is about 1 bag worth of salt remaining
• Use only premium-grade regenerant salt that is designed specifically for use with water
softeners and conditioners. Sodium (NaCl) salt may be used. Potassium (KCl) is
recommended in most applications for superior taste, odor, aesthetic and environmental benefits.
SERVICE ISSUES
• If the Triton control valve system display does not appear, check to make sure the
system is plugged in and that there is power at the receptacle. If the unit does not respond
with power present, contact your WaterTech Dealer.
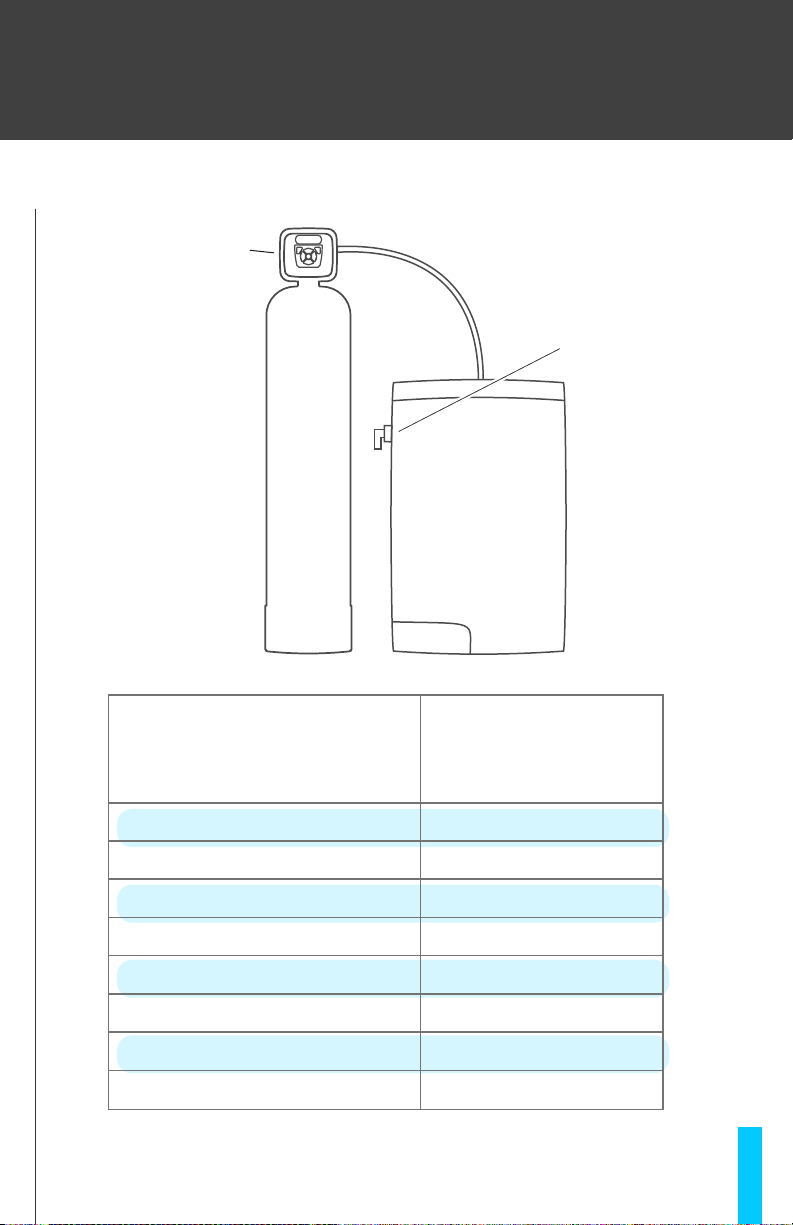
• The manual bypass valve (which is located at the rear of the unit) is designed to isolate the unit
from the plumbing for servicing or to shut off the water supply to the unit in the event of a leak
at the softener. Consult the operating diagram on page 13 of this manual for instructions to
position your bypass valve for either service or isolation.
• If you experience an extended power outage (over an hour in length), you may need to reset the
time of day on the Triton control valve. The internal battery is designed to retain the time of day
for up to 24 hours. There is no need to reset any other part of the program as this is kept in
non-volatile, permanent memory. Consult the programming instructions on page 3 of this
manual for instructions to set the electronic time clock of the Triton control valve.
• If you experience a change in water quality:
1. First check to see if your brine tank is empty (see above). If necessary, add
regenerant salt.
2. Check to see if your system has power (see above).
3. Check to see if the drain line has a kink that may be restricting flow during
regeneration. Correct, if necessary, or contact your WaterTech Dealer.
5