WBT CVABC-G692 User manual


M..tfi.rtt*d
Ratedvoltage ofchareer 100-240V50/60H2
?, (\/
Battery voltage _._ ,
Rated power 35W
Battery capacitv 2200rn {h
Rated no-load speed 3600revolutions per minute
Chareing time ,rrmirr,..
Type of power adapter p-050B-B3912/3
Charging current l000milliampere
Weight +OOg
General cutting capacit_v 0-gmm
@
Sound pressure value 70dbrA)

80dhrA) rninss for WBT-I Electric Scisso
0.1 Rm/s
Sound enersv value
Vibration value
ndom accessories/ quan
Fuselage
CutterheadA(sharp blade) 1
Cutter head B (blunt blade) I
Battery I
Plue batterv
Power adapter I
Charsins stand I
Instructions I
We suggest that you purchase corresponding spare parts from shops of electric
power tools.
1.
2.
3.
4.
5.
6.
7.
8.
Please read the instructions carefully before using it.
The power adapter can only be connected with appropriate AC supply.
The things to be cut should not be too thick, to avoid reducing the service life
of the scissors head, or even burning out the machine.
check whether there is abnormal sound or spark for all the spare parts being
operated before using.
wBT-l Electric Scissors must be moisture protection, can only be used indoor,
and avoid to be placed in rain or water.
Avoid short circuit of the power adapter and charging stand, and also avoid
short to the battery.
only the original equipment manufacturing parts can be used, otherwise it
may lead to fire disisters, electric shock, or personal injury.
If the flexible wire of power adapter is damaged, manufacturer, the
maintenance center or other qualified professional personnel should be

9.
10.
specially agreed to change it, so as to avoid dangers.
Burning battery or throwing it to the fire is prohibited, because it may lead to
explosion. Avoid charging the battery with leakage, and avoid charging the
non-rechargeable batteries.
In over high temperature or over use circumstances, the battery leakage may
appear. If the fluid that leaked from the battery stains your skin, you should
first clean it with soap, and then rinse with lemon juice or vinegar. If it
accidentally flows into the eyes, you should immediately rinse with clean
water, and go to the hospital for examination and treatment.
arsins Descri
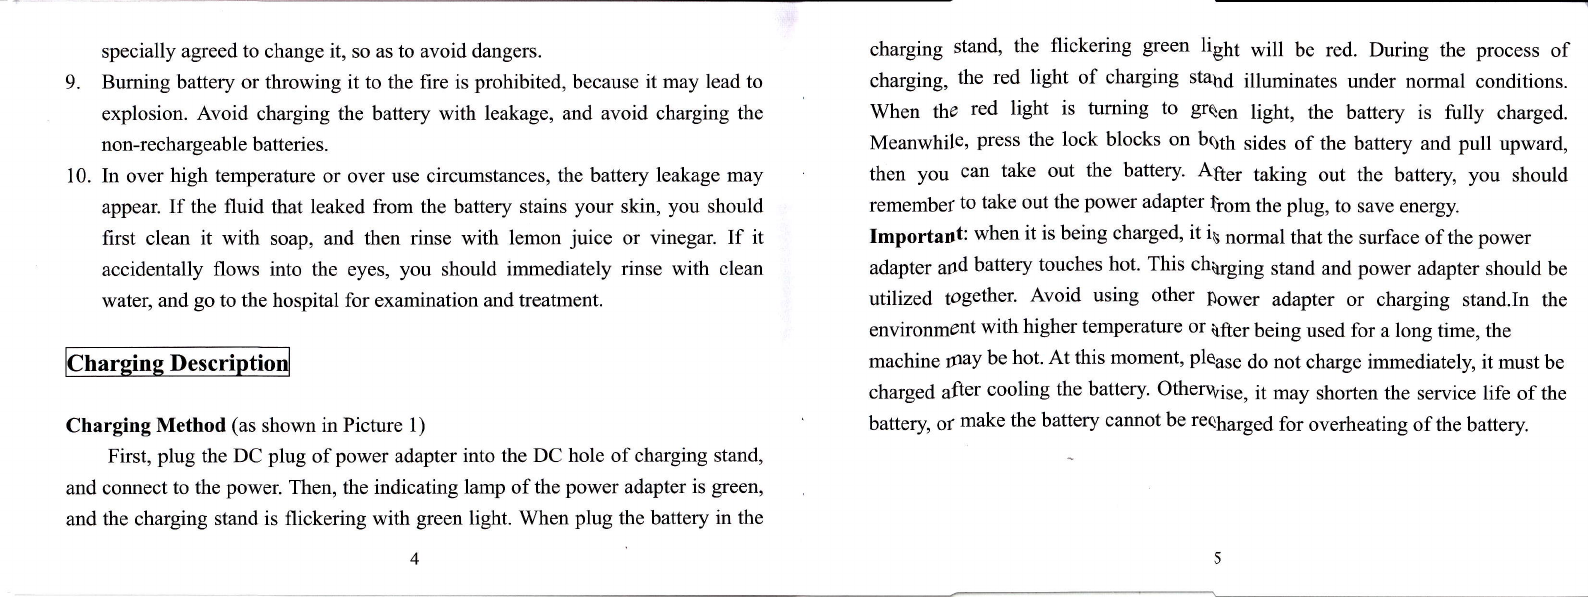
Charging Method (as shown in Picture 1)
First, plug the DC plug of power adapter into the DC hole of charging stand,
and connect to the power. Then, the indicating lamp of the power adapter is green,
and the charging stand is flickering with green light. When plug the battery in the
charging stand, the flickering green light will be red. During the process of
charging, the red light of charging sta66 illrplnates under normal conditions.
When tho red light is tuming to grq"r-, light, the battery is fully charged.
Meanwhile, press the lock blocks on bg6 sides of the battery and pull upward,
then you can take out the battery. After taking out the baltery, you should
remembef to take out the power adapter |1om the plug, to save energy.
rmportant: when it is being charged, it ig nsrmsl that the surface of the power
adapter agdbattery touches hot. This churging stand and power adapter should be
utilized logether. Avoid using other Fower adapter or charging stand.In the
environment with higher temperature or \fter being used for a long time, the
machine gaybe hot. At this moment, Please do not charge immediately, it must be
charged nfter cooling the battery. Otherrrvhs, it may shorten the service life of the
battery,61make the battery cannot be rechslgsd for overheating of the battery.

tr
ll
ri battery
charqing stand
Picture I
6
nstructions for Installins or Removins Cutter
l. Installation of Cutter Head: (as shown in Picture 2)
Take the fuselage by one hand, and hold the skid-resistant part of the cutter
head with thumb and forefinger by the other hand (the hand should not touch
the blade as far as possible). Point the cutter head to the fuselage, and then
plug in (no matter the upper slide insert is right point to the neck of the
oscillating object). When it is inserted to the half way, the stop piece of the
cutter head may be lifted up by the cutter head. When it is fully inserted, you
may hear the sound of "click". It means the stop piece of the cutter head is
reset and inserted in the neck of the cutter head with the help of spring. By
this time, the connection is completed (see Picture 3).
Remarks: a. Please extract the battery or plug battery when
installing or removing the cutter head!
b. Any height or angle of the insert for upper slide, or
7

oscillating objects can be accurately inserted in the neck.
c. Cutter head A is sharp, so it is suitable for cutting
thick materialsl cutter head B is blunt, so it is suitable for thin and
soft materials.
2. Removal of Cutter Head:
Pull up the stop piece of the cutter head with one hand (direction as shown in
the picture), and hole the skid-resistant part of the cutter head with thumb and
forefinger with the other hand (the hand should not touch the cutter head as
far as possible), and then pull the cutter head outward.
I
'l stop piece of cutter head
pull
insert of the upper slide
l-
Xblocl slot
x
lt
rkid-resistant
Pict.re2
9
part
neck of the oscillating objecls

nstallation and Removal of Batterv (as shown in Picture 4
Installation: point the battery to the fuselage and insert it with force. If it is
upside down, it may not be installed.
Removal: press the upper and lower lock blocks with thumb and forefinger
respectively, hold downward with force, and then pull outside the battery.
nstallation and Removal of Plus battery (as shown in Picture
Installation: point the plug battery to the fuselage and insert it. If it is upside
down, it may not be inserted. And then, pull the DC plug into the adapter.
Removal: press the upper and lower lock blocks with thumb and forefinger
respectively, hold downward with force, and then pull outside the plug battery.
Picture 3
10 ll

j nr"rr battery DC plug
/
,{,%
-i\
\_ -a
Picture 5
l3
fuselage

l.
se Instructi
Press the switch button when it is electrified, and then point the scissors
mouth to the place to be cut. Push the electric scissors and cut in straight line
or curve in accordance with the lines in the picture. (picture 3)
When the battery is full, if it is strenuous to cut, please stop operating, to
avoid damaging the machine.
Please place the electric scissors far away from children, to avoid placing the
finger into the cutter mouth.
arranty C1
l. This company only repairs the product with defective quality for free, and the
warranty period is for three months.
2. The cutter head is not within the warranty scope, because it belongs to
consumable.
3. The following conditions may not be repaired for free:
a) any natural wear, or overloading work;
b) artificial damage such as misuse;
c) damage that caused by improper transportation after being sold;
d) damage that caused by not using the original equipment or spare parts;
e) any products ofselfalteration or overhauling
2.
J.
14 t5

Guarantee Card
Certification No.: Date of Manufacturing:
Date of Purchase: year_month
Seller:
Address of Seller:
Telephone of Seller:
Seal of Seller:
Name of User:
Contact Number:
E-mail:
Mailing Address:
t6
Table of contents
Other WBT Cutter manuals