1�5 Definition of qualified personnel
- Qualified personnel, as defined by these instructions, are persons who, based on
their professional training, their knowledge (including the relevant standards and
regulations), experience and manual skills, can independently assess and properly
perform assigned work tasks (in conjunction with WEH®Products) and can thus
independently recognize and prevent potential dangers at an early stage.
2. INTENDED USE
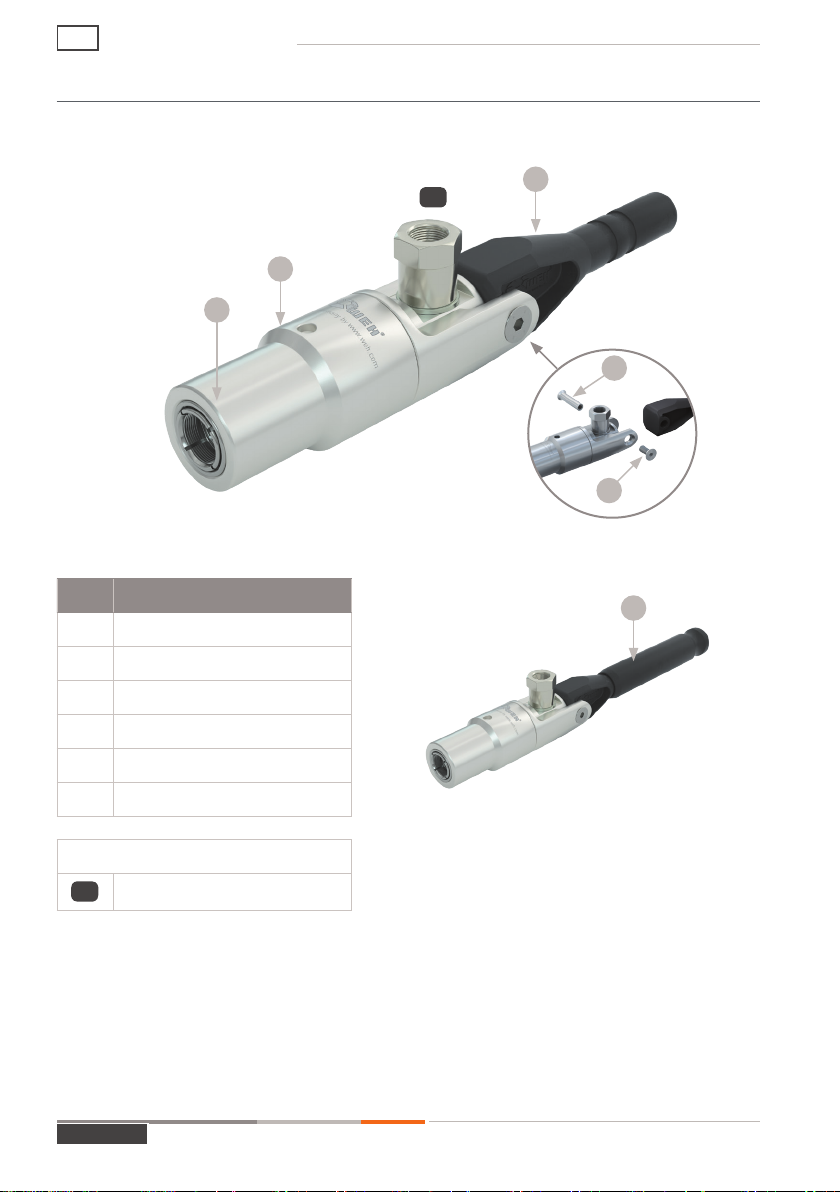
- The WEH®TW241 Connector has been developed for pressure and vacuum testing
of straight tubes. The connector comes in many different sizes and forms.
ÎOnly use the WEH®Product if you fulfill the following specifications:
- The test piece must have a surface finish of ≤Rz8µm in order to seal under the
specified pressure.
- The max. hardness of the test piece is not allowed to exceed 28HRC in order for
the clamping jaws to grip correctly.
Note: Depending on the hardness of the test piece, clamping jaw marks may appear
on the test piece.
Contact WEH if the application lies outside the specified values or if you have any
questions regarding the surface finish.
ÎAlways ensure that the WEH®Product is used only within the range of its intended use.
Please note in particular the technical data of the WEH®Product in Chapter 4 as well
as the marking on the WEH®Product itself.
- This WEH® Connector has been specially developed for your application and require-
ments that you specified when placing your order. The connector only works properly
together with your connection and may only be attached to this connection.
- This WEH®Product is generally classified as pressure accessory in accordance
with Article 2 (5) of the Pressure Equipment Directive 2014/68/EU and is consid-
ered to be similar to piping. This WEH®Product may not be used as safety acces-
sory. Furthermore, it is pointed out, that this WEH® Product is designed and placed
on the market in accordance with the requirements of Article 4 (3) of the Pressure
Equipment Directive 2014/68/EU. The assessment with regard to a different classi-
fication can, however, be made on request.
Caution: Any use beyond the scope of application is considered as unintended use
and may result in personal injury and/or property damage.
MD-10026-L51-R1.0.0-03 Page 9
Operating instructions AE