WEL-TECH BW-2050 User manual

Weltech Internaonal Limited
BW‐2050Manual
INTRODUCTION
The BW‐2050 has been designed to give the operator complete
flexibility for manual live bird weighing. The BW‐2050 is baery
operated and will weigh for up to 15 hours between recharging and
will retain all weights even when the baery is flat.
The BW‐2050 can store up to 5000 bird weights.
Weights can be placed into 1‐50 separate stores.
All informaon is stored unl the CLEAR sequence has been
completed.
The maximum weight the unit can weigh is 10kgs (22lbs) for the chicken
version and 50kgs (110lbs) for the turkey weigher.
BW‐2050ControlPanel
Printer, Computer and USB (oponal) ports are on the side
1
Picture is of BW‐2050 Full kit

CALIBRATION
The BW‐2050 is calibrated by Weltech before it leaves the factory.
Should you need to calibrate the weigher or set a fixed tare weight if
using a shackle then follow the instrucons below.
TOCALIBRATETHEWEIGHER
Have the weigher switched offwith no shackle on. Hold down the CAL
key and turn on the weigher. When WELTECHSETUPis displayed
release the CAL key. The display will show CALIBRATION with 5.000 KGS
flashing below. You can adjust the calibraon weight up and down using
the INC and DEC keys to set the calibraon weight to the exact weight of
your calibraon weight. Press the ENTER key once the weight is set. The
display will show CALIBRATENOW?[SETUP]=YES. Press the SETUP key
and the display will flash up CALIBRATINGZEROand then the display
will show PLACETHEWEIGHT. Hang on your calibraon weight and the
display will show CALIBRATIONSCALINGand then SAVINGNEW
SETTINGS. You can then check the calibraon by weighing your
calibraon weight.
TOTARETHESHACKLE
Make sure the display shows 0.000 KGS if not press TARE. Power offthe
weigher and aach the shackle. Power on the weigher and press the
TARE key. The weigher will tare out the shackle weight and show
0.000 KGS. This tared weight will stay in the weigher unl another tare is
done.
SETUPOPTIONS
To reset the weigher back to Factory sengs hold the MEMORYSTORE
buon and turn on. The display will show WELTECHSETUPunl the
buon is released, when the buon is released FACTORYRESETwill be
displayed, press ENTER to change sengs. The display will show
DISPLAYSTYLE, it can be set to metric or USA by pressing the INC
arrow, when set press ENTER, The display will show WEIGHTRANGE
and CHICKEN will flash, push ENTER. The display will now show FULL
FEATURESand ON will flash, press ENTER. HOUR will then show on the
display and the correct me can now be set by using the INC or DEC
arrows. Once the correct hours have been set press ENTER, the correct
minutes, day, month and year can be set the same way. When
completed the display will show AREYOUSURE, follow the instrucons
on the display and it will show INITIALZING followed by SAVINGNEW
SETTINGS.
The display will then revert to normal.
THE WEIGHER WILL NOW NEED CALIBRATING.
See page 2
3
2

OPERATORSETTINGS
Factory sengs
To set operator sengs hold the SETUPbuon 100x50
down and turn ON, the display will show WELTECH
SETUP when the buon is released DATASTORES
will be displayed, by pressing the INC or DEC arrows
the number of houses or pens data is to be stored
in can be set, 1x5000 to 100x50, when set press ENTER.
SELECTSTOREON
This funcon allows the user to select the house or
pen in which the bird weights are to be stored. If
turned offthe weighings will be stored in numerical
order.
ENABLEBUTTONS ON
Allows full usage of the front panel
BLUETOOTHRATE9600BAUD
Not an available opon.
PRINTERRATE9600BAUD
This is the speed the data is sent to the printer and
can be changed using the INC or DEC buons. Baud
rate for serial port.
BLUETOOTHH/SHKOFF
Not an available opon.
PRINTERH/SHK OFF
This is not used with our printer.
PRINTERLINEFEED ON
Sends line feed to printer after a new line
PRINTERDELAY 0.1SECS
This is the delay time from pressing the print
data button to the actual print function.
WEIGHTRANGE ChickenorTurkey
To be set to the weight capacity of the BW‐2050
10kgs for chickens, 50kgs for Turkeys.
WEIGHTUNITS KGS
This option allows the operator to select the
measurement of weight to be used kgs, grms, lbs.
BACKLIGHTTIMED
This option allows for the display back light to
be turned off, on or on for a 30 second period.
GRADELAMPSOFF
When the weigher has grading lights fitted
this is ON when using the grading lights.
DIGITCLAMP1
Displays Filter (if weight filter is enabled )
4 5

STABILITY 10
Repeons within stability jump limit.
Do not alter.
STABILITYJUMP5
Variaon in ADC count considered stable
do not alter.
WEIGHTFILTER3
Filters out movement on the weigher
FILTERJUMP0
Filters out excessive sharp movements
on the weigher
WEIGHTFREEZEON
Shows accepted weight unl ready
EVENNESS10%
Percentage above and below average
for stascs
HIGHLIMIT9.999
Upper acceptance limit
LOWLIMIT0.050
Lower acceptance limit
HIDEDISPLAYOFF
Hides the weight when ready
AUTOZEROFILTER6
Drives the display towards zero at low weights
Do not alter.
VOLTAGEFILTER6
Baery voltage filter steepness
Do not alter.
DIVISIONS1
Where a number of birds are being weighed
together the program can be set to divide
by the number of birds to give an average
DEVIATIONMETHODWELTECH
Universal standards (Weltech)
Bernard Mahews standard
FASTMODEOFF
Selects the speed the weigher starts up in.
LANGUAGE ENGLISH
Selects the language the weigher starts up in.
(English, Spanish, French or Portuguese)
6 7

POWERDOWN15MINS
If the unit has not been used it will
automacally turn offaer the pre set
me.
To exit and or store new sengs press ENTER and then CLEAR. You do
not have to go through all the set up.
DURING NORMAL OPERATION THE SET UP BUTTON CAN BE USED TO
ENTER THE TIME AND DATE, UNIT OF MEASURMENT AND TO SET A
TARGET WEIGHT.
A TARGET WEIGHT CAN BE SET BY PUSHING THE INC OR DEC KEYS. THE
WEIGHER WILL ON COMPLETION OF THE WEIGHINGS GIVE A
% EVENNESS FIGURE NOT ONLY AGAINST THE AVERAGE WEIGHT BUT
ALSO AGAINST THE SET TARGET .
OPERATINGINSTRUCTIONS
Turn the weigher on by pressing the ON buon.
To clear data already stored in the weigher press CLEAR, the display will
then ask you to press ENTER aer this the display will then ask you to
confirm by pressing SETUP, to escape press CLEAR. Data will remain in
the memory unl cleared.
Thedisplaywillthenshow:
STORE1Baerychargeindicator.Time
Select the house the weights are to be stored in by pressing MEMORY
STORE, press the INC or DEC arrow to select the house or pen number.
Press MEMORYSTORE or ENTER, the store number will then be
displayed. Weighing can now begin.
Place a bird into the shackle, when the weight has been accepted the
red triangle will come on and the display will light up (if back light has
been programmed) the display will show ACCEPTED and the weight.
8 9
Baery indicator will flash
when being charged

BEFOREMOVINGTHEWEIGHERTURNITOFF
The same procedure is repeated for each house or pen that is to be
weighed.
SHOWDATA
To see weights in any parcular house at any me press SHOWDATA
then by pressing the INC or DEC arrows the house number to be
checked can be selected. Press Enter and the display will show :
Total number of birds weighed
Average weight
Deviaon
Evenness
CV
PRINTOPTIONS
Data to be printed can be selected by pressing the PRINTOPTIONSkey,
the display will show PRINTEVERYBIRD and flash ON, to turn this
opon on or offpress the INC or DEC arrow then ENTER. The display will
then show PRINTHYSTORGRAMON to turn on or offpress the INC or
DEC arrow, when selected press ENTER. The display will show PRINT
SUMMARYwhich can be turned on or offby the INC or DEC arrows,
when selected press ENTER. The display will show PRINTGROUP where
you can select if you want stores grouping together. The display will
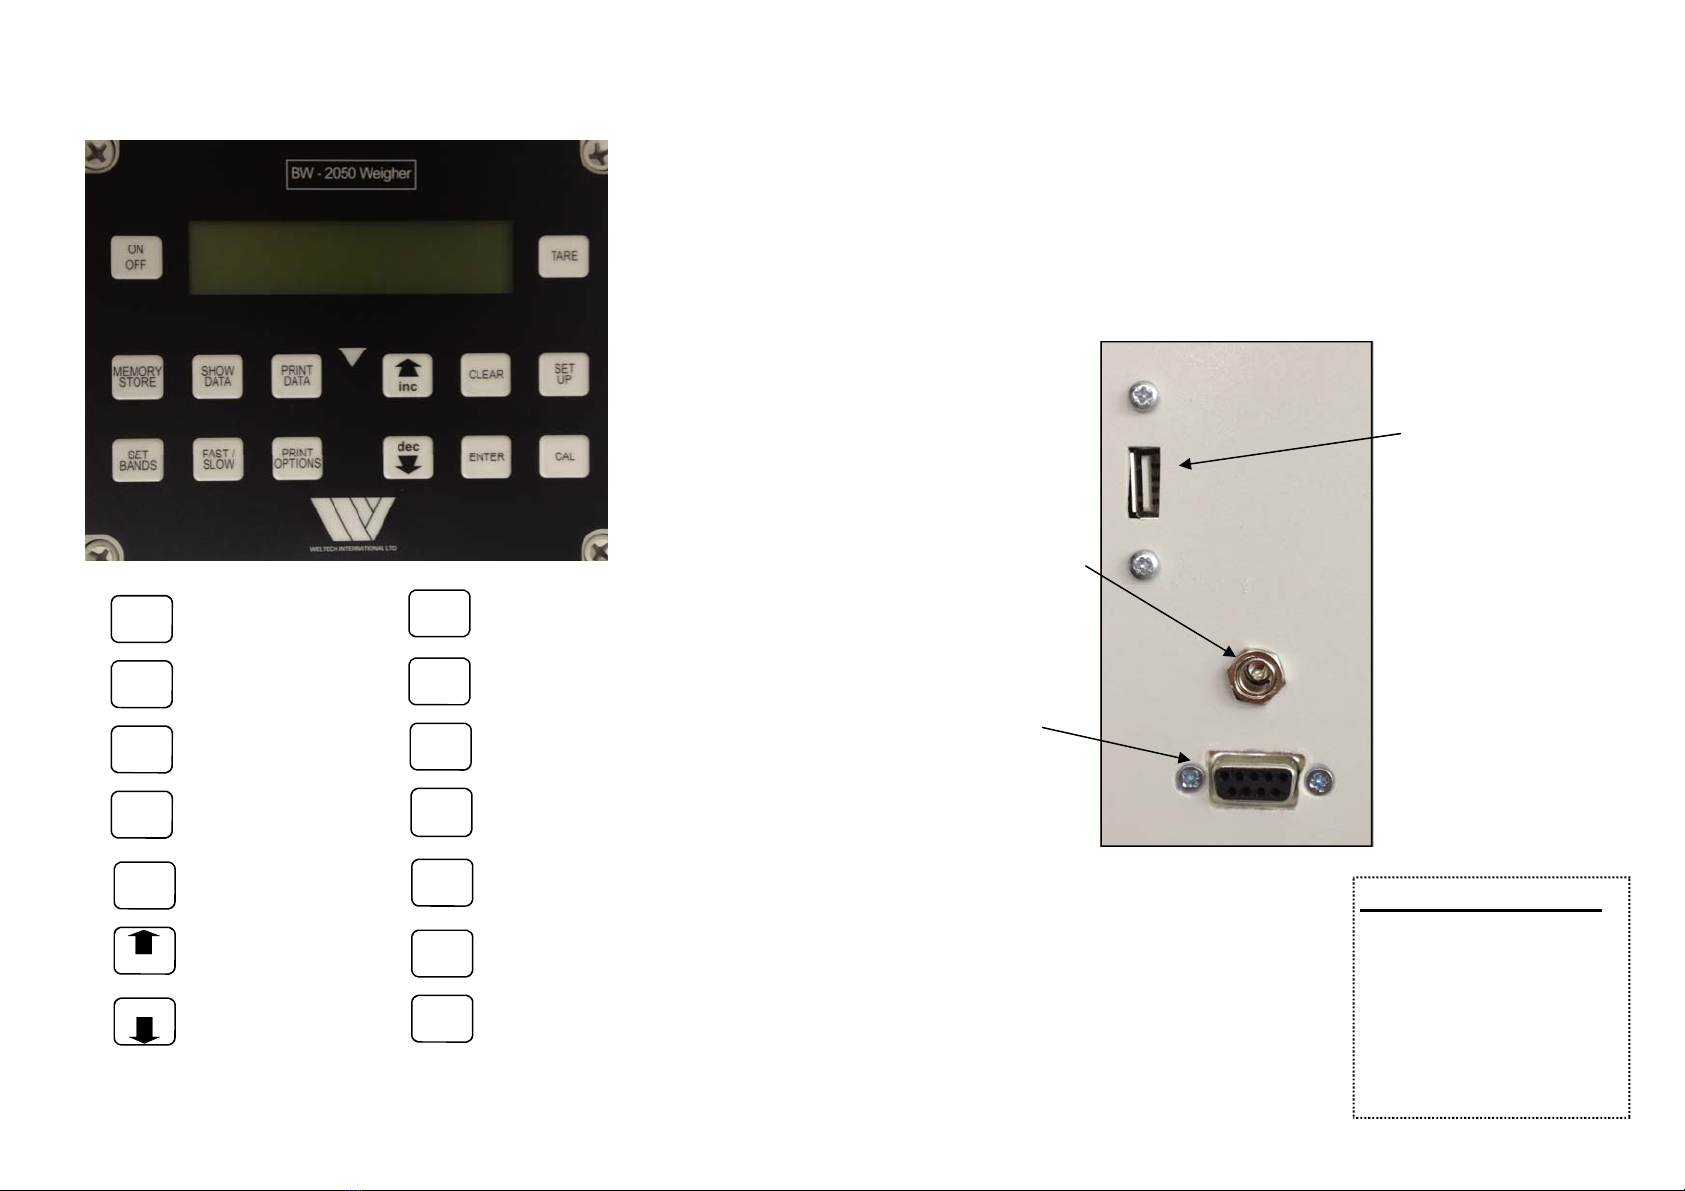
show WRITETOUSB to turn on and offpress the INC or DEC keys.
WRITETOUSB is an opon and can only be used if the weigher has a
USB socket. If the USB output is on the RS232 printer output will not
work.
10
USINGTHEUSBSTICKSOCKET
Select the WRITETOUSBunder the print opons as seen on page 10.
Turn on the WRITETOUSBusing the INC or DEC key and put in the USB
sck. Press the PRINTDATA key and the display will show WRITINGTO
USB. When the weigher has finished the display will flash up
FILEWRITTENOK and the display will go back to the standard weighing
display. The USB sck can now be removed and used on a computer.
If there is no USB sck in the weigher when you try to write to the USB
the display will show WRITINGTOUSB followed by NOSTICKFOUND. If
the USB sck is faulty or removed before the file is wrien the display
will show WRITINGTOUSB followed by ERRORWRITING.
SETBANDS
If three grading lights are fied. Press set bands, GRADELAMPSON or
Offwill be displayed, select On by using the INC or DEC keys and press
ENTER. REJECTLIMIT will be displayed, to increase or decrease the
amount press the INC or DEC keys when set press ENTER. BANDWIDTH
will be displayed, to increase or decrease press the INC or DEC keys,
when set press ENTER. The system is then set. Any weight under the
reject limit one lamp will come on, the other lamps will come on as per
the band width seng.
If the soware is version 2.50 or higher then you can view how many
birds are in each band by pressing the SHOWDATAkey followed by
pressing the SETBANDS key. You can then step through the bands by
pressing the INC and DEC keys.
If five grading lights are fied. You can turn on the GRADINGLAMPS as
above and have the same BANDWIDTH for each band or you can select
SEP. If you select SEP then you can set different BANDWIDTHS for each
band.
11

PRINTEROUTPUT
STATISTICSON
The printout will show:
The date and me weighing was
started and finished
Data for each store
Total weighed
Average weight
Deviaon
Evenness
CV
Target weight (if set)
Evenness of target
EACHON
The printout will print the weight
of every bird weighed in order.
HYSTORGRAMON
The printout will show all the birds
weighed in 20 gram bands.
12
CHARGING
The charging socket and Serial RS232 output connector is situated on
the side of the weigher.
In the centre of the display is the baery charge indicator.
When fully charged the box will go completely black and as the weigher
is used the box will start to go clear. This is only a rough guide based on
the baery voltage and does not show how much capacity is in the
baeries.
If the baery should go flat while weighing a LOWBATTERYwarning
will flash in the display and the weigher will eventually turn off. Data
already stored in the weigher will remain in memory even if the unit
automacally turns off.
Torechargethebaeriesfully,leaveonchargeovernight.
Tocheckthebaeryvoltageorchargingvoltage.Hold the SETUP
buon down and turn ON, the display will show WELTECHSETUP then
DATASTORES, press CLEAR and then the INC key. If the INC or DEC key
is pushed the display will show the date, me and baery charge. By
pushing the DEC key while the weigher is on mains charge the display
will show the charging rate from the charger.
13
WELTECH INTERNATIONAL
BW‐2050 2.50 *3333
STATISTICS
Current Data (1)
Total 12
Average KGS 2.749
Deviaon KGS 1.479
Evenness % 25.0
C.V. % 53.8
From 12‐MAR‐12 15.58
To 12‐MAR‐12 16:06
No. Wgts Ident
1 5.000
2 5.000
3 4.999
4 1.000
5 0.999
6 1.000
7 1.999
8 1.998
9 1.999
10 2.999
11 3.000
12 3.000
Band Limits Total
0.980 To 1.000 1
1.000 To 1.020 2
1.980 To 2.000 3
2.980 To 3.000 1
3.000 To 3.020 2
4.980 To 5.000 1
5.000 To 5.020 2
Printed 12‐MAR‐12 16:11
_ _ _ _ _ _ _ _ _ _ _ _ _ _ _ _
Baery Full Baery 50% Baery Empty
FLASH
WHEN
CHARGING
Baery indicator
will flash when
being charged

KEYPAD
14
PCOPERATION
A PC may be connected to the RS232 connector to output the data.
Once the computer is connected and the soware is ready to accept
data, then press the PRINTDATAto output the data.
15
ON
OFF
Turns unit
ON and OFF
TARETares weight
MEMORY
STOREStores data
SHOW
DATA
Displays data
PRINT
DATA
Prints data
INC
DEC
Increase sengs
Decrease sengs
CLEARClear data stored
SET
UP
Engineers sengs
SET
BANDS
Set grading bands or
target weights
FAST/
SLOWSelects between fast or slow weighing
PRINT
OPTIONS
Set type of printout.
Stascs,Histogram,Each.
ENTEREnters data into store/
command
CALSets zero, tare and
calibraon
Charging Socket
RS232 Output
Printer & Computer
USB STICK Socket if
fied (Oponal)
CommunicaonSengs
Bits per second 9600
Data Bits 8
Parity None
Stop Bits 1
Flow Control None

REMOTECOMMANDS
The following commands are accepted at the serial port.
ID? Send id message
ALL? Send vercal every bird list for current store
WGT? Send current weight
DATA? Send summary report for current store
HYST? Send histogram for current report
TARG? Send target weight
TARG,nnnn Set target weight
DUMP? Send all weights
STATS Send a stascs summary
SER? Send serial number
EACH Turns on the each bird print
EAOFF Turns offthe each bird print
HYON Turns on the histogram print
HYOFF Turns offhistogram print
STON Turns on stasc print
STOFF Turns offthe stasc print
UP Send bird dump in binary Data Pod format
DATE? Send the date ddmmyy
TIME? Send the me hhmm
DATE,ddmmyy Set the date ddmmyy
TIME,hhmm Set the me hhmm
CLEAR Clear memory
PRINT Print standard reports
SETTS Print sengs report
RESET Restart the processor
OFF Power down
16
USINGTHEUSB
Turn weigher on and open PRINTOPTIONS, and make sure WRITETO
USBis on.
Plug USB sck into port (Shown on page 15) and press PRINTDATA.
Once the file is wrien FILEWRITTENOKwill appear on the screen, the
data is now downloaded. Remove the USB sck from the weigher and
plug into your computer.
Go to MYCOMPUTERand open USBDISKFILES. Now select all the files
and right click, a small dropdown menu should appear with the opon
OPENWITH..now select CHOOSEDEFAULTPROGRAMand select
MICROSOFTEXCEL.
Or
Open MicrosoExcel. Select FILE in the top lecorner and then click
OPEN. It will now open a small window, click on MYCOMPUTERand
select the USBDISKicon. Select all the files you want to see and then
click open. (You selected mulple files by holding down CTRL and
clicking each file)
17

18
SAFTEYCONSIDERATIONS
The BW‐2050 is a rugged unit designed for outdoor use but it should be
handled with care.
The unit can be cleaned with a damp cloth but under no circumstances
be immersed in water.
Carrying the unit by the hook may cause damage to the loadcell and
stop you from weighing.
This unit is fied with rechargeable baeries and will last for 3‐4 years.
INDEX
Subject Page
Introducon 1
Calibraon 2
Setup Opons 3
Operator Sengs 4
Operang Instrucons 9
PrinterOutput 12
Charging 13
KeyPad 14
PC Operaon 15
Remote Commands 16
Using The USB 17
Safety Consideraons 18

WeltechInternaonalLimited
manufacturetheBW‐2050tothehighest
specificaonandouraimistoconnue
toimproveitsoperaonandreliability
andgiveourcustomersaproductthat
suitstheirrequirements.
SERVICE.
For service and repairs contact your local agent.
Weltech Internaonal Limited
10 Bramley Road
St.Ives
Cambridgeshire
PE27 3WS
Tel : +44 (0) 1480 461611
Fax : +44 (0) 1480 301010
Weltech Internaonal Limited
Table of contents
Popular Control Panel manuals by other brands

Honeywell
Honeywell NOTIFIER INSPIRE E10 operating instructions

Bresser
Bresser 7007400 instruction manual

Bosch Security
Bosch Security DS7200V2-UK user guide

Lascar Electronics
Lascar Electronics PanelPilot quick start guide

U-Prox
U-Prox IP100 Installation and programming manual

Balboa Water Group
Balboa Water Group SpaTouch2 user guide