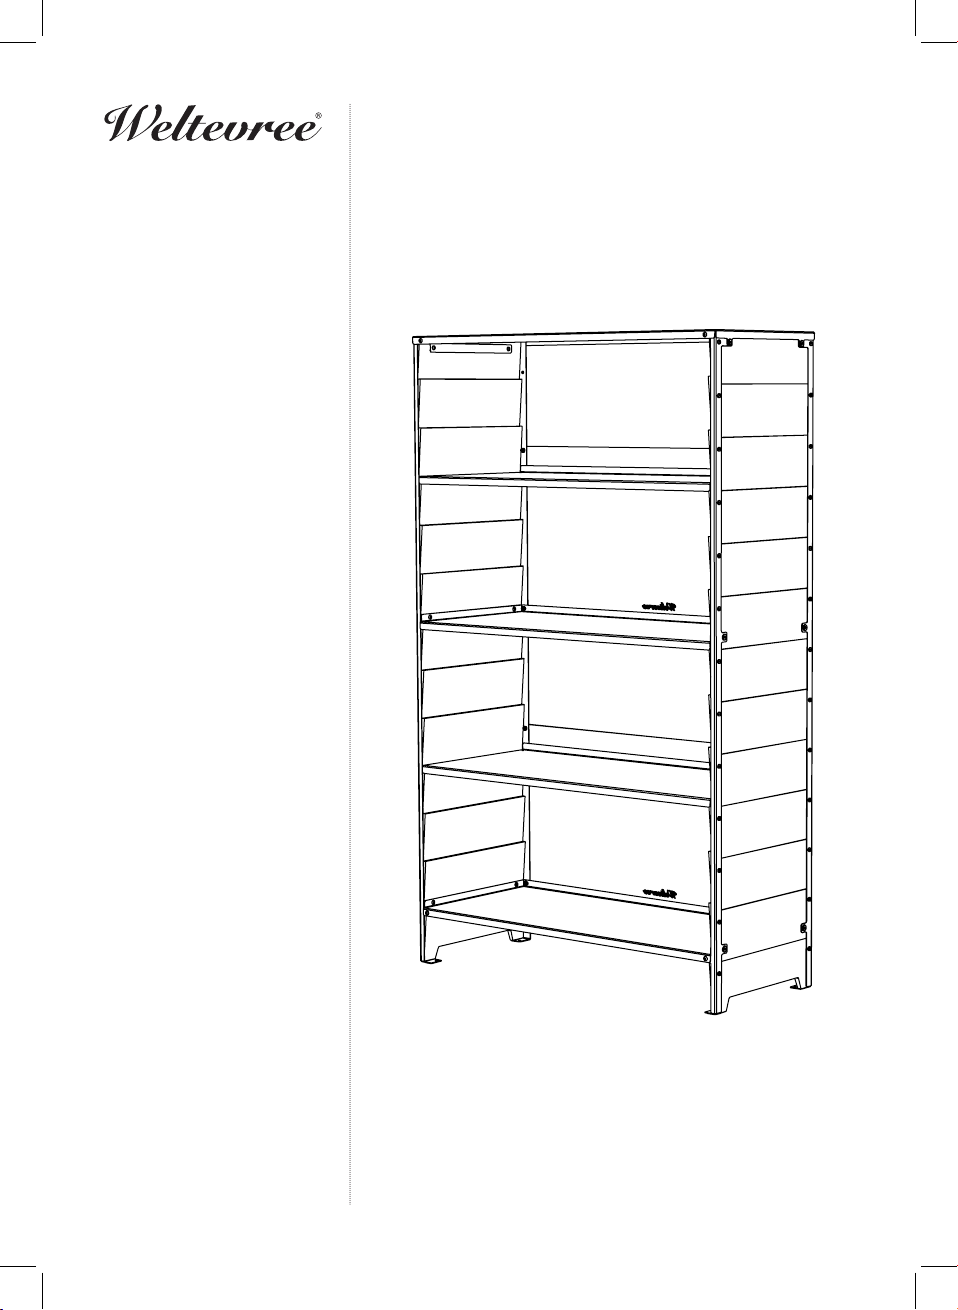
DIMENSIONS &
SPECIFICATIONS
Ontwerper / Designer / Designer
Lex Pott
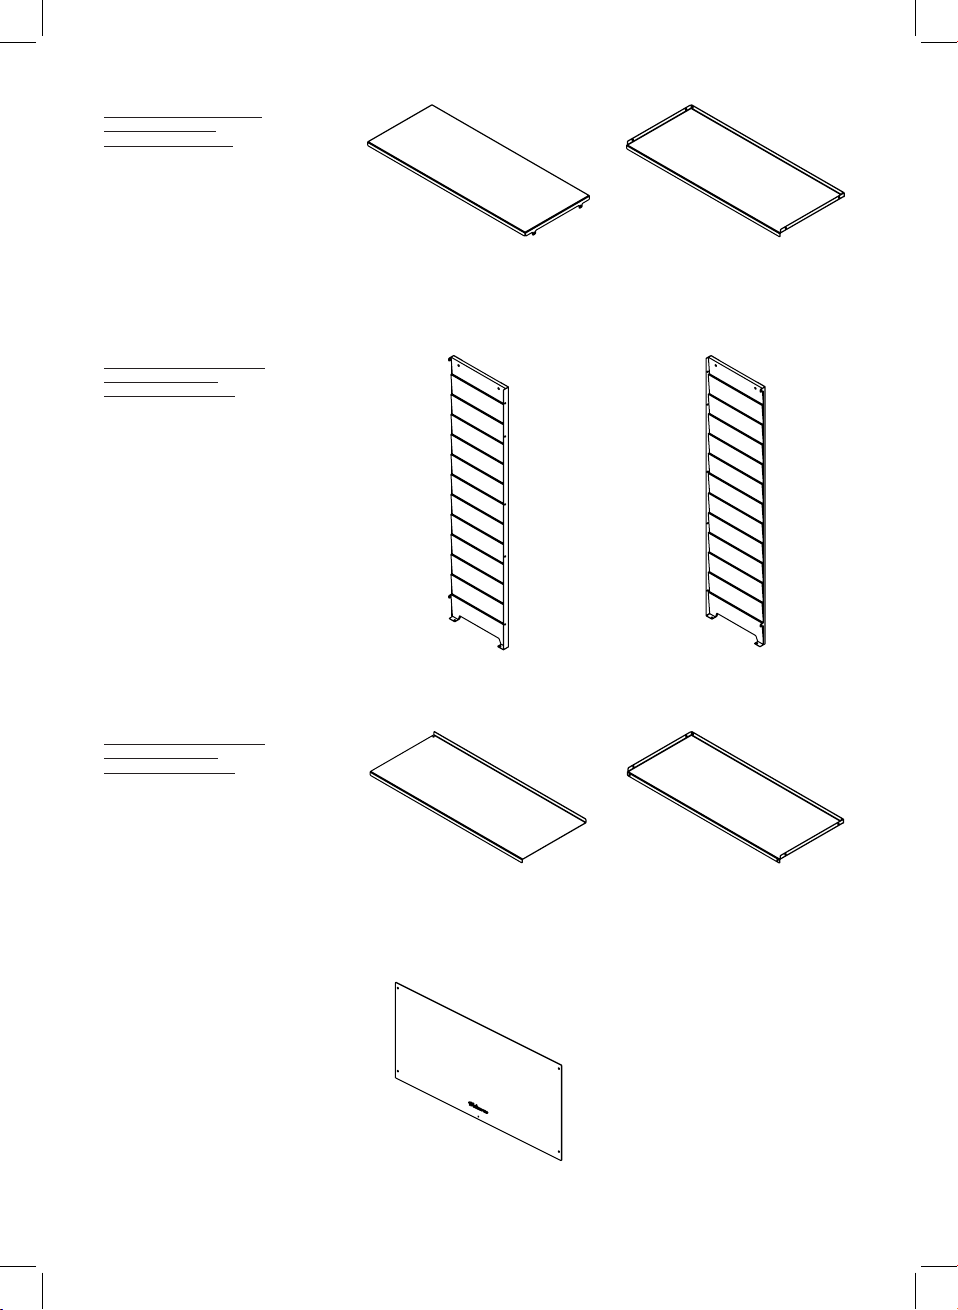
Materiaal / Material
/ Material
Thermo vuren, verzinkt &
gepoedercoat staal /
Thermo pine, zinc plated & powder-
coated steel /
Thermo-Fichte, verzinkter &
pulverbeschichteter Stahl
Afmetingen / Dimensions
/ Größe
Length 40 cm / 15.75 inch
Width 98,5 cm / 38.75 inch
Height 164 cm / 64.6 inch
Gewicht / Weight
/ Gewicht
28 kg / 57 lbs
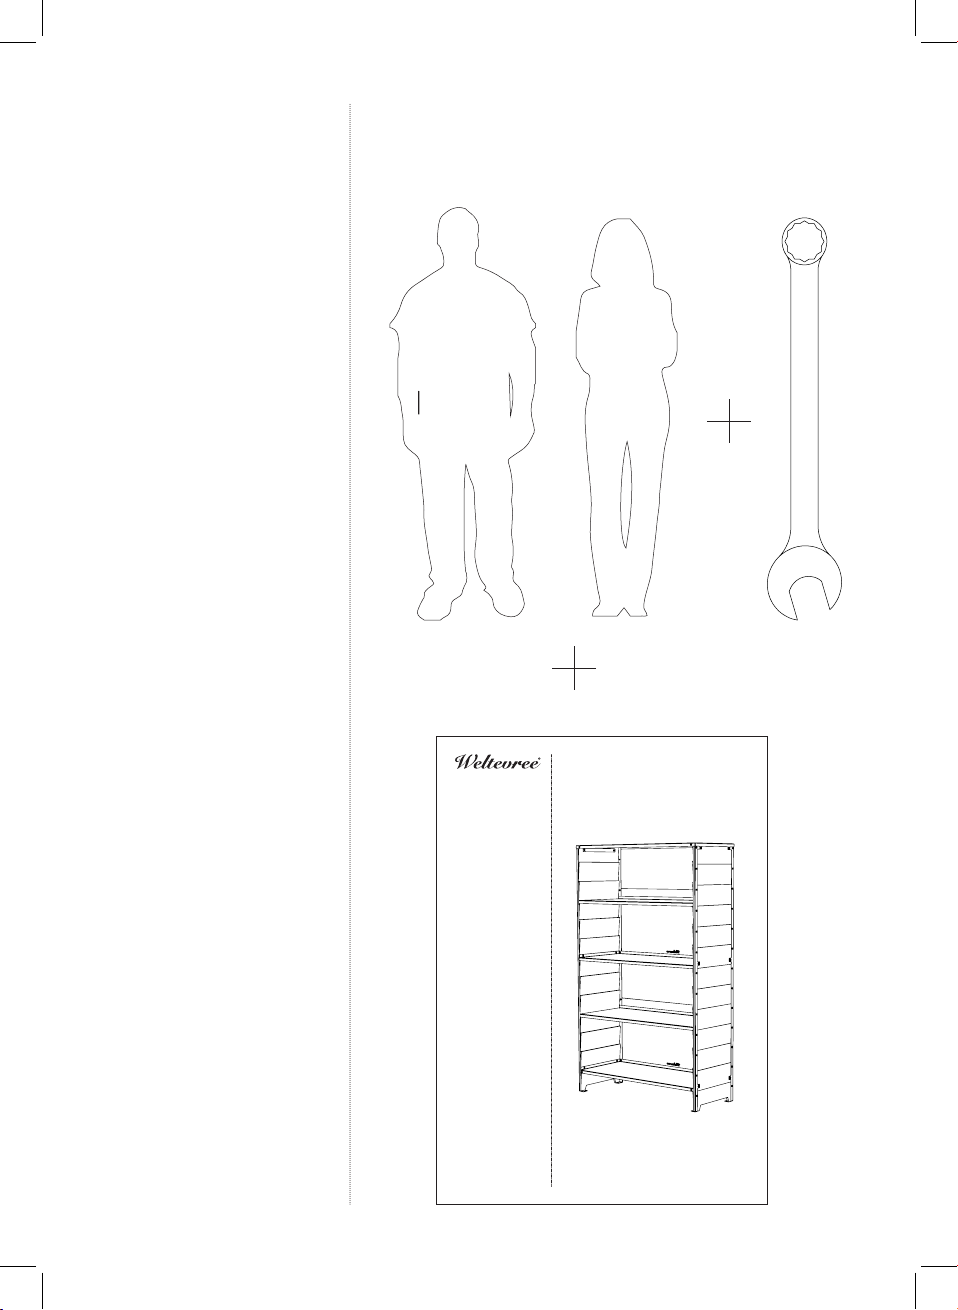
Levering / Delivery
/ Lieferung
In dozen / In boxes / Verpackt
Onderhoud / Maintenance / Wartung
Om de levensduur van de Rabat Shel-
ving te verlengen is een behandeling
met houtolie voor de houten onder-
delen aan te raden. Gebruik de olie
vooraf om het hout te conserveren en
het vergrijzen te vertragen. Bovendien
zorgt het ervoor dat het hout makkelij-
ker te reinigen is.
Reinig de Rabat Shelving twee keer
per jaar met een zachte doek of een
borstel die niet schuurt. Gebruik lauw
water of een milde zeep-oplossing.
Spoel de Rabat Shelving af met
schoon water.
To prolong the life of the Rabat
Shelving, a treatment with wood oil
is recommended. Use the oil before
usage of the product to protect the
wood, making it easier to clean and
shighing down the aging process.
Clean the Rabat Shelving twice a year
with a soft cloth or a nonabrasive
brush. Use lukewarm water or a mild
soap solution. Rinse the Rabat Shelv-
ing with clean water.
Um die Lebensdauer Ihres Rabat
Shelving zu verlängern, wird eine
Behandlung mit Holzöl emphohlen.
Tragen Sie das Öl vor der ersten Ver-
wenung auf, um das Holz zu schützen,
die Reinigung zu erleichtern und den
Alterungsprozess zu verlangsamen.
Reinigen sie des Rabat Shelving
zweimal jährlich mit einem weichen
Tuch oder einer Bürste, die nicht reibt.
Verwenden sie lauwarmes Wasser
oder eine milde Seifenlösung. Spülen
sie das Rabat Shelving mit sauberem
Wasser ab.
40 cm / 15.7 inch
164 cm / 64.6 inch
98 cm / 38.6 inch
Rabat Shelving