manuals.online logo
Brands
  1. Home
  2. •
  3. Brands
  4. •
  5. West Marine
  6. •
  7. Bicycle
  8. •
  9. West Marine Jetty Express II User manual

West Marine Jetty Express II User manual

Other West Marine Bicycle manuals

West Marine Port Runner II User manual

West Marine

West Marine Port Runner II User manual

West Marine Port Runner User manual

West Marine

West Marine Port Runner User manual

Popular Bicycle manuals by other brands

Grace ONE manual

Grace

Grace ONE manual

Woosh Gran Camino manual

Woosh

Woosh Gran Camino manual

Razor FLASHRIDER 360 user manual

Razor

Razor FLASHRIDER 360 user manual

TAUBIK SOHO 2.0 user manual

TAUBIK

TAUBIK SOHO 2.0 user manual

Oxybul FREEbul 331067 manual

Oxybul

Oxybul FREEbul 331067 manual

Cycle Force Group BICYCLE BABY TRAILER & JOGGER Assembly instructions

Cycle Force Group

Cycle Force Group BICYCLE BABY TRAILER & JOGGER Assembly instructions

Giant TWIST FREEDOM DX datasheet

Giant

Giant TWIST FREEDOM DX datasheet

RAMBO R1000X2M-FF-BFD manual

RAMBO

RAMBO R1000X2M-FF-BFD manual

Vermeiren SAFARI Maintenance manual

Vermeiren

Vermeiren SAFARI Maintenance manual

Velec A2/36V owner's manual

Velec

Velec A2/36V owner's manual

Cervélo S3 2019 Assembly manual

Cervélo

Cervélo S3 2019 Assembly manual

Festo EGSC-BS-KF Instructions & Operating

Festo

Festo EGSC-BS-KF Instructions & Operating

Gio Electric H1 Volt owner's manual

Gio Electric

Gio Electric H1 Volt owner's manual

Huka orthros manual

Huka

Huka orthros manual

DAHON CIAO - 2009 manual

DAHON

DAHON CIAO - 2009 manual

Aprimatic ONDA 500 Installation, use and maintenance instructions

Aprimatic

Aprimatic ONDA 500 Installation, use and maintenance instructions

Greyp G6 Series user manual

Greyp

Greyp G6 Series user manual

Babboe Carve-E user manual

Babboe

Babboe Carve-E user manual

manuals.online logo
manuals.online logoBrands
  • About & Mission
  • Contact us
  • Privacy Policy
  • Terms and Conditions

Copyright 2025 Manuals.Online. All Rights Reserved.

© 2010, Associated Marketing Concepts
Cut out the registration card and mail immediately!
Warranty Registration
18065 Redondo Circle
Huntington Beach, CA 92648
Place
Stamp
Here
From:
If you have any questions or problems with your new
Jetty Express II, please do NOT contact West Marine.
Please call our friendly technical staff for assistance.
1-877-818-BIKE (2453)
Thank you for choosing our product to help improve your boating
experience. Your new Jetty Express II folding bike will give you years of
trouble-free performance.
If you have any questions, call:
1-877-818-BIKE (2453)
PLEASE READ THESE INSTRUCTIONS
CAREFULLY BEFORE USING YOUR NEW BIKE.
Assembly InstructIons
2 7
SAFETY 1ST
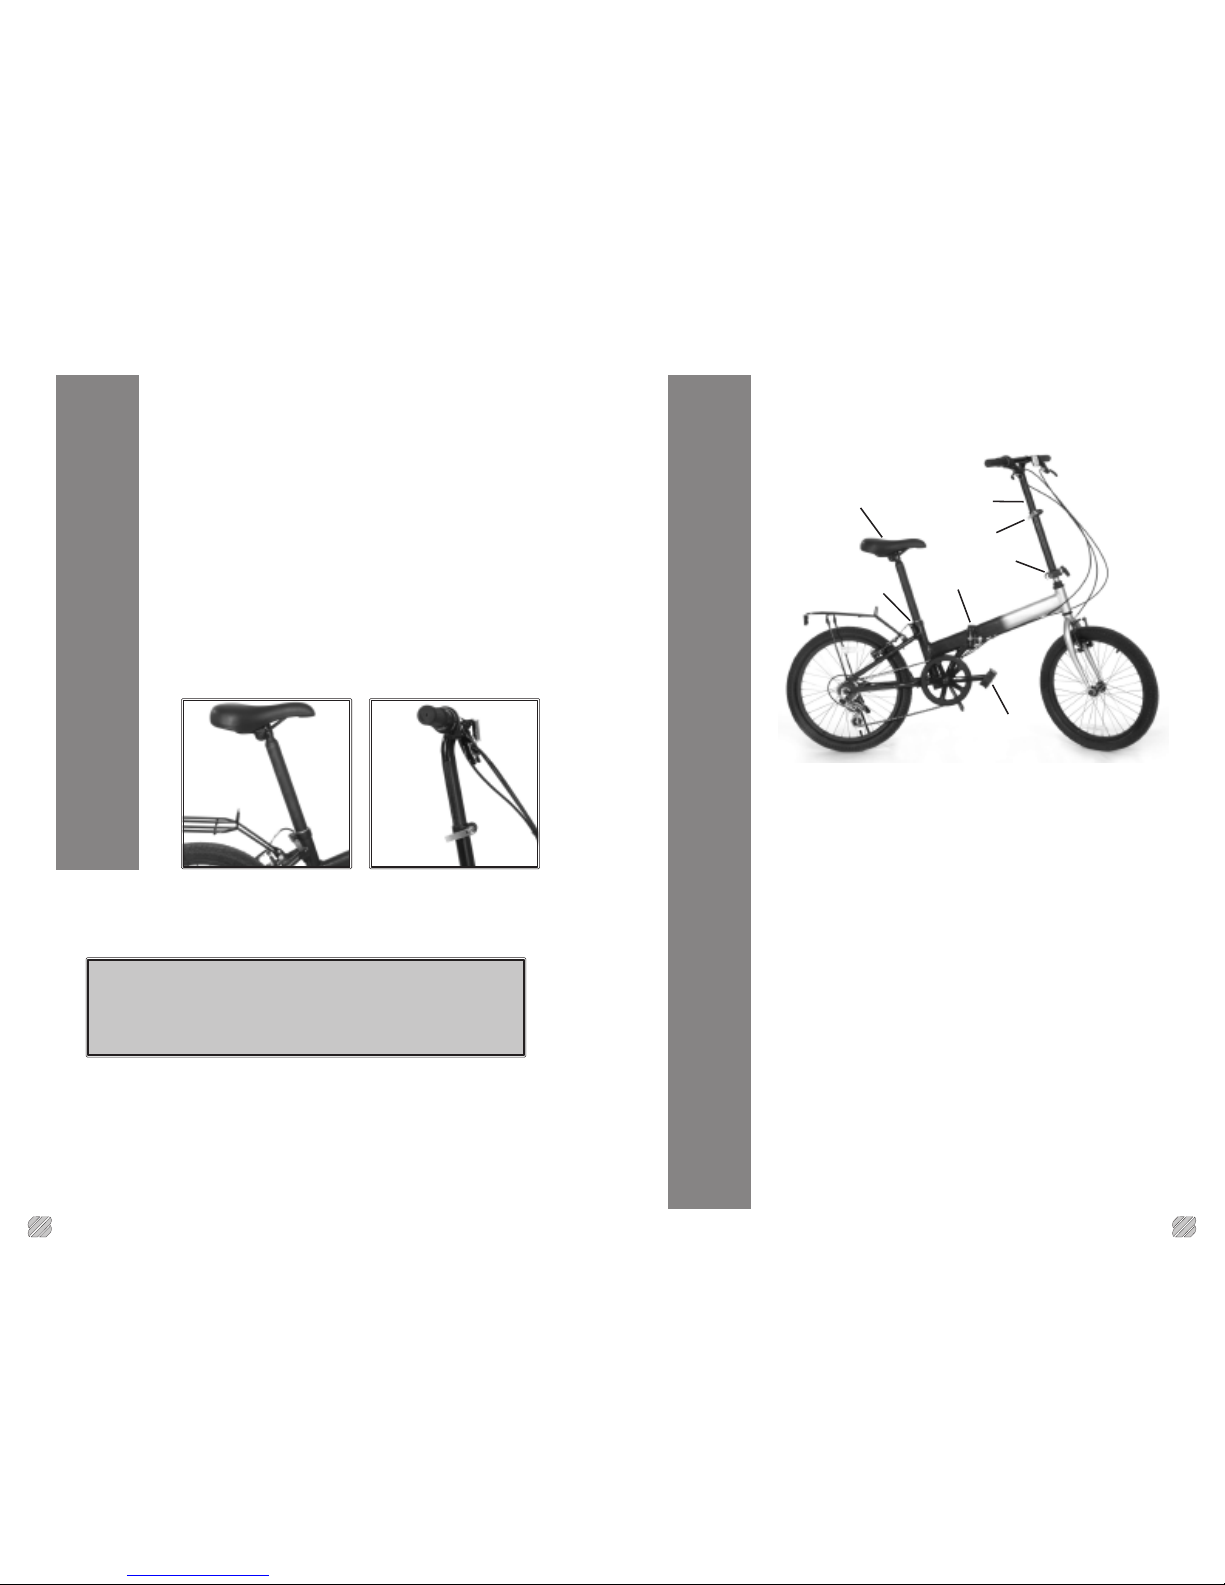
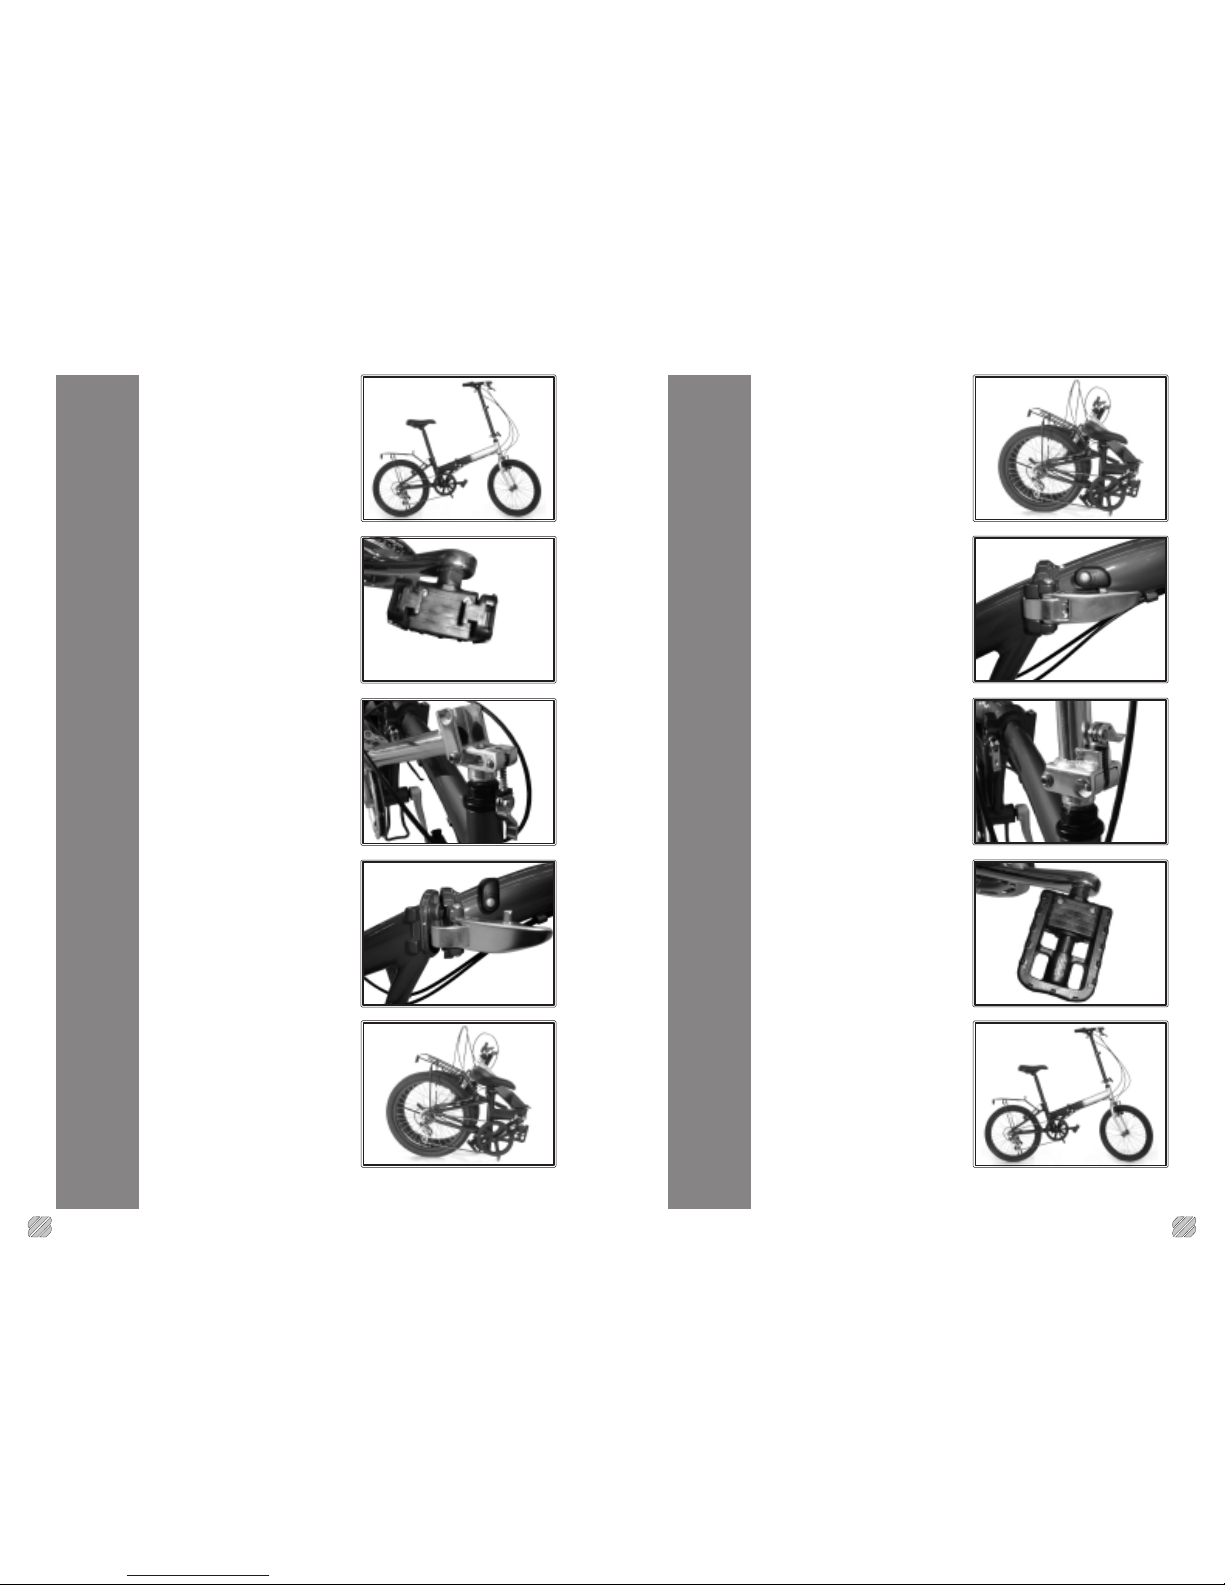
For your safety and enjoyment it is important for you
to practice the folding and unfolding of your bicycle
several times before riding it for the first time. After
carefully following these simple instructions you should
be able to successfully fold, or unfold your new bike
in a matter of seconds. Always follow the sequence
provided in this instruction guide.
• Before you ride your new bike, we recommend
that you have it checked out by a professional
bike technician. This will insure your safety and
insure maximum performance.
• Before each bike ride we suggest that you examine
your bike, adjust and tighten all fittings and quick
connect locks, and check your brakes and tire
pressure.
• If your bike has been damaged or any of the quick
lock features are not working properly, do not ride
your bike. Have it serviced by a qualified
technician.
• Before you ride your bike you should know all of
the safety regulations in your area. Please observe
all safety regulations and rules of the road.
• Additional safety information is available in your
“Bicycle Owners Manual” which is supplied
separately with this bicycle. Please read it
thoroughly before operating this bike.
• Maximum rider weight should not exceed 240 lbs.
WARRANTY
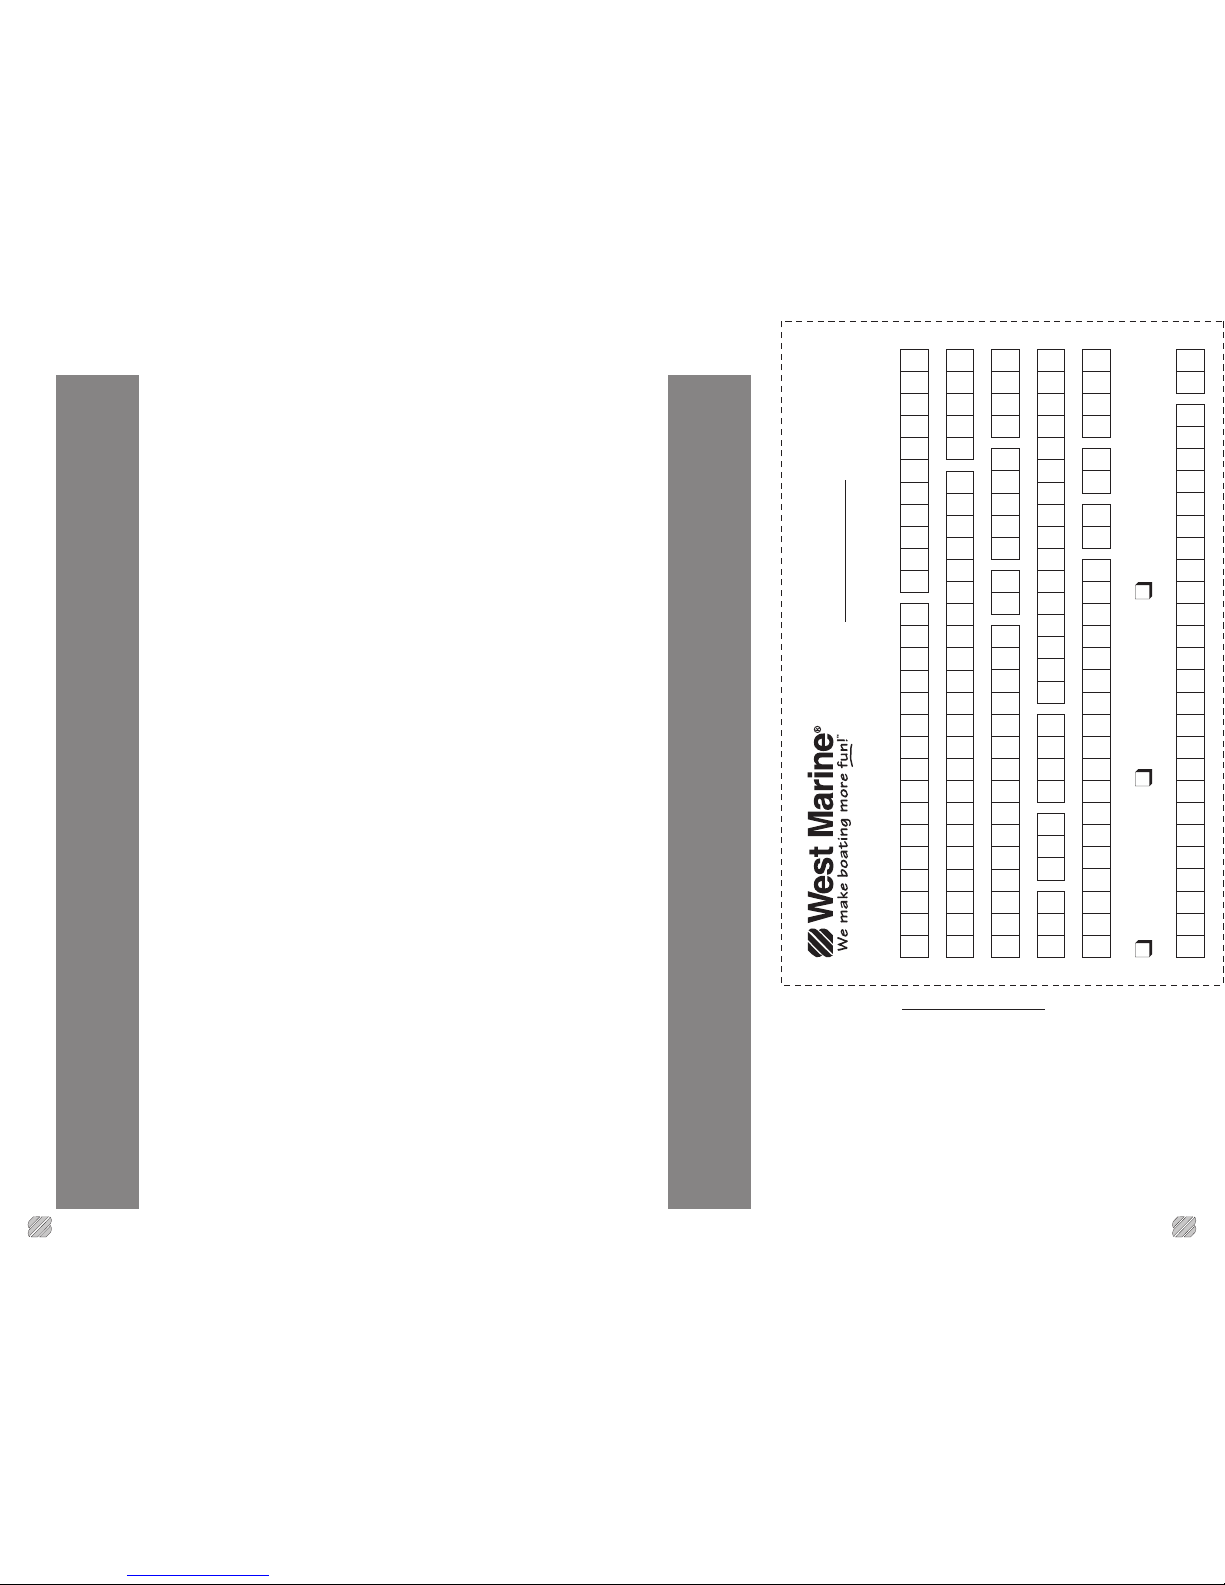
WARRANTY REGISTRATION CARD
MAIL IMMEDIATELY: FAILURE TO REGISTER
PROMPTLY MAY VOID YOUR WARRANTY.
PLEASE PRINT CLEARLY
- -
Last Name First Name
Address
State City Zip Code
Phone Number
-
Model Purchased Date Purchased
- - 2 0
Suite / Apartment
How did you purchase this bicycle?
West Marine Store West Marine Catalog West Marine Web Site
If Purchased From A Store, Which Store (City) State
J E T T Y E X P R E
E-Mail (Optional)
S S 2
LIMITED WARRANTY
This bike includes the following warranty, which is in lieu of all other warranties expressed or implied.
This warranty gives you specific rights, and you may have other rights which vary from state to state.
FRAME, FORK & COMPONENTS are warranted against faulty materials and workmanship for a period
of one year from date of purchase by the initial consumer purchaser, subject to the conditions set forth
below. A copy of the dated sales receipt will be required for all warranty claims.
LIMITATIONS & EXCLUSIONS
This warranty does not cover normal wear and tear or any damage, failure or loss caused by:
1. Accident, neglect, abuse, misuse or loss of supplied parts
2. Competitive cycling in any form or cycling events
3. Stunt riding, ramp jumping, acrobatics or similar activities
4. Use with a motor as a power driven source
5. Improper assembly, maintenance or alterations of any kind
6. Failure to follow instructions in the owner’s manual and/or assembly instructions
7. Rust or corrosion due to exposure to the elements
To qualify under the terms of this warranty the defective part must be presented to the store in which
the bike was purchased, or to the manufacturer’s warranty center, along with the dated sales receipt.
If the claim qualifies under the terms of this warranty, the maker will, at its option repair or replace the
defective part, without charge, except for labor and shipping costs, if any, to the original purchaser.
Repair or replacement of the defective part constitutes the sole and only remedy under this warranty.
A Seat Assembly (includes: seat, seat post)
B Quick Release Seat Lever
C Frame Lock
D Handle Bar Assembly (includes: handle
bar, handle bar stem, grips, shifter, brake
levers)
E Quick Release Handle Bar Lever
F Handle Bar Lock
G Folding Pedals
6 3
KNOWING YOUR BIKE
C
Some Helpful Terms...
A
B
G
F
If you have any questions or problems with your new
Jetty Express II, please do NOT contact West Marine.
Please call our friendly technical staff for assistance.
1-877-818-BIKE (2453)
E
D
PLEASE READ YOUR
“BICYCLE OWNER’S MANUAL”
BEFORE OPERATING THIS BICYCLE.
You can easily and quickly adjust the
height of the seat and handle bars to fit
any rider!
Locate the Quick Release Seat Lever or Quick Release
Handle Bar Lever. Lift the lever and flip over. Adjust
the seat or handle bars as desired. Flip the lever back
over to tighten. Maker sure lever is always completely
tightened before riding. Caution: If the Seat Assembly
or Handle Bar Assembly can still turn from side to side,
or slide up and down, you will need to tighten the
adjusting nut on the other side of the Quick Release
Seat Lever before securing.
Note: Seat Assembly can be removed from the bike while the bike is
folded, to save additional space! Simply follow the above directions
and slide the Seat Post completely out of the frame.
ADJUSTMENTS
4 5
FOLDING TO STOW
As Easy As 1-2-3
1- Unlock and fold
the pedals
Simply push the pedal in
slightly towards the bike
frame and lift up on the end
of the pedal.
2- Unlock and fold
the handle bars
Pull up on the Handle Bar
Stem Lock quick connect
lever to release it. Rotate
the quick connect lever and
spring loaded bolt down
to the side. While pressing
the safety locking button
in, swing the Handle Bar
Assembly down to the side
of the frame.
3- Unlock and fold
the frame
Standing on the chain side
of the bike, rotate the black
plastic safety lock up until
it is clear of the Frame Lock
handle’s safety pin. Pull
the handle out away from
the frame, opening it. The
clamp will disengage and
allow the two halves of the
frame to separate. Swing
the front and rear halves of
the bike together.
Optional- Lower the
Seat Assembly
To save additional space,
you can lower the Seat
Assembly all the way down
to the frame. Pull up the
Quick Release Seat Lever
and flip over. Allow the Seat
Assembly to slide all the way
down to the frame.
UNFOLDING TO GO
As Easy As 3-2-1
3- Unfold and lock
the frame
Standing on the chain
side of the bike, swing the
front and rear halves of the
bike into position. Close
the Frame Lock handle
by pushing it against the
frame, while ensuring the
clamp has securely engaged
the back half of the frame.
Rotate the black plastic
safety lock down until it
completely covers the
Frame Lock handle’s safety
pin. Always verify the safety
locking pin cover is properly
positioned when riding your
bike.
2- Unfold and lock
the handle bars
While pressing the safety
locking button in, swing
the Handle Bar Assembly
up into position. Release
the button, allowing the
two halves of the stem to
align. Rotate the quick
connect lever and spring
loaded bolt up into position
and fold down the quick
connect lever. Be sure that
the spring loaded bolt is
tight and the fold-down
lever rests flush against the
surface. It should lock firmly
in place.
1- Unfold and lock
the pedals
Simply lift up on the pedal
until it snaps into place.
See “Adjustments” on
page 6 for additional tips.