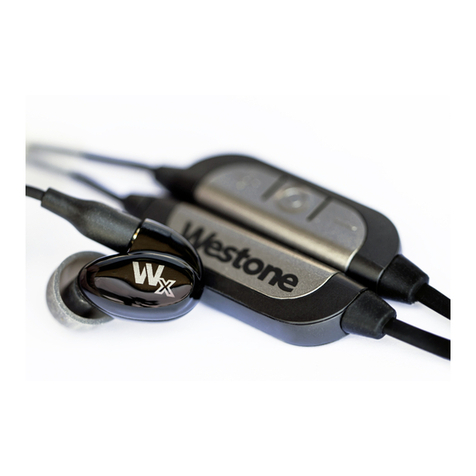
Westone Bluetooth Cable 2.0 User manual

User Manual
Cable 2.0

REGISTRATION
Get the most from your new Bluetooth
Cable 2.0 by following these helpful tips:
• Avoid exposing your cable to extreme
temperatures and prolonged exposure to direct
sunlight.
• Do not immerse the cable and cable modules
into water or liquids of any kind. The cable and
cable modules are water resistant not water proof.
• Please avoid any shock damage or strong impacts
to the cable or cable modules, as this can aect
the performance of the cable.
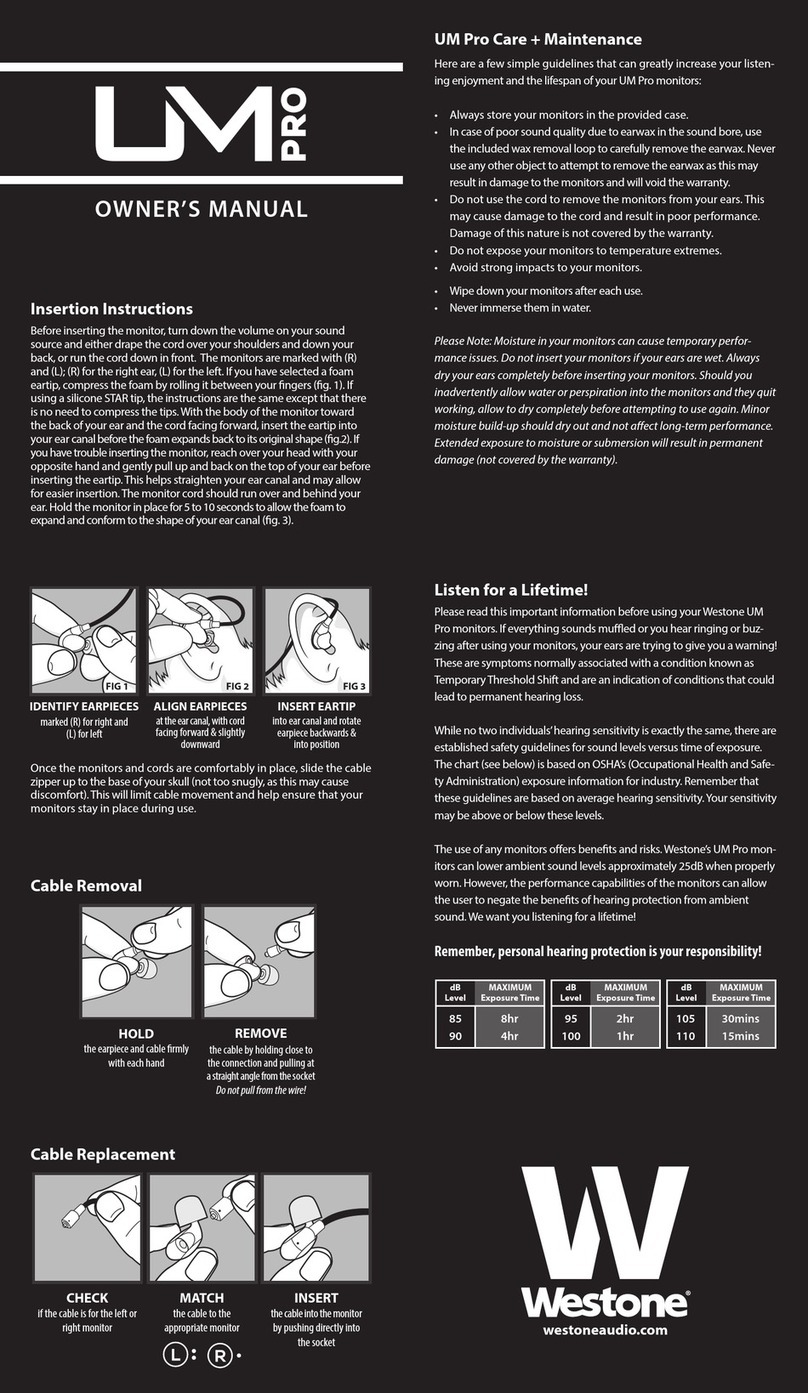
• When removing earphones from the cable please
grasp the cable connectors and not the cable.
Failure to do so could aect the performance of
the cable.
THANK YOU
for purchasing the Westone®
Bluetooth® Cable 2.0
Your warranty covers defects in materials and
workmanship for a period of ONE YEAR from the
date of the original retail purchase from a Westone
authorized dealer. Proof of purchase is required to
verify eligibility.
Please register your product to receive software
updates on new product releases, promotions, and all
of the latest updates from Westone Audio.
» Register at:
www.westone.com/productregistration
PRODUCT TIPS

R
L
BLUETOOTH CABLE 2.0
PRODUCT COMP ONENT OVERVIEW
+ Volume Up
MMCX Audio
™
Connector
L = Left R = Right
Cable Management
Battery
Module
Charging
Ports
Microphone
Power Button
- Volume Down
PORTABLE CHARGING DOCK
CHARGING CORD
Cover Open
Charging
Prongs
Cover Closed
Cover
Release
Cover
Mini USB
Port
USB Mini USB

CONNECTING EARPHONES DISCONNECTING EARPHONES
R
R
R
R
R
R
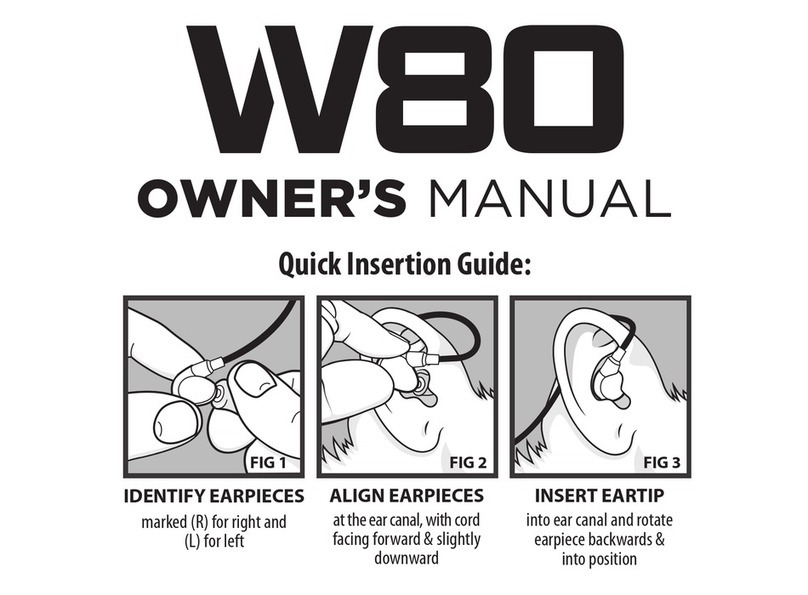
How to attach earphones to the cable:
1. Identify the right and left MMCX connectors,
each connector is marked “R” for right and “L” for left.
2. Identify the right and left earphones/earpieces.
Match the appropriate earphone to the
correct cable right + right or left + left.
3. Grasp the MMCX connector and insert it into
the earphone by pushing it into the female MMCX
connector in the earphone until it clicks into place.
4. Repeat for the other side.
How to disconnect earphones from the
cable:
1. Hold the earphone rmly with one hand, and the
MMCX connector with the other hand.
2. Pull the MMCX connector straight out of the
earphone. If you pull at an angle, the
connector becomes harder to remove
from the female socket.
CAUTION: Never try to remove the cable from the
earphoneby pulling directly on the cable.
This could damage or destroy the cable.

PAIRING THE CABLE TO YOUR DEVICE
How to pair the cable to your device:
1. Hold down the power button for 5 seconds.
The indicator light located next to the power
button will begin ashing red and blue to
indicate the pairing process has begun. The
voice prompt will indiciate “Pairing”.
2. To complete pairing the cable with your
device follow these steps:
• iPhone: Go to Settings/General/
Bluetooth/On*
• Android: Go to Settings/Bluetooth/On/
Scan for devices*
• Windows: Go to Settings/Bluetooth/On*
*Pairing procedure can vary per device.
3. Select “Westone BT 2.0”
4. If your device asks for a passcode, enter four
zeros (0000) for the passcode or accept the
connection.
5. Once the device is successfully paired the
indicator light will ash blue and the voice
prompt will announce “connected”.
Power Button
Indicator Light

CABLE FUNCTIONS LED INDICATIONS
CHARGING DOCK FUNCTIONS
Status LED Indication
Battery Dock is Charging Red LED
Blue LED
Blue LED
Red + Blue LEDs
Battery Dock is Charged
Dock and Bluetooth Cable are Charging
Dock and Bluetooth Cable are Charged
Red + Blue
Red + Blue
Red + Blue
Red
Blue
Red
Red + Blue
Power On
Pairing Mode
Searching
Connected Connected
Battery Low
Clear Paired
Device List
Power On
LEDs Flash Once
LEDs Flash Once
LEDs Flash Twice
LED Flashes Twice
LED Flashes Three Times
LED Flashes Every Second
LEDs Flash Alternately Pairing
Battery Low
Event LED Indication Voice Prompts
Power/Center Button Action
Power On Press and Hold (1 sec)
Press and Hold (3 secs)
Press and Hold (1 sec)
Press and Release
Press and Release
Press and Hold (8 sec)
Press and Hold (1 sec)
Press and Release
Press and Release
Double Press and Release
Press and Release
Press and Release
Press and Hold (5 secs)
Enter Pairing Mode
Play/Pause Music
Receive Incoming Call
Decline Incoming Call
End Active Call
Reconnect to Last Device
Voice Search / Siri
Volume Up (+) / Right Button
Volume Up
Next Track
Volume Down (-) / Left Button
Volume D own
Previous Track
Clear Paired Device List (PDL)
Volume Up(+) & Volume Down(-)

(3)
To charge the cable using the charging dock
follow these steps:
1. Open the charging dock cover (2) by sliding
the lock release to the right.
2. Place the battery
module into the
charging dock
with the logo
face up.
3. Close the
charging dock
cover to begin
charging the
cable. (3)
NOTE:
The cable can
be charged with or
without the USB
cable plugged in.
(2)
Your cable arrives partially charged so it can be
used immediately. In advance of charging your
cable, you will need to charge the charging dock.
To charge the charging dock follow these steps:
1. To charge the dock, plug the provided USB
cable into a USB port on any device.
2. Plug the mini USB end
of the cable into the
charging port located
on the bottom of the
charging dock. (1a)
CHARGING YOUR CABLE WITH THE PORTABLE CHARGING DOCK
(1)
(1a)

WEARING THE CABLE
WEARING THE CHARGING DOCK
There are two ways
to wear your cable:
1. Wear the cable
around the back
of your neck (1)
when participating
in high impact
activities.
2. Wear the cable
around the front
of your neck (2)
while participating
in low impact
activities.
(1)
(2)
NOTE:
The charging dock
can be worn with the
cable to increase the
battery life between
charges, thereby
increasing the total
use time of the cable.
IMPORTANT:
Never charge the
charging dock
when it is attached
to the charging
module and the
cable is being worn.
NO

ADDITIONAL INSTRUCTIONS AND TROUBLESHOOTING
To pair the cable to a new device, follow
these steps:
1. Ensure that the cable is in pairing mode.
2. There are two (2) ways to enter pairing mode.
a. Hold down the power button on the cable
for ve (5) seconds while turning on the
device you wish to pair the cable with.
b. Clear the Paired Device List (PDL) by pressing
and holding down the Volume Up (+) and
Volume Down (-) buttons on the control
module together for eight (8) seconds.
3. The cable will switch o if it is not connected
to a device after ve (5) minutes. A voice prompt
will indicate “Power O”.
4. The cable will automatically try to reconnect
to the last device it was paired with unless
the PDL has been cleared.
5. The operation and enabling of Voice Search/
Siri can only be done on devices that
support those functions.
6. When the cable battery power has reached 30%
of remaining life, the indicator light will turn red
for all events and a voice prompt will indicate
“Battery Low”. This voice prompt will repeat
until all power is drained.
If the cable fails to pair to the selected device,
follow these steps:
1. Disable and then enable the Bluetooth
setting on the device, then search for
“Westone BT 2.0” again.
2. Reboot the cable by turning it o and then
on again.
3. Clear the Paired Device List (PDL) by pressing
and holding down the Volume Up (+) and
Volume Down (-) buttons on the control
module together for eight (8) seconds.

WARRANTY INFORMATION
Limited Product Warranty
Westone warrants this product to be free of defects in material or
workmanship for a period of one (1) year from the date of original
retail purchase.This warranty is available only to the original
purchaser, and only if purchased from an authorizedWestone
distributor or reseller. If your product is found to be defective during
the warranty period,Westone will, at its sole option, either repair the
product or replace the product with a new or factory reconditioned
or substantially equivalent model.This limited warranty does not
apply to loss, theft, or any defects attributable to damage beyond the
reasonable control ofWestone including damage caused by abuse,
misuse, misapplication or modications performed by anyone other
thanWestone.This warranty applies only to the external shell of the
product, the internal components and cable.
Repair/Replacement Warranty
This LimitedWarranty shall apply to any repair, replacement part
or replacement product for the remainder of the original warranty
period or for ninety (90) days, whichever period of time is greater.
Any parts or product replaced under warranty will become the
property of Westone.
Requesting Warranty Support
Valid warranty claims are generally processed through the point of
purchase during the rst thirty (30) days after retail purchase.
United States & Canada
If it is necessary to return your product toWestone for warranty
or post-warranty service, contactWestone to request a return
merchandise authorization (RMA) number. Go to
westoneaudio.
com
to submit a Product Return Request Form. Please note you will
be required to submit reasonable proof of purchase date, ownership,
and that the product was purchased from an authorizedWestone
retailer. Once you receive your RMA number, package the product
securely to prevent damage in transit, include the documentation,
and send prepaid and insured through a trackable shipping carrier to:
Westone Laboratories, Inc.
Attn: Music Returns Dept.
2260 Executive Circle, Colorado Springs, CO 80906 USA
Westone will be responsible for shipping to the consumer after
warranty repair/replacement only. The customer is responsible for
all shipping/handling charges related to returning the product to
Westone.
International
The warranty on this product if it is sold to a consumer outside of the
United States and Canada shall comply with applicable law.To obtain
warranty service, contact the dealer from which you purchased or
the distributor that supplied this product. Additional charges and
limitations may apply. If purchased through an authorizedWestone
retailer, but not through the local distributor or distributor’s network,
contactWestone directly (see United States & Canada instructions
above). If purchased in an international location without aWestone
distributor, contactWestone directly (see United States & Canada
instructions above).
Limitation of Liability
Westone disclaims any and all implied warranties, warranties of
merchantability and tness for a particular purpose to the maximum
extent permissible by law.Westone shall not be liable for any special,
incidental or consequential damages caused by the use, misuse,
or inability to use this product. If purchased under a government
contract, those contract terms supersede terms stated herein. In
some locations, implied warranties cannot be limited. Under certain
conditions, these limitations or exclusions may therefore not apply to
you.This warranty replaces all other warranties for this product.
FCC
This device complies with Part 15 of the FCC Rules. Operation is subject
to the following two conditions: (1) this device may not cause harmful
interference, and (2) this device must accept any interference received,
including interference that may cause undesired operation. Changes
or modications not expressly approved by the party responsible for
compliance could void the user’s authority to operate the equipment.
This equipment has been tested and found to comply with the limits for a
Class B digital device, pursuant to Part 15 of the FCC Rules.These limits are
designed to provide reasonable protection against harmful interference in
a residential installation.This equipment generates uses and can radiate
radio frequency energy and, if not installed and used in accordance with
the instructions, may cause harmful interference to radio communications.
However, there is no guarantee that interference will not occur in a
particular installation.
If this equipment does cause harmful interference to radio or television
reception, which can be determined by turning the equipment o and on,
the user is encouraged to try to correct the interference by one or more of
the following measures:
• Reorient or relocate the receiving antenna.
• Increase the separation between the equipment and receiver.
• Connect the equipment into an outlet on a circuit dierent from that to
which the receiver is connected.
• Consult the dealer or an experienced radio/TV technician for help.

SRRC CONTACT US
Westone values your satisfaction.
If you have any questions or comments
about our products or service,
please contact us:
Phone: 1-719-540-9333
Toll Free: 1-800-525-5071
Fax: 1-800-736-9576
Email: music@westone.com
Westone® Laboratories, Inc.
P.O. Box 15100, Colorado Springs, CO 80935
Physical Address:
2235 Executive Circle, Colorado Springs, CO 80906

Designed in Colorado, USA
©2018Westone Laboratories, Inc. |The“Bluetooth®”wordmark
and logos are registered trademarks owned by Bluetooth SIG,
Inc. any use of such marks is under license. | Qualcomm aptX
is a product of Qualcomm Technologies International, Ltd.
Qualcomm is a trademark of Qualcomm Incorporated, registered
in the United States and other countries, used with permission.
aptX is a trademark of Qualcomm Technologies International,
Ltd., registered in the United States and other countries, used
with permission. Other trademarks and trade names are those
of their respective owners. | Made in China | PN 78397-M 4.18
westoneaudio.com
Table of contents
Other Westone Headphones manuals

Westone
Westone UM Pro50 User manual

Westone
Westone W Series User manual

Westone
Westone Universal Monitor User manual

Westone
Westone Earphones User manual

Westone
Westone Wireless Headphone CR-1 User manual

Westone
Westone Westone Series User manual

Westone
Westone CR1 User manual

Westone
Westone True-Fit User manual

Westone
Westone W Series User manual

Westone
Westone W80 User manual