8
Introduction
Refrigerant Gases
Halogens are any of the five elements
(fluorine, chlorine, bromine, iodine and
astatine) that form part of group 7a of the
Periodic Table of Elements. The fluorine
and chlorine elements of this family are
used to create a methane organic
compound used to form
dichlorodifluoromethane (CCL2F2), a
halogenated hydrocarbon called CFC-12
(chlorofluorocarbon 12). This refrigerant
gas is commonly known as Refrigerant-12,
or R-12, and has been used as a refrigerant
in mobile air conditioning systems for many
years.
The new refrigerant in the halogenated
hydrocarbon family, HFC-134a (CH2FCF3), or
R-134a, is now being incorporated in mobile
air conditioning systems. HFC stands for
hydrofluorocarbon.
The environmental impact of mobile air
conditioning refrigerant containing chlorine
(R-12) has caused regulatory action that will
eventually eliminate the use of such
products. Regulatory action is necessary
because when the chlorine content in R-12
is exposed to the atmosphere:
• It depletes the protective ozone layer in
the atmosphere
• It has relatively high global warming
potential, and
• Its long atmospheric lifetime is
approximately 120 years.
R-134a has been developed for new vehicle
production but does not replace or directly
substitute for R-12 in existing vehicles. R-
134a does not contain chlorine, does not
deplete the ozone layer in the atmosphere
and has an atmospheric lifetime of about
15.5 years.
Environmental Protection Agency (EPA) and
state regulations specify that:
• Provisions be made to certify all air
conditioning service, installation and
repair personnel,
• Refrigerant be recovered, recycled or
reclaimed from automotive air
conditioning systems, instead of allowing
vapors to be expelled, or vented, into the
atmosphere, and
• Refrigerant should be recycled and
reused, or properly disposed of, instead
of allowing vapors to be expelled, or
vented, into the atmosphere.
Mobile air conditioning service, installation
and repair technicians must be qualified and
certified.
Refrigerant Handling
Mobile air conditioning systems contain
chemical mixtures that require special
handling to avoid injury and to avoid venting
refrigerant into the atmosphere.
Do not discharge any refrigerant gas, vapor
or liquid from a refrigeration system into the
atmosphere. If service is required that
involves opening the refrigerant system, use
a certified recovery system.
Refrigerant Safety
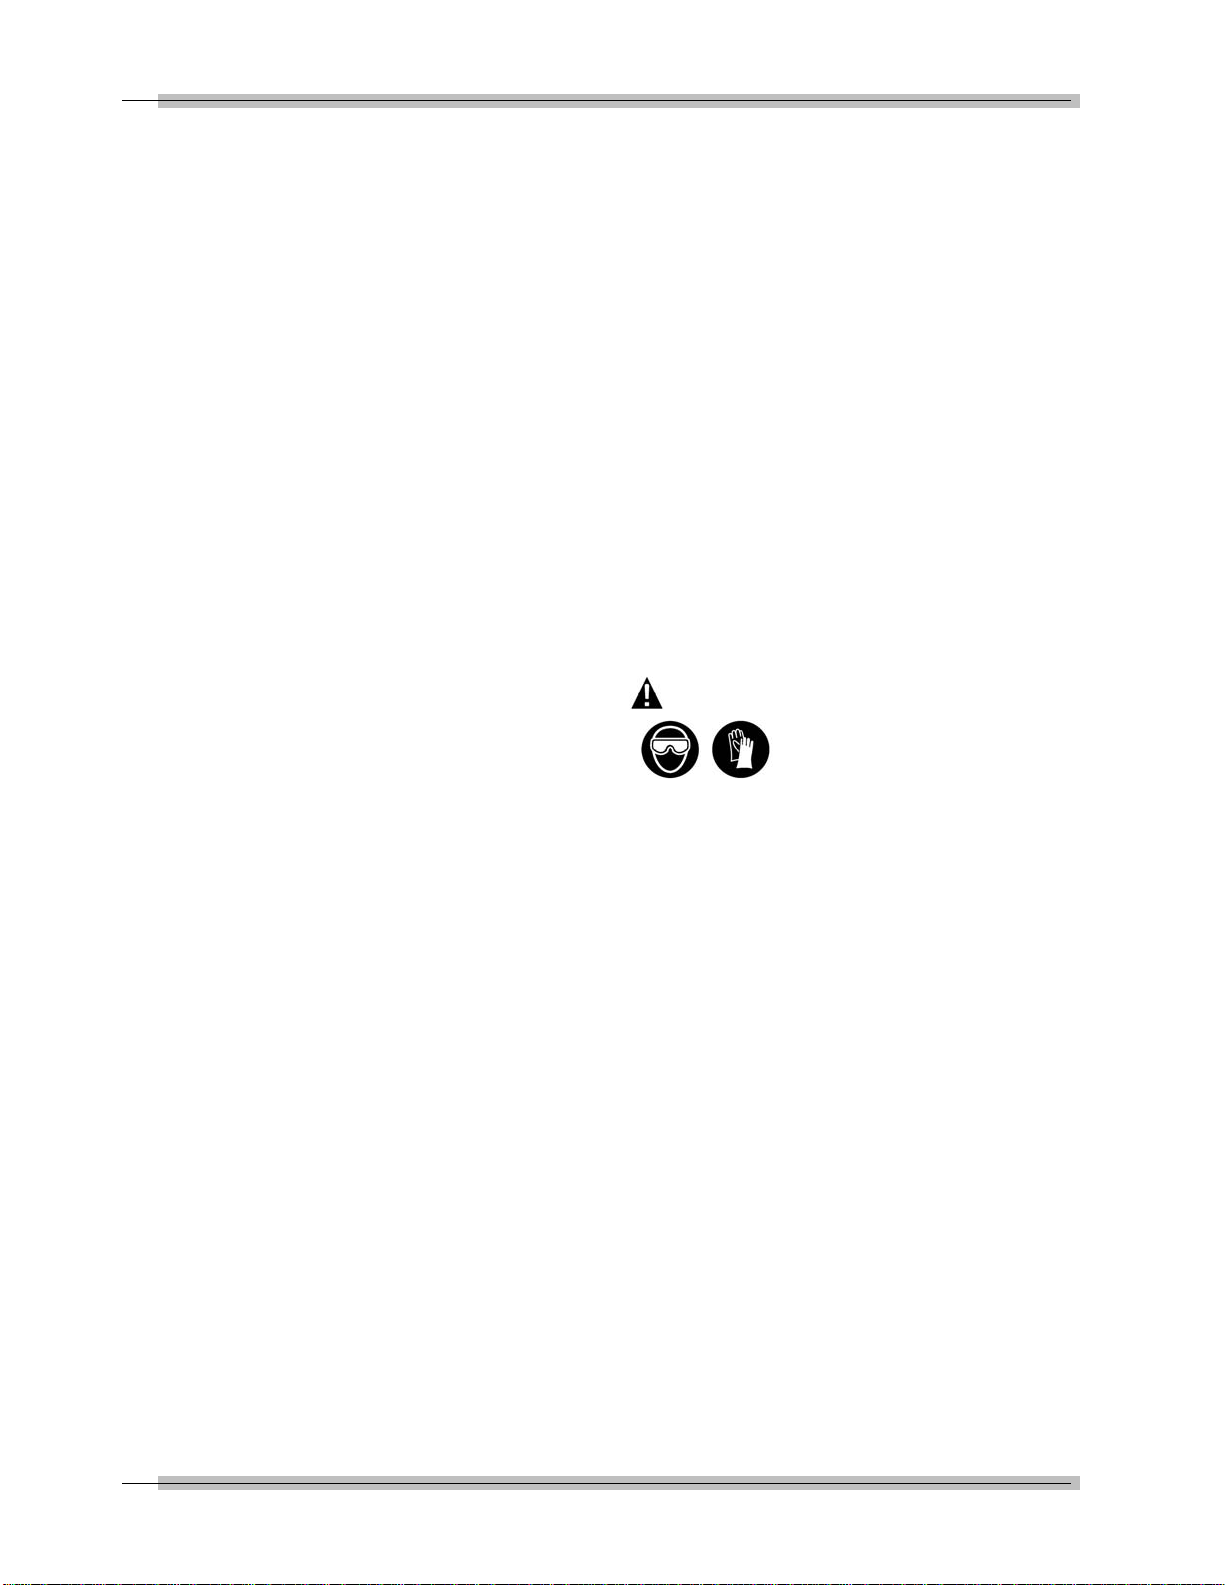
WARNING
• Wear safety goggles and protective
gloves, user and bystander. Everyday
eyeglasses only have impact resistant
lenses, they are NOT safety glasses.
If any refrigerant gets into eyes, flush
with water and seek a doctor's aid
immediately, even though irritation
may cease.
• Do not remove master filter/dryer while
under pressure. Follow instructions
for removing master filter/dryer. For
additional information refer to
Changing the Master Filter/Dryer
.
• Prevent refrigerant from contacting the
skin.
• Read, understand and follow
Safety
Information
in the front of this manual.