Page 1
SAFETY PRECAUTIONS
• Wipe clean with a dry cloth.
CARE INSTRUCTIONS
Tools Needed:
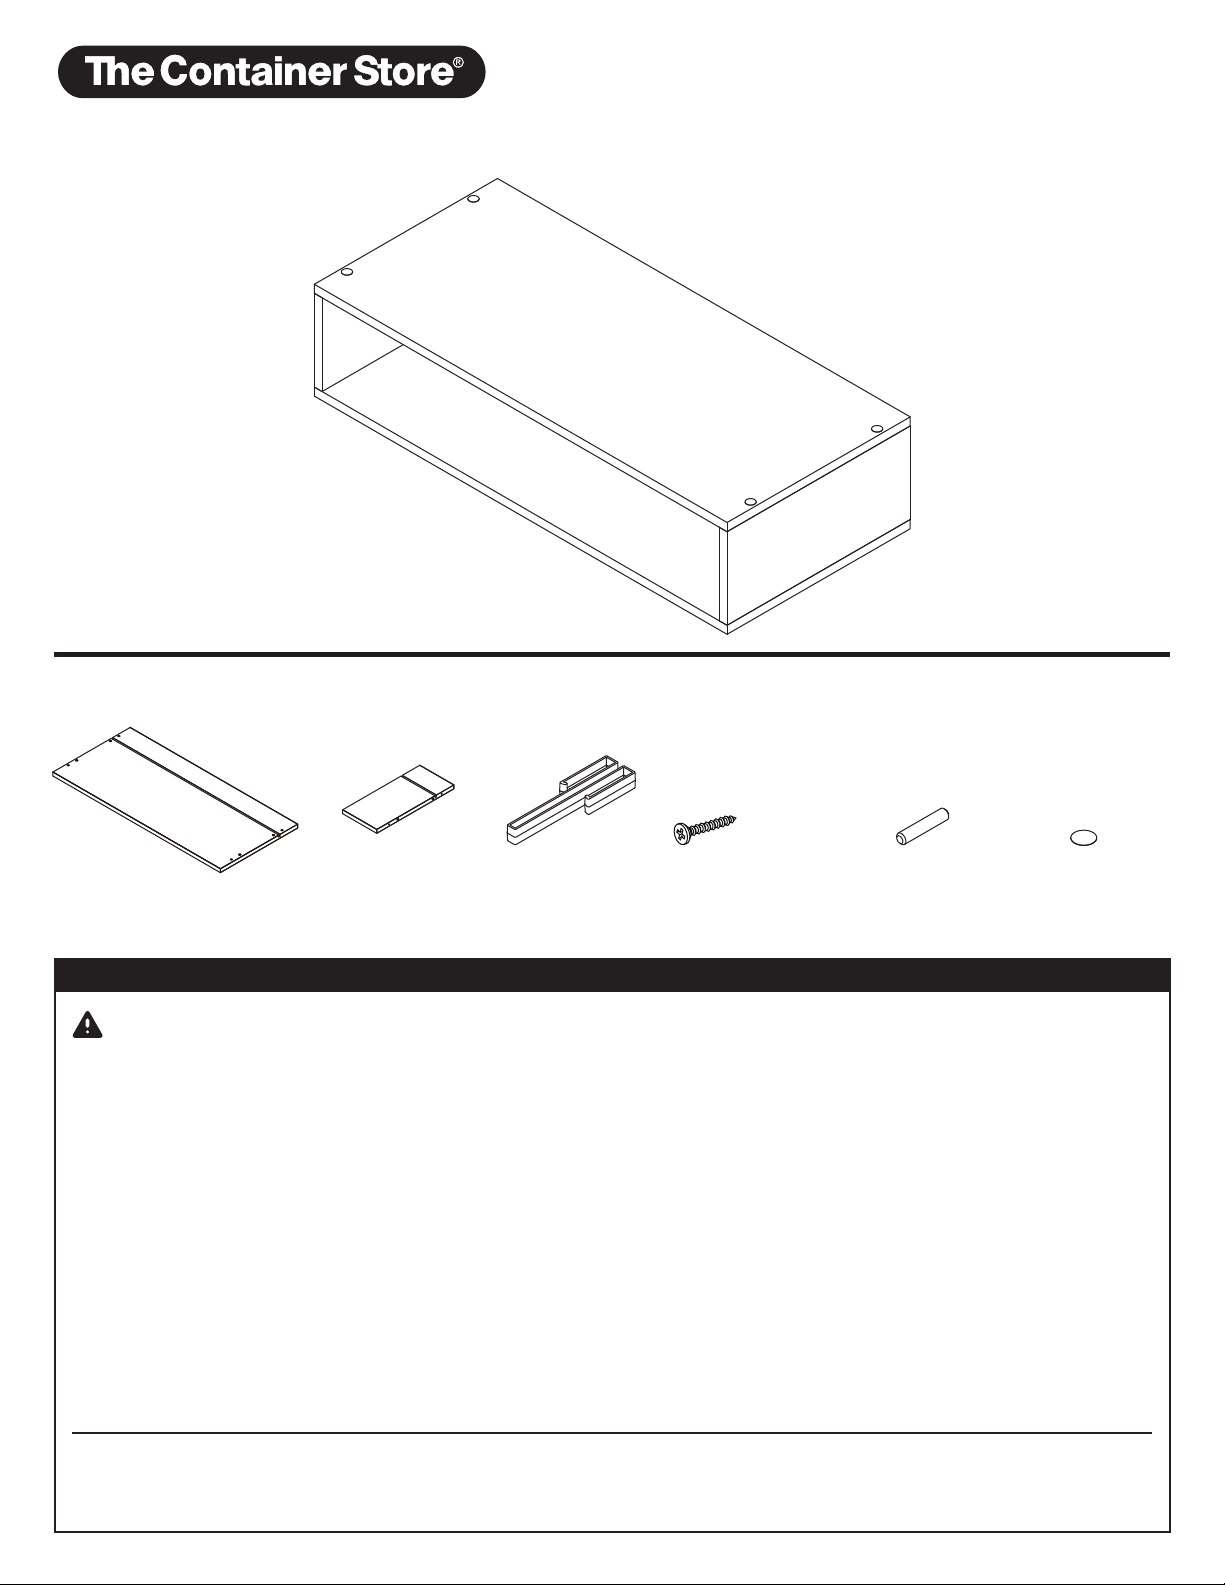
A Phillips screwdriver.
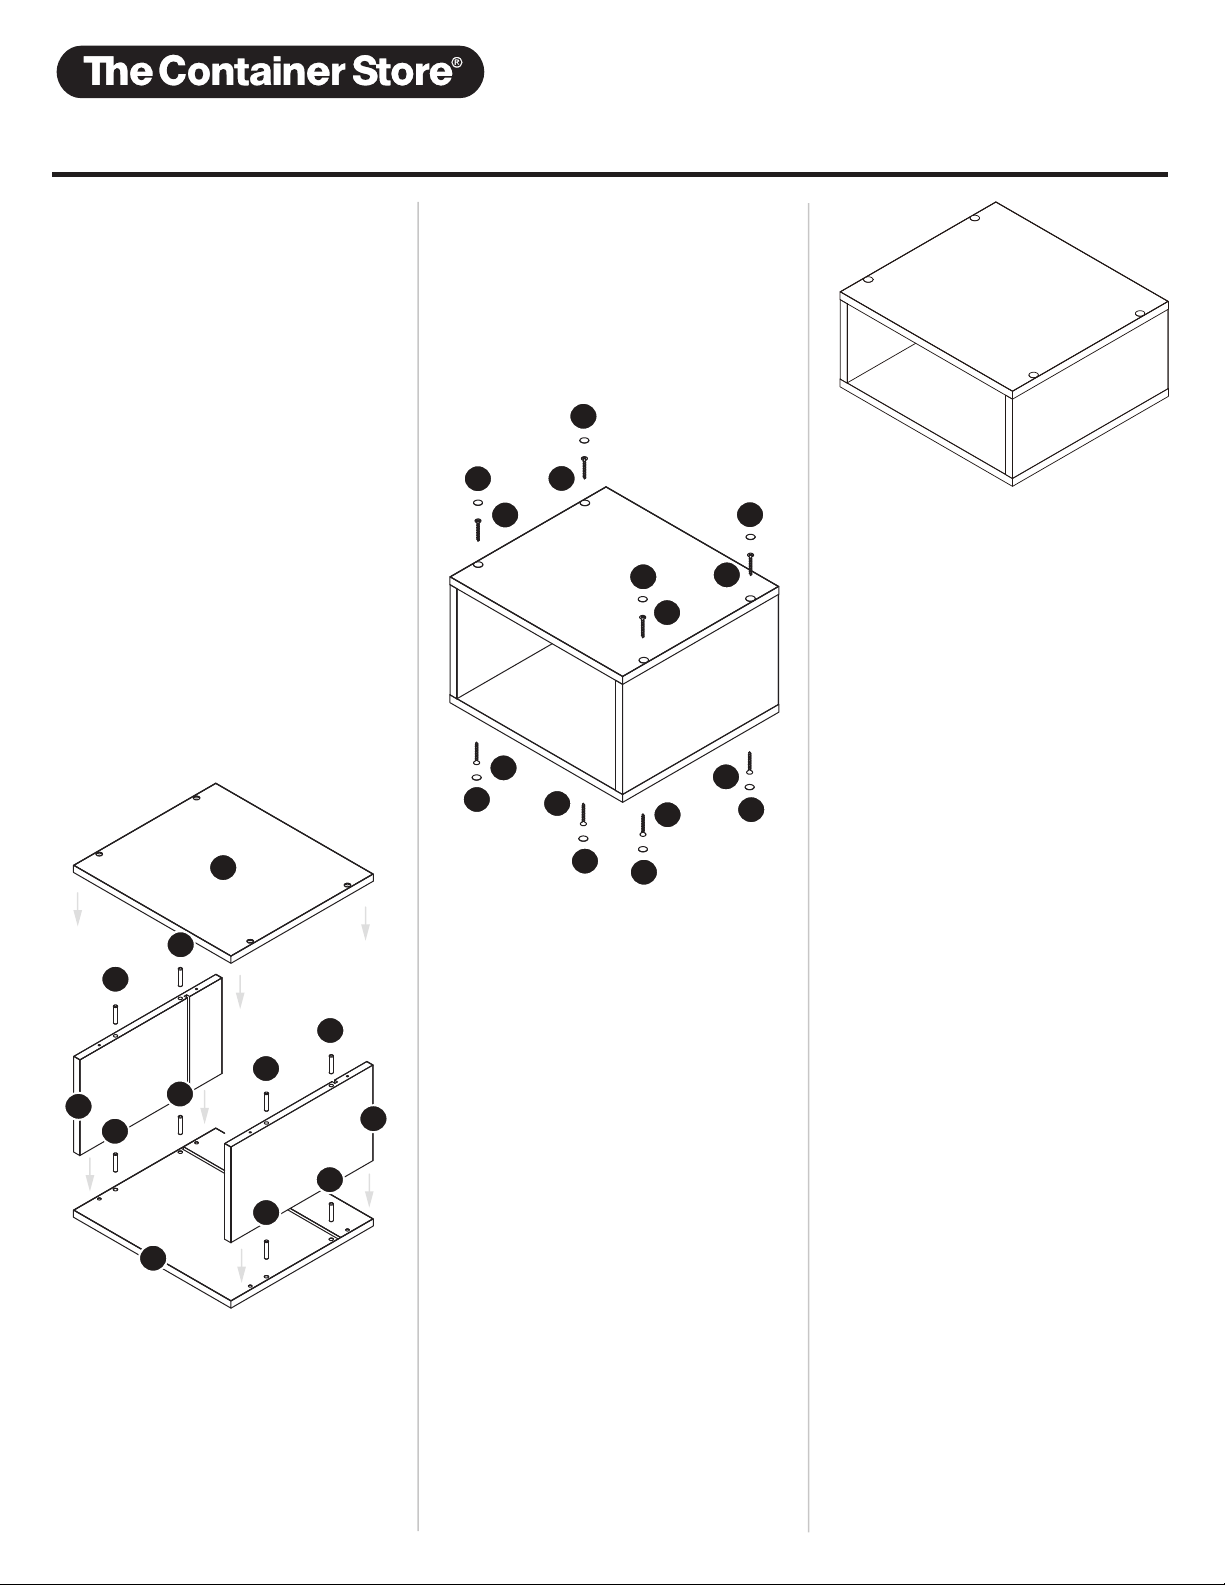
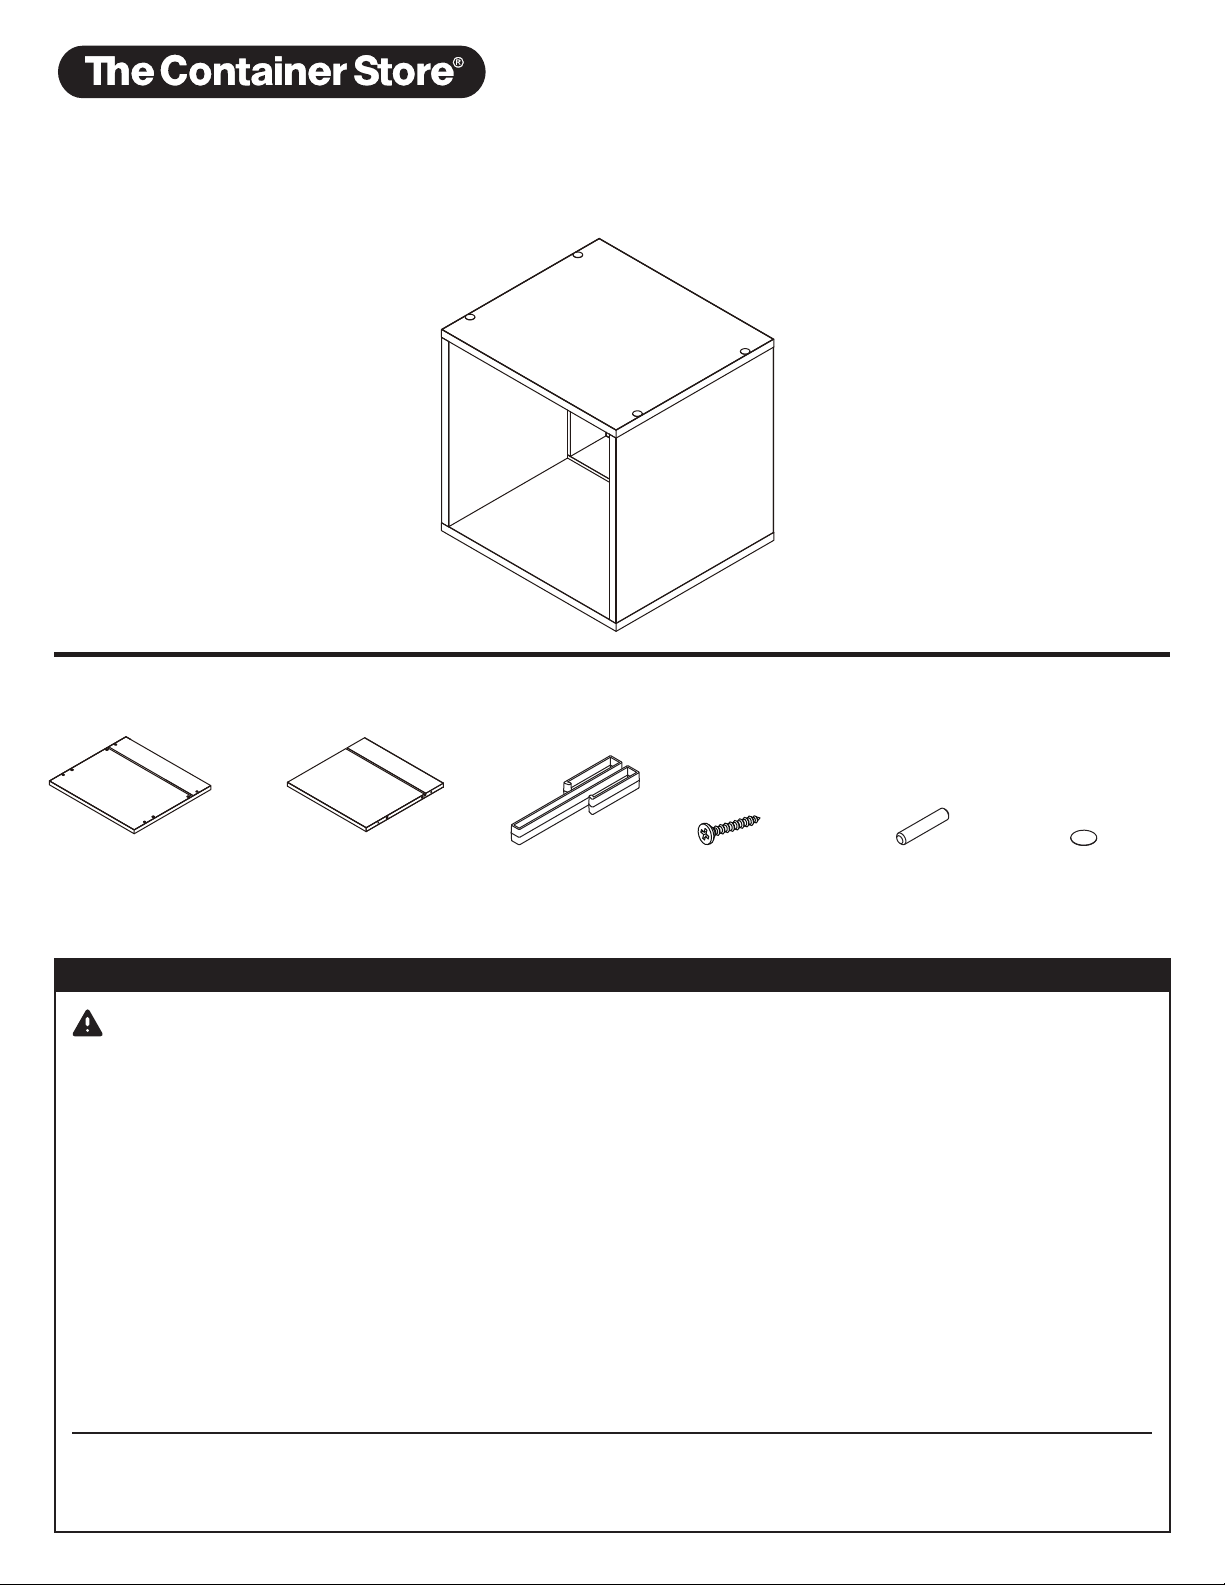
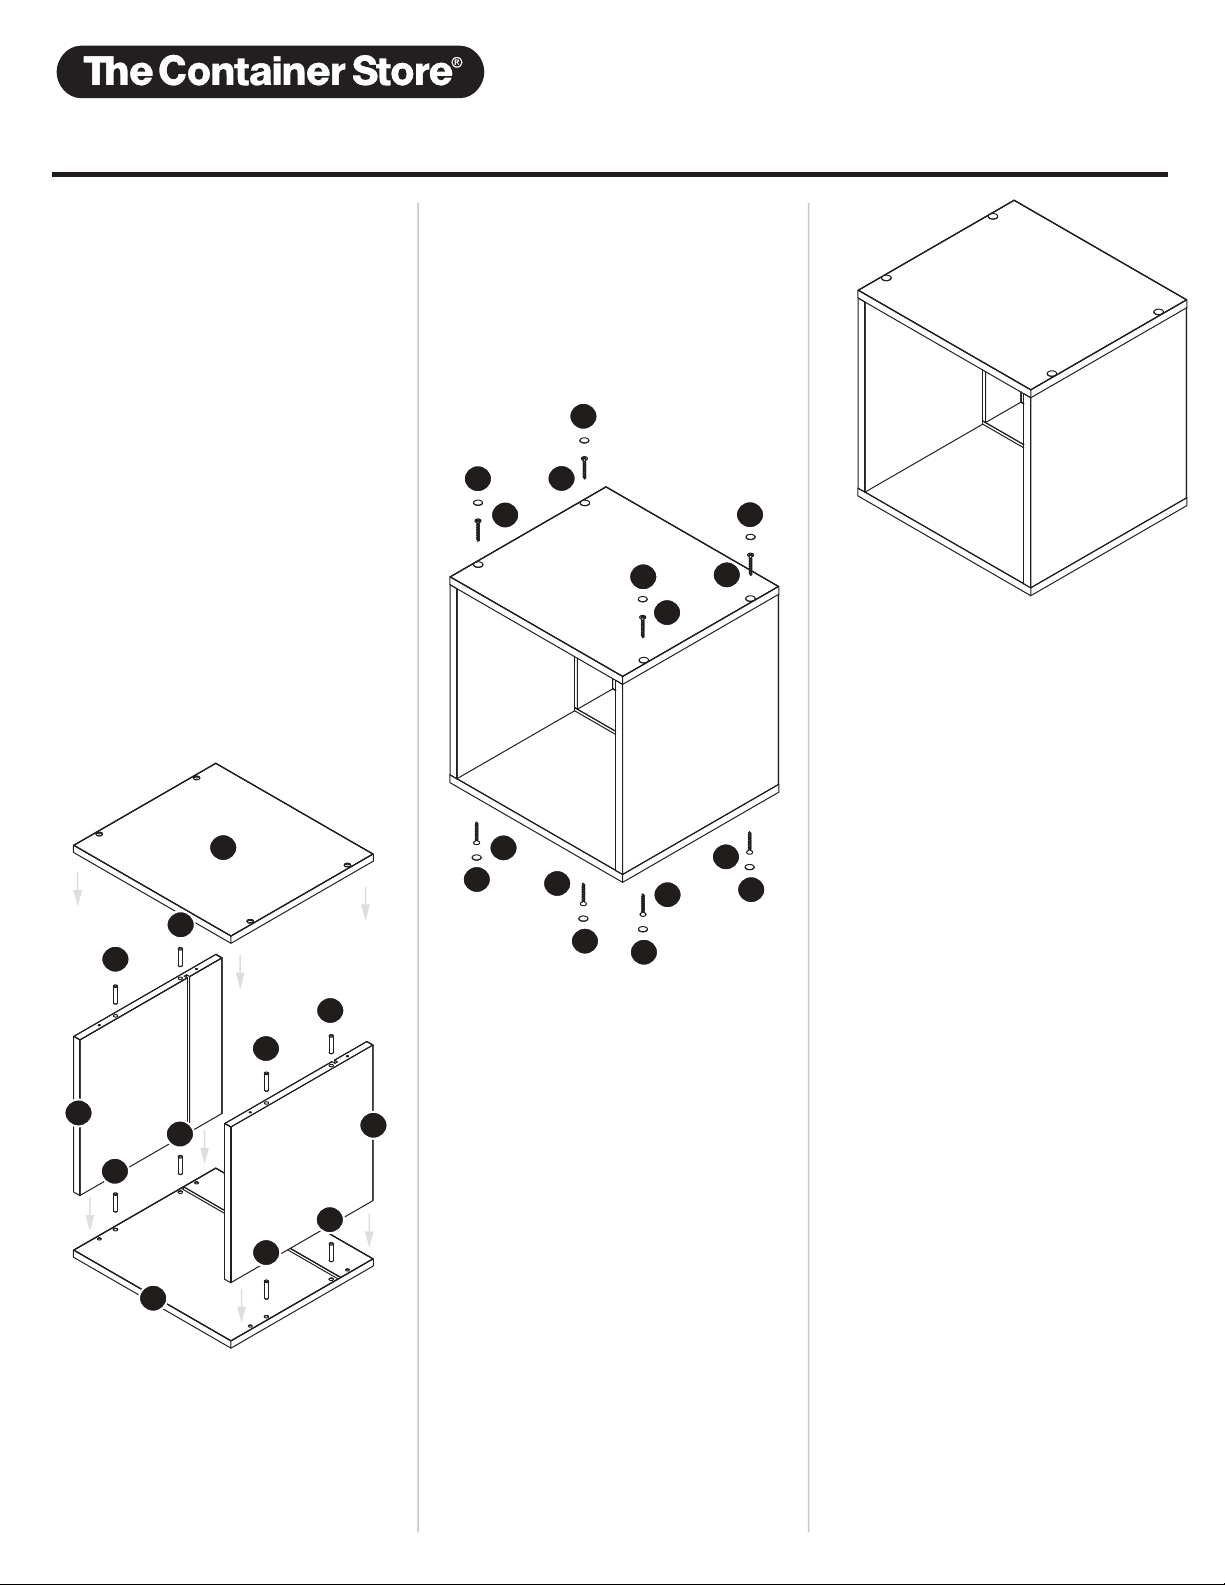
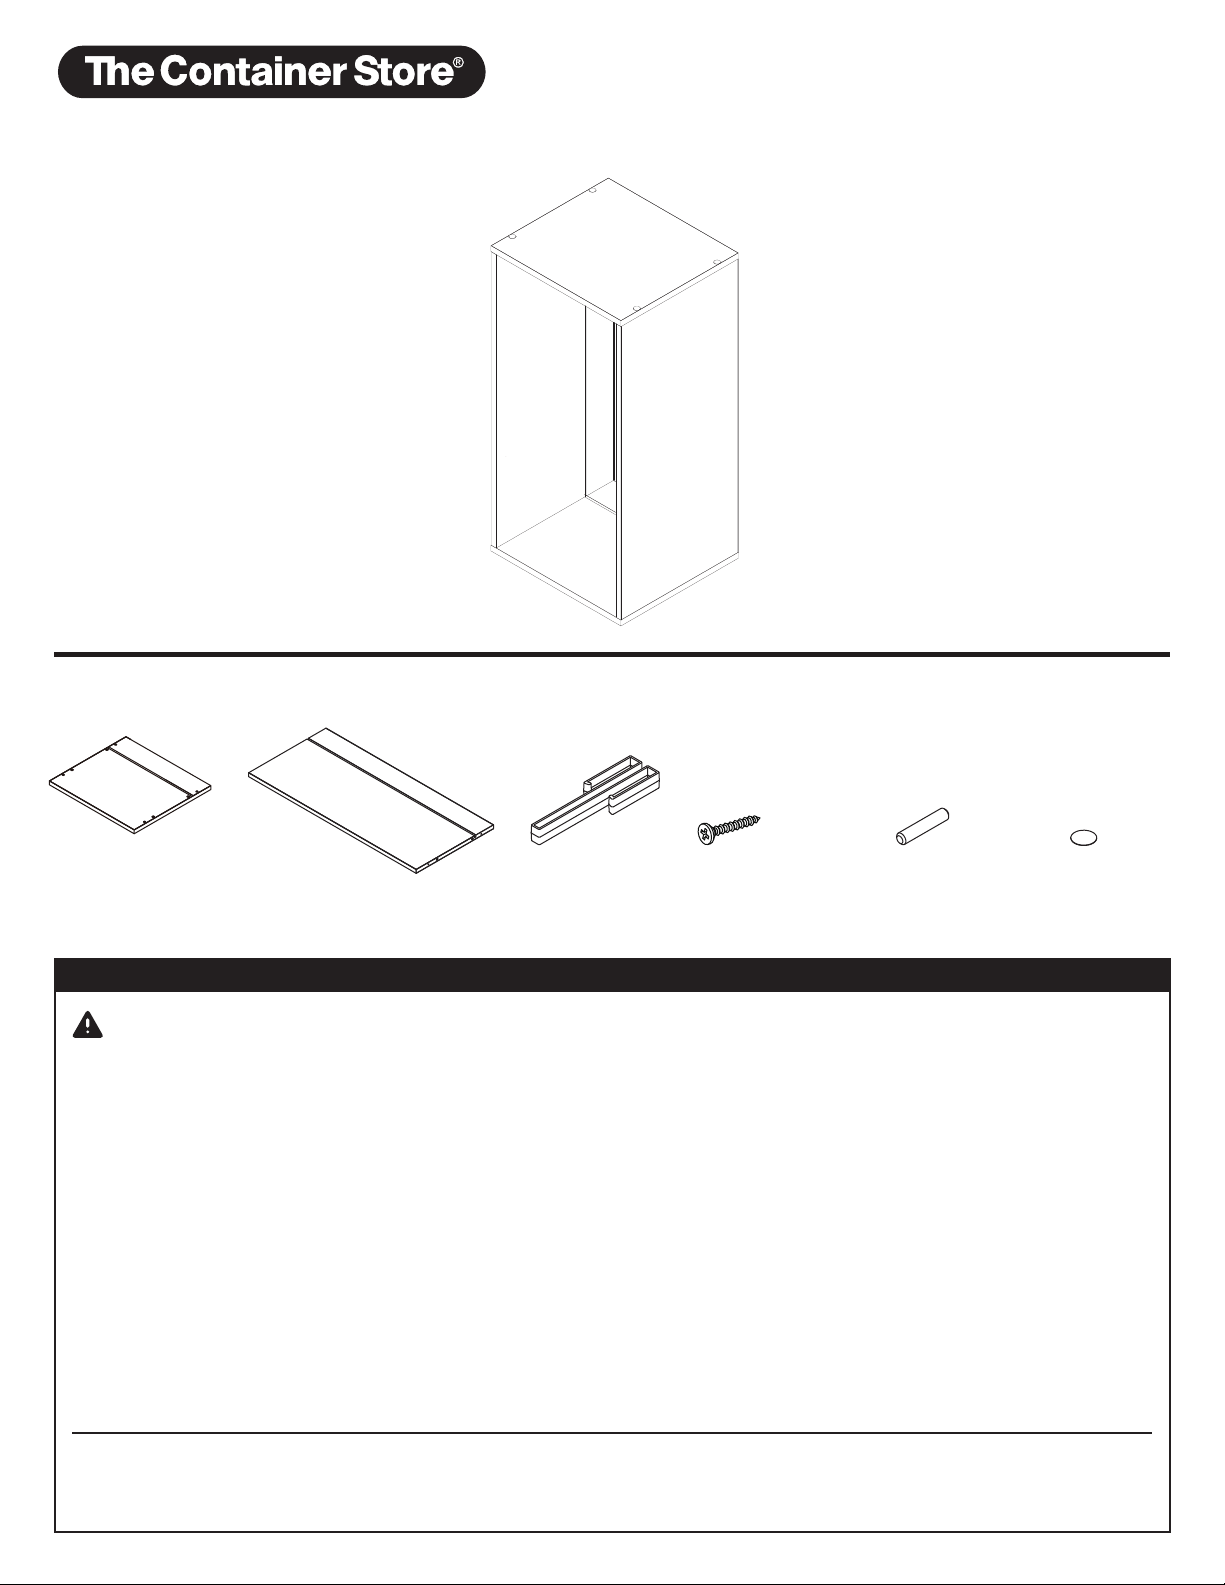
B2 ea
Short Cube Side Panels F8 ea
Screw Covers
E8 ea
Wooden Dowels
A2 ea
Top/Bottom Panels
PARTS:
C3 ea
Locking Clips
D8 ea
Large Phillips Screws
6739-11676-WHT
Clip & Cube®Short Cube
•Contains small parts which could be
a choking hazard for small children.
Children should be under adult
supervision at all times or serious
injury could occur.
•Always unload and transport one unit
at a time, then reconfigure in the new
location (if combined into a set).
Serious bodily injury and/or damage
to personal belongings may occur.
•Do not hang on the wall. The product
structure is not designed for wall
hanging. Serious bodily injury,
damage to personal belongings,
and/or damage to the wall may occur.
•Do not overload. If any shelf, top, or
bottom of bows or bends, it is
overloaded. The shelf, top, or bottom
could collapse and cause serious
bodily injury and/or damage to
personal belongings.
• Do not climb or step on. Unit may
become unstable and either tip or
collapse. Serious bodily injury
and/or damage to personal belongings
may occur.
•Do not mount or attach anything to the
sides, rear or front of the unit as this can
create a force which can cause the unit to
tip. Serious bodily injury and/or damage
to personal belongings may occur.
•Follow proper safety procedures when using
power tools and ladders (when applicable).
•We recommend you protect your work
surface during assembly to prevent
scratching or damage to tabletops, wood
floors, etc.
•A set of multiple units must be secured with
at least 1 clip per 6" face, 1 clip per 12"
vertical face, 2 clips per 12" horizontal face
and 3 clips per 24" face when attaching these
units together.
• MOUNTING SET TO WALL: If set height
exceeds 36 inches, use an anti-tip kit (not
included) to avoid tipping.
WARNING