manuals.online logo
Brands
  1. Home
  2. •
  3. Brands
  4. •
  5. Whittier Wood
  6. •
  7. Indoor Furnishing
  8. •
  9. Whittier Wood 5024KFDH User manual

Whittier Wood 5024KFDH User manual

For normal household use only.
recommended for commercial use.
Production Code:
Completely read the Assembly Instructions before
you begin your project.
Store the parts: 1) in their box; 2) in a dry place;
3) in temperatures ranging from 40° to 90°.
(Not on a cold, possibly damp, cement floor.)
Inspec
This Assembly requires two people.
ct your furniture periodically for any loose glue
joints or screws, or any other problem which may
affect the stability of your furniture. Tighten or
repair as needed.
Congratulations!
This fine piece of furniture will make a handsome
addition to your home. For the best results, start by
reading the Assembly Instructions before you
begin your project.
Service Policy:
We will replace any
parts which are defective, missing or
damaged during assembly. Please contact
Whittier Wood Products customer service
department directly (by phone, fax, mail or
email) for replacement parts.
Hours:
Our friendly customer service staff
can be reached Monday-Friday 7:00 a.m. to
5:00 p.m. (Pacific Time). A message can be
left 24 hours a day, 7 days a week.
To Order:
Provide the complete furniture
model number (upper left corner of this
page), part letter/number, production code,
quantity needed, reason for replacement
and your full name and address along with
a telephone number in case we need to
contact you.
Parts ship from our Eugene, Oregon factory
within 1 or 2 business days from the time
we receive the request. Please allow 5-10
business days for delivery.
Outside U.S. or Canada: 541-687-0213Outside U.S. or Canada: 541-687-0213
Mail: P.O. Box 2827 • Eugene, Oregon 97402, U.S.A.Mail: P.O. Box 2827 • Eugene, Oregon 97402, U.S.A.
Do not climb or stand on or in this piece
of furniture.
Unload items from this unit prior to moving.
Do not overload storage benches on this unit.
Model #
Portland II Corner
Bench
Assembly Instructions
5024KFDH
1/09
P.O. Box 2827
Eugene, OR 97402 USA
Fax: 541-687-2060 • www.whittierwood.comFax: 541-687-2060 • www.whittierwood.com
VN
5024KFDH Portland II Corner Bench — Parts List
BEFORE BEGINNING ASSEMBLY, identify the parts you received with what is on this list. If you need to replace
a part, please refer to the following list for its name and letter.
A — Large Upper Back — Qty. 1 B — Small Upper Back — Qty. 1
Page 2 – 5024KFDH – 1/09
E — Corner Back — Qty. 1D — Corner Seat — Qty. 1
I — Small Lower Back — Qty. 1 J — Large Bottom — Qty. 1 K — Small Bottom — Qty. 1
H — Large Lower Back — Qty. 1
C — Corner Top — Qty. 1
F — Left Side Assembly
— Qty. 2
G — Right Side Assembly
— Qty. 2
L — Left Back Corner — Qty. 1 M — Right Back Corner — Qty. 1
5024KFDH Portland II Corner Bench
— Parts List — continued
N — Large Seat Assembly — Qty. 1
P — Small Front Panel — Qty. 1 Q — Large Front Panel — Qty. 1
O — Small Seat Assembly — Qty. 1
Page 3 – 5024KFDH – 1/09
Y — Wood Button — Qty. 12
W — #5x5/8" Flat Head Screw
— Qty. 8
X — Lid Support — Qty. 2
Z – Hex Wrench – Qty. 1
R— Bottom Support — Qty. 2
ZA — 8mm x 30mm Wood Dowel
— Qty. 42 (pre-inserted)
ZB — 9/16" x 1" Wood Dowel
— Qty. 4 (pre-inserted)
S — ¼" x 63mm Hex Screw
— Qty. 24
V — #8x1¼" Black Screw
— Qty. 14
U — #8x1⅝" Black Screw
— Qty. 6
T — #8x1¼" Pan Head Screw
— Qty. 24
5024KFDH Portland II Corner Bench
ASSEMBLY INSTRUCTIONS
TOOLS REQUIRED: Hex Wrench (provided), Phillips Screwdriver,
Mallet or Padded Hammer, Wood Glue
Page 4 – 5024KFDH – 1/09
Fig. 1
Fig. 2
x 2
T
Q
H
R
T
A
F
S
H
Q
x 6
S
Spread a thin film of glue in the dowel holes in the Large Front Panel (Q) and Large Lower Back (H).
Insert Bottom Support (R) and gently tap with a padded hammer. Using the pocket drilled holes
as guides, attach with two #8x1¼" Pan Head Screws (T). See Figure 1.
1.
2. Spread a thin layer of glue in the dowel holes in one of the the Left Side Assemblies (F). Insert the
Large Upper Back (A), Large Lower Back (H) and Large Front Panel (Q) and gently tap with
a padded hammer. Quickly wipe away any excess glue with a damp rag. Using the provided
Hex Wrench (Z), attach with six ¼"x63mm Hex Screws (S). See Figure 2.
Page 5 – 5024KFDH – 1/09
Fig. 3
Fig. 4
J
S
G
x 6
S
4.
Slide Large Bottom (J) into grooves in Large Lower Back and Large Front Panel (H and Q).
See Figure 3.
3.
View from bottom
Spread a thin layer of glue in the dowel holes in one of the Right Side Assemblies (G) and
attach to the bench assembly. Gently tap with a padded hammer and quickly wipe away excess
glue with a damp rag. Using the provided Hex Wrench (Z), insert six ¼"x63mm Hex Screws (S).
See Figure 4.
Page 6 – 5024KFDH – 1/09
Fig. 5
Fig. 6
Fig. 6a
N
T
x 4
T
T
T
5.
6. Open the Seat. Using the pocket holes as guides, attach Large Seat Assembly to Large Lower Back
with four #8x1¼" Pan Head Screws (T). See Figures 6 and 6a.
Spread a thin layer of glue in the two dowel holes on the bottom of the Large Seat Assembly
(N). Place the Seat Assembly over the dowels on the Large Lower Back (H) and quickly wipe
away excess glue with a damp rag. See Figure 5.
H
Page 7 – 5024KFDH – 1/09
Fig. 8
x 2
T
Wx 4
W
W
X
N
P
7.
Fig. 7
Fig. 7a
I
T
R
The long arm of the Lid Support (X) must be attached to the Seat. Position the Lid Support
(X) over the pre-drilled holes in the Large Lower Back (N) and Large Seat Assembly. Attach using
four #5x5/8" Flat Head Screws (W). See Figures 7 and 7a.
Spread a thin film of glue in the dowel holes in the Small Front Panel (P) and Small Lower Back (I).
Insert Bottom Support (R) and gently tap with a padded hammer. Using the pocket holes
as guides, attach with two #8x1¼" Pan Head Screws (T). See Figure 8.
8.
Page 8 – 5024KFDH – 1/09
Fig. 10
Fig. 9
K
B
F
S
x 6
S
I
P
9. Spread a thin layer of glue in the dow
Insert the Small Lower Back (I), Small Front Panel (P) and Small Upper Back (B) and gently tap
with a padded hammer. Quickly wipe away any excess glue with a damp rag. Using the provided
Hex Wrench (Z), attach with six ¼"x63mm Hex Screws (S). See Figure 9.
el holes in the remaining Left Side Assembly (F).
Slide Small Bottom (K) into grooves in Small Lower Back and Small Front Panel (I and P).
See Figure 10.
10.
View from bottom
Page 9 – 5024KFDH – 1/09
Fig. 12
Fig. 11
S
x 6
S
G
O
11. Spread a thin layer of glue in the dow
and attach to the bench assembly. Gently tap with a padded hammer and quickly wipe away
any excess glue with a damp rag. Using the provided Hex Wrench (Z), insert six ¼"x63mm
Hex Screws (S). See Figure 11.
el holes in the remaining Right Side Assembly (G)
12. Spread a thin layer of glue in the two dowel holes on the bottom of the Small Seat Assembly
(O). Place the Seat Assembly over the dowels on the Small Lower Back (I) and quickly wipe
away excess glue with a damp rag. See Figure 12.
I
Page 10 – 5024KFDH – 1/09
Fig. 14
Fig. 14a
Fig. 13
Fig. 13a
T
O
W
X
T
T
x 4
T
W
X
WX 4
13. Open the Seat. Using the pocket holes as guides, attach Small Seat Assembly to Small Lower Back
with four #8x1¼" Pan Head Screws (T). See Figures 13 and 13a.
14.The long arm of the Lid Support (X) must be attached to the Seat. Position the Lid Support
(X) over the pre-drilled holes in the Small Lower Back and Small Seat Assembly. Attach using
four #5x5/8" Flat Head Screws (W). See Figures 14 and 14a.
Page 11 – 5024KFDH – 1/09
Fig. 15
Fig. 16
x 6
T
x 7
V
T
L
D
V
V
M
C
V
T
Spread a thin layer of glue into the two dowel holes in the Corner Top (C) and insert the pre-attached
dowel in the Left Back Corner (L) and the one pre-attached dowel in the Right Back Corner (M).
See Figure 15. Spread a thin layer of glue into the four dowel holes in the Corner Seat (D) and
lower the Corner Seat (D) on to the two pre-attached dowels on the Left Back Corner (L) and
Right Back Corner (M). Quickly wipe away any excess glue. See Figure 15.
15.
Using the pocket holes as guides, secure the Left Back Corner (L) and Right Back Corner (M)
to the Corner Top (C) with six #8x1¼" Pan Head Screws (T). Using the pre-drilled holes as guides,
secure the Left Back Corner (L) to the Right Back Corner (M) with three #8x1¼" Black Screws (V).
Secure the Corner Seat (D) to the Left/Right Back Corners with four #8x1¼" Black Screws (V).
See Figure 16.
16.
C
LM
D
Page 12 – 5024KFDH – 1/09
Fig. 18
x 3
T
x 3
U
UT
Fig. 17 Fig. 17a
V
VV
17.
18.
Slide the Corner Back (E) so that the right and left edges fit snugly against the sides of the Left Back
Corner (L) and Right Back Corner (M). The top edge of the Corner Back (E) should be parallel
to the top edge of the Corner Top (C). See Figure 17. Using the pre-drilled holes as guides,
secure using six #8x1¼" Black Screws (V). See Figure 17a. Flip the corner seat assembly over
and, using the pre-drilled hole in the bottom of the Corner Seat (D), secure with one #8x1¼" Black
Screw (V). See Figure 17b.
Decide if you want the long bench to be on the left or right side. This diagram shows the
short bench on the left.
Place the bench assembly on a clean protected surface. Turn the short bench over on the side
that you don’t want attached to the corner seat assembly. Position the corner seat assembly
on the short bench and insert the dowels into the dowel holes on the side assembly. This is to
help you position the corner seat assembly correctly, so you do not need to glue the dowels.
Using the pre-drilled holes as guides, secure with three #8x1¼" Pan Head Screws (T) and three
#8x1⅝" Black Screws (U) as shown in Figure 18.
E
D
LM
C
View from the back
Fig. 17b
View from the back and below
View from the front
Page 13 – 5024KFDH – 1/09
Fig. 20 x 12
Y
Y
19. Glue
19. Turn the short bench and corner seat assembly right-side up and insert the dowels on the
corner seat assembly into the long bench. These dowels do not need to be glued. Using
the pre-drilled holes as guides, secure corner back seat/short bench assembly to the long
bench with three #8x1¼" Pan Head Screws (T) and three #8x1⅝" Black Screws (U)
as shown in Figure 19.
Wood Buttons (Y) into the exposed holes. See Figure 20.
Fig. 19
View from the back and bottom
x 3
T
x 3
U
T
U

Other Whittier Wood Indoor Furnishing manuals
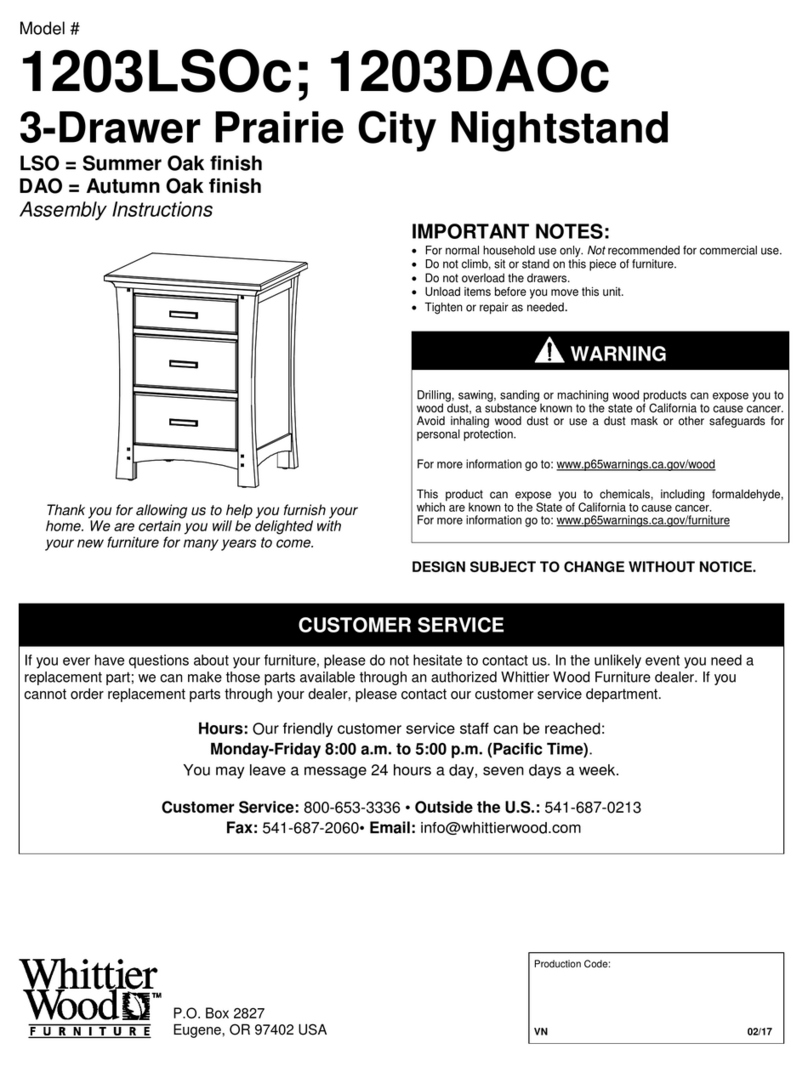
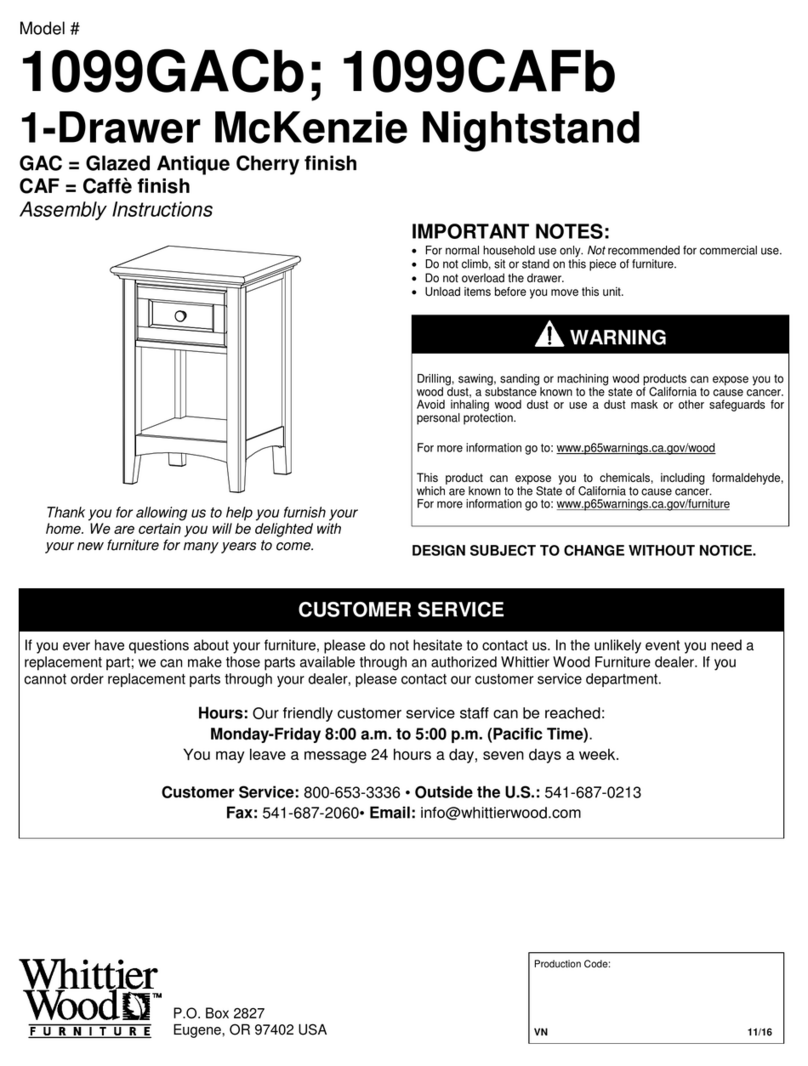
Whittier Wood 1317AFGAC User manual

Whittier Wood

Whittier Wood 1317AFGAC User manual

Whittier Wood 1416AFVCL User manual

Whittier Wood

Whittier Wood 1416AFVCL User manual

Whittier Wood 1554AEGAC User manual

Whittier Wood

Whittier Wood 1554AEGAC User manual

Whittier Wood 1333GACd User manual

Whittier Wood

Whittier Wood 1333GACd User manual

Whittier Wood 3505GACb User manual

Whittier Wood

Whittier Wood 3505GACb User manual

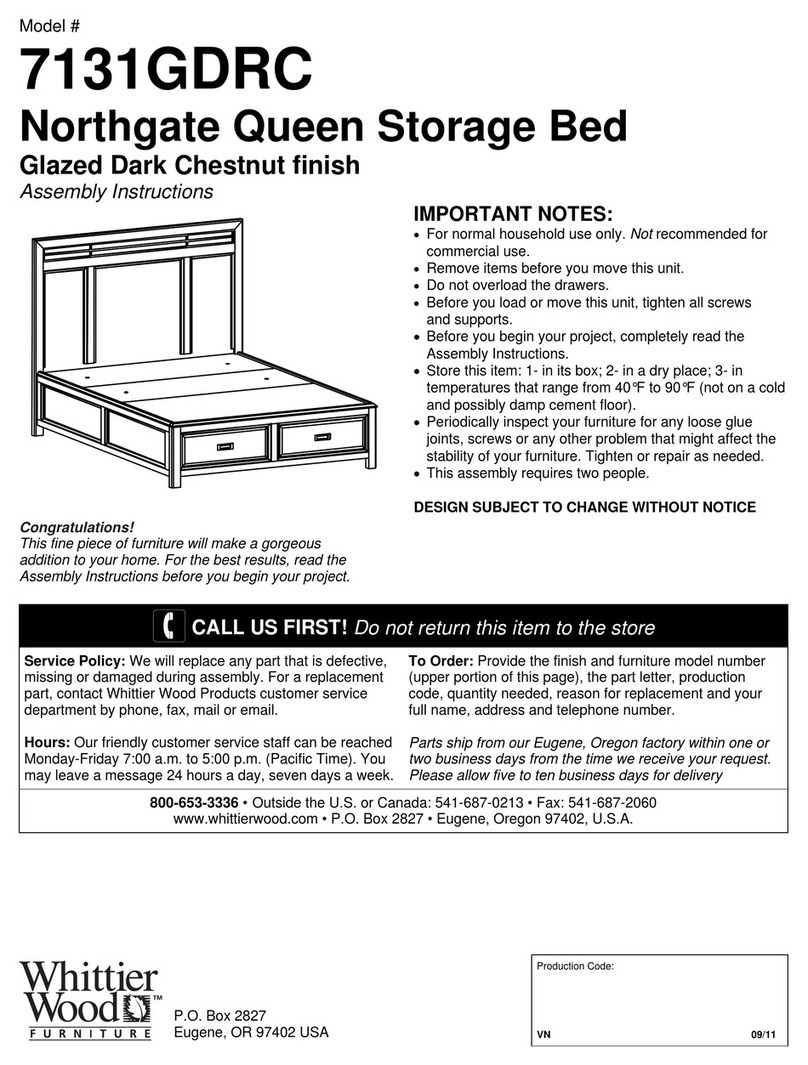
Whittier Wood 7131GDRC User manual

Whittier Wood

Whittier Wood 7131GDRC User manual
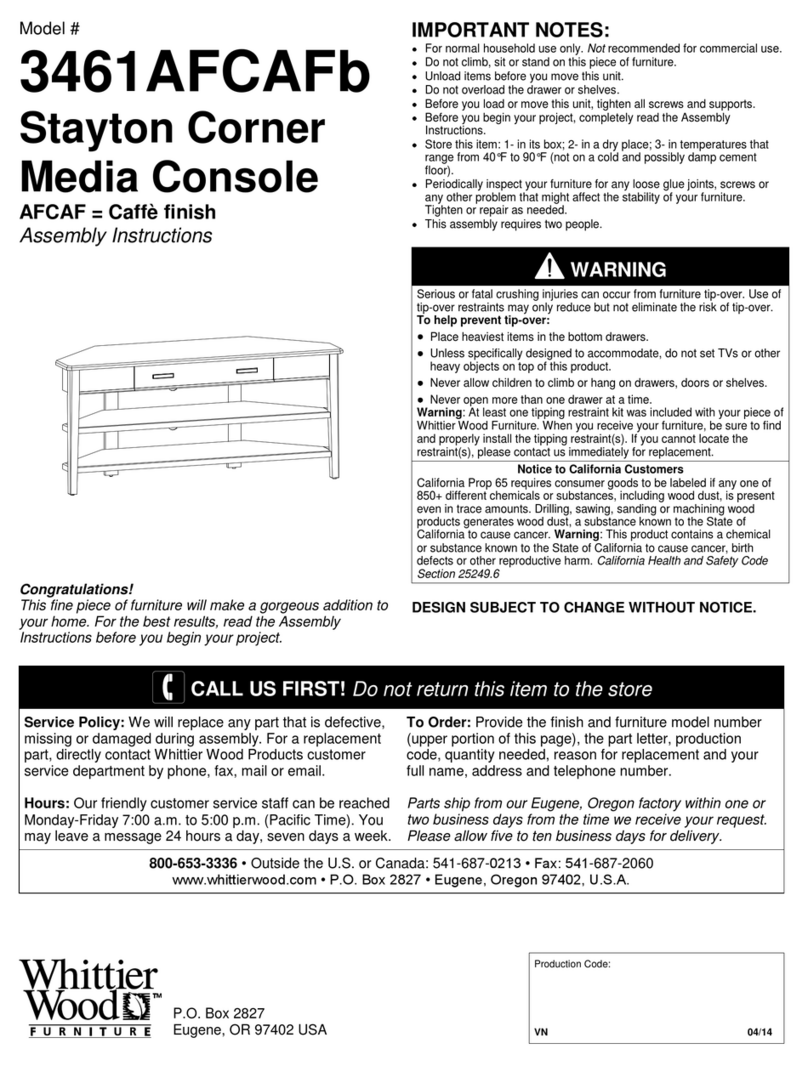
Whittier Wood 315KFGAC User manual

Whittier Wood

Whittier Wood 315KFGAC User manual

Whittier Wood 2901AFGAC User manual

Whittier Wood

Whittier Wood 2901AFGAC User manual

Whittier Wood 732W User manual

Whittier Wood

Whittier Wood 732W User manual

Whittier Wood 1187RGBc User manual

Whittier Wood

Whittier Wood 1187RGBc User manual

Whittier Wood 1114DUETa User manual

Whittier Wood

Whittier Wood 1114DUETa User manual

Whittier Wood 1995DUET User manual

Whittier Wood

Whittier Wood 1995DUET User manual

Whittier Wood 1500GACb User manual

Whittier Wood

Whittier Wood 1500GACb User manual

Whittier Wood 1506RGB User manual

Whittier Wood

Whittier Wood 1506RGB User manual

Whittier Wood Addison 3524DUET User manual

Whittier Wood

Whittier Wood Addison 3524DUET User manual

Whittier Wood 3525DUETa User manual

Whittier Wood

Whittier Wood 3525DUETa User manual

Whittier Wood 1302GAC User manual

Whittier Wood

Whittier Wood 1302GAC User manual

Whittier Wood 1520 User manual

Whittier Wood

Whittier Wood 1520 User manual

Whittier Wood 1123GACf User manual

Whittier Wood

Whittier Wood 1123GACf User manual

Whittier Wood 1137AFCAFb User manual

Whittier Wood

Whittier Wood 1137AFCAFb User manual

Whittier Wood 2098DUET User manual

Whittier Wood

Whittier Wood 2098DUET User manual

Whittier Wood 3507AFGACb User manual

Whittier Wood

Whittier Wood 3507AFGACb User manual

Whittier Wood 225W User manual

Whittier Wood

Whittier Wood 225W User manual
Whittier Wood 4651AFDHa User manual

Whittier Wood

Whittier Wood 4651AFDHa User manual

Popular Indoor Furnishing manuals by other brands

ROOMS TO GO AC1497-KD Assembly instructions

ROOMS TO GO

ROOMS TO GO AC1497-KD Assembly instructions

Walker Edison AF35LIB Assembly instructions

Walker Edison

Walker Edison AF35LIB Assembly instructions

Viking Range VBBO1601 Use & care manual

Viking Range

Viking Range VBBO1601 Use & care manual

Direct Supply Panacea Two-Sided Staircase owner's manual

Direct Supply

Direct Supply Panacea Two-Sided Staircase owner's manual

adairs MACKAY QUEEN FULL BED Assembly instructions

adairs

adairs MACKAY QUEEN FULL BED Assembly instructions

Burrow Totem Bench Assembly instructions

Burrow

Burrow Totem Bench Assembly instructions

Isotra PL 41 Assembly manual

Isotra

Isotra PL 41 Assembly manual

Safavieh Furniture FOX2602A quick start guide

Safavieh Furniture

Safavieh Furniture FOX2602A quick start guide

ROOMS TO GO 18565703 Set up and operation guide

ROOMS TO GO

ROOMS TO GO 18565703 Set up and operation guide

MediaShop Starlyf Table Express manual

MediaShop

MediaShop Starlyf Table Express manual

Kohler K-1842 installation guide

Kohler

Kohler K-1842 installation guide

Canvas HALLWAY TREE 068-7867-6 Assembly instructions

Canvas

Canvas HALLWAY TREE 068-7867-6 Assembly instructions

JWA ZINUS Middleton 71419 quick start guide

JWA

JWA ZINUS Middleton 71419 quick start guide

Safco 5060 Assembly instructions

Safco

Safco 5060 Assembly instructions

Coaster FINE FURNITURE Assembly instructions

Coaster

Coaster FINE FURNITURE Assembly instructions

Pressalit R8670 Mounting instruction

Pressalit

Pressalit R8670 Mounting instruction

MDF EDEN ED02 Assembly instructions

MDF

MDF EDEN ED02 Assembly instructions

Coaster 205070KW Assembly instructions

Coaster

Coaster 205070KW Assembly instructions

manuals.online logo
manuals.online logoBrands
  • About & Mission
  • Contact us
  • Privacy Policy
  • Terms and Conditions

Copyright 2025 Manuals.Online. All Rights Reserved.