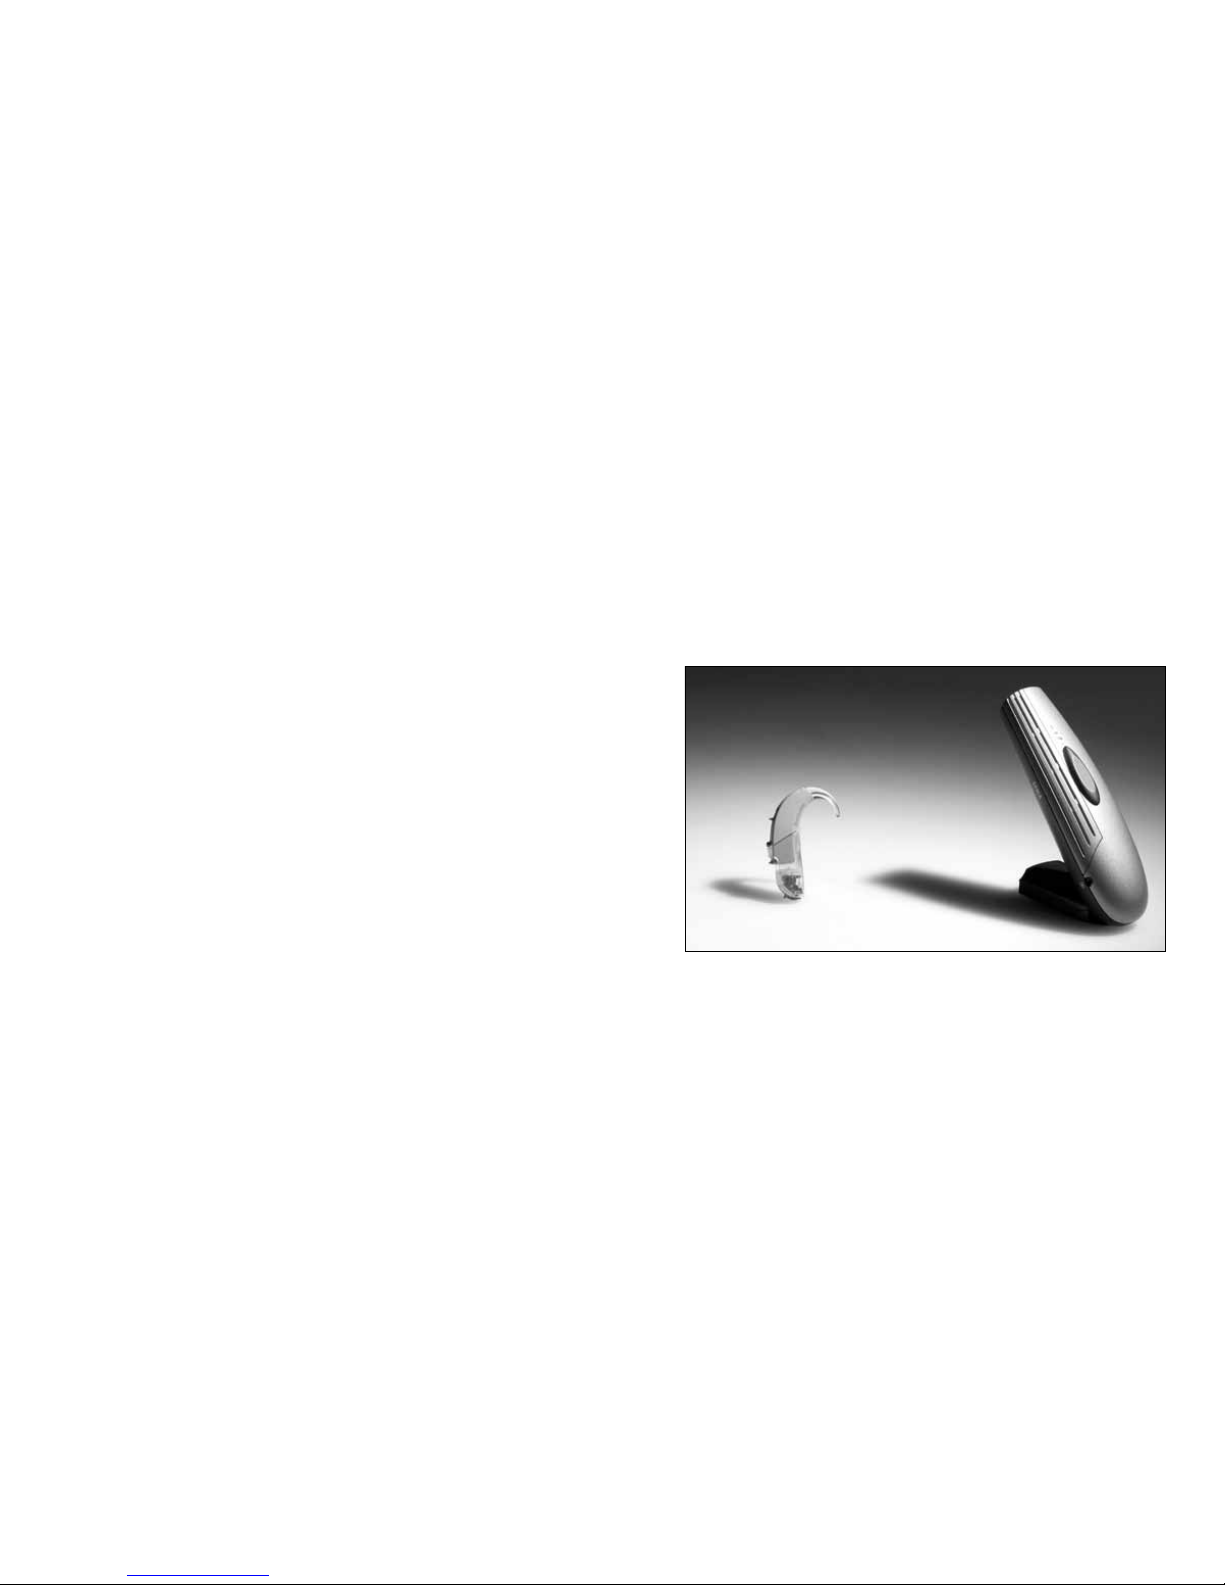
18 19
Connectinganexternalmicrophone
YoucanconnectanexternalmicrophonetotheSCOLA
TALKTherearevarioustypesavailableincludinglapel
andboommicrophonesAnexternalmicrophoneisan
optionalaccessory
PlugthemicrophoneintotheaudiojackoftheSCOLA
TALKSwitchtheSCOLATALKoninthe (omnidi-
rectional)settingTheexternalmicrophoneisnotac-
tiveinthetwoothermicrophonesettings (direc-
tional)and (superdirectional)
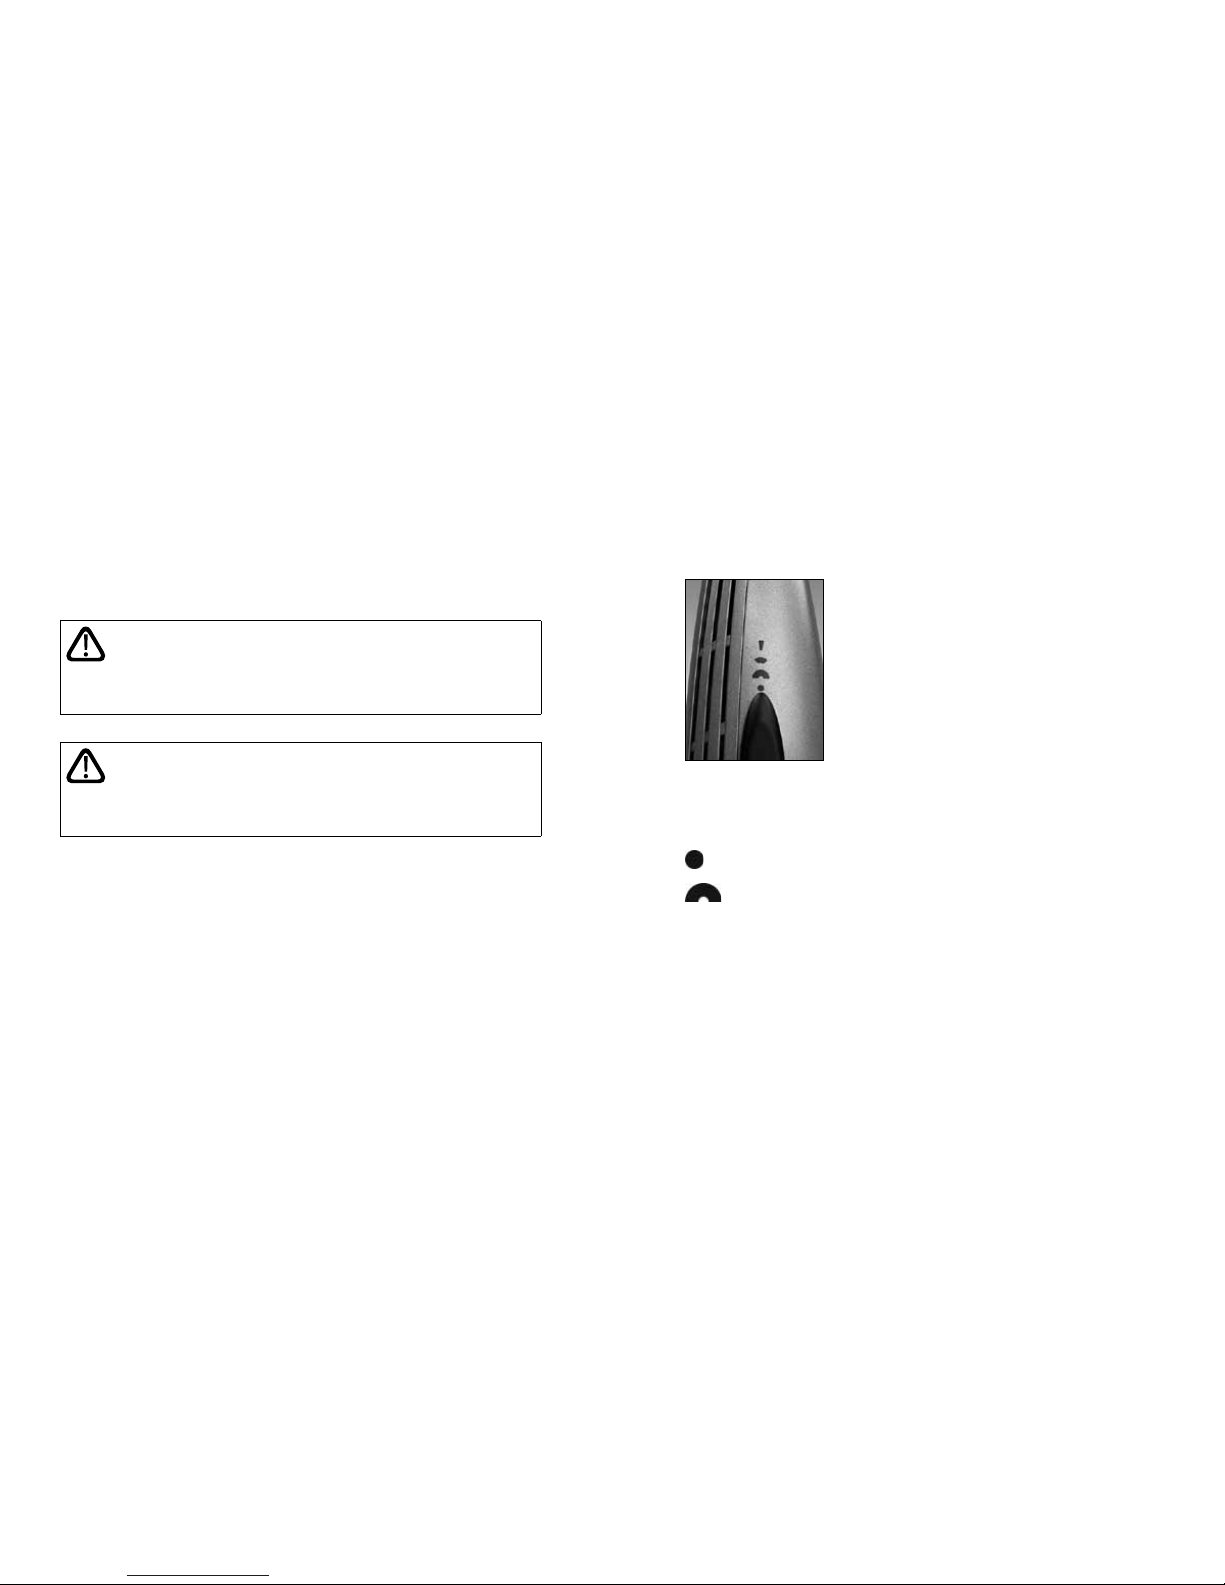
Audiobutton
Presstheaudiopen-pushbuttononcesothatthedis-
play shows the channel number and “HI” alternate-
lyThisindicatesthattheaudio inputfunctionisnow
readyforconnectionofamicrophonePresstheaudio
buttonagain ifyouwishtousethe audioinputfunc-
tionforordinaryaudioormultimediaequipmentThis
will turn off the ”HI” symbol and “LO” will be briefly
displayed
Consult your hearing care professional to establish
whetheryoucanbenefitfromanexternalmicrophone
Channelselection
Channelselectionbutton
In the SCOLA TALK display you can see the current
FM transmitting channel. The channels selected for
the SCOLA receiver and for SCOLA TALK must be
the same in order for the system to work.
When the SCOLA TALK is switched on the display
shows the current FM transmitting channel Your
SCOLATALKispresettousethesamechannelasthe
SCOLA receiver The channel selection button should
only beusedin caseswherethere isamismatchbe-
tweenthetwochannelsorifthereisinterferenceon
thechannelYoucanpressthechannelselectionbut-
tonusingapenorthelike
Youcanalsoselectanotherchannel(bothontheSCOLA
receiverandSCOLATALK)ifthereisinterferenceonthe
startingchannel
NOTE
Note that what is being tranmitted from the SCOLA TALK could
possibly be picked up by another FM system.