●Use a lens and safety glasses. For welders under 160 A output,use a shade 10 lens; for above 160 A,
use a shade 12 lens.
● Cover all bare skin areas exposed to the arc with protective clothing and shoes. Flame- retardant
cloth or leather shirts, coats, pants or coveralls are available for protection.
● Use screens or other barriers to protect other people from the arc rays emitted from your welding.
●Warn people in your welding area when you are going to strike an arc so they can protect
themselves.
Welding can cause fire or explosion.
Do not weld on containers or pipes that contain or have had flammable, gaseous or liquid combustibles
in them. Welding creates sparks and heat that can ignite flammable and explosive materials.
●Do not operate any electric arc welder in areas where flammable or explosive materials are present.
●Remove all flammable materials within 10m of the welding arc. If removal is not possible, tightly
cover them with fireproof covers.
●Take precautions to ensure that flying sparks do not cause fires or explosions in hidden areas,cracks
or areas you cannot see.
●Keep a fire extinguisher close in the case of fire.
●Wear garments that are oil-free with no pockets or cuffs that will collect sparks.
●Do not have on your person any items that are combustible, such as lighters or matches.
●Keep work lead connectedas close tothe weld area as possible to prevent any unknown,unintended
paths of electrical current from causing electrical shock and fire hazards.
●To prevent any unintended arcs, cut wire back to 6mm stick out after welding.
● Remove stick electrode from holder or cut off welding wire at contact tip when not in use.
Hot materials can cause severe burns.
Welded materials are hot and can cause severe burns if handled improperly.
●Do not touch hot welding materials with bare hands.
●Do not touchgunnozzle after welding until it has had time to cool down.
Flying metal can injure eyes.
Welding creates hot sparks that can cause injury. Chipping slag off welds creates flying debris.
●Wear protective apparel at all times: Approved safety glasses or shield, welder’s hat and ear plugs
keep sparks out of ears and hair.
Magnetic fields can affect pacemakers.
Electromagnetic fields can interfere with various electrical and electronic devices such as pacemakers.
●Consult your doctor before using any electric arc welder or cutting device .
●Keep people with pacemakers away from your welding area when welding.
7
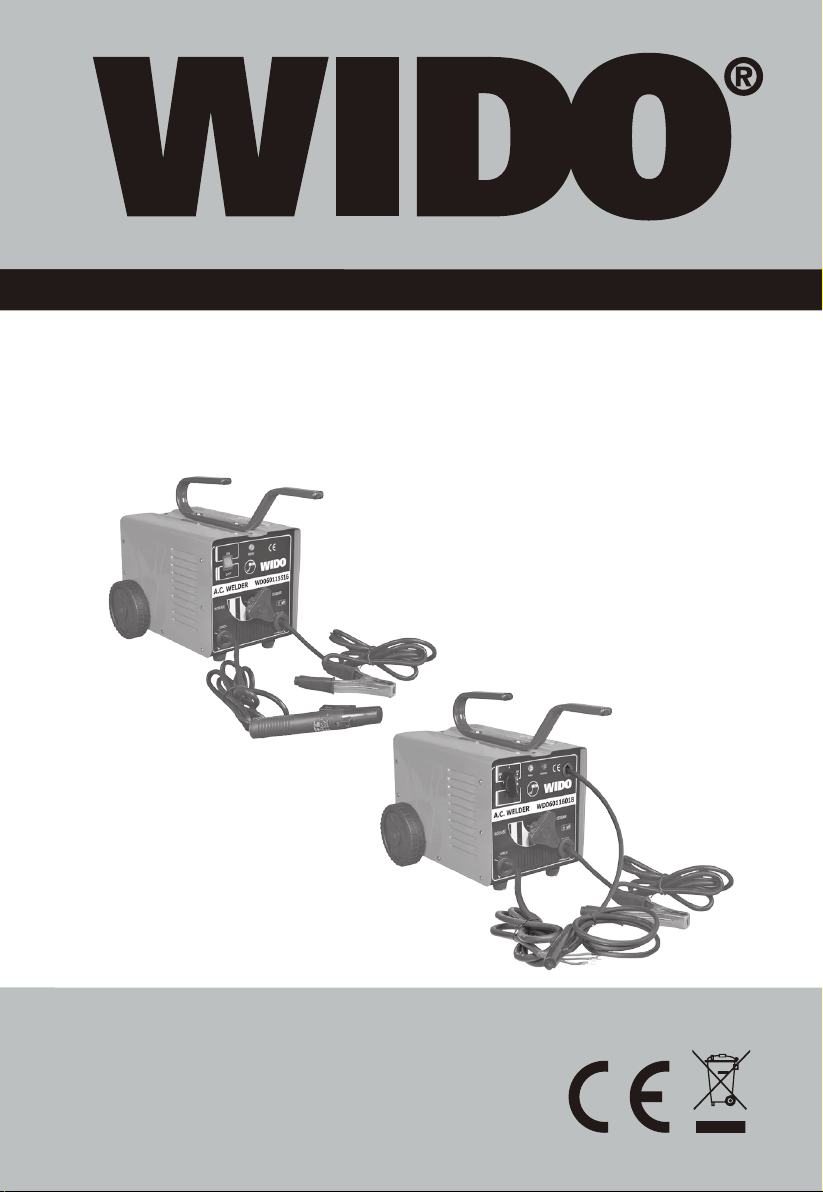
160/180/200/250A MMA AC WELDING MACHINE ENG
to