2
USER MANUAL
FERMENTING &
DISPENSING
The WilliamsWarn Kegerator can be
used to both ferment and dispense
fresh beer using WilliamsWarn
brewing technology.
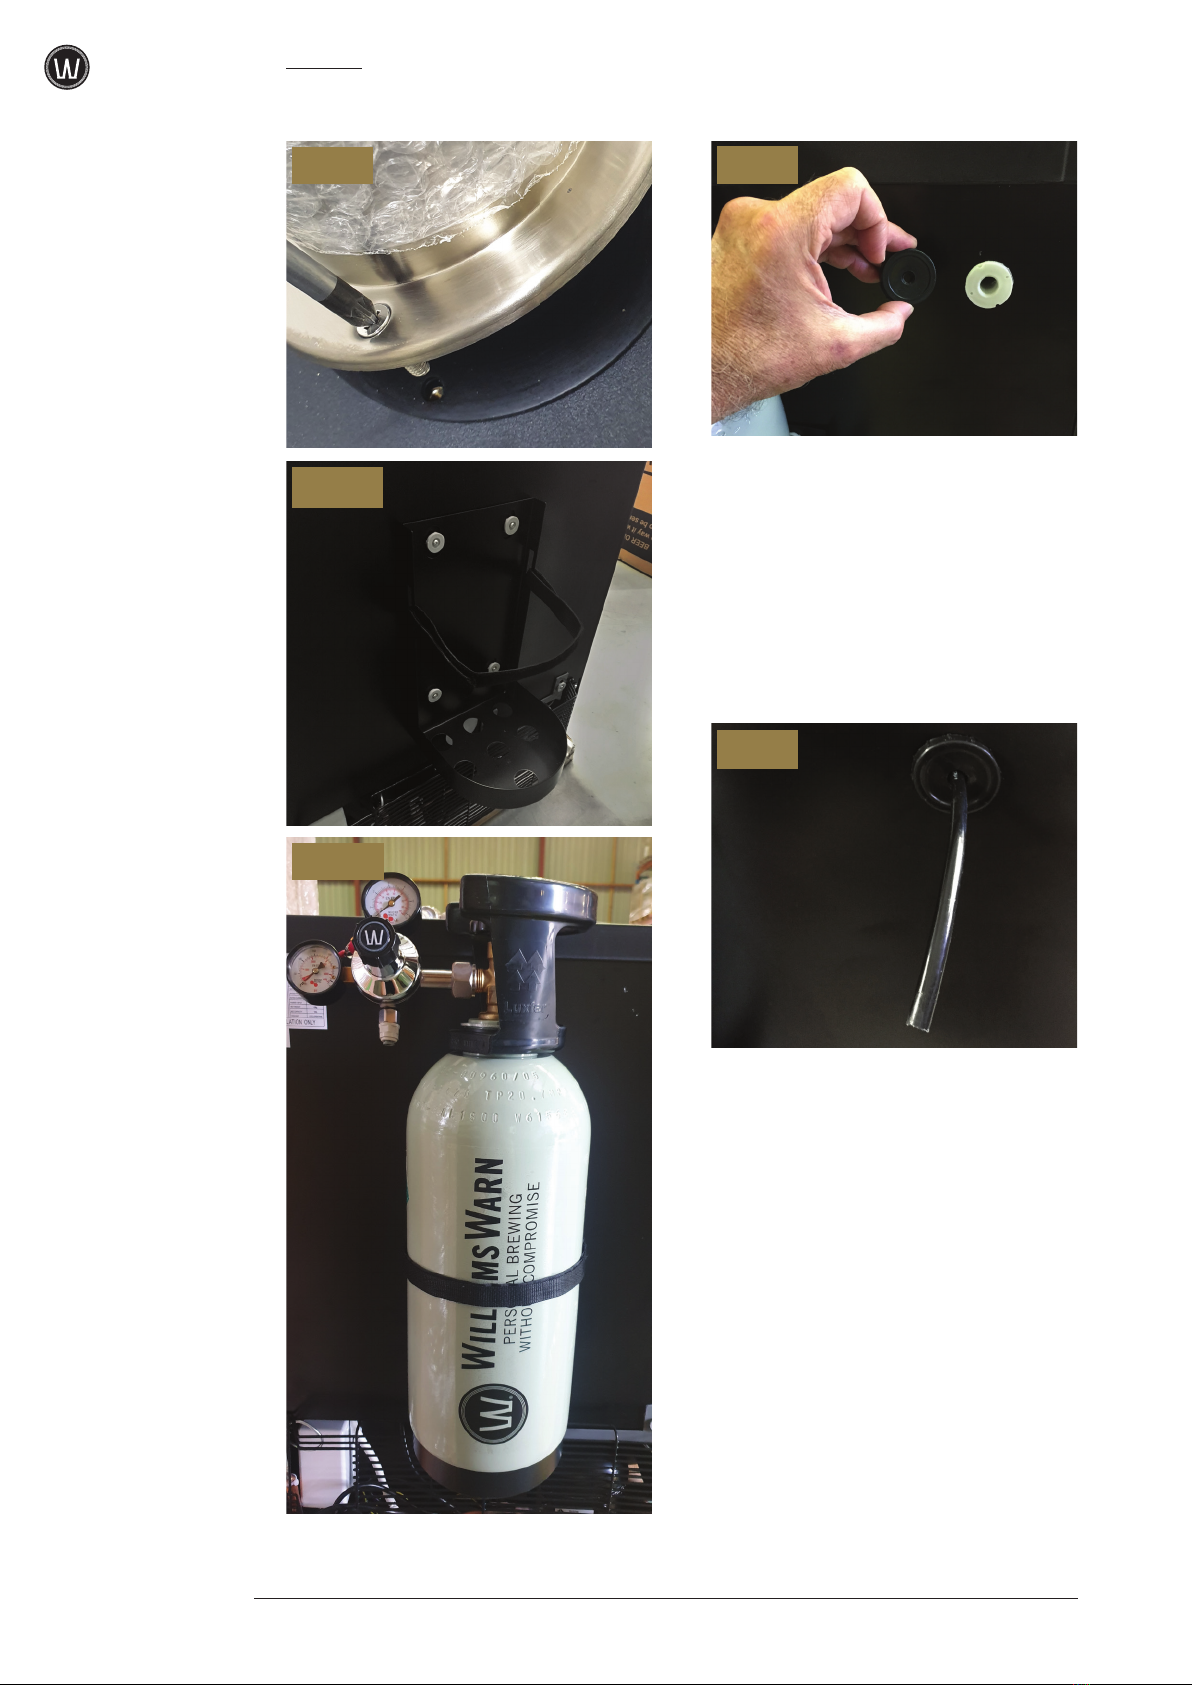
FERMENTING
The WilliamsWarn Kegerator set range is
from -5 to 28 deg C but has no heating
element so will only operate at the higher
end of the ferment range if being used in
hot ambient temperatures. We recommend
using a WilliamsWarn BrewSnug™ for
ferment. https://williamswarn.co.nz/product/
brewkeg/brewsnug10/ if using our BrewKeg™
products. If you are using a WilliamsWarn
Brewsnug™ there is no need to use your
Kegerator for fermentation which gives you
the advantage of not waiting the 4-7 days
between finishing one brew and having the
next ready to go. Once fermentation and
clarification is complete the brewer can then
easily attach the tap fittings to the top of the
Brewkeg™ lid and begin dispensing directly
from the Brewkeg™. See Figure 1 and 2 on
next page.
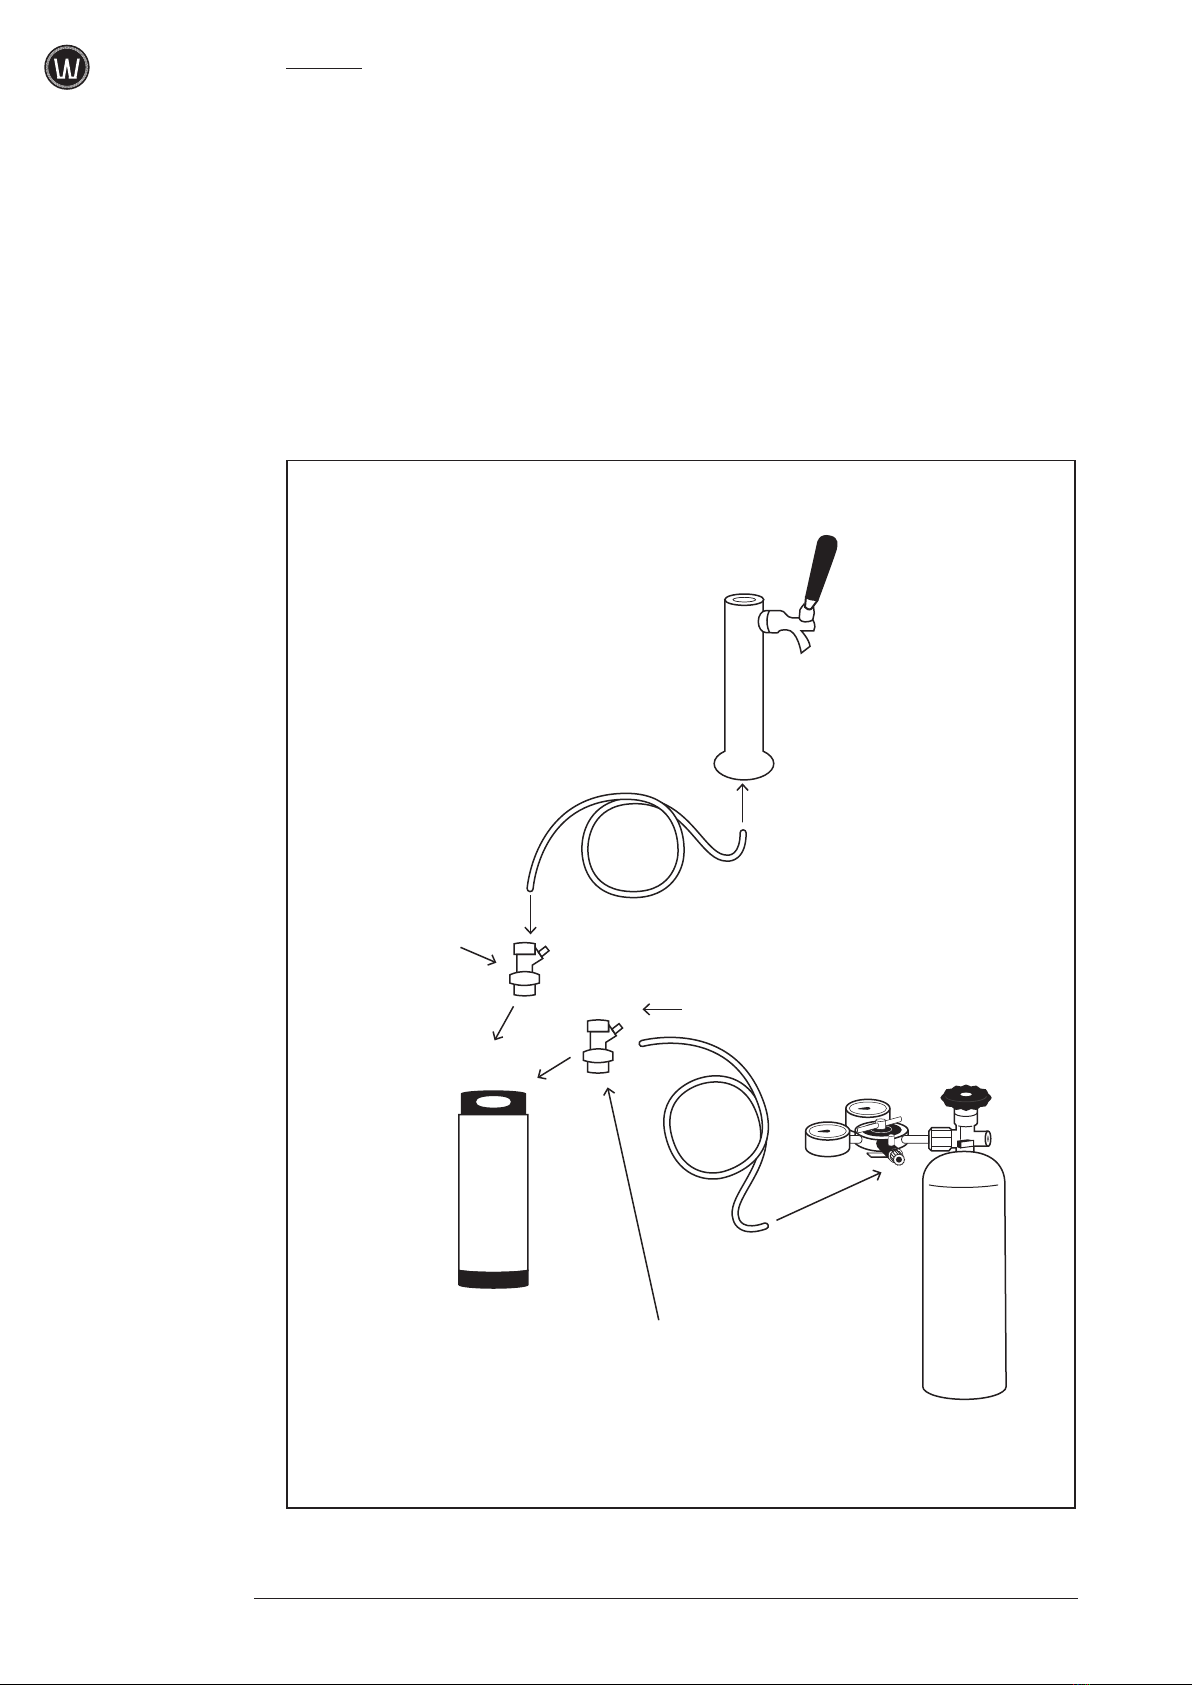
DISPENSING
The WilliamsWarn Kegerator can dispense a
variety of dispensing kegs once the brewing
process has been completed. There are two
styles of kegs that are used, the most common
for personal use is a Cornelius Keg. These
are available in 9.5L and 19L sizes (19L
shown in Figure 3 on next page). The other
style of keg which is commonly used in bars
and restaurants is a D-Sanke keg which is
available in 20L, 25L 30L and 50L sizes.
The D-Sanke keg will require a Coupler and
a Liquid and Gas Adaptor which allow you
to connect your kegerator beer and gas lines
(Figure 4 and 5 on next page). The extra parts
required to dispense from a D-Sanke keg can
be purchased at https://williamswarn.co.nz/
products/accessories/dispensing/.connections
as a Cornelius Keg.