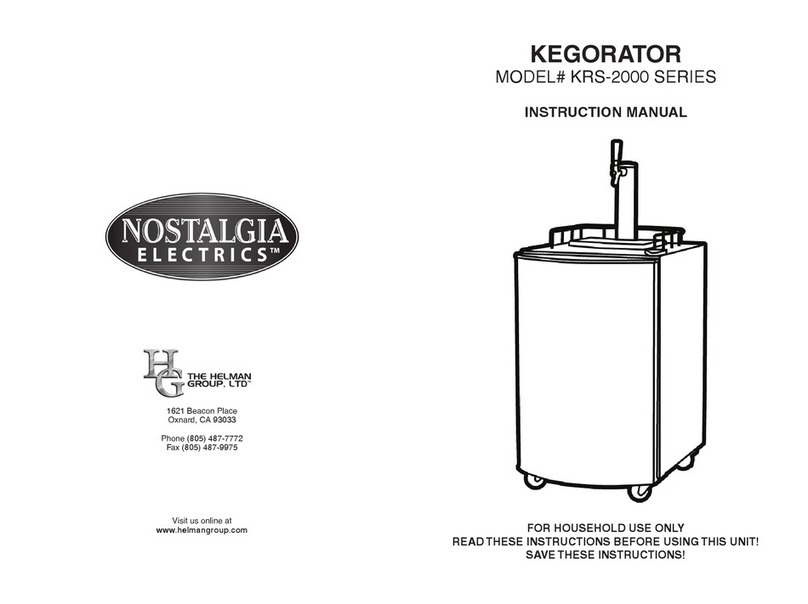
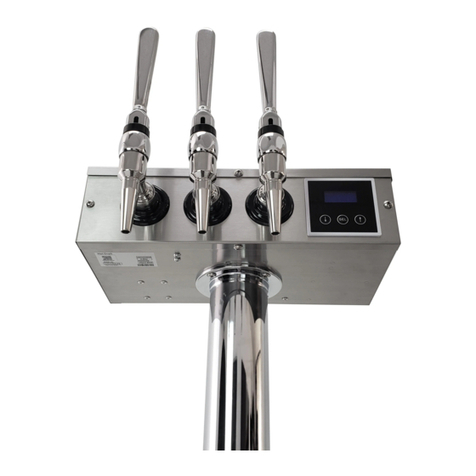
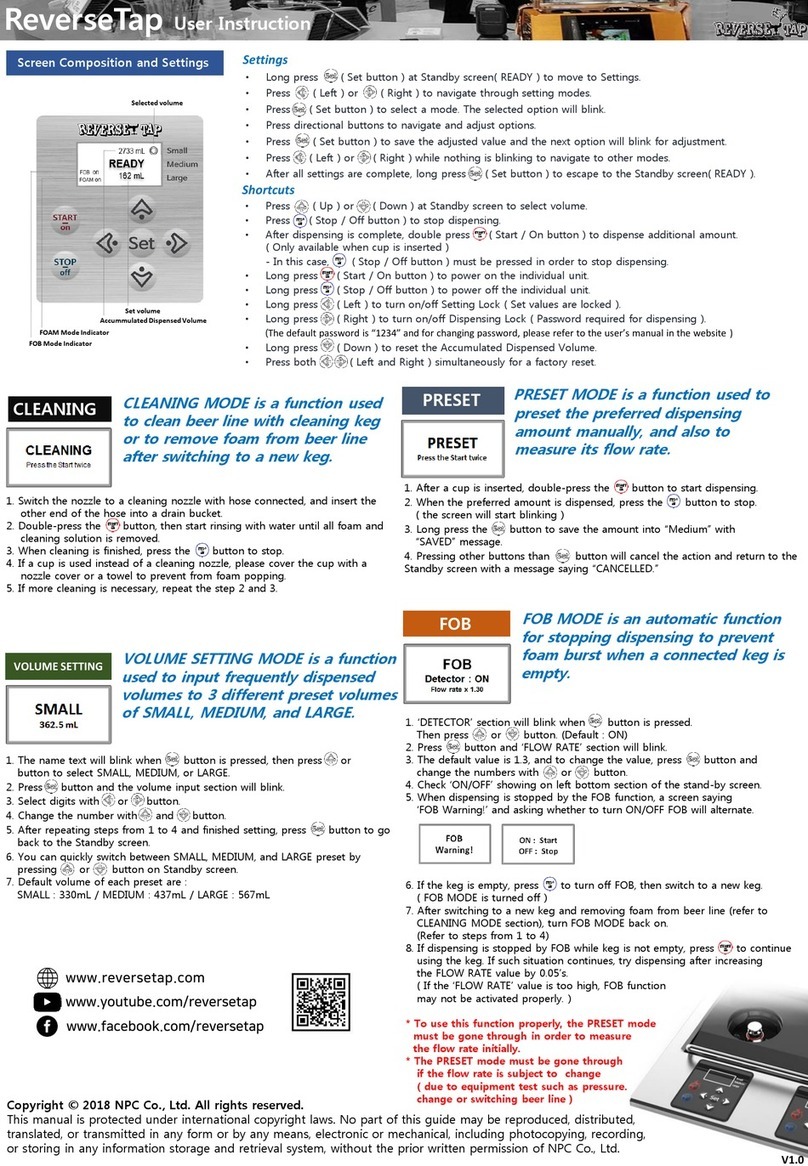
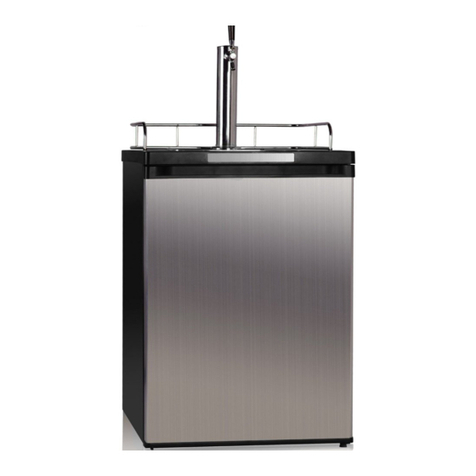
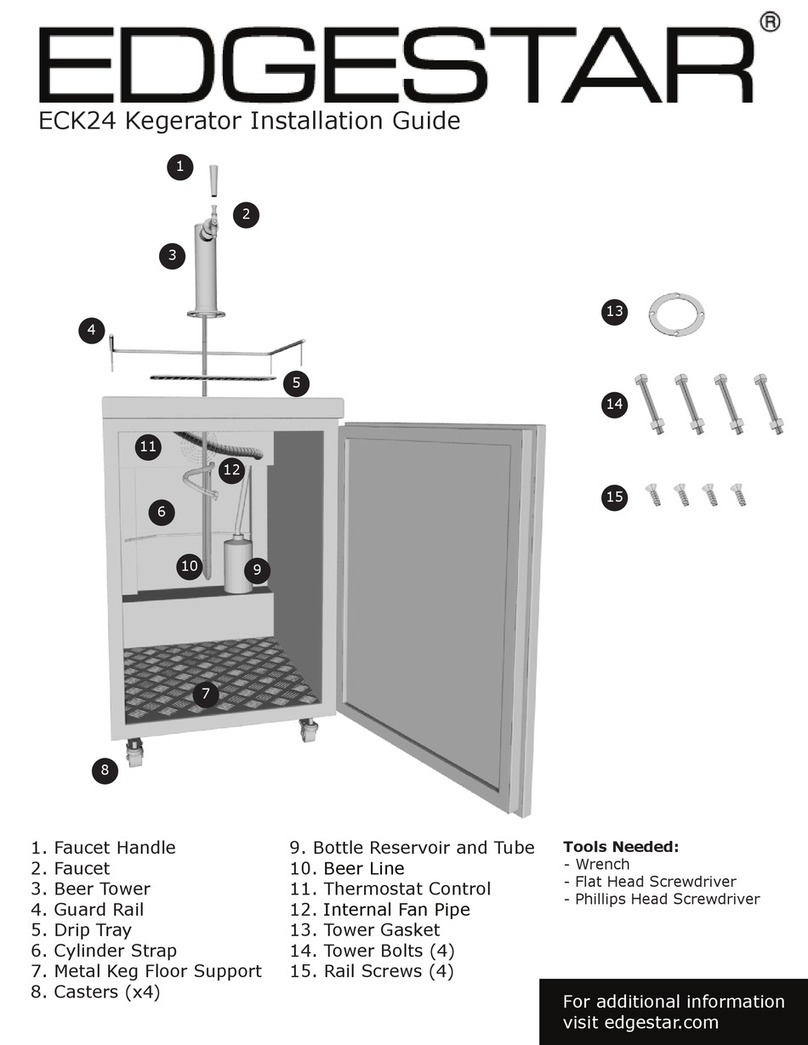
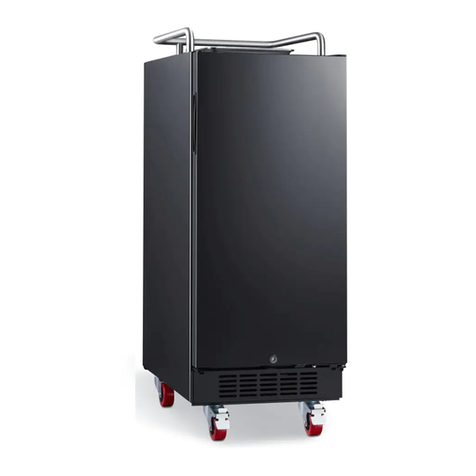
NPC ReverseTap RD-B1 User manual

ReverseTap Countertop Models
Installation Guide
( KEGERATOR SYSTEM )
Countertop Models
RD-B1
RD-BL2
RD S1
RD S2 / RD-SL2
RD S3
RD S4
1
V2.0

ReverseTap Countertop Models Installation Guide ( Kegerator )
1. Decide a desired install position and cut out by the size shown below.
- Please refer to ReverseTap website for hole dimension for each dispenser model.
- To be installed on flat and smooth surface. ( Insulating cold air is a critical issue in kegerator system )
- Be careful not to get hurt by the flying debris during the cut out process.
( Wearing safety goggles is recommended )
- Clear the debris after the cut out process.
* Required tools : Drill, Jig-saw, Driver, Hose cutter, Knife, Hose clamps, etc.
V2.0
*Hand-drill
*Jig-saw
*Screw driver
*Hose-cutter
*Wrench
*Clamps
*Tape
*Scissors
*Tapeline
RD-B1 RD-BL2 RD-S1 RD-S2 / RD-SL2 RD-S3 RD-S4
Vertical 130mm 210mm 75 mm
Horizontal 140mm 280mm 100 mm 210 mm 350 mm 490mm
2. Connect the Flow meter to the Solenoid valve set.
-①Remove a lid from the solenoid valve set and insert the flow sensor.
( Please aware that the flow sensor is to be inserted as the indicated direction only )
-②Insert the flow sensor connector to the Board assembled with solenoid valve set.
( The flow sensor connector and the Board socket are 3-pin )
-③Organize the cables.
( The flow sensor cable can be neatly wrapped around the solenoid valve set before inserted to the socket. )
* Please be careful not to have substances into the flow sensor.
①
②
③

3. Connect DC 24 V CONNECTOR CABLE with the main power cable of ReverseTap.
- The end part of DC 24 V CONNECTOR CABLE is a waterproof connector.
- DC plug of DC 24 V CONNECTOR CABLE is not waterproof, therefore keep it away from water and tape
around the joint part.
- 5~8 units of SF-Series use two adaptors, so it must be used with two DC 24 V CONNECTOR CABLE as well.
*DC 24 V CONNECTOR CABLE
* Parts without waterproof capability in DC 24 V CONNECTOR
CABLE must be kept away from water and joints must be
taped around to prevent it from getting wet.
* Organize the cables after connecting DC 24 V CONNECTOR CABLE with ReverseTap.
4. Connect the power and run a function test.
-①ReverseTap power turns ON as soon as power is connected.
-②To individually turn ON/OFF each unit, press START/STOP button in its keypad for a few seconds.
-③Check if a cup is easily inserted and properly sensed.
-④Check if LED is lit properly.
-⑤Check if solenoid valves are opened with a knocking sound.
-⑥Check if all buttons in each key pad work properly. ( the sensitivity of each button may slightly differ )
* Press START/STOP button in its keypad for a few seconds to turn ON/OFF units individually.
ReverseTap Countertop Models Installation Guide ( Kegerator )
V2.0

6. Connect the Drain hose set.
- Be careful not to bend drain hose too much, and organize for the easy drain.
- Connect the end of the drain hose to the sewers or a drain bucket.
ReverseTap Countertop Models Installation Guide ( Kegerator )
5. Connect beverage tubing to the flow sensor and the other end of beer line with a coupler.
①Flow sensor has fitting assembled already for 1/4 inch beer line.
( The inlet of flow sensor is 5/16 inch )
②For beer use : Approximately 3m long 1/4 inch(O.D) beer line must be used.
( Wind up a beer line several times and finish with taping for organizing )
5/16 inch
V2.0

ReverseTap Countertop Models Installation Guide ( Kegerator )
7. Install a coupler to a keg and set the CO2 gas pressure.
①Install a coupler to a keg and open the mid-valve, then set the gas pressure.
* Recommended pressure for draft beer : 13 psi ~ 16 psi
②Lock the gas pressure setting by fastening the lock nut.
③Gas pressure tend to adjust itself after some drinks are dispensed, so some calibrations are required initially.
①
②
8. Settings (Preset Mode, Dispensing Amount, FOB Mode)
- Now all steps for installing the ReverseTap dispenser is complete.
-Kegs must be cooled down to 2℃~4℃ for proper use of ReverseTap.
- For initial use, initial settings must be done in steps as the following.
- When a cup is inserted for the first time, the following screen will show due to the FOB Mode (Function for blocking
foam popping )
-Press the ‘STOP’ button to deactivate FOB Mode, and proceed in order of Cleaning →PRESET →Dispensing Amount →
FOB Mode Activation ( For detailed information, please refer to the S/W Manual or Quick User’s Manual)
Cleaning PRESET Dispensing
Amount FOB
* FOB Mode is activated in
the first cup insertion.
* Press the ‘STOP’ button to
deactivate the FOB Mode.
* Remove foam from the tubing
by operating Cleaning Mode.
* Measure the flow rate by
operating PRESET Mode.
* Enter the desired volume of
dispensing.
* Activate FOB Mode. * Confirm the FOB Mode turned
ON in the Standby screen.
V2.0

ReverseTap Customer Service
•Information regarding Certified Service Center (CSC) can be collected via regional distributors
and our website. ( www.reversetap.com )
Trademarks
•ReverseTap and ReverseTap logo are registered trademarks of NPC Co., Ltd.
•Other names and marks are the property of their respective owners.
Refunds / Exchange / Warranty Policy
•Refunds or exchange may be offered within 15 days after purchase if the product cannot be
used due to its defect.
This does NOT apply if the customer is responsible for the damage due to one’s carelessness.
NPC CO., LTD.
129 Idang-ro, Gunpo-si,
Gyeonggi-do, Republic of Korea 15853
www.reversetap.com
www.youtube.com/reversetap
www.facebook.com/reversetap
Copyright © 2020 NPC Co., Ltd. All rights reserved.
This manual is protected under international copyright laws. No part of this
guide may be reproduced, distributed, translated, or transmitted in any form
or by any means, electronic or mechanical, including photocopying, recording,
or storing in any information storage and retrieval system, without the prior
written permission of NPC Co., Ltd.
Webpage QR Code
FDA certified
by SGS
This manual suits for next models
6
Table of contents
Other NPC Kegerator manuals