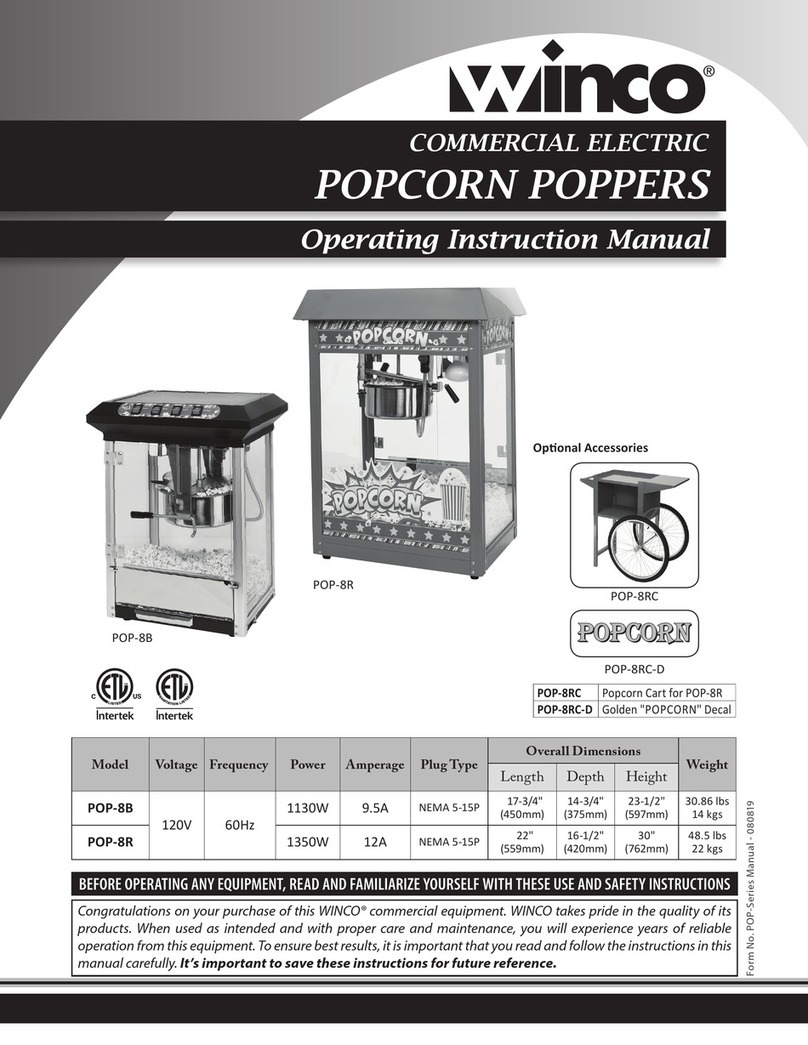
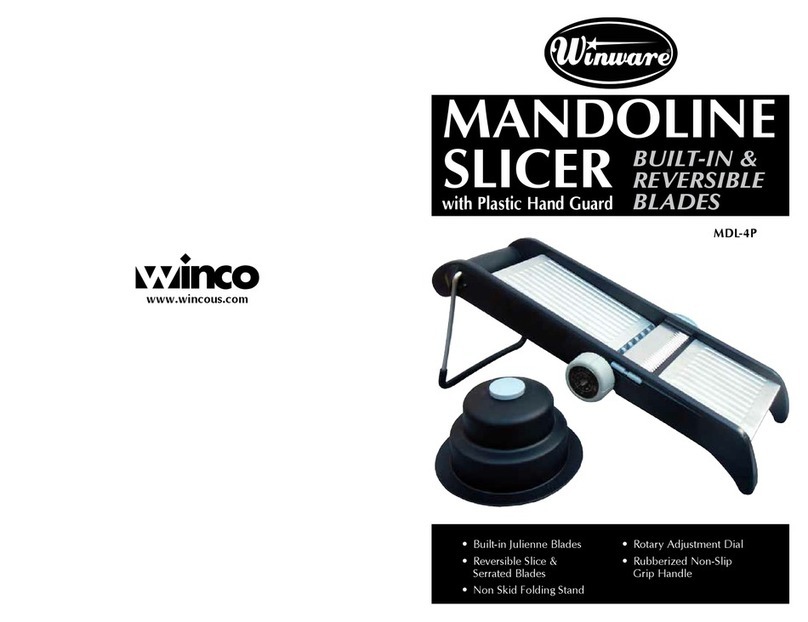
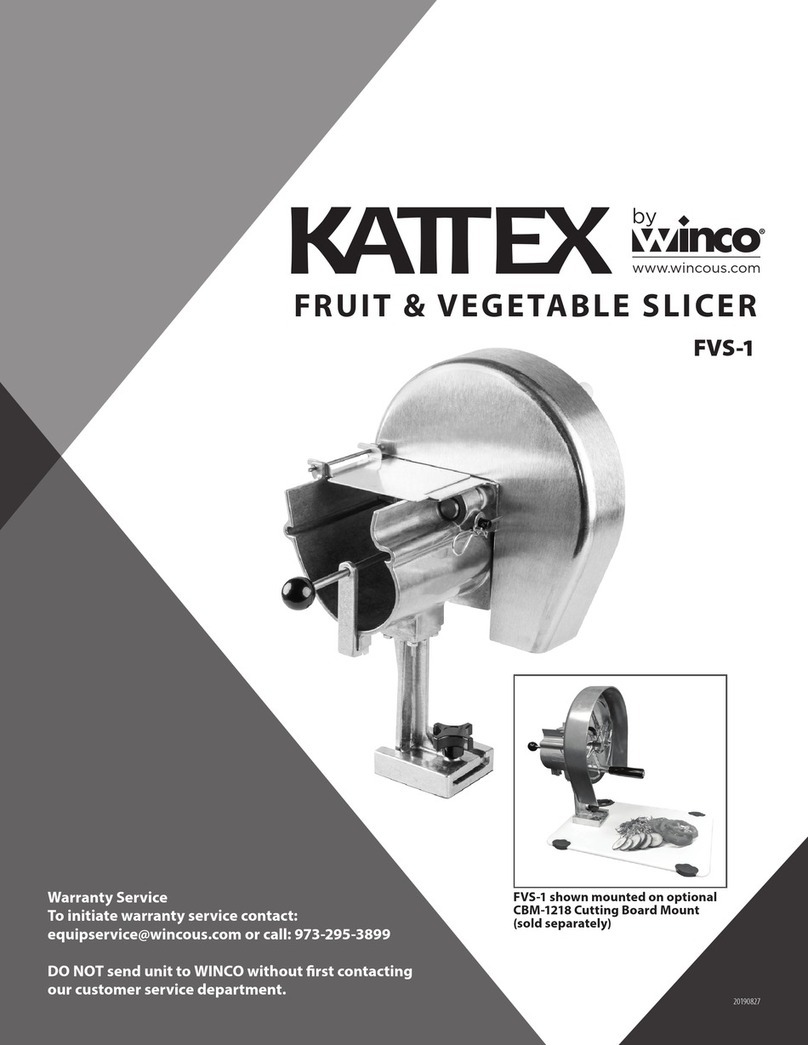
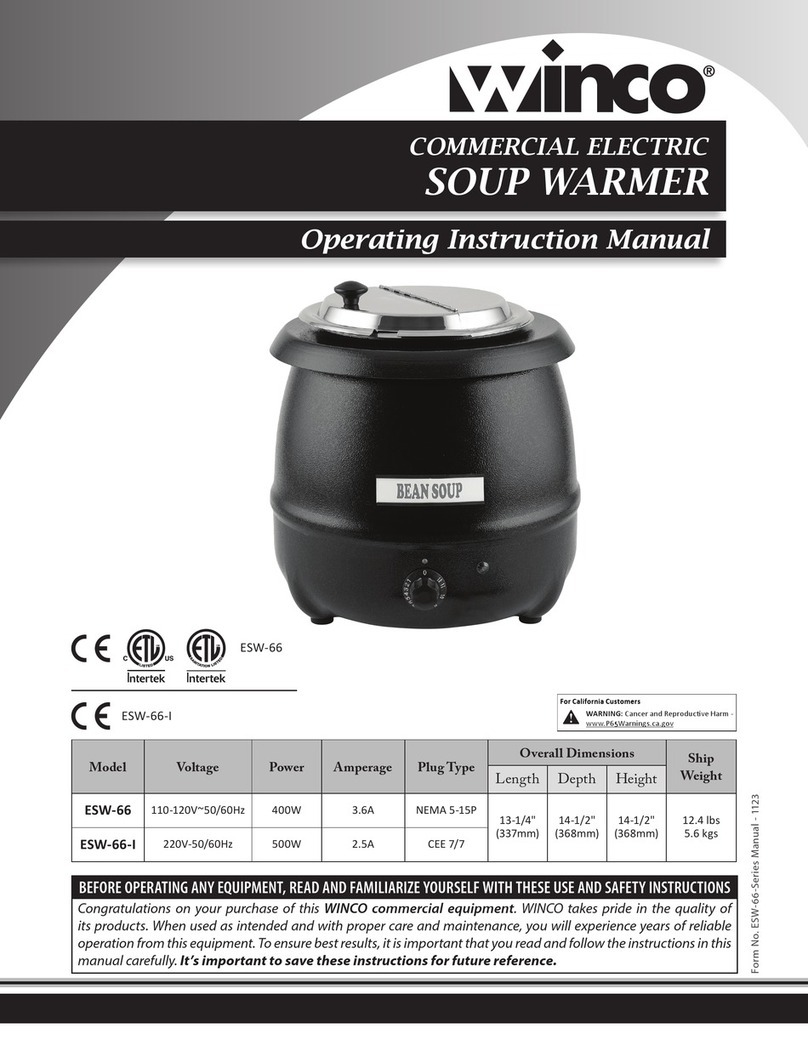
Winco CCM-28 Instruction Manual

COMMERCIAL
COTTON CANDY MACHINE
Operating Instruction Manual
BEFORE OPERATING ANY EQUIPMENT, READ AND FAMILIARIZE YOURSELF WITH THESE USE AND SAFETY INSTRUCTIONS
Congratulations on your purchase of this WINCO® commercial equipment. WINCO takes pride in the quality of
its products. When used as intended and with proper care and maintenance, you will experience years of reliable
operation from this equipment. To ensure best results, it is important that you read and follow the instructions in this
manual carefully. It’s important to save these instructions for future reference.
Form No. CCM-Series Manual - 08072019
CCM-28
CCM-28M
CCM-28C CCM28-P10
Oponal Accessories
CCM-28C Clear Plasc Dome Cover
CCM28-P10 Floss Stabilizer
Model Voltage Power Amperage P lu g Ty pe
Overall Dimensions Product
Weight
Length Depth Height
CCM-28
120V ~ 60Hz 1080W 9 A NEMA 5-15P
20-1/2"
(520.7mm)
20-1/2"
(520.7mm)
19"
(482.6mm)
25 lbs
11.3 kgs
CCM-28M 37-3/4"
(958.9mm)
20-1/2"
(520.7mm)
34-1/2"
(876.3mm)
41 lbs
18.6 kgs

2
Commercial Cotton Candy Machine
Important For Future Reference
Please complete this information and retain this manual for the life of the product. For
Warranty Service and/or parts, this information is required. Please see Page 8 for More
information on your Warranty and how to register.
Model Number Serial Number Date Purchased
!
!
!
!
!
!
WARNING: IMPROPER INSTALLATION,
ADJUSTMENT, ALTERATION, SERVICE OR
MAINTENANCE CAN CAUSE PROPERTY DAMAGE,
INJURY, OR DEATH. READ THE INSTALLATION,
OPERATION, AND MAINTENANCE INSTRUCTIONS
THOROUGHLY BEFORE INSTALLING
OR SERVICING THIS EQUIPMENT.
CAUTION: THESE MODELS ARE DESIGNED, BUILT,
AND SOLD FOR COMMERCIAL USE ONLY. IF THESE
MODELS ARE POSITIONED SO THE GENERAL PUBLIC
CAN USE THE EQUIPMENT, MAKE SURE THAT
CAUTION SIGNS, WARNINGS, AND OPERATING
INSTRUCTIONS ARE CLEARLY POSTED NEAR EACH
UNIT SO THAT ANYONE USING THE EQUIPMENT
WILL USE IT CORRECTLY AND NOT INJURE
THEMSELVES OR HARM THE EQUIPMENT.
WARNING: A FACTORY AUTHORIZED SERVICE
PROVIDER SHOULD HANDLE ALL MAINTENANCE
AND REPAIR. BEFORE DOING ANY MAINTENANCE
OR REPAIR, FOLLOW SERVICE SET UP
ARRANGEMENT ON PAGE 8.
AVERTISSEMENT: TOUTE INSTALLATION, RÉGLAGE,
MODIFICATION, RÉPARATION OU ENTRETIEN
INCORRECT PEUT OCCASIONNER DES DOMMAGES
MATÉRIELS, DES BLESSURES GRAVES OU LA MORT.
LIRE LES INTRUCTIONS D'INSTALLATION,D'UTILISATION ET
D'ENTRETIEN ATTENTIVEMENT AVANT D'INSTALLER OU DE
RÉPARER CET APPAREIL.
ATTENTION: CES MODÈLES SONT CONÇUS,FABRIQUÉS,
ET VENDUS POUR UN USAGE COMMERCIAL SEULEMENT.
SI CES MODÈLES SONT PLACÉS POUR QUE LE GRAND
PUBLIC PUISSE LES UTILISER, ASSUREZ-VOUS QUE LES
CONSIGNES D’ATTENTION, D'AVERTISSEMENT, ET LES
INSTRUCTIONS D'UTILISATION SOIENT CLAIREMENT AFFICHÉES
PRÈS DE CHAQUE UNITÉ DE SORTE QUE N'IMPORTE QUEL
UTILISATEUR DE L'APPAREIL L'EMPLOIE CORRECTEMENT ET NE
SE BLESSE PAS OU N'ENDOMMAGE PAS L'APPAREIL.
AVERTISSEMENT: UN TECHNICIEN AUTORISÉ PAR
L'USINE DEVRA EFFECTUER TOUT L'ENTRETIEN ET LES
RÉPARATIONS. AVANT DE FAIRE TOUT ENTRETIEN OU
RÉPARATION, VEUILLEZ CONTACTER WINCO.
Introduction
Congratulations on the purchase of your WINCO® machine. Please take the time to carefully read through this manual to ensure the machine is
operated and maintained properly, to ensure the best possible performance from this product for many years.
WINCO will not accept liability if:
• The instructions in this manual have not been followed correctly.
• Non-authorized personnel have tampered with the machine.
• Non-original spare parts are used.
• The machine has not been handled and cleaned correctly.
• There is any use damage to the unit.

3
Commercial Cotton Candy Machine
Table of Contents
Specications .............................................................................. 1
Warnings ..................................................................................... 2
Introduction ................................................................................ 2
Table of Contents ....................................................................... 3
Packaging .................................................................................... 3
Important Safeguards................................................................ 4
Operation .................................................................................... 6
Cleaning, Care & Maintenance ................................................. 6
Safety ........................................................................................... 7
Service & Repair .......................................................................... 7
Troubleshooting ......................................................................... 8
Assembly Instructions................................................................ 9
Exploded Diagram.................................................................... 10
Parts List......................................................................................11
Electrical Diagram......................................................................11
Limited Warranty ..................................................................... 12
Package Contents
All units come with an Operating Instruction Manual and the following:
• Cotton Candy Machine (CCM-28) or
Cotton Candy Machine with Cart (CCM-28M)
• Sugar Scooper
• Spare Replacement Belt
• Power Cord
WINCO prides itself on quality and service, ensuring that at the time of
packing, all products are supplied fully functional and free of damage.
Should you nd any damage as result of freight, please contact your
WINCO dealer immediately.
Unpacking the Equipment
DISPOSE OF ALL PACKAGING MATERIALS IN AN
ENVIRONMENTALLY RESPONSIBLE MANNER.
1. Remove all packing materials and tape, as well as any protective
plastic and cardboard, from the unit.
2. Clean any glue residue left over from the plastic or tape.
3. Place the unit in the desired position and height.
SAVE THE ORIGINAL BOX AND PACKAGING FOR USE IN
PACKAGING AND SHIPPING THE EQUIPMENT IF SERVICES
ARENEEDED.
NOTE
Please remember that this manual and the warning labels do not replace the need to be alert, to properly train
and supervise operators, and to use common sense when using this equipment.
Function and Purpose
This unit is intended to be used for use in commercial food-service operations only. It is not intended for household, industrial or laboratory use.

4
Important Safeguards
To ensure safe installation and operation, please carefully read and understand the following statements.
Unless the operator is adequately trained and supervised there is a possibility of serious injury. Owners of
this equipment bear the responsibility to make certain that this equipment is used properly and safely, and to
strictly follow all of the instructions contained in this manual and the requirements of local, state or federal law.
Owners should not permit anyone to touch this equipment unless they are over 18 years old, are adequately
trained and supervised, and have read and understood this manual.
Owners should also ensure that no customers, visitors or other unauthorized personnel come in contact with
this equipment. It is the responsibility of the owner and the operator to remain alert to any hazards posed by the
function of this equipment.
If there is ever uncertainty about a particular task or the proper method of operating this equipment, ask an
experienced supervisor.
Warnings
This manual contains a number of precautions to follow to help promote safe use of this equipment.
FOR YOUR SAFETY
Do not store or use gasoline, or other ammable vapors
and liquids in the vicinity of this or any other appliance.
ESURE DE SECURITE
Ne pas entreposer ni utiliser de'essence ni autres vapeurs ou liquides
inammables a proximte de cet appareil ou de tout autre apparel!
WARNING
Improper installation, adjustment, alteration, service or
maintenance can cause property damage, injury or death.
Read these installation, operating and maintenance instructions
thoroughly before installing or servicing this equipment.
AVERTISSEMENT
Linstallation,le reglage,la modication,la reparation ou I'entretien
incorrect de cet appareil peut causer des dommages materiels,des
blessures ou la mort.Lire attentivement les instructions
d'installation,de fonctionnement et d'entretien avant de proceder a
son installation ou entretien.
TO PURCHASER
Immediately contact your local gas supplier in the event the user
smells gas or suspects a leak!
This information should be posted in a prominent location.
À L'ACHETEUR
CommunIquez avec votre distributeur de gaz et informez vous
quant aux procédés a suivre si vous détectez une odeur de gaz. Cette
information doit etre achée a un endroit facile d'acces et tres visible.
USE CAUTION WHEN
TOUCHING THE UNIT.
Ne touchez pas le liquide chaud
ou les surfaces de chauage
lorsque l’appareil chaue ou en
fonctionnement.
WARNING AVERTISSEMENT
HOT Power must be disconnected at the power source
prior to cleaning, or performing any service
procedure or repairs.
WARNING

5
Caution Before Using Appliance
Warning
Improper installation, adjustment, alteration, service, or maintenance can cause property damage, injury, or death. Read the installation, operation,
and maintenance instructions thoroughly before installing or servicing this equipment.
1. Read all instructions carefully. Do not use this appliance for
anything other than the intended use.
2. Do not touch surfaces that may be hot - be sure to always use
handles or knobs.
3. Unplug from outlet when not in use, prior to installing or removing
parts, and before cleaning. Allow for the device to cool rst.
4. To protect against the risk of electrical shock, do not immerse the
appliance, cord or plug in water or other liquids.
5. Avoid contact with moving parts.
6. Do not use an adapter.
7. Do not use an extension cord.
8. Do not remove ground.
Electrical Shock Hazard
Keep water and other liquids
from entering the inside of the
unit. Liquid inside the unit could
cause an electrical shock.
Risque de choc électrique
Conserver l'eau et d'autres liquides
de pénétrer à l'intérieur de l'appareil.
Liquide à l'intérieur de l'appareil pourrait
provoquer un choc électrique.
Do not spray water or cleaning
products. Liquid could contact
the electrical components
and cause a short circuit or an
electrical shock. Do not use unit
if power cord is damaged or has
been modied.
Ne pas pulvériser de l'eau ou des produits
de nettoyage. Le liquide pourrait contacter
avec les composants électriques et causer
un court-circuit ou un choc électrique.
Ne pas utiliser l'appareil si le cordon
d'alimentation est endommagé.
ou a été modié.
WARNING AVERTISSEMENT
Fire Hazard.
Correct installation precautions,
procedures and regulations
must be followed. Operation
and safety training is necessary
for all users of this equipment.
Risque d'incendie
La surchaue des vapeurs d'huile ou de
l'huile peut s'enammer et provoquer
un incendie. Surveillez la température,
la qualité et le niveau d’huile. Utilisez et
entretenez le système d'élimination des
vapeurs d'huile.
WARNING AVERTISSEMENT
Proper Grounding · Mise à la terre correcte
This machine is provided with a three-pronged
grounding plug. The outlet to which this plug
is connected must be properly grounded. If the
receptacle is not the proper grounding type, contact an
electrician. DO NOT, under any circumstances, cut
or remove the third ground prong from the power cord
or use any adapter plug.
Cette machine est équipée d'une che à trois broches.
La prise sur laquelle cette che est branchée doit être
correctement mise à la terre. Si la prise n'est pas le type de
mise à la terre, contactez avec un électricien. NE PAS, en
aucun cas couper ou enlever la troisième broche de terre à
partir du cordon d'alimentation ou utiliser un adaptateur.
USE A GROUNDED OUTLET
DO NOT ADD AN ADAPTOR
TO THE PLUG
UTILISER UNE PRISE AVEC MISE
À LA TERRE NE PAS AJOUTER UN
ADAPTATEUR SUR LA FICHE
9. Do not operate this device or any other electrical equipment
with a damaged cord or plug, or after the unit malfunctions or
is dropped or damaged in any manner. Return to the nearest
WINCO Authorized Service Center for examination, repair, and / or
adjustment.
10. The use of accessory attachments not recommended by WINCO
may cause re, electric shock, or injury.
11. Not intended for outdoor installation.
12. Do not let the cord hang over the edge of a table or counter, or
touch hot surfaces.
13. Do not place in a heated oven, or on/near a hot gas or electric
burner.
14. This appliance should always be on a stable level surface or steady
countertop or table.
15. This appliance is not intended for use by individuals (including
children) with reduced or impaired physical, sensory, or mental
capabilities, or lack of experience or knowledge, unless they have
been given proper supervision or instruction concerning the use of
this appliance by a person responsible for their safety.
16. Children should be supervised at all times to avoid injuring
themselves or damaging the appliance in any way.
17. Clean the heated candy oss spinner with caution – if a wet sponge
or cloth is used to wipe spills on a hot cooking surface, exercise
caution to avoid steam burns. Some cleaners may produce noxious
ames when applied to a hot surface.
18. Do not place metal objects such as knives, forks or spoons in the
candy oss spinner as they can break the motor, get hot and/or
cause injury.
19. Do not store any item on top of this unit when in operation.
20. Never place materials such as paper, cardboard, plastic, etc. on or
under this unit.

6
Operation
Before using this equipment it must be cleaned and
dried thoroughly. Clean all surfaces before use.
Failure to clean surfaces before using the unit could
cause food contamination.
Always unplug the unit after every use and before cleaning. Unplug
the unit when not in operation.
Stainless Steel Floss Pan:
Some hardened sugar build up along the sides of the steel container
is normal. This can be broken away and/or dissolved away with warm
water. A sanitizing solution and damp cloth is recommended for
cleaning. For presentation purposes, to keep the bowl looking new, it
is also recommended to use stainless steel cleaner .
Warning:
The Candy Floss Spinner will be hot
after use. Exercise caution when handling cooking
utensils and cookware. Wait for unit to cool before
attempting to clean.
Cleaning & Maintenance
1. If using the unit with a generator or long extention cord,
check the Voltmeter on the unit after turning on the power
switch prior to use. If the voltage is below 110V, it may not
operate ideally. If the voltage is greater than 125V, it is not
recommended to use this unit.
2. Place the metal oss pan on the center of the unit. Make sure the
center rim is not touching the candy oss spinner, and lock down
the 4 latches located on the sides. If the machine shakes or vibrates,
try adjusting the latches or place the machine on a vibration-
resistant surface, such as a rubber mat.
3. If you have a candy oss shield (Optional), you can place it on at this
time.
4. Turn the Power and Heat switches on and wait 15 minutes to heat
up.
5. Fill the sugar scooper with candy oss sugar, and pour directly into
the center of the candy oss spinner. Do not overll.
6. Cotton candy will accumulate around the edge of the metal oss
pan, as well as come out of the top of the candy oss spinner.
7. Collect the candy oss with cotton candy paper tubes or sticks as
desired.
8. After an hour or so of continuous use, allow the unit to cool for 15-
20 minutes. This will help keep sugar from burning in the spinner
head. Some cleaning of spinner head or hardened sugar on the
collecting bowl walls may be done at this time.
Candy Floss Spinner:
After use, it is recommended to use a tougher cleaner, such as a
decarbonizer/degreaser solution. To fully remove all the cleaning
solution from the spinning head, the spinner can be turned on without
the heat. Repeat with water to rinse the cleaning solution through.
After rinsing, stop the motor and then wipe with a damp cloth. This is
important for food safety and extending the life of the unit.
Do not immerse the device completely in water to clean. The appliance
should also NOT be cleaned with a water jet.
Candy Floss Cart:
Use a damp soft cloth to wipe diwn cart from any sugar build up. Do
NOT clean with harsh abbrassive cleaners as it will damage the surface.
NOTE:
Proper cleaning instructions must be followed;
otherwise, operation of the unit may be seriously
impaired. Do not wash parts in an automatic
dishwasher.
Belt Replacement:
1. Make sure the unit is o, unplugged, and cooled down.
2. Unlock the clamps and remove the oss pan.
3. Remove the oss spinner gaurds and unit cover plate and by
unscrewing the screws.

7
Safety
SAFETY PRECAUTIONS
Before installing and operating this equipment be
sure everyone involved in its operation are fully
trained and aware of all precautions. Accidents
and problems can result from a failure to follow
fundamental rules and precautions.
• A WINCO® Approved Recommended Qualied Service Technician
should carry out repairs if necessary. Do not remove any
components or service panels on this product.
• Allow the unit to cool down after use before dismantling for
cleaning; the unit will be too hot to handle immediately
after use.
• Before cleaning, switch power OFF and disconnect power cord
from the outlet.
• Do not immerse unit in water or use hose to clean.
Ne jamais immerger l'appareil dans l'eau ni utilisez un jet
d'eau pour le nettoyer.
• If the power cord is damaged, it must be replaced by a WINCO®
Approved Recommended Qualied Service Technician in order to
avoid a hazard.
4. Remove the set screw underneath the oss spinner. Slowly lift
o the oss spinner until it is o the shaft. Once it is o, carefully
remove the power wires.
5. Remove the screws holding the carbon brushes and gently move to
the side to expose the belt.
6. Loosen the screws holding the belt. The belt will slide towards
the center of the unit.
7. Remove the old belt and place in new belt.
8. Reassemble the unit by reversing previous steps.

8
If your WINCO® Cotton Candy Machine does not operate, please check the following prior to placing a service call.
Troubleshooting
PROBLEM POSSIBLE CAUSE RECOMMENDED SOLUTION
The unit is not turning on
Power supply Check power supply cord is correctly plugged in
and outlet is working
Fuse has blown Unscrew the fuse on the front and check if the
fuse is intact. Replace if necessary.
Power switch is o Check that the unit is plugged in and turned on
Plug/cord or external wiring damage Replace power cord- Replacement must be done
by an authorized service provider
Internal wiring fault Replace faulty wiring - Replacement must be
done by an authorized service provider
Microswitch is not engaged Check oss pan is secured and all four latches are
locked
The switch light is on, motor is running, but
spinner is not heating up
Carbon brushes are worn Replace carbon brushes- Replacement must be
done by an authorized service provider
Internal wiring fault Replace faulty wiring - Replacement must be
done by an authorized service provider
Motor is not spinning
Motor/power switch not on Check to conrm power switch is in the "ON"
position.
Belt may have slipped o or broken With the power o and disconnected, check that
the Belt is on the motor pully. If it has fallen o or
is broken, replace and restart unit
Internal wiring fault Replace faulty wiring - Replacement must be
done by an authorized service provider
Unit is vibrating too much
Unit is NOT on stable surface Place unit on a stable surface or place on top of a
vibration-resistant surface, such as a rubber mat
Floss pan or clear lid is not on properly Adjust the oss pan or clear lid to t tight and
centered, not touching the center spinner
Loose hardware Tighten any loose screws, nut or bolts that may
be vibrating
Service and Repair
THIS EQUIPMENT MUST ONLY BE SERVICED BY AN AUTHORIZED AGENT.
NOTE
Parts protected by the manufacturer or its agent are not to be adjusted by the installer unless the installer is an authorized service agent.
If you have any questions or problems DO NOT send unit to WINCO® without rst contacting our customer service department.
See "Limited Warranty" section on page 12 for details.

9
Assembly Instructions - Cotton Candy Machine with Cart
MODEL: CCM-28M
1. Connect the two long poles with a cross brace (short pole) and
secure with long screws [M5x30mm] on both sides. Repeat this step
when connecting the cross braces (short Poles) to the axle poles.
2. Once the frame has been put together, slide the axle to the axle
poles and the wheel assembly.
Note: Check tired pressure before installing. Tire pressure
should be 55psi (379kpa).
3. With the frame assembly complete, place the cotton candy
machine body onto the frame and secure with screws [M4x12mm].
4. Attach both platforms to the cotton candy machine body using
small screws [M5x8mm] on each side.
Note: When mounting the platform, please be sure to install
the handle platform on the opposite side as the wheels.
5. Attach the handle to the handle brackets and secure to the handle
platform with countersink screws [M5x16mm] and lock in place
using the nuts [M5].
6. Place the oss pan on top of the cart and align the four L brackets
with the latches on the body and lock latches.
7. Make sure everything is secure and leveled. You are now on your
way to making delicious cotton candy.
CONTENTS
1 x Cotton Candy Machine Body
1 x Collection Bowl
2 x Spoked Wheels
1 x Working Platform 1 x Handle Platform
6 x Long Screws
[M5x30mm]
1 x Spare Motor Belt
1 x Sugar Spoon
1 x Power Cord
2 x Handle Brackets2 x Long Square Poles
2 x Axle Square Poles
3 x Short Square Poles
1 x Axle
1 x Handle
4 x Nuts [M5]2 x Axel Washers2 x Jam Nuts
4 x Countersink Screws
[M5x16mm]
8 x Screws
[M5x8mm]
8 x Srews
[M4x12mm]

10
Exploded Views
MODEL: CCM-28M
1
3
4
6
7
8
11
10
9
5
2

11
Electrical Diagram
M
110V
Protective
Fuse
15A
Safety
Switch
Motor
Switch Heater
Switch
High
Limit
230°C
Floss
Spinner
Motor
120V/96 W
High
Limit
245°C
Voltage
Gauge
L
E
N
V
~
#Description Part # QTY
1Floss Spinner CCM28-P1 1
2High Limit CCM28-P4 1
3Carbon Brush CCM28-P2 2
4Drawer CCM28-P8 1
5Fuse CCM28-P6 1
6Belt CCM28-P3 1
7Motor CCM28-P9 1
8Sugar Spoon CCM28-P5 1
9Microswitch CCM28-P12 1
10 Switch CCM28-P7 2
11 Wheel* CCM28-P11 2
*Only for CCM-28M
Parts List
MODELS: CCM-28 AND CCM-28M
This circuit diagram has been provided to assist qualied electricians; only WINCO service
agents or qualied electricians should carry out repairs if required.
Do not remove any components or service panels on this product.

12
Models: CCM-28 / CCM-28M
www.wincous.com
Limited Warranty
WINCO® warrants to the original purchaser of new equipment that said
equipment, when installed in accordance with our instructions within
North America and subjected to normal use, is free from defects in
material or workmanship for a period of 1 year. The labor warranty is
one year from original installation or 18 months from actual factory
shipment date, whichever date occurs rst.
THIS WARRANTY IS IN LIEU OF ALL OTHER WARRANTIES,
WHETHER EXPRESSED OR IMPLIED. WINCO EXPRESSLY
DISCLAIMS ANY IMPLIED WARRANTY OF MERCHANTABILITY
OR EXPRESSED OR IMPLIED WARRANTY OF FITNESS FOR A
PARTICULAR PURPOSE.
WINCO’S OBLIGATION AND LIABILITY UNDER THIS WARRANTY
IS EXPRESSLY LIMITED TO REPAIRING AND REPLACING
EQUIPMENT THAT PROVES TO BE DEFECTIVE IN MATERIAL OR
WORKMANSHIP WITHIN THE APPLICABLE WARRANTY PERIOD.
IN NO EVENT SHALL WINCO BE LIABLE FOR INCIDENTAL OR
CONSEQUENTIAL DAMAGES TO BUYER OR ANY THIRD PARTY,
INCLUDING, WITHOUT LIMITATION, LOSS OF PROPERTY,
PERSONAL INJURY, LOSS OF BUSINESS OR PROFITS OR OTHER
ECONOMIC LOSSES, OR STATUTORY OR EXEMPLARY DAMAGES,
WHETHER IN NEGLIGENCE, WARRANTY, STRICT LIABILITY, OR
OTHERWISE.
This warranty is given only to the rst purchaser from a retail dealer.
No warranty is given to subsequent transferees.
Warranty does not cover product failures caused by: failure to maintain,
neglect, abuse, damage due to excess water, re, normal wear,
improper set up and use. Periodic maintenance is not covered.
This warranty is not in force until such time as a properly completed
and digitally signed Installation/Warranty Registration has been
received by WINCO within 30 days from the date of installation.
WARRANTY SERVICE
or call: 973-295-3899
DO NOT send unit to WINCO® without rst contacting our customer
service department.
REGISTER ONLINE AT:
http://support.wincous.com
Proof of purchase is required to extend warranty more than 1 year from
date of shipment from the factory.
THE FOREGOING WARRANTY PROVISIONS ARE A COMPLETE
AND EXCLUSIVE STATEMENT BETWEEN THE BUYER AND SELLER.
WINCO®NEITHER ASSUMES NOR AUTHORIZES ANY PERSONS
TO ASSUME FOR IT ANY OTHER OBLIGATION OR LIABILITY IN
CONNECTION WITH SAID EQUIPMENT.
Examples of items not covered under warranty, but not limited to just
these items:
1. Natural disasters (ie: earthquakes, tornadoes, hurricanes, etc.), re,
water damage, burglary, accident, theft.
2. Freight damage.
3. Improper installation or alteration of equipment.
4. Use of generic or after-market parts.
5. Repairs made by anyone other than a WINCO® designated service
provider.
6. Lubrication.
7. Expendable wear parts, adjustable feet, blown fuses, lamps, etc.
8. Cleaning of equipment.
9. Misuse or abuse.
Please keep this manual in a safe place for future use!
This manual suits for next models
1
Table of contents
Other Winco Kitchen Appliance manuals

Winco
Winco Kattex FVS-1 User manual

Winco
Winco Winware MDL-4P User manual

Winco
Winco KATTEX TTS-188 User manual

Winco
Winco EPO-1 Instruction Manual

Winco
Winco KATTEX TCT-375 User manual

Winco
Winco MDL-5P User manual

Winco
Winco KATTEX OS-188 User manual

Winco
Winco KATTEX FWS-6 User manual

Winco
Winco ESW-66 Instruction Manual

Winco
Winco AP-12 User manual
Popular Kitchen Appliance manuals by other brands

Cuisinart
Cuisinart CSB-78 - Cordless Rechargeable Hand Blender Instruction booklet

Prince Castle
Prince Castle 965-B operating instructions

Philips
Philips HD4729 user manual

CONTINENTAL EDISON
CONTINENTAL EDISON CECR18SS manual

Bartscher
Bartscher NT 501 manual

Jula
Jula Menuett 006405 operating instructions