9
Contact your distributor for more information about this, and if your glider has not been
pre-inflated ask them to do so for you. Every glider should be test flown before it is sold.
Note that each glider has a unique sticker attached to the centre cell with the serial num-
ber, type of glider, size and weight range, month and year of fabrication.
We recommend that you inspect the risers, check that the maillons have been correctly
installed and tightened, and make sure that the lines are not tangled.
As for the brakes, there should be around 10cm of excess line above the knot, the length
of both lines should symmetric, and the movement through the pulleys smooth and easy.
We recommend that your first flight on your new glider be on a gentle slope in calm con-
ditions before making any further higher flights, just to check the glider and for you to
get used to flying it.
We also recommended that you use a harness that has an ABS cross strap system and
that maximum width possible for the chest strap is 38 cm between karabiners.
For you own safety, we strongly recommend the use of back protection, helmet and
Windtech
WindSOS reserve.
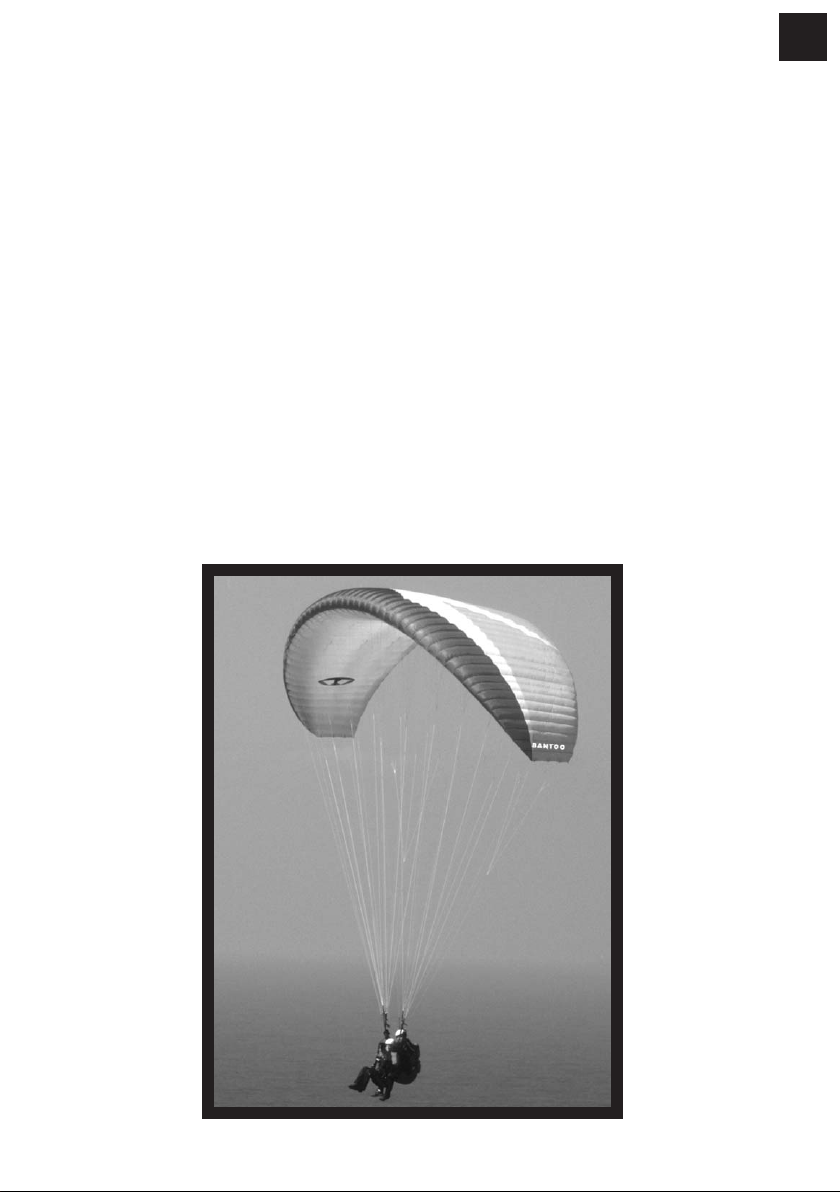
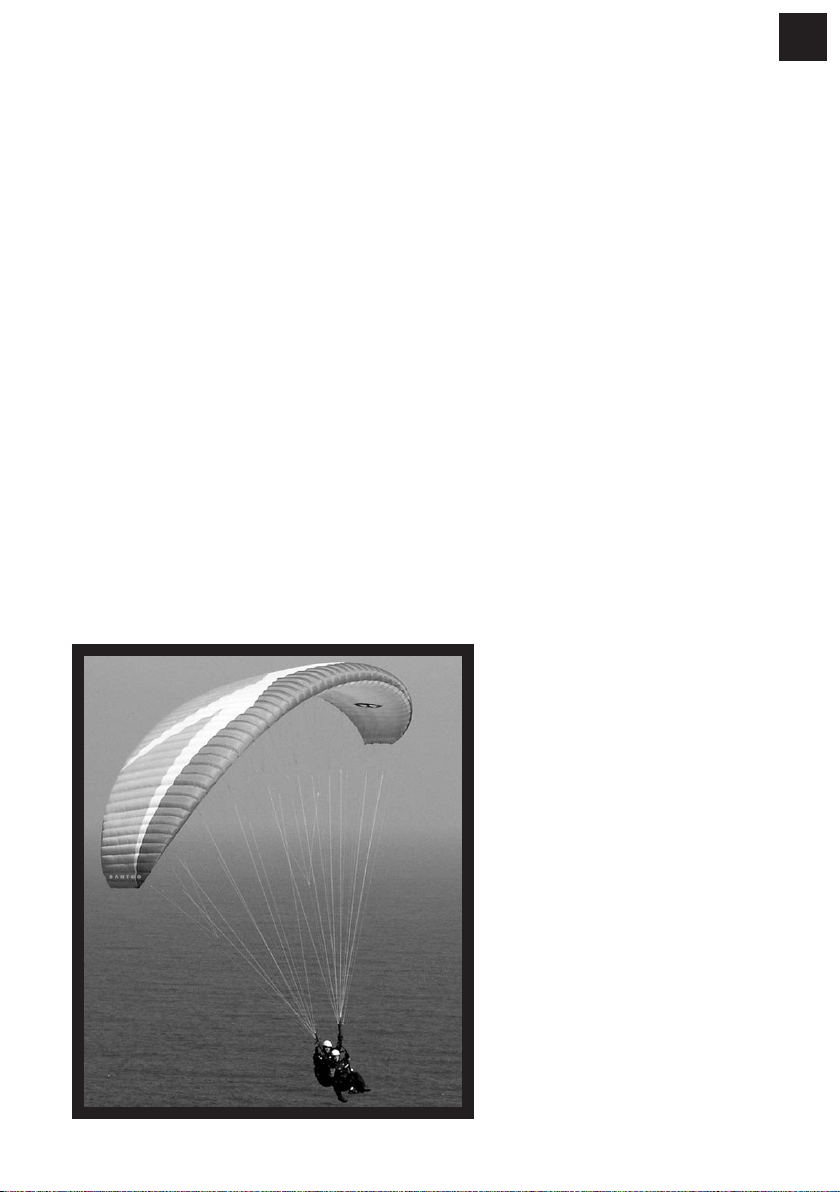
> launch
If you have already flown a tandem gli-
der before, it is possible that the ban-
too will come up a little more quickly
than the tandem you are used to, and
you will probably need to brake it a lit-
tle when it comes up above your head.
However, with a little practice, you will
not encounter any launch characteris-
tics of the glider that you should not be
able to easily adapt to after your first
flights and you should quickly find the
bantoo extremely easy and efficient
to launch.
If, on the other hand, you have never
flown a tandem before, we strongly
advise that you take a course in tandem
flying, with a qualified and experienced
tandem pilot, before you start flying
with other passengers, as you are
directly responsible for the safety of
your passenger.
The best thing is to make your first flights with large and forgiving take-offs and landing
areas, in optimal weather conditions and a passenger who is also a pilot and so will be
more able to collaborate with you during manoeuvres. In this way, you will adapt rapidly
to the great qualities of the bantoo, without having to preoccupy yourself with too
many new things at once, and so you will be enjoying great flights whilst minimizing the
risk to yourself and your passenger.
It is very important to explain clearly the whole launch process to your passenger, point by
point, and allowing for any eventualities, so that they know exactly what to do. As well as
making the launch process easier for you, this will install confidence in them in your ability.