Pergola SO! | User manual
Examples of Intelligent system:
1. Winter, 6°, adjacent module, sunny day, south-facing, no persons below the pergola
– Louvres follow the sun, 100% light let in
– Warmth of the sun is let in to heat up the house.
2. Spring, 23°, adjacent module, sunny day, south-facing, no persons below the pergola
– Louvres closed
– Shadow created on the house to avoid heating it up too much
Spring, 23°, adjacent module, sunny day, south-facing, persons below the pergola
– Louvres follow the sun, 0% light let in
– Shade on persons, but ventilation to let heat get away
3. Summer, detached module, sunny day
1. Morning 18°
– Louvres follow the sun, 100% light let in = Cosy sun warmth
2. Morning 22°
– Louvres follow the sun, 50% light let in = Avoids overly high temperatures below the pergola
3. Afternoon 28°
– Louvres follow the sun, 0% light let in = Keeping heat out
4. Evening 21°
– Louvres follow the sun, 50% light let in = Heat can be let back in
4. Autumn, 11°, adjacent module, cloudy day, persons below the pergola
– Louvres closed
– trapping heat below the pergola (heating may be on, for example)
Autumn, 11°, adjacent module, cloudy day (no sun), no persons below the pergola
– Louvres at 90°, light (≠ sun rays) fully let into the house.
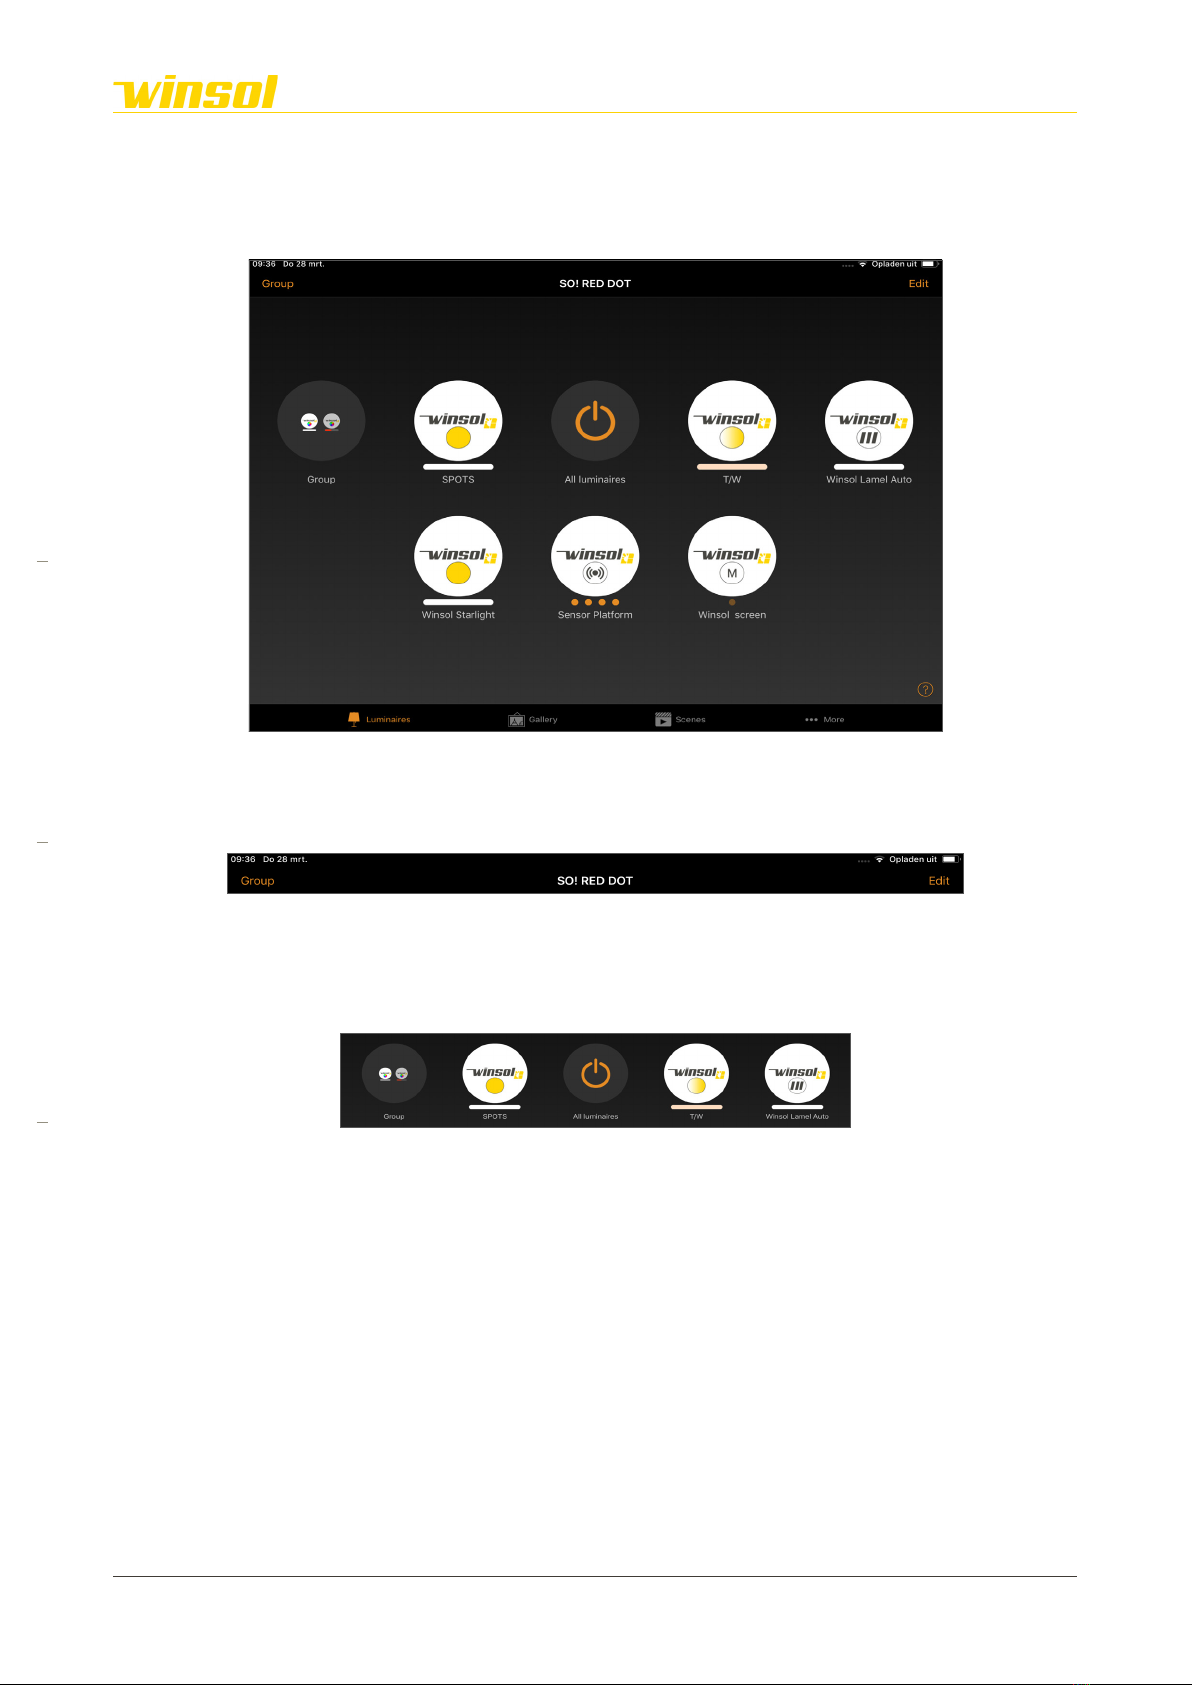
3.3.6. Interaction | Lighting modules
Icon:
Rapid change:
Swipe on the dimmable and adjustable modules, horizontal or vertical, to change this setting without
opening the control menu.
Control menu:
The menu will be expanded based on the chosen product options.
Dimmable Dimmable & adjustable RGB
Rev. 16:24 18/03/2023 Page 10/27
Winsol | Sun protection
EN
2023