3
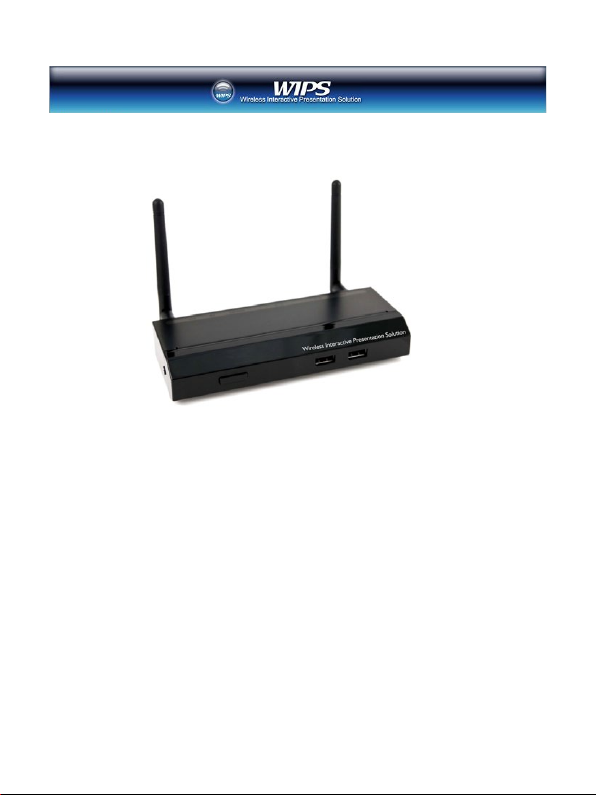
TWP-1000 Wireless Interactive Presentation Solution Quick Installation Guide
4.What You Might Need
Projector or HDTV with VGA/HDMI interface
Windows or Mac PC/Laptop
Apple iPhone, iPad or iPod-touch device
Android Phone or Ta b le t device
Speaker (Optional, for audio projection feature)
USB Mouse and Keyboard (Optional, for remote desktop feature)
USB HID IWB Device (Optional, for IWB over IP feature)
5.TWP-1000 Quick Installation
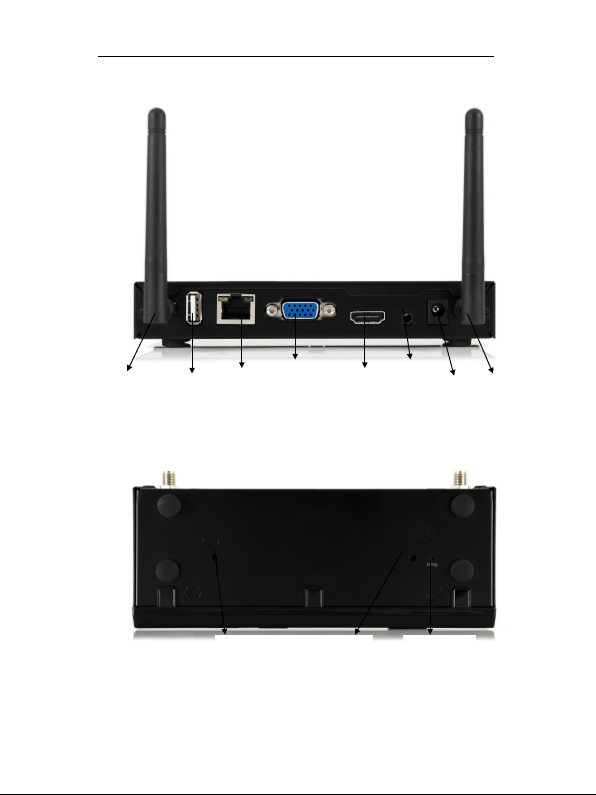
1) Connect WIPS TWP-1000 device to Projector through VGA port and turn on
projector power.
2) Connect the power adaptor to TWP-1000 device and press the power button
to turn on TWP-1000 device.
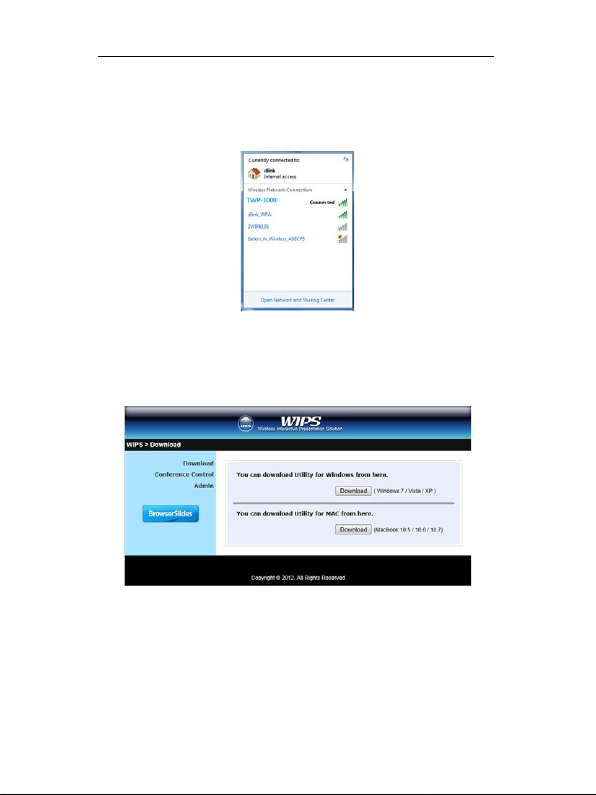
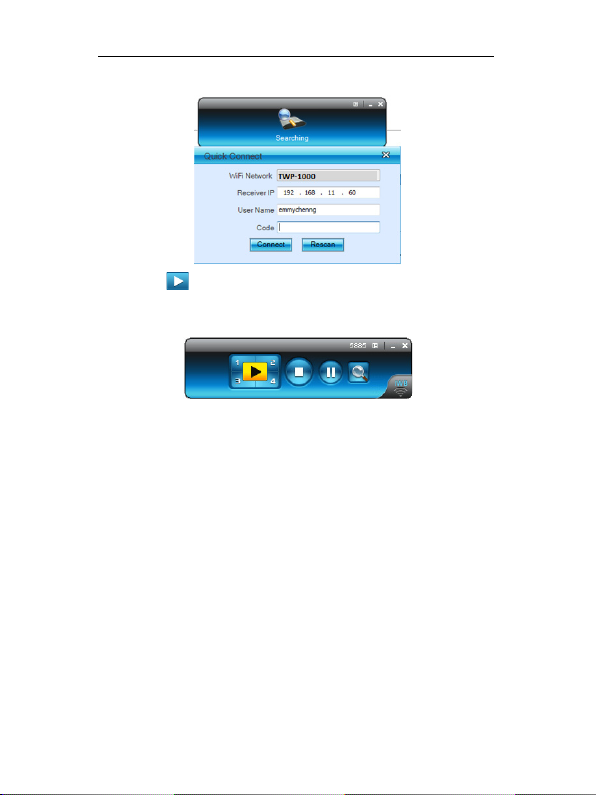
♦It will show the default standby screen as below on projector when
system is ready.
♦