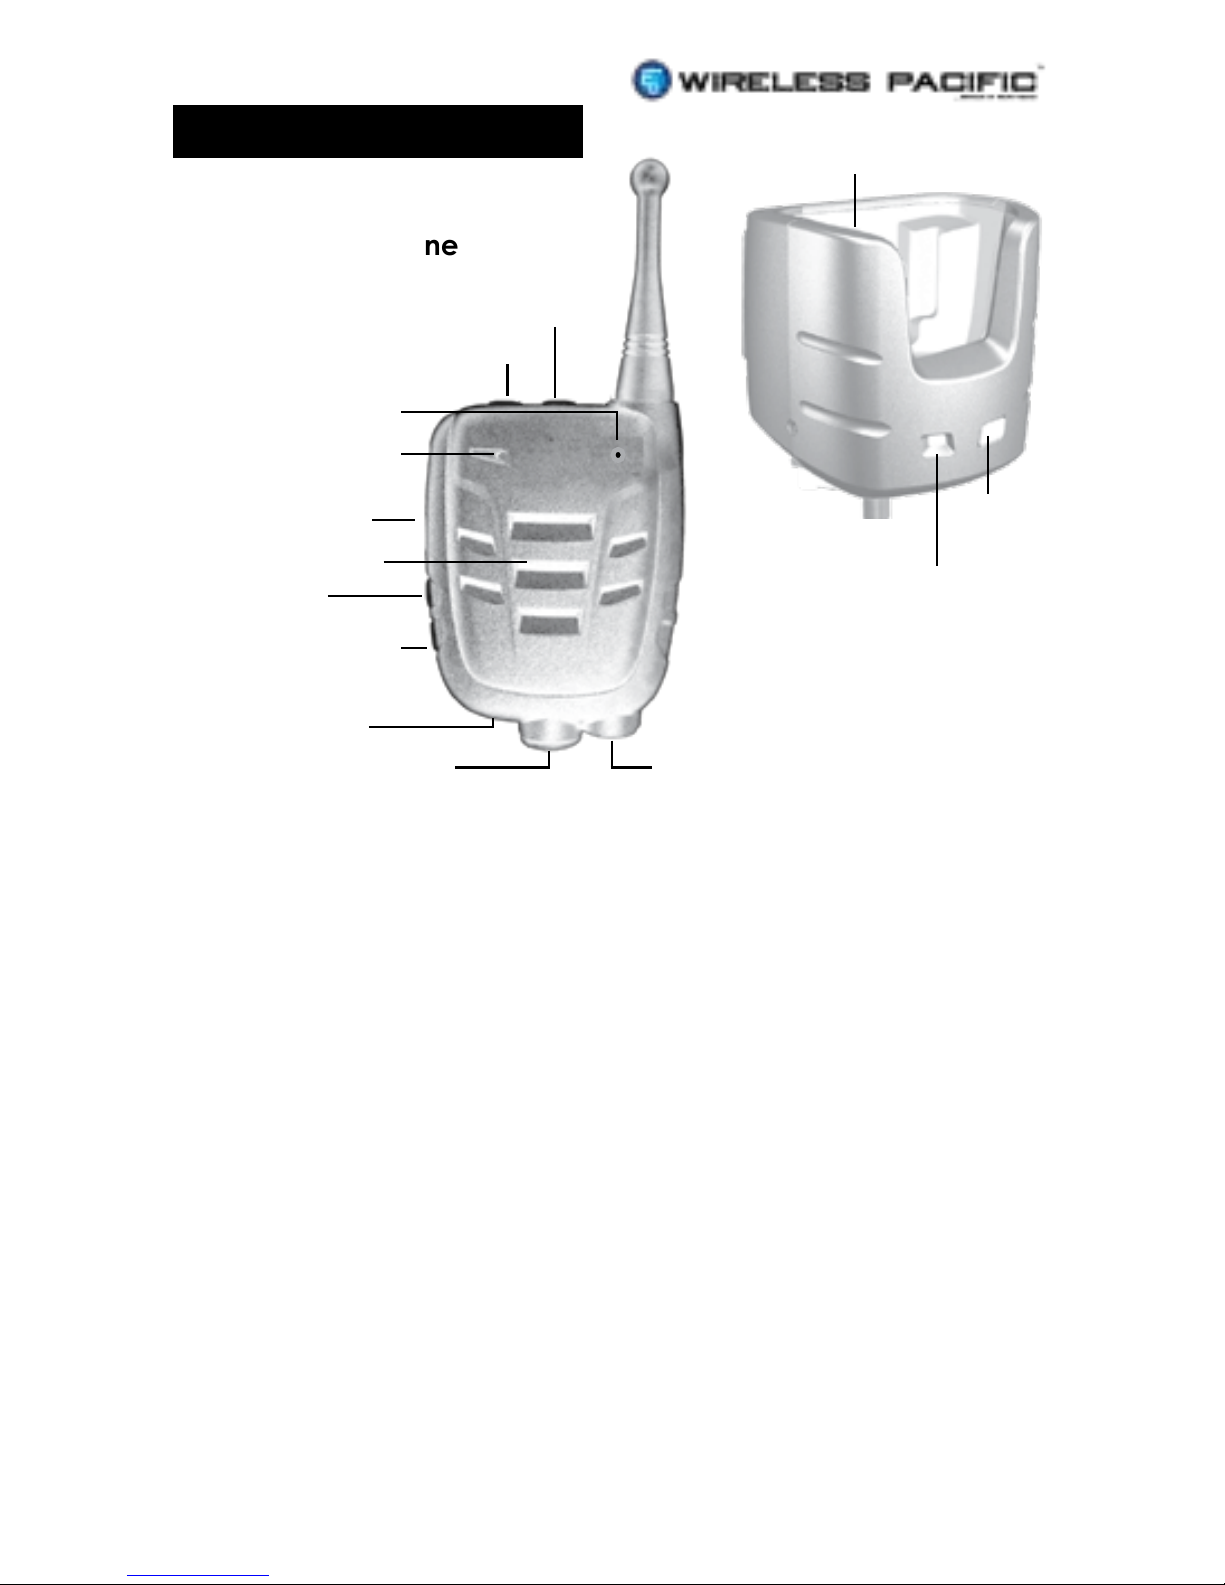
Operation Description
Congratulations on choosing the revolutionary X10DR®
Secure Wireless Microphone. Pronounced “EXTENDER”.
This incredibly compact, lightweight personal accessory
extends the power of the mobile radio to the palm of
your hand, whether in and out of the vehicle. X10DR
stands ready to re-dene mobile network design by in-
creasing user functionality and mobility whilst dramati-
cally improving the effectiveness of your infrastructure
investment. This visionary solution provides users out of
vehicle communications with the power and perfor-
mance of their mobile radio.
X10DR cuts the cord and for the rst time puts the mi-
crophone and radio system access into the palm of the
users hand when away from the vehicle, delivering true
mobility without system compromise. Users can feel to-
tally condent their private communications are kept
secure due to the smart 64 bit/128 bit encryption (model
dependent) functionality. X10DR uniquely incorporates
HLC™ “Hard Line Coding” connection protocol that
virtually eliminates any possibility of outside intrusion be-
tween the X10DR and your vehicle’s mobile. When the
mission is critical, X10DR delivers.
X10DR unleashes the power of your mobile radio allow-
ing wireless communication with a xed located or ve-
hicle radio: 60, 150, 300 metres (yards) or more.* - Now
users can communicate with enhanced clean audio,
with the power and range of their mobile radio, whilst
not being tied to the vehicle allowing the user to be
truly mobile in every operational environment.
Finally, if you go out of range, the blue LED will ash and
the unit will sound a warning tone if you press the PTT
or Emergency button so you know to move back into
your communication zone or to be simply aware. This
ability to now communicate whilst outside your vehicle
signicantly enhances a safer and more secure work
environment for everyone who carries an X10DR Secure
Wireless Microphone.
6