6
------------------------------------------------------------------ Section 3 ----------------------------------------------------------------
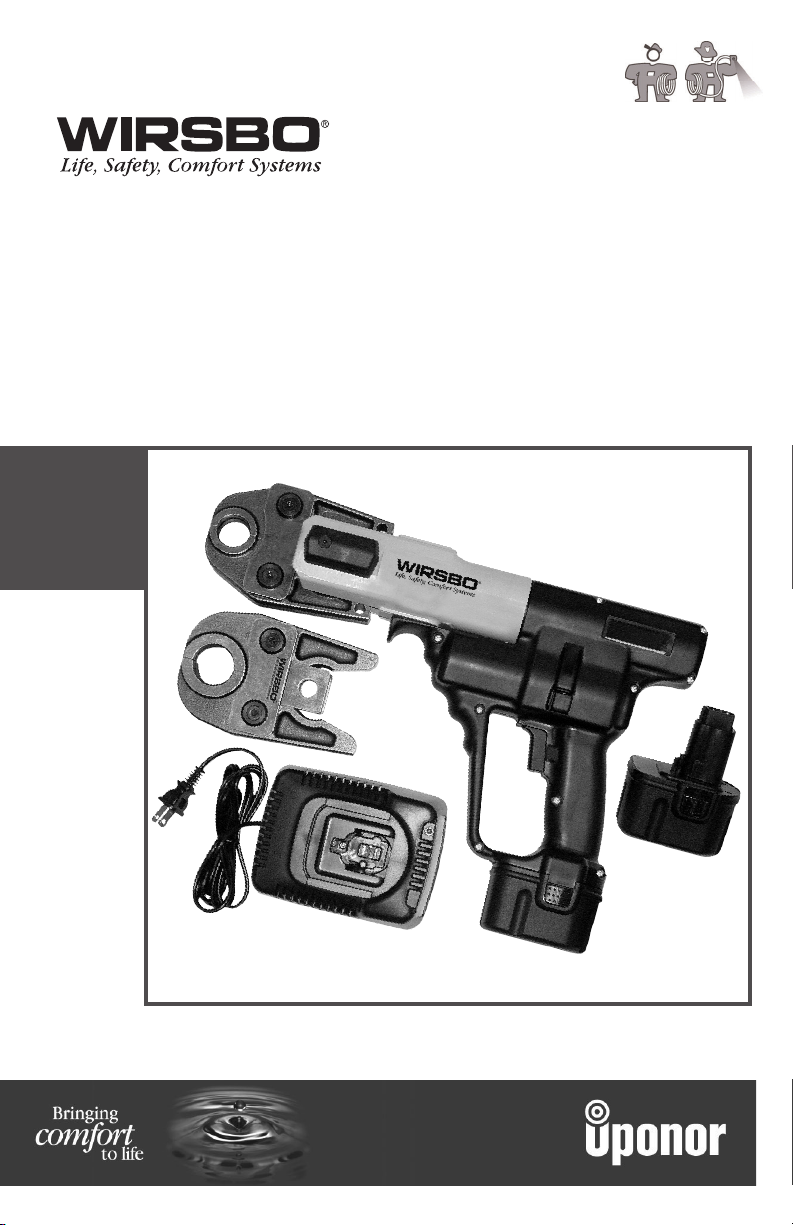
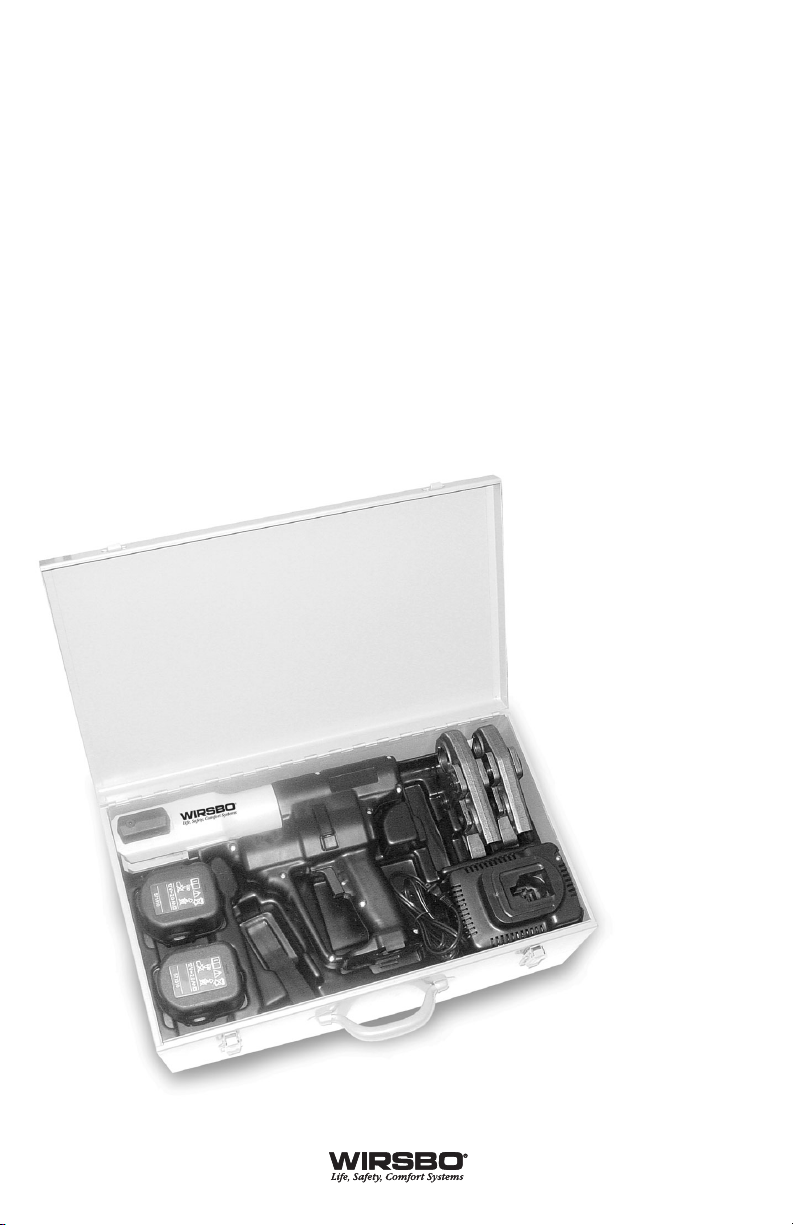
MultiPress Battery Tool Operation
Use only the press heads supplied by Uponor Wirsbo for the
MultiPress Battery Tool. The press heads are identified by their
respective tubing size stamped into the head. Comply with the
instructions for fitting installation in Section 4 of this manual.
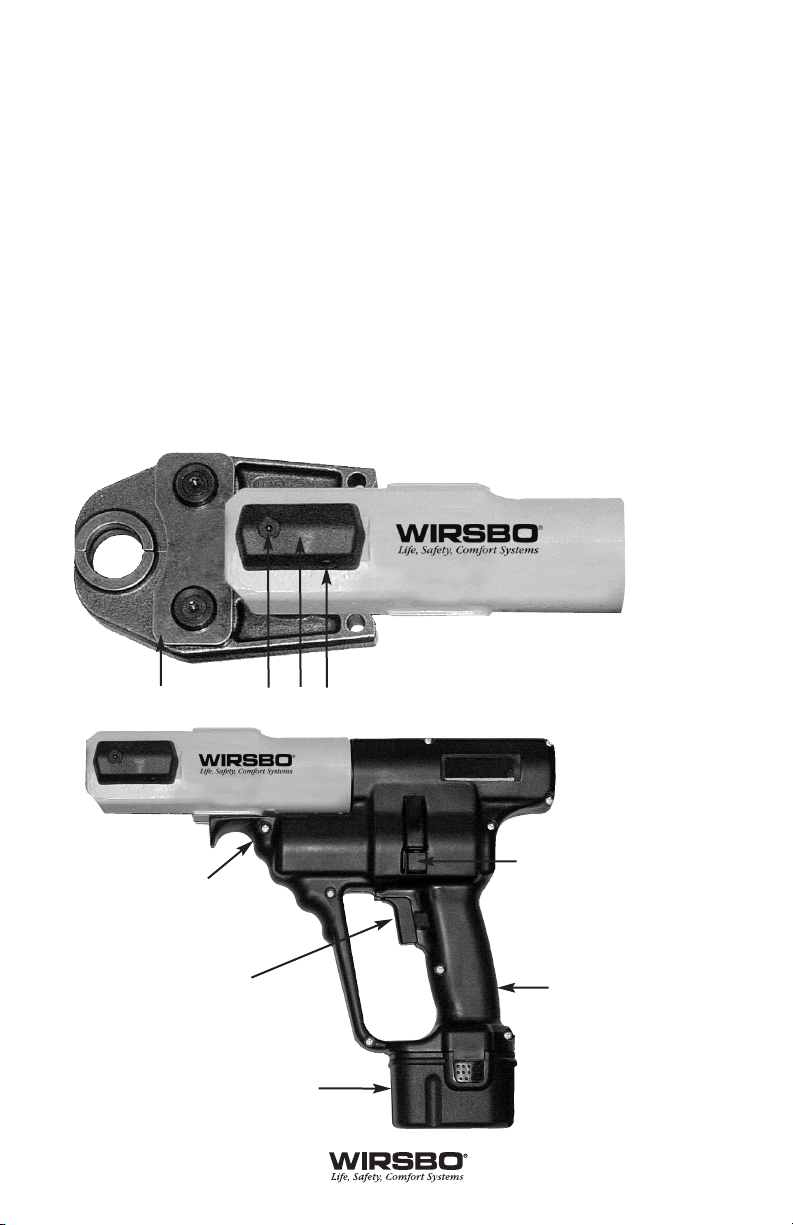
Installing and Changing the Press Head
Refer to Figure 3-1 on page 7 to identify the tool parts referenced
in the following instructions.
Remove the battery before attempting to change the press head
(1). Place the tool on a bench or the floor. Installing or changing
the press head is only possible when the press rollers in the body
of the tool are fully retracted. If necessary, press the reset button
(9) until the press rollers are fully retracted.
To release the press head from the tool body, press the release
button (4) on the pressure plate (3). Pull the pressure plate (3)
slightly and the press head retaining pin (2) will spring out.
Remove the current press head and insert the new press head (1).
Push the press head toward the tool body until the press head
retaining pin (2) engages. Once engaged, press down on the
pressure plate (3) until secured against the tool body with the
release button (4).
Caution: Do not start the MultiPress tool without a press
head (1) installed. Do not start MultiPress tool operation
except to make a MultiPress fitting. Unless counter
pressure is applied by a MultiPress fitting, the drive
unit and/or press head will be stressed needlessly.
Caution: Never operate the MultiPress tool if the press
head retaining pin (2) is not locked in place. Failure to
do so can result in material damage and personal injury.