Wise P510 Series User manual

USER MANUAL
MODEL : P510, P520, 531SERIES
ITEM : ELECTRIC CONTACTS TYPE PRESSURE GAUGE

To use this product correctly and safely, please read this manual carefully before operating.
Misuse of this product might cause damage to the product and serious injury to the user.
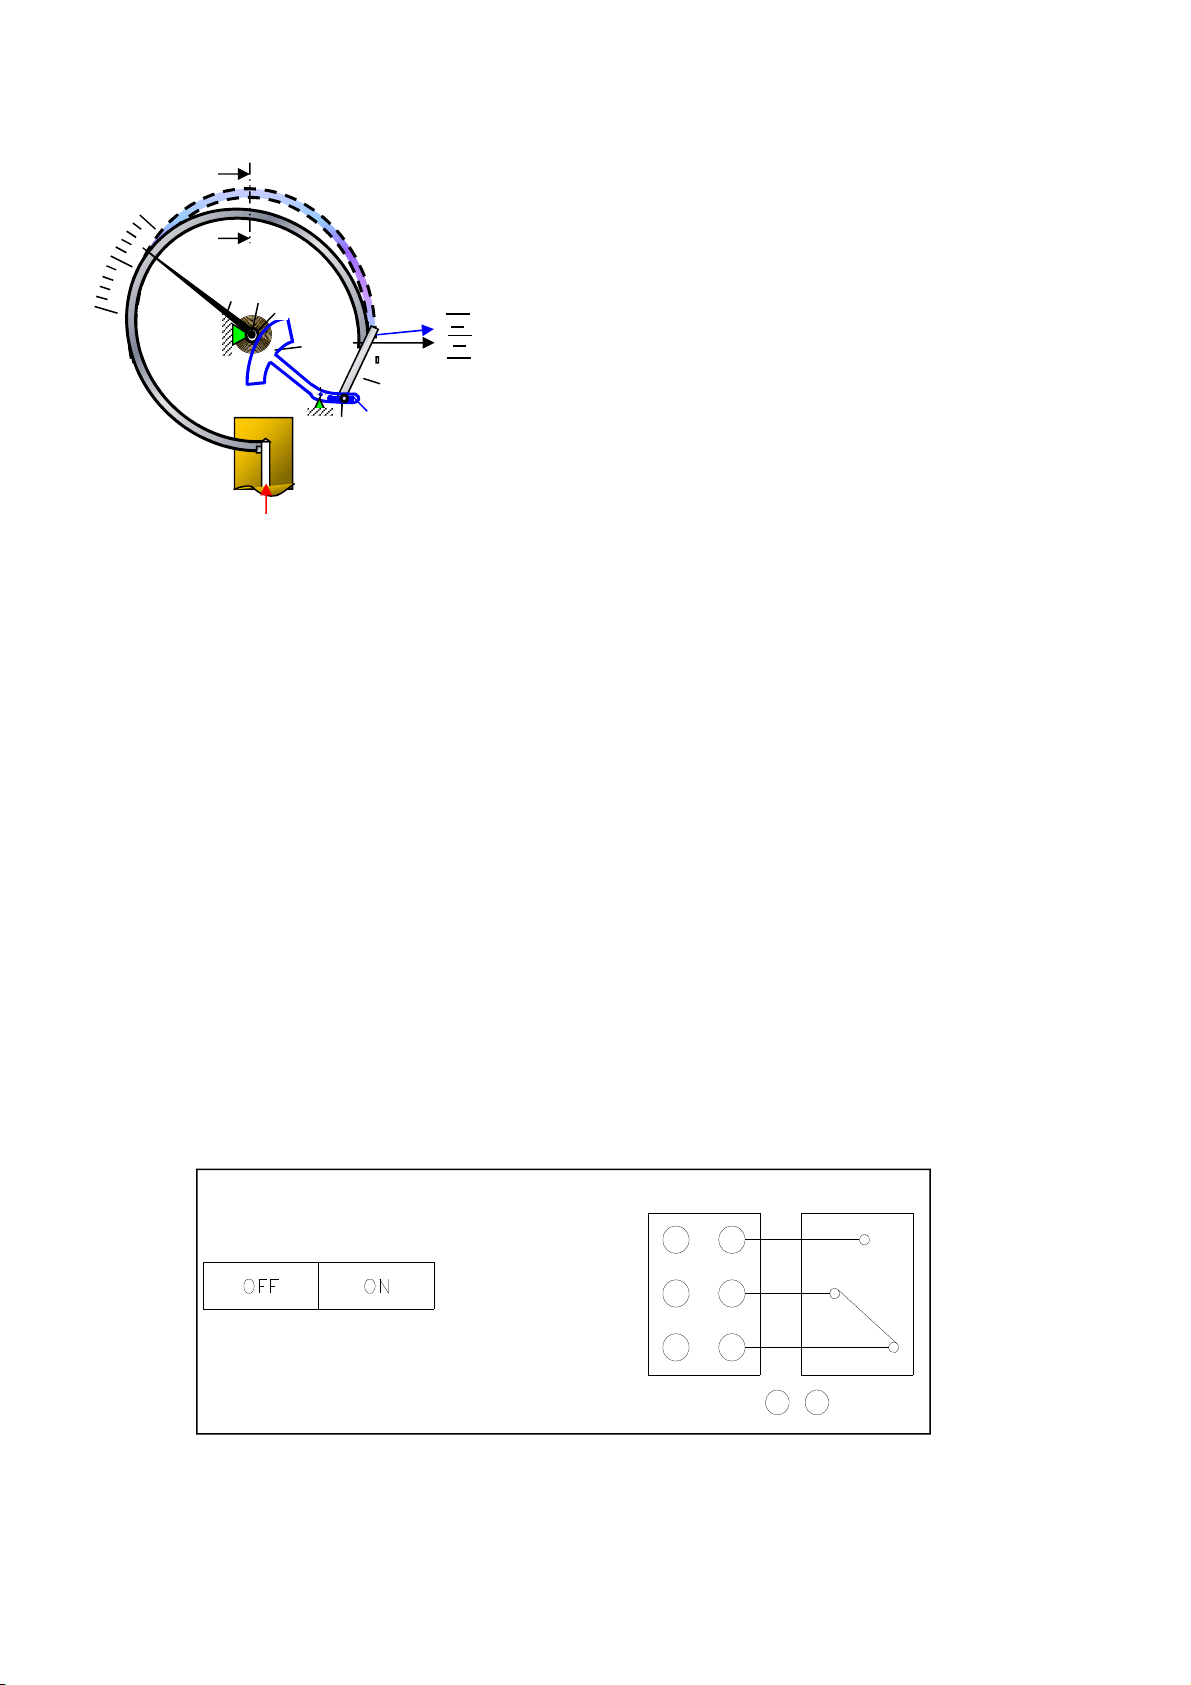
1. Do not apply more pressure than given range.
2. Do not use the product with a corrosive fluid. A corrosive fluid can cause
the rupture of the measuring elements, and it could lead to injury or destruction.
3. Avoid excessive weight, vibration, and shock on the product.
These could cause the rupture or damage on the product, and leaked fluid can cause injury to
the user and destruction of surroundings.
4. Use the product within the given Temperature range.
More than given temperature range can cause the damage to the product, and leads to the
destruction.
5. When removing the products from its operting line, make sure to close the valve before
removing.
This will prevent the fluid or other substances to release. This release might cause the
destruciton of surroundings.
6. Use "Use No Oil" Pressure gauges for the environment where Hydrocarbon or Oxygen is
present. General Pressure gauges with the left over oil inside can lead to explosion when
it gets mixed with oxygen or Hydrocarbon.
7. When installing the product, please follow the instruciton manual for how to install.
8. Do not modify the product for other purpose.
Please consult the manufacturer for repair.
9. Do not cut off the oil cap when the product is installed outside because rain can penetrate
into the gauge and cause a dew condensation.
*To check the pressure, please remove the oil cap to release the internal pressure.
10. Work is carried out while electricity is applied.
This product cannot be used in explosion proof area.
Please use PN990( explosion proof type electric contact pressure indicator )
that is the product of our company, if necessary.
Instructions for
p
ro
p
er and safe o
p
eration
WARNING

1. INTRODUCTION
2. APPLICATIONS
3. FEATURES
4. SPECIFICATION AND STANDARDS
5. STRUCTURE AND FUNCTION
6. OPERATING PRINCIPLE
7. CONTACT POINT WORKING TYPE AND CONNECTION
8. HOW TO SET
9. MAINTENANCE AND OPERATION
10. USE
11. INSTALLATION
12. WIRING
CONTENTS

1. Introduction
This product is a contact pressure indicator with the built-in indicator and contact.
It is a pressure gauge equipped with a contact block which is located on a type
board and it allows every contact combination.
On the window, there is a handle for adjusting a set point which has set outside.
2. Applications
The product can be used as an indicator to process control, error alarm or warning,
in accordance with on or off signal if pressure reaches the predetermined setting.
3. Features
1) A contact switch pressure indicating is desirable when a pressure indication is needed.
2) There are independent measuring probes for the indicator and contact switch,
so that the indications are very accurate even after the switch is mounted.
3) A contact switch pressure indicating has separate indicator and setting scales
for easier setting.
4. Specification and Standards
1) Norminal diameter : 100 and 160mm
2) Accuracy
Indication range : ±1.0% of Full Scale
Alarm setting : ±1.0% of Full Scale
3) Materials of wetted part : Stainless Steel
4) Connection type : 3/8", 1/2" PT, NPT & PF
5) Number of contacts : 1 X SPDT or 2 X SPDT
6) Working temperature : -20~65℃
7) Notes in accordance with Pressure Equipment Directive 2014/68/EU
- The pressure gauges are "Pressure accessories" in accordance with Article 1, Paragraph 2.1.4
- The volume of the pressure bearing parts of pressure gauges is < 0.1 L
- The pressure gauges carry CE marking for Fluid Group 1 in accordance with Annex 2,
Table 1 when their permissible working pressure exceeds 200 bar
- Pressure gauges that do not carry the CE marking are manufactured in accordance with
Article 3, Paragraph 3 "Sound engineering practice".

7) Electrical properties
5. Structure and Function
① ② ⑦
③④ ⑤ ⑥
⑥Setpoint Adjustment Dial
Cap
⑦Terminal Box
④Indicator
⑤Process Connection
②NO.2 Setting Pointer
(NO.2 Setpoint Indicator)
③Scale Plate
NO Description Remark
①NO.1 Setting Pointer
(NO.1 Setpoint Indicator)

6. Operating Principle
1. Pull Rod
2. Pull Rod Control Point
3. Toothed Segment
4. Segment Opening
5. Spiral Spring
6. Pointer
When pressure is applied to the Bourdon Tube, it extends vertically. This vertical movement of
Bourdon Tube is delivered to the Movement, and the Movement changes this vertical movement
User's Manual
Movement is consist of lever and gear, and its main role is converting vertical movement into a
rotating motion.
Generally, the vertical movement of Bourdon Tube ranges from 3~4mm, and its principle is to
point currently applied pressure by using a turn angle 270º
Therefore, Bourdon Tube and Movement are the most important, and these parts must be well
assembled in the pressure gauge because these parts leads to precise machining accurracy.
7. Contact Point Working Type and Connection
1) HIGH ALARM
As a Single Contact, when the pressure reaches higher than its set point, User can
set it as either ON or Off.
2) LOW ALARM
As a Single set point, when the pressure reaches lower than its set point, either User
can set it as ON or Off.
S
Pressure
1
3
5
6
24
7
설정치0 최대압력
41
52
63
(CONNECTION BOX) (MICRO SWITCH)
연결단자
1,2
(SET POINT) (MAX.PRESSURE)
단자대 마이크로 스위치
(CONNECTION TERMINAL)

3) HIGH & LOW ALARM
As a dual set point, this provides the combination of two independent single set
points metioned above.
4) HIGH & HIHIGH ALARM
As a dual set point, this provides the combination of two independent High alarm
set points.
5) LOW & LOLOW ALARM
As a dual set point, this provides the combination of two independent Low alarm
set points.
설정치0 최대압력
41
52
63
(CONNECTION BOX) (MICRO SWITCH)
연결단자
,
(SET POINT) (MAX.PRESSURE)
단자대 마이크로 스위치
(CONNECTION TERMINAL)
2 3
0
41
52
63
상한접점 (검정색침), 연결단자
1,2
하한접점 (적색침), 연결단자
65 ,
설정치 최대압력
(SET POINT) (MAX.PRESSURE)
(CONNECTION BOX)
단자대
(MICRO SWITCH)
마이크로 스위치
(HIGH CONTACT (BLACK POINTER),
(LOW CONTACT (RED POINTER),
CONNECTION TERMINAL)
0
41
52
63
상한접점 (검정색침), 연결단자
1,2
상한접점 (적색침), 연결단자
54 ,
설정치 최대압력
(SET POINT) (MAX.PRESSURE)
(CONNECTION BOX)
단자대
(MICRO SWITCH)
마이크로 스위치
(HIHIGH CONTACT (BLACK POINTER),
(HIGH CONTACT (RED POINTER),
CONNECTION TERMINAL)
0
41
52
63
하한접점 (검정색침), 연결단자
2,3
하한접점 (적색침), 연결단자
65 ,
설정치 최대압력
(SET POINT) (MAX.PRESSURE)
(CONNECTION BOX)
단자대
(MICRO SWITCH)
마이크로 스위치
(LOW CONTACT (BLACK POINTER),
(LOLOW CONTACT (RED POINTER),
CONNECTION TERMINAL)

8. HOW TO SET
Set point can be altered by turing the screw inside the gauge. Setting method can be
differentiated by its contact type.
- HIGH
When rising pressure reaches at a set point, the switch status becomes "ON."
Adjust the setting pointer from High to Low pressure .
- LOW
When decreasing pressure reaches at a set point, the switch status becomes "ON."
Adjust the setting pointer from Low to High Pressure set point.
9. Maintenance and Operation
1) The commercial pressure shall be below 75% of the max graduation.
2) Do not impose a pressure beyond the allowable limit.
3) Avoid sudden pressure surge or drop.
4) If there is a risk of pulsation or impact pressure, install overpressure protection device
like dampener or gauge protector.
5) Do not grease the operation parts in the pressure gauge.
6) The regular inspection shall be made once or twice in 6 months to check contact operation.
7) If the indication instrument makes a big error, remove it from the product for inspection.
It may have been caused by wear, corrosion, external shock, vibration, or shock of a part.
In this case, you must remove, adjust, or exchange the part.
8) The standard rated current shall follow 4. 7) but it may be different when the product is
equipped with a special micro software. Please, add some allowance to the rated current
written in this product, considering the inrush current.
9) Before you open or close the cover for pressure gauge repair or inspection, be sure to shut
off the power.
Malfunctioning of the switch may ignite the explosive gas in the gauge.
접단차
0최고압력
(Differential Gap)
설정치
설정눈금
설정침
설정조정축
설정치
(MAX.PRESSURE)
(SET POINT)
감압(DECREASING PRESSURE)
승압(RISING PRESSURE)
(SET POINT)
(SETTING SCALE)
(SETTING POINTER)
(SETTING SCREW)
접단차
0최고압력
(Differential Gap) 설정조정축
설정침
설정눈금
설정치
감압(DECREASING PRESSURE)
승압(RISING PRESSURE)
설정치
(SET POINT)
(MAX.PRESSURE)
(SET POINT)
(SETTING SCALE)
(SETTING POINTER)
(SETTING SCREW)

10. Use
1) When installing a gauge for the first time, it is recommended to use the valve so it can be
removed or controlled easlily.
2) It is required to find out followings before using the gauge.
- Pulsation exist? If yes, then use Dampner.
- Vibration exist? If yes, then filled the gauge with oil or use oil filled gauge.
- Is ambient temperature high? If yes, then use capillary type gauge.
3) Before using the gauge, make sure zero point is properly adjusted.
4) On the connection screw, use teflon tape or gasket to install the gauge firmly.
5) When installation is finished, slowly open the valve to find out the pointer is correctly
indicating current pressure.
11. Installation
1) Install in a place devoid of moisture, vibration, dust or corrosive gas.
2) Avoid areas that might exceed the temperature ranges specified in this manual.
3) Make sure to protect from lightning or steam.
4) Avoid areas with direct sun light.
5) Use M5 nuts and bolts to mount on a panel or wall using the mounting holes.
If mounting brackets are used, make sure it is installed securely.
6) Inlet tube should be flexible not to strain the pressure indicating switch.
7) Please use specified wrench.
12. Wiring
1) Do not stress the main body.
2) Please use proper PVC insulated wire or captire cable.
3) Use M4 crimps to connect terminals for solid contacts.
4) Please confirm contact types in the diagrams before connecting terminals.
5) In case of conduit type, use waterproof sealing fittings.
6) In case of cable gland type, use waterproof cable glands.
This manual suits for next models
2
Table of contents
Other Wise Measuring Instrument manuals