© wodtke GmbH - Tübingen. IR_BA_190726 Seite 4 / 64
Bedienung •Gerätebeschreibung
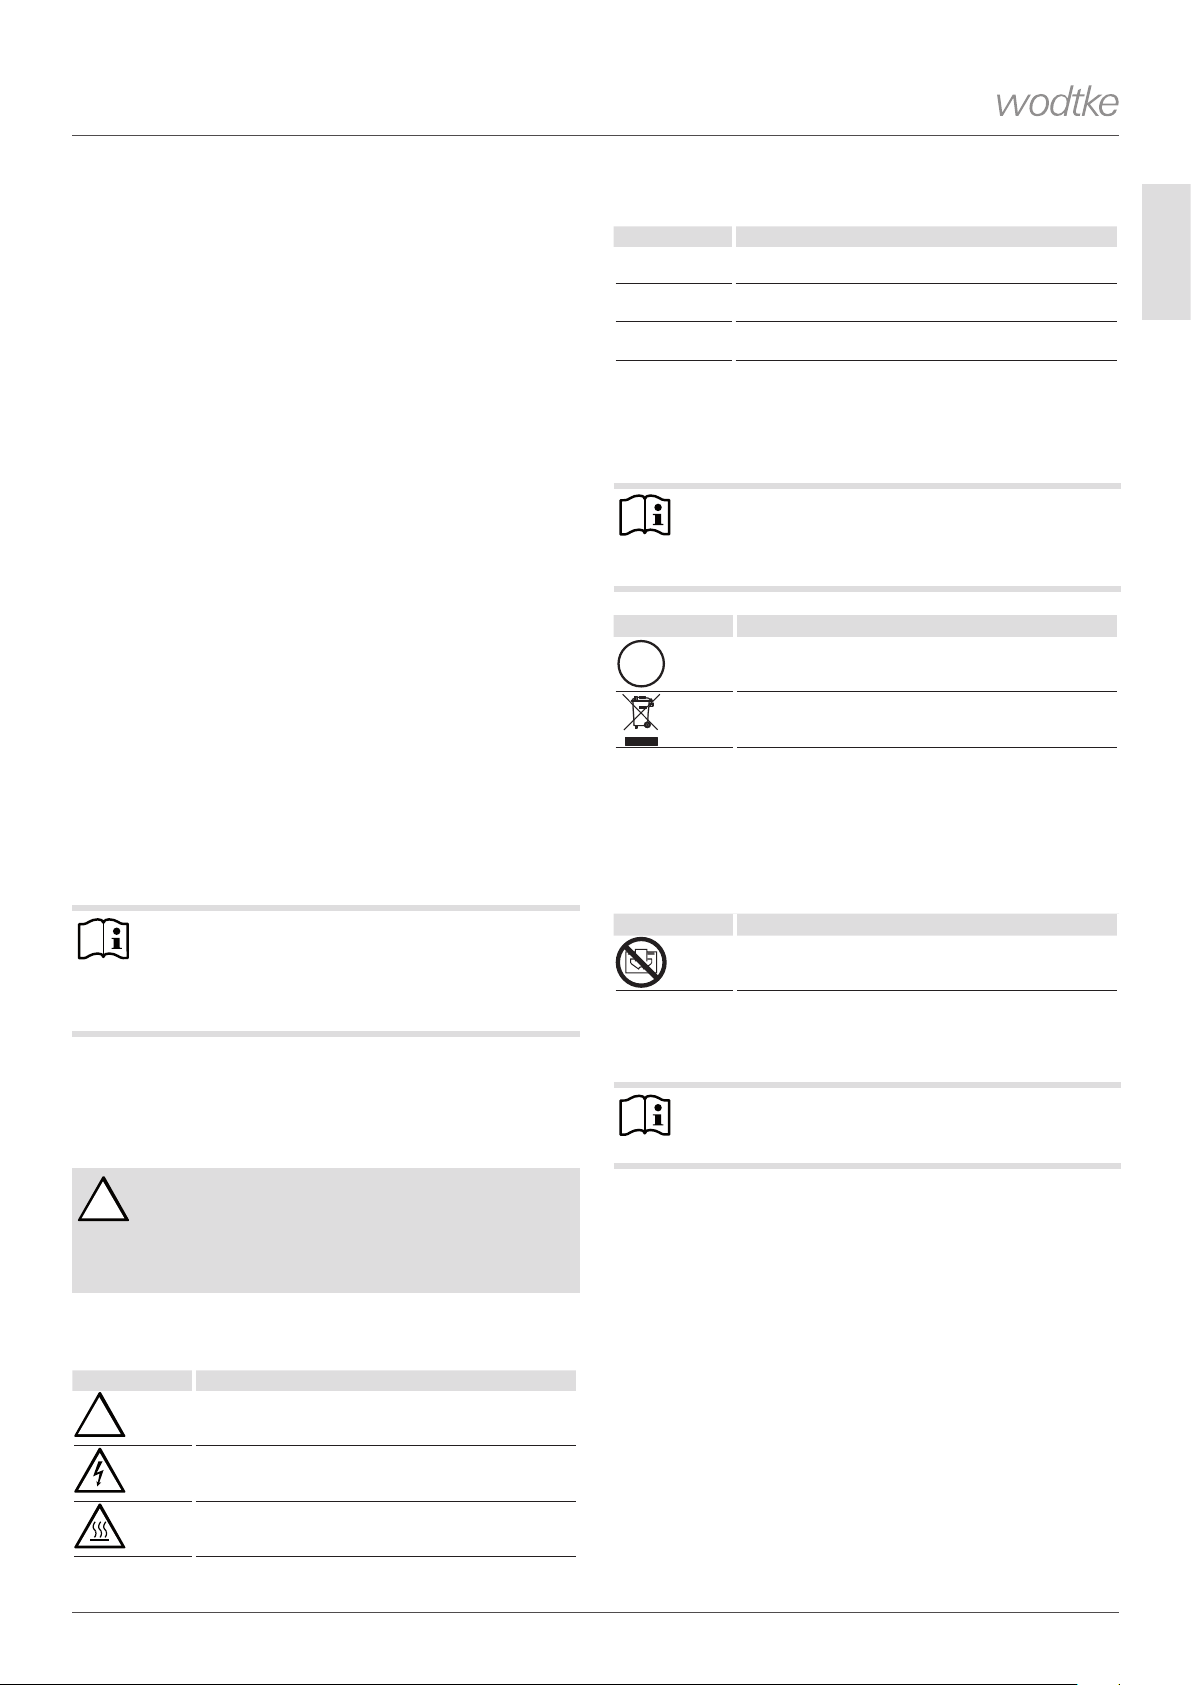
2.2 Allgemeine Sicherheitshinweise
!WARNUNG Verletzung
-Halten Sie Kinder unter 3Jahren von dem Gerät
fern, wenn keine ständige Beaufsichtigung ge-
währleistet ist.
-Das Gerät kann von 3- bis 7-jährigen Kindern
ein- und ausgeschaltet werden, wenn sie beauf-
sichtigt werden oder bezüglich des sicheren Ge-
brauchs des Gerätes unterwiesen wurden und
die daraus resultierenden Gefahren verstanden
haben. Voraussetzung hierfür ist, dass das Gerät
wie beschrieben montiert wurde.
3- bis 7-jährige Kinder dürfen nicht den Stecker
in die Steckdose stecken und das Gerät nicht
regulieren.
-Das Gerät kann von Kindern ab 8Jahren sowie
von Personen mit verringerten physischen, sen-
sorischen oder mentalen Fähigkeiten oder Man-
gel an Erfahrung und Wissen benutzt werden,
wenn sie beaufsichtigt werden oder bezüglich
des sicheren Gebrauchs des Gerätes unterwie-
sen wurden und die daraus resultierenden Ge-
fahren verstanden haben.
-Kinder dürfen nicht mit dem Gerät spielen. Rei-
nigung und Benutzer-Wartung dürfen nicht von
Kindern ohne Beaufsichtigung durchgeführt
werden.
!WARNUNG Verletzung
Das Gerät ist nicht mit einer Einrichtung zur Rege-
lung der Raumtemperatur ausgestattet.
Verwenden Sie das Gerät ausschließlich mit dem
in Kapitel „Installation/ Sicherheit“ aufgeführten
notwendigen Zubehör. Die Nichtbeachtung führt
zu einem Verlust der CE-Kennzeichnung. Wenn Sie
das Gerät dennoch ohne einen externen Raumtem-
peraturregler betreiben, kann es ungeregelt den
Raum immer weiter aufheizen.
Wenn Sie das Gerät in kleinen Räumen betreiben
und die dort bendlichen Personen nicht selbst-
ständig den Raum verlassen können, stellen Sie eine
ständige Überwachung sicher.
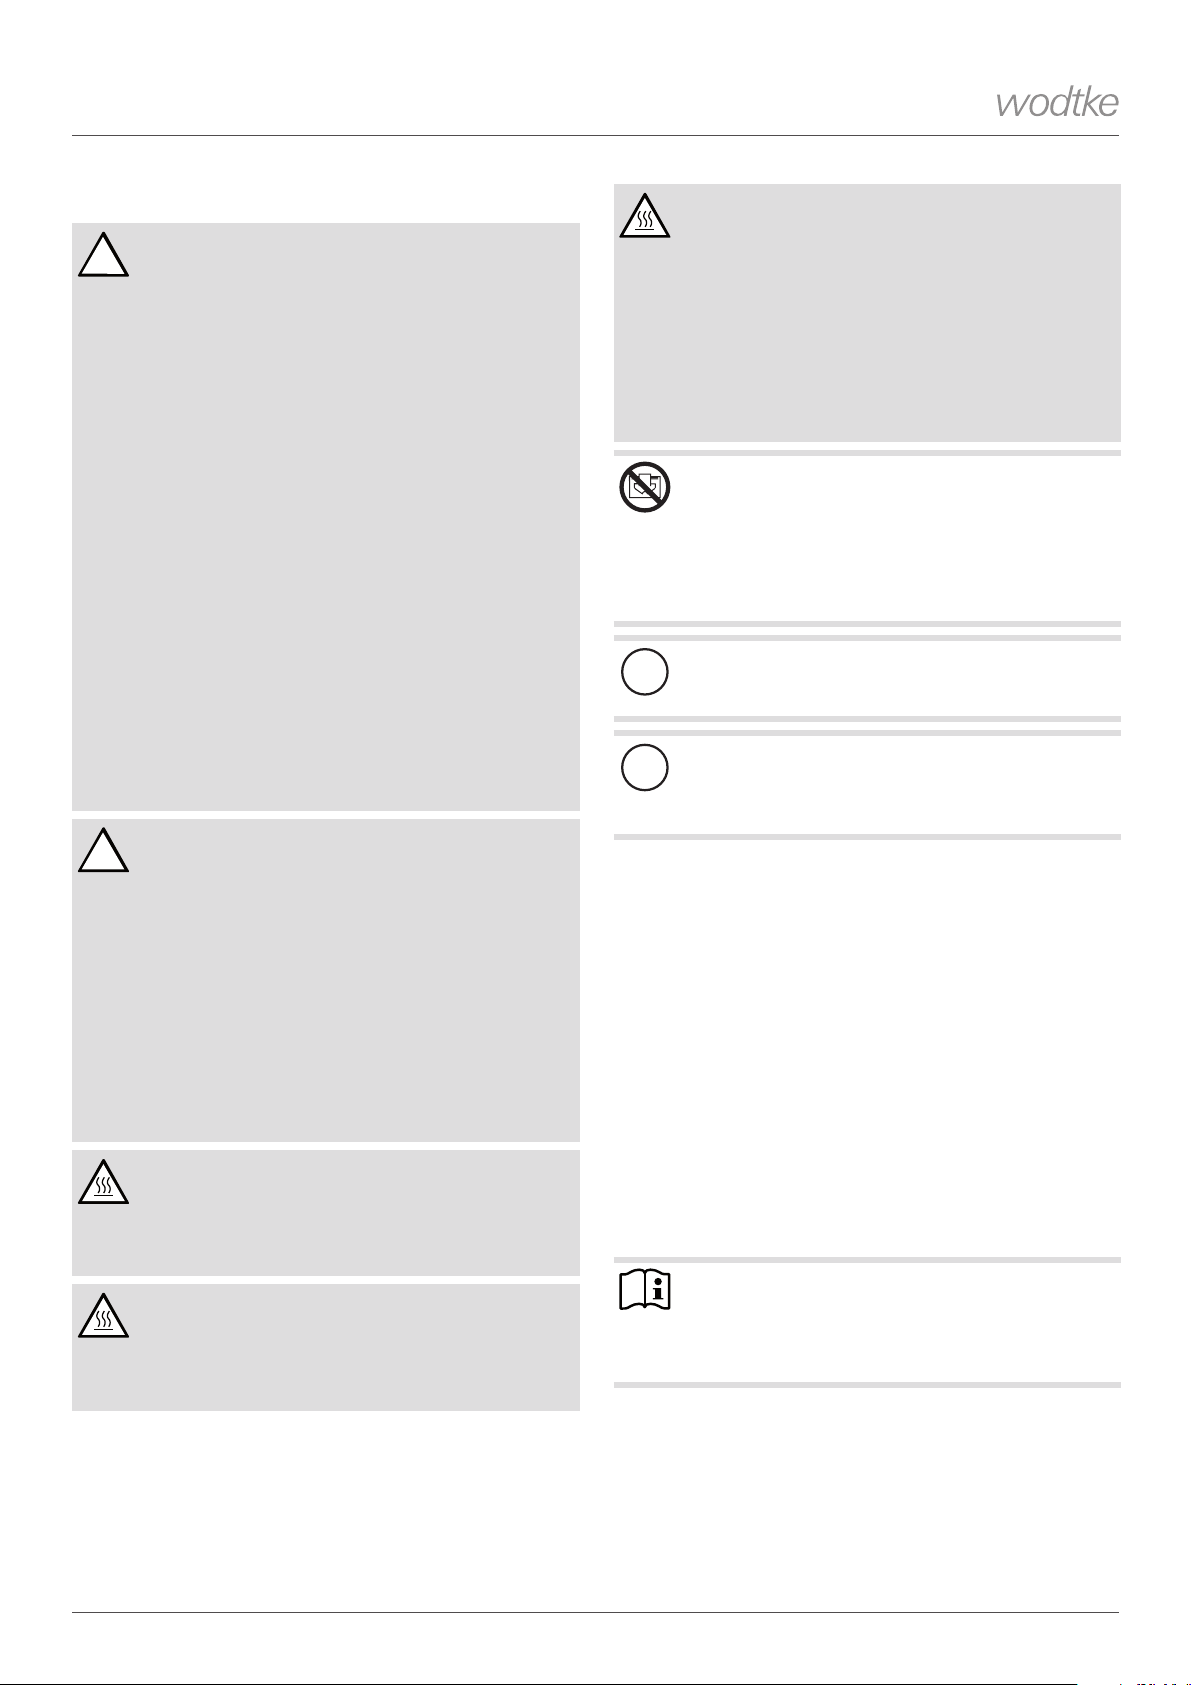
WARNUNG Verbrennung
Betreiben Sie das Gerät nicht, wenn im Aufstell-
raum Arbeiten wie Verlegen, Schleifen, Versiegeln,
Reinigen mit Benzin, Pegen von Fußböden (Spray,
Bohnerwachs) und dergl. durchgeführt werden.
WARNUNG Verbrennung
Teile des Gerätes können sehr heiß werden und Ver-
brennungen verursachen. Wenn Kinder und schutz-
bedürftige Personen anwesend sind, ist besondere
Vorsicht geboten.
WARNUNG Verbrennung
-Legen Sie keine Gegenstände auf das Gerät.
-Lehnen Sie keine Gegenstände an das Gerät.
-Stecken Sie keine Gegenstände zwischen Gerät
und Wand.
-Legen Sie keine brennbaren, entzündbaren
oder wärmedämmenden Gegenstände oder
Stoe, wie Wäsche, Decken, Zeitschriften, Be-
hälter mit Bohnerwachs oder Benzin, Spray-
dosen und dergl. in die unmittelbare Nähe des
Gerätes.
Gerät nicht abdecken
Bereits lokales Abdecken, z.B. mit einem Handtuch,
kann zu Überhitzung und Beschädigung des Heizele-
ments führen.
- Decken Sie das Gerät nicht ab.
- Bekleben Sie das Gerät nicht (z.B. mit Dekorfolie,
Haftnotizen).
!Sachschaden
Beachten Sie die Mindestabstände (siehe Kapitel
„Technische Daten/ Mindestabstände“).
!Sachschaden
Wenn die ESG-Platte oder andere Bauteile des Gerätes
beschädigt sind, dürfen Sie das Gerät nicht in Betrieb
nehmen.
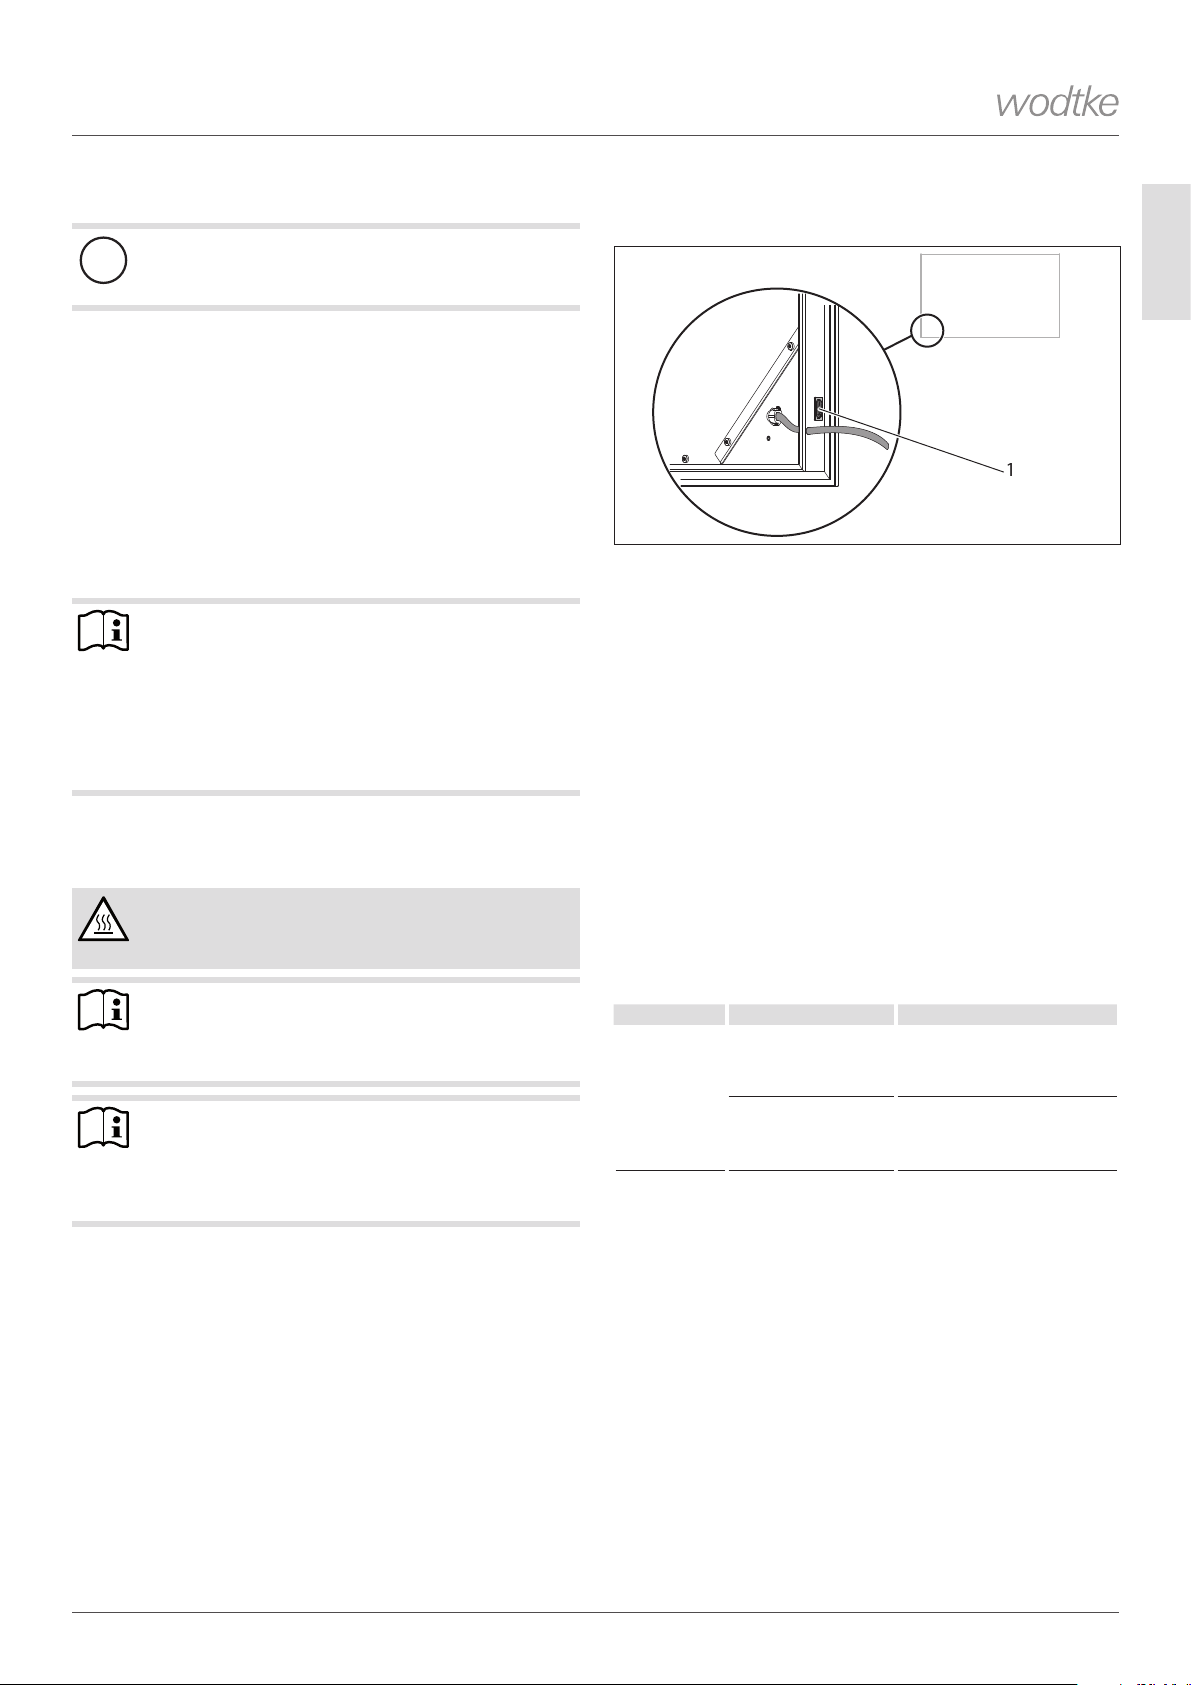
2.3 Prüfzeichen
Siehe Typenschild am Gerät. Das Typenschild bendet sich an
der Geräteaußenkante in der Nähe des Betriebsschalters.
3. Gerätebeschreibung
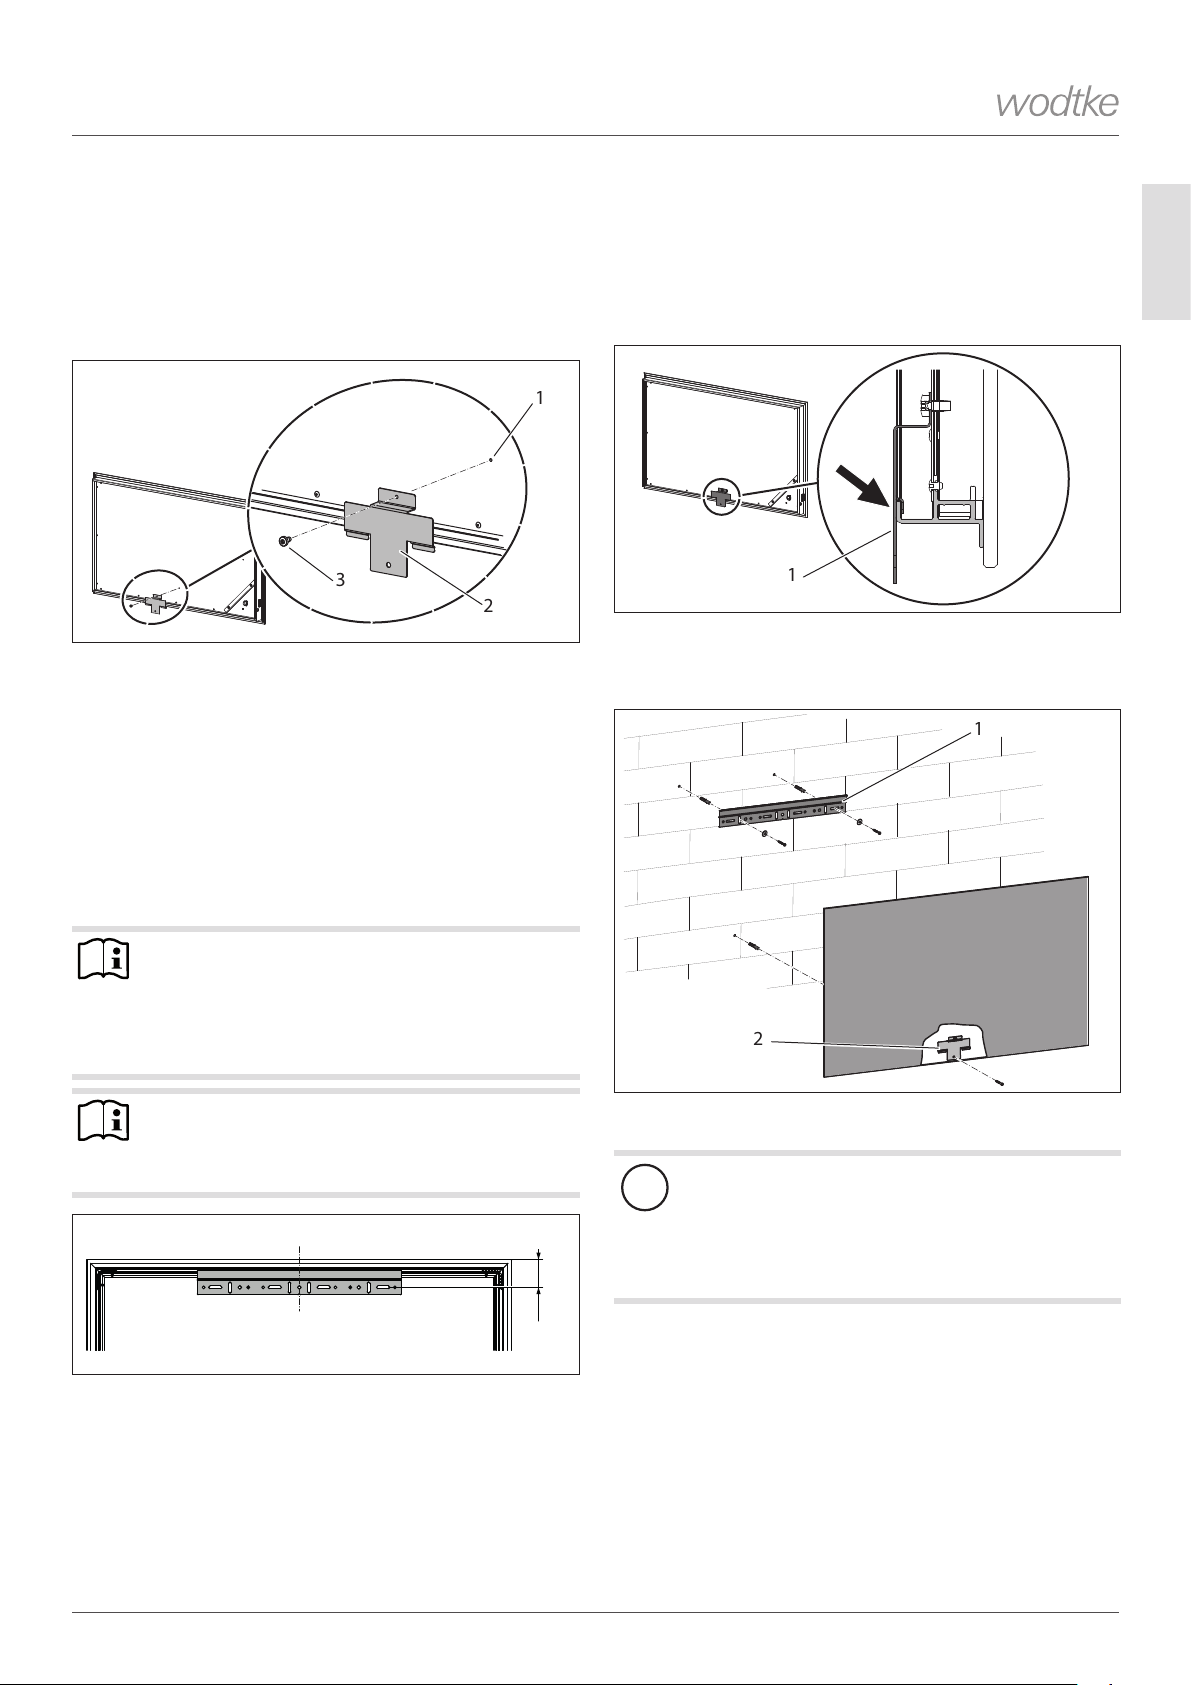
Das Gerät ist eine wandhängende elektrisch beheizte Platte
aus Einscheiben-Sicherheitsglas (ESG).
Die Rückseite der ESG-Platte ist mit einer Heizmatte beklebt,
die die ESG-Platte gleichmäßig erwärmt.
Die in der ESG-Platte gespeicherte Wärme wird in Form von In-
frarotstrahlung abgegeben. Somit werden gleichermaßen die
im Raum bendlichen Personen und Gegenstände erwärmt,
ohne die Luft zu verwirbeln.
Hinweis
Platzieren Sie keine Gegenstände zwischen dem
Gerät und den zu erwärmenden Personen. In diesem
Fall würden die Gegenstände und nicht die Personen
erwärmt.