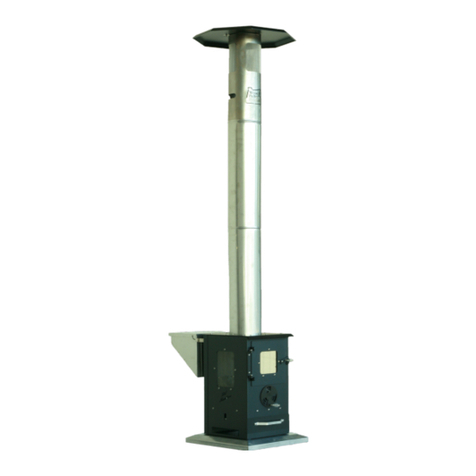
3.3.2 Light the alcohol fire gel with a match and close the door.
3.3.3. Open the (N) Damper below the door for the first ten minutes of a burn.
3.3.4 Standard burn time for the heater on one full hoppers (20lb) is about 2.5 hours. You can extend
this burn time by adding pellets to the hoppers during the burn.
3.3.5 This stove is supplied with a slanted firepot to help burn hotter longer reducing the ash content
while burning. Clean grate and slots by pulling the pull rod from the back of stove and pushing it back
in. The rod should always be in fully closed position while in operation.
4. Storage
4.1 When you are finished using the Heater you should make sure that the fire is completely out.
Allow at least 45 minutes for the heater to cool down before transporting.
4.2 Store the heater upright in a sheltered area away from inclement weather such as rain, snow and
dust.
4.3 This unit is manufactured as an “Outdoor Unit” from steel. If you leave it in the weather it will
accumulate rust. This is normal and can be treated by using touch up paint in spray cans available
from Wood Pellet Products.
5. Maintenance
5.1 To obtain the best performance from your heater make sure you perform the following
maintenance activities on a regular basis:
5.2 After a burn and once the heater is completely cooled, clean out any remaining ashes from on top
of the fire grate and in the ash pan. Do not dump an ash pan with hot embers or pellets in it into a
garbage can or any other combustible area. It will start a fire.
5.3 Keep exterior surfaces clean. Use warm soapy water for cleaning.
5.4 Never use flammable or corrosive cleaning agents on or near this Heater.
5.5 Airflow through dampers and out of the spark arrester must be unobstructed, clean regularly.
Caution:
Never burn stick wood or plastic or other combustibles in this heater. Burn only ¼” diameter wood
pellets. Never spray any cleaning product on or into any of the doors, air intakes, or dampers.
6. Temperature Control:
Burning Standard Heating Stove Pellets this stove will reach 41k BTU’S. To maximize heat output
Close the Damper Dial completely by turning it until all slots are no longer visual. To decrease
temperature open damper to allow air to move through the unit and cool it down.
7. Service and warranty Information
To learn how to service and procure parts for worn out, defective or damaged components, please
call us directly for assistance. Warning: Use our original equipment replaced parts only. Use of
unauthorized parts or modification of parts will void warranty and create an unsafe condition.
8. Warranty Terms
Subject to the conditions set out below, this product is warranted to the original purchaser to be free
from defects in workmanship and materials for 90 days from the date of purchase. This warranty does
not include the paint and or finish on the heater.
8.1 Satisfactory proof of the purchase date must be furnished at the time of notification of the defect
for any claim under the warranty to be enforceable.
8.2 This warranty covers all parts found defective in workmanship and / or materials during the
warranty period and can be repaired or replaced at the discretion of the manufacture at no
cost to the original purchaser.


