4
- This product has been designed for cutting grass, hedges and tree pruning and it
should never be used for any other purpose.
- Never allow children or people unfamiliar with these instructions to use the appliance. Local
regulations may restrict the age of the operator.
- Never mow while people, especially children, or pets are nearby.
- The operator or user is responsible for accidents or hazards occurring to other people or their
property.
- Avoid running the engine indoors. The exhaust gases contain harmful carbon monoxide.
2) Preparation
- While cutting, always wear substantial footwear and long trousers.
- Do not operate the appliance when barefoot or wearing open sandals.
- Thoroughly inspect the area where the appliance is to be used and remove all stones, sticks,
wires, bones, and other foreign objects.
- Before using, always visually inspect to see that the blades, blade bolts and cutter assembly are
not worn or damaged. Replace worn or damaged blades and bolts in sets to preserve balance.
- On multi-bladed appliances, take care as rotating one blade can cause other blades to rotate.
3) Operation
- Operate only in daylight or in good artificial light.
- Avoid operating the appliance in wet grass, where feasible.
- Always be sure of your footing on slopes.
- Walk, never run.
- Exercise extreme caution when changing direction on slopes.
- Do not use for cutting on excessively steep slopes.
- Use extreme caution when reversing or pulling the appliance towards you.
- Never operate the appliance with defective guards or shields, or without safety devices.
- Switch on the motor according to instructions and with the feet well away from the blade(s).
- In this case, do not tilt it more than absolutely necessary and lift only the part which is away from
the operator. Always ensure that both hands are in the operating position before returning the
appliance to the ground.
- Do not put hands or feet near or under rotating parts.
- Never pick up or carry an appliance while the motor is running.
- Pull the spark from the socket:
· whenever you leave the machine;
· before clearing a blockage;
· before checking, cleaning or working on the appliance;
· after striking a foreign object. Inspect the appliance for damage and make repairs as
necessary;
· if the appliance starts to vibrate abnormally (check immediately).
4) Maintenance and storage
- Keep all nuts, bolts, and screws tight to be sure the appliance is in safe working condition.
- Check the grass catcher frequently for wear or deterioration.
- Replace worn or damaged parts for safety.
25
For rotary mowers, ensure that only original replacement parts are used.
- Never store the equipment with petrol in the tank inside a building where fumes can reach
an open flame or spark;
- Allow the engine to cool before storing in any enclosure;
- To reduce the fire hazard, keep the engine, silencer, battery compartment and petrol storage
area free of grass, leaves, or excessive grease;
- If the fuel tank has to be drained, this should be done outdoors.
SPECIAL SATETY WARNING
1. Grip the handles of the brush cutter firmly with both hands. If you suspend the work, place the
throttle into the idling position.
2. Always be sure to maintain a steady, even posture while working
3. Maintain the speed of the engine at the level required to perform cutting work and never raise the
speed of the engine above the necessary level.
4. If the grass gets caught in the blade during operation , or if you need to check the unit or refuel the
tank always be sure to turn off the engine.
5. If the blade touches a hard object like a stone immediately stop the engine and
check if something is wrong with the blade. If so, replace the blade with a new one.
6. If someone calls out while working, always be sure to turn off the engine before
turning around.
7. Never touch the spark plug or plug cord while the engine is in operation. Doing so
may result in being subjected to an electrical shock.
8. Never touch the muffler, spark plug or other metallic parts of the engine while the
engine is in operation or immediately after shutting down the engine. Doing so may
result in serious burns.
9. When you finish cutting in one location and wish to continue working in another
spot, turn off the engine and turn the machine to have the blade facing away from your body.
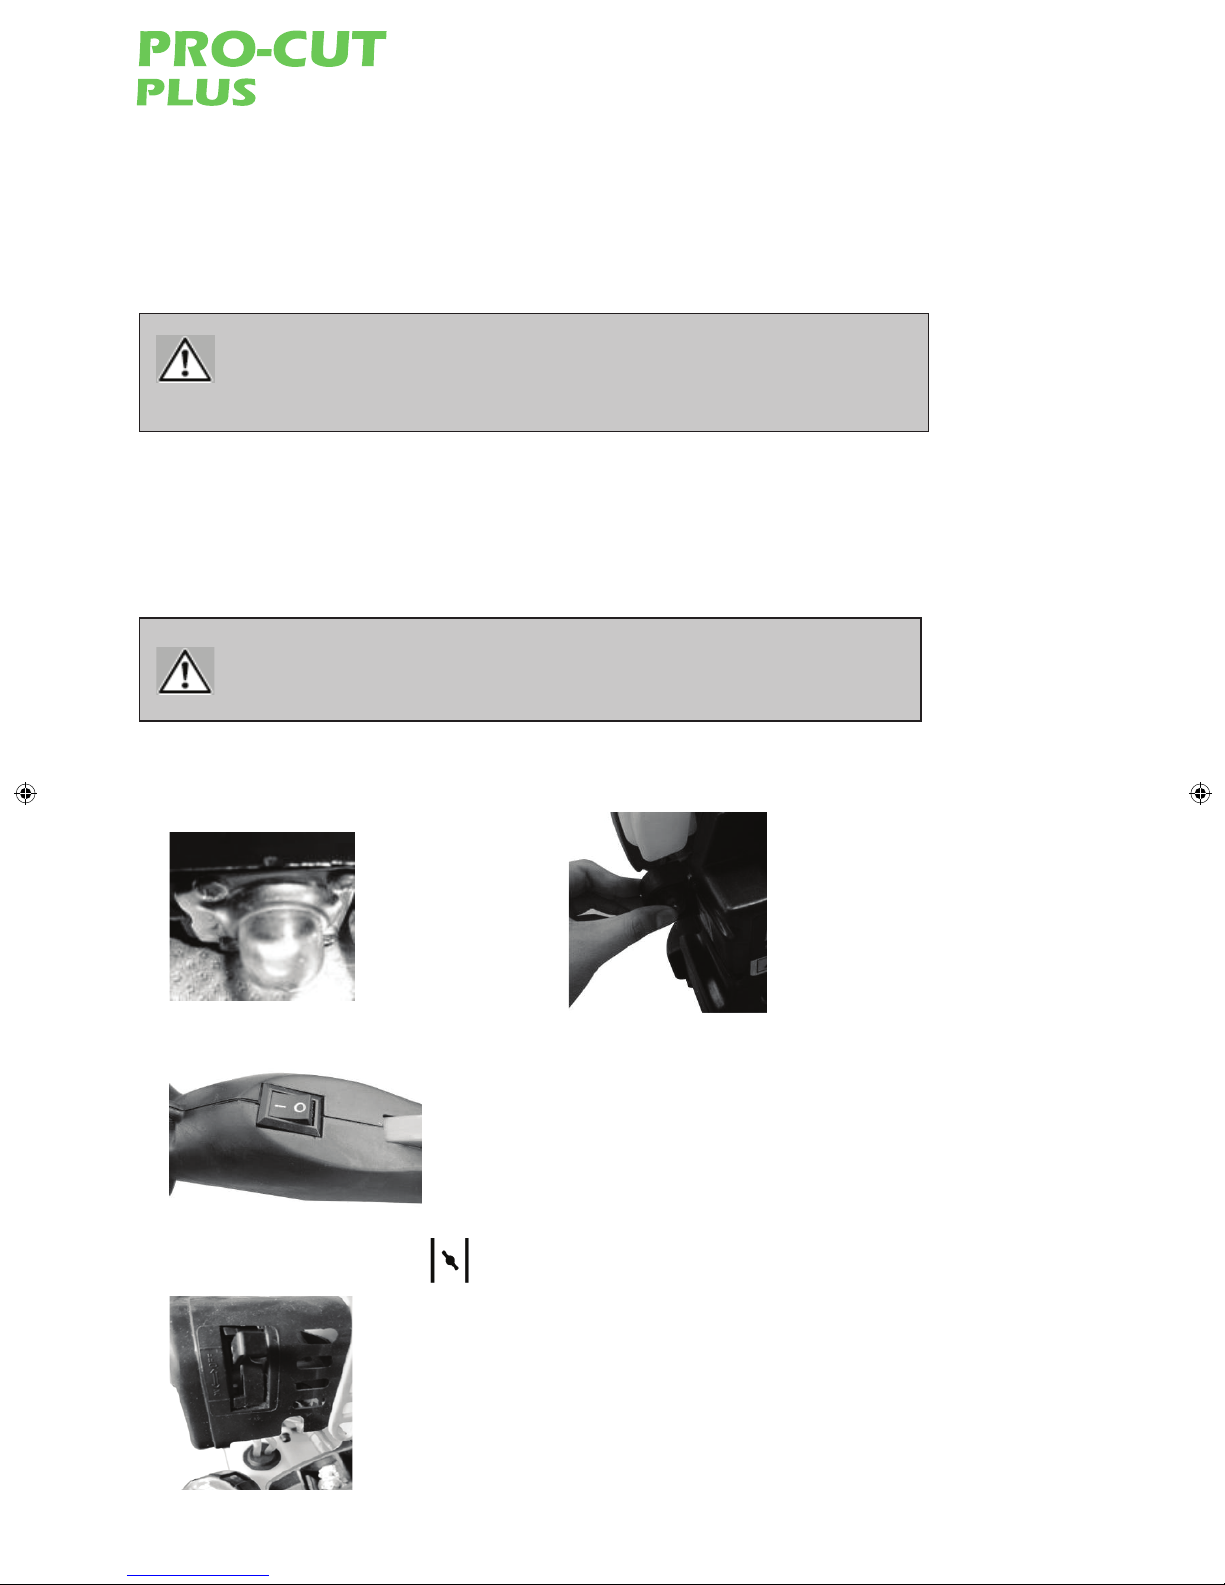
10. Check that the cutting attachment stopped turning under the engine idle before starting to use the
machine.
WDS_1133974_5pce_Multi Function_Manual - Woodies.indd 4 24/10/2017 11:23:29