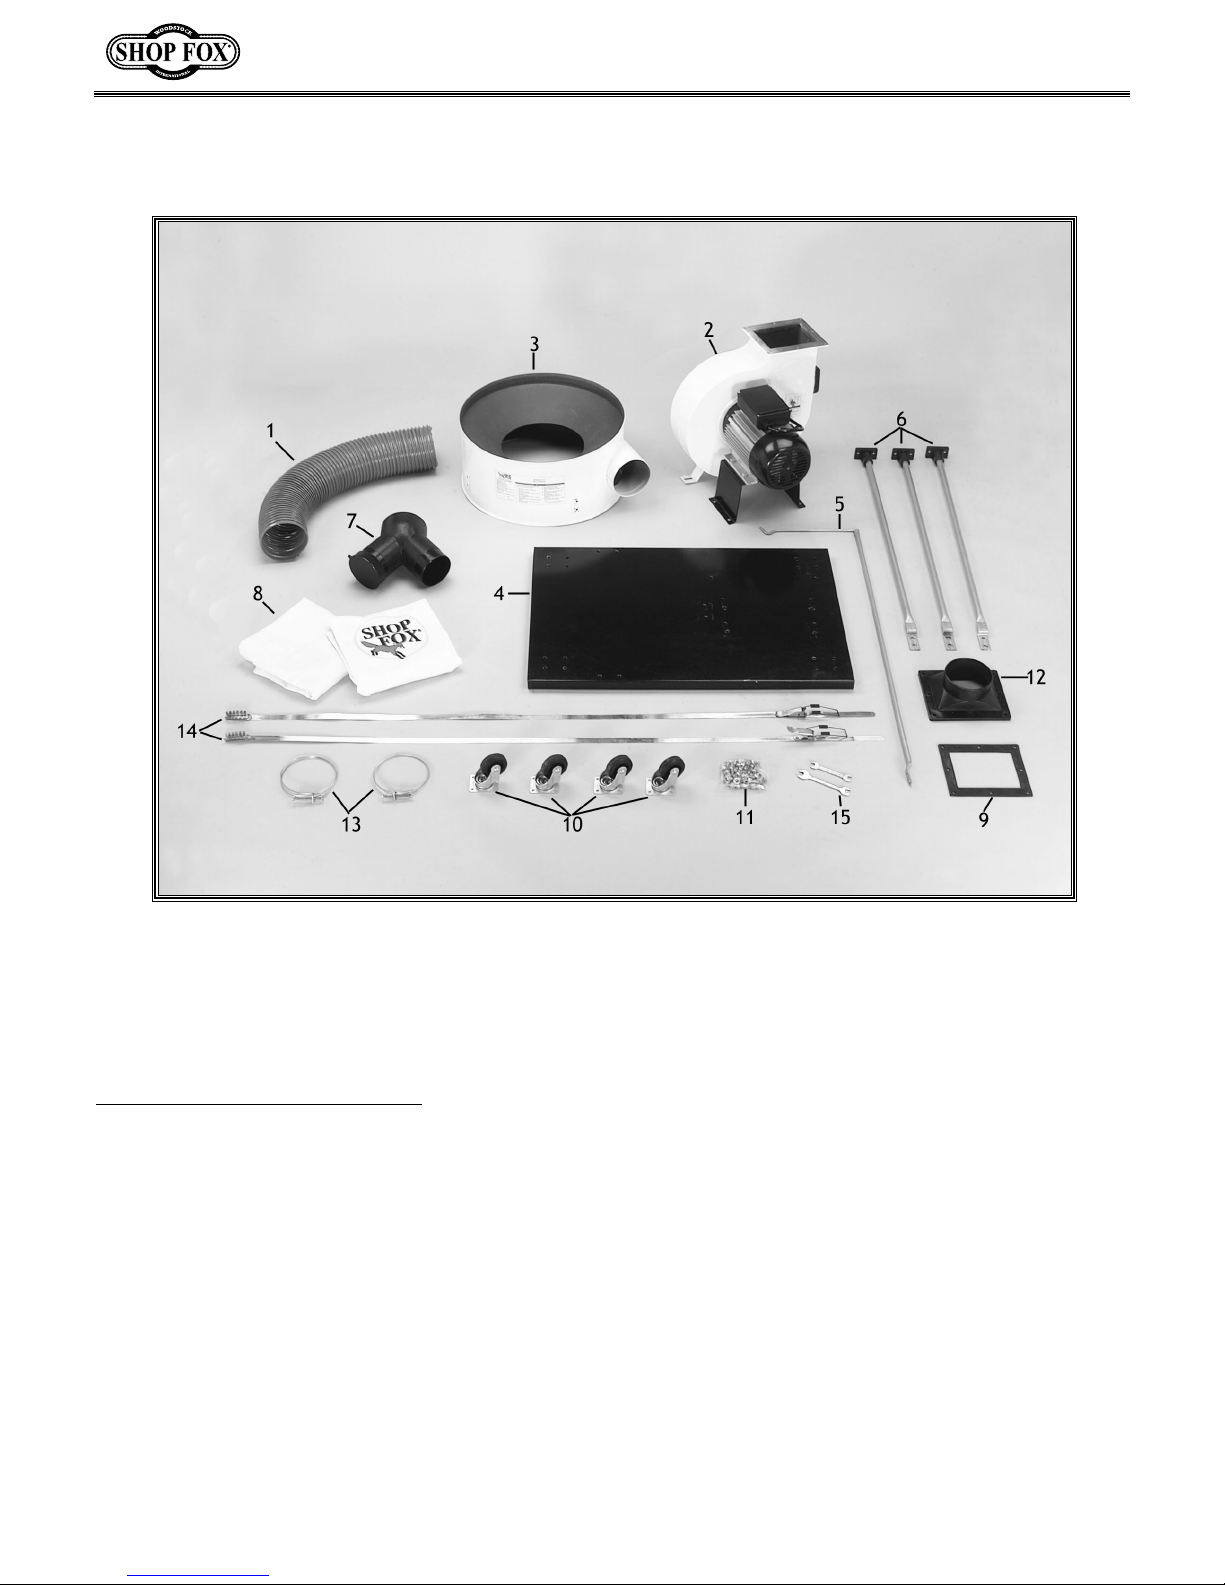
Woodstock G9975 User manual

INSTRUCTION MANUAL
MODEL W1666
2 HP DUST COLLECTOR
COPYRIGHT © 2000 BY WOODSTOCK INTERNATIONAL, INC.
WARNING: NO PORTION OF THIS MANUAL MAY BE REPRODUCED IN ANY SHAPE OR FORM WITHOUT
THE WRITTEN APPROVAL OF WOODSTOCK INTERNATIONAL, INC. Printed in China

Table Of Contents PAGE
1. INTRODUCTION ................................................................................2
ABOUT YOUR NEW DUST COLLECTOR................................................2
WOODSTOCK SERVICE AND SUPPORT ................................................2
WARRANTY AND RETURNS..............................................................3
MACHINE SPECIFICATIONS ..............................................................3
2. SAFETY..........................................................................................4
STANDARD SAFETY INSTRUCTIONS ................................................4-5
DUST COLLECTOR SAFETY..............................................................5
ELECTRICAL REQUIREMENTS ..........................................................6
AVOIDING POTENTIAL INJURIES ......................................................7
3. ASSEMBLY INSTRUCTIONS ..................................................................8
BOX CONTENTS ..........................................................................8
BASE ........................................................................................9
COLLECTOR BODY ......................................................................10
OUTLET AND GASKET ..................................................................11
SEPARATOR SUPPORTS ................................................................12
SEPARATOR ..............................................................................13
DUST COLLECTION BAGS ..............................................................14
TRANSFER HOSE ........................................................................15
4" INLET ..................................................................................15
SYSTEM GROUNDING ..................................................................16
4. OPERATIONS..................................................................................17
TEST RUN ................................................................................17
COLLECTION BAG CHANGES ..........................................................17
5. MAINTENANCE................................................................................18
GENERAL..................................................................................18
LUBRICATION ............................................................................18
CLEANING ................................................................................18
6. CLOSURE ......................................................................................19
PARTS BREAKDOWN AND PARTS LISTS ........................................20-21
YOUR NOTES ............................................................................22
-1-
USE THE QUICK GUIDE PAGE LABELS TO SEARCH OUT INFORMATION FAST!

-2-
INTRODUCTION
ABOUT YOUR NEW DUST COLLECTOR
This Shop Fox®Dust Collector has been specially designed by Woodstock International, Inc. to provide
many years of trouble free service. Close attention to detail, ruggedly built parts and a rigid quality con-
trol program assure safe and reliable operation.
The Model W1666 Dust Collector has the capacity to move approximately 1550 cubic feet of air and pro-
duce a static pressure of 12.3 inches of water column. The dust collection bags measure 19" X 33" and
have 5.4 cubic feet capacity. The W1666 is packaged with a 5" inlet, a 4" reducing “Y” and paddle switch
with removable safety key.
Woodstock International, Inc. is committed to customer satisfaction in providing this manual. It is our
intent to make sure all the information necessary for safety, ease of assembly, practical use and the
durability of this product be included.
If you should have any comments regarding this manual, please feel free to contact us at:
Woodstock International, Inc.
P.O. Box 2309
Bellingham, WA 98227
WOODSTOCK SERVICE AND SUPPORT
We stand behind our machines! In the event that a defect is found, parts are missing or questions arise
about your machine, please contact Woodstock International Service and Support at 1-360-734-3482 or
out parts or arrange warranty returns.

-3-
WARRANTY AND RETURNS
Woodstock International, Inc. warrants all SHOP FOX®machinery to be free of defects from workman-
ship and materials for a period of 2 years from the date of original purchase by the original owner. This
warranty does not apply to defects due directly or indirectly to misuse, abuse, negligence or accidents,
lack of maintenance, or to repair or alterations made or specifically authorized by anyone other than
Woodstock International, Inc.
Woodstock International, Inc. will repair or replace, at its expense and at its option, the SHOP FOX®
machine or machine part which in normal use has proven to be defective, provided that the original
owner returns the product prepaid to the SHOP FOX®factory service center or authorized repair facility
designated by our Bellingham, WA office, with proof of their purchase of the product within 2 years, and
provides Woodstock International, Inc. reasonable opportunity to verify the alleged defect through
inspection. If it is determined there is no defect, or that the defect resulted from causes not within the
scope of Woodstock International Inc.'s warranty, then the original owner must bear the cost of storing
and returning the product.
This is Woodstock International, Inc.'s sole written warranty and any and all warranties that may be
implied by law, including any merchantability or fitness, for any particular purpose, are hereby limited
to the duration of this written warranty. We do not warrant that SHOP FOX®machinery complies with
the provisions of any law or acts. In no event shall Woodstock International, Inc.'s liability under this war-
ranty exceed the purchase price paid for the product, and any legal actions brought against Woodstock
International, Inc. shall be tried in the State of Washington, County of Whatcom. We shall in no event
be liable for death, injuries to persons or property or for incidental, contingent, special or consequen-
tial damages arising from the use of our products.
Every effort has been made to ensure that all SHOP FOX®machinery meets high quality and durability
standards. We reserve the right to change specifications at any time because of our commitment to con-
tinuously improve the quality of our products.
MACHINE SPECIFICATIONS
Motor Size.............................................................................................. 2 H.P.
Voltage ........................................................................................110/220 Volts
Phase ............................................................................................Single Phase
Motor R.P.M. ............................................................................................3450
Impeller Size ..............................................................................................12"
Maximum Inlet Size ........................................................................................ 5''
Suction Cap...............................................................................Approx. 1550 CFM
Bag Size ..............................................................................................19'' x 33''

-4-
READ MANUAL BEFORE OPERATING MACHINE
FAILURE TO FOLLOW INSTRUCTIONS BELOW WILL
RESULT IN PERSONAL INJURY
SAFETY FIRST!
1. Thoroughly read the instruction manual before operating your machine. Learn the applications,
limitations and potential hazards of this machine. Keep manual in a safe, convenient place for future
reference.
2. Keep work area clean and well lighted. Clutter and inadequate lighting invite potential hazards.
3. Ground all tools. If a machine is equipped with a three-prong plug, it must be plugged into a three-
hole electrical outlet or grounded extension cord. If using an adapter to aid in accommodating a two-
hole receptacle, ground using a screw to a known ground.
4. Wear eye protection at all times. Use safety glasses with side shields or safety goggles, meeting the
national safety standards, while operating this machine.
5. Avoid dangerous environments. Do not operate this machine in wet or open flame environments.
Airborne dust particles could cause an explosion and severe fire hazard.
6. Ensure all guards are securely in place and in working condition.
7. Make sure switch is in the “OFF” position before connecting power to machine.
8. Keep work area clean; free of clutter, grease, etc.
9. Keep children and visitors away. All visitors should be kept a safe distance away while operating
unit.
10. Childproof workshop with padlocks, master switches or by removing starter keys.
11. Disconnect machine when cleaning, adjusting or servicing.
12. Do not force tool. The machine will do a safer and better job at the rate for which it was designed.
13. Use correct tool. Do not force machine or attachment to do a job for which it was not designed.
14. Wear proper apparel. Do not wear loose clothing, neck ties, gloves, jewelry, etc.
Indicates an imminently hazardous situation which, if not avoided, WILL
result in death or serious injury.
Indicates a potentially hazardous situation which, if not avoided, COULD
result in death or serious injury.
Indicates a potentially hazardous situation which, if not avoided, MAY
result in minor or moderate injury. It may also be used to alert against
unsafe practices.
This symbol is used to alert the user to useful information about proper
operation of the equipment.
NOTICE

1. Do not use dust collector for anything except wood dust. Materials such as liquids, metal shav-
ings, metal dust, screws, glass, plastic or rock can cause sparks when coming into contact with any
part of the collection system.
2. Ground your dust collector along all plastic components. The connection of bare 12 ga. copper
wire on all plastic hoses, fittings and blast gates to all machines will help reduce the occurrence of
static build up and discharge.
3. Do not place your hands, lumber or tools near inlet opening while machine is running or con-
nected to power.
4. Always wear a respirator and safety glasses when removing, emptying or replacing collection
bags. Secure bags tightly to dust collector to avoid bags from “blowing off”.
5. Be aware that certain woods may cause an allergic reaction in people and animals, especially
when exposed to fine dust. Make sure you know what type of wood dust you will be exposed to, the
possibility of a allergic reaction and always wear an approved respirator.
6. If at any time you are experiencing difficulties performing the intended operation, stop using
the machine! Then contact our service department or ask a qualified expert how the operation
should be performed.
7. Never use tools that are in poor condition. Inspect dust collector for bent fins, dents, ripped bags
and unusual sounds before connecting machine to power and operating. Correct any problems before
use.
8. Never allow steel to come into contact with impeller. Impact with any hard material may result
in sparks which may cause fire. Be mindful of any situation that results in a risk of fire.
9. Habits – good and bad – are hard to break. Develop good habits in your shop and safety will become
second-nature to you.
-5-
15. Remove adjusting keys and wrenches. Before turning the machine on, make it a habit to check that
all adjusting keys and wrenches have been removed.
16. Use proper extension cord. When using an extension cord, make sure it is in good condition. When
extension cord is 100' and less in length, use those that are rated Hard Service (grade S) or better,
and that have a conductor size of 14 A.W.G. A drop in line voltage, loss of power and overheating
can result when using an undersized cord. The extension cord should have a ground wire and ground
plug pin, as well.
17. Keep proper footing and balance at all times.
18. Do not leave machine unattended. Wait until it comes to a complete stop before leaving the area.
19. Perform machine maintenance and care. Follow lubrication and accessory attachment instructions
in the manual.
20. Keep machine away from open flame. Operating machines near pilot lights and/or open flames cre-
ates a high risk if dust is dispersed in the area. Dust particles and an ignition source may cause an
explosion. Do not operate the machine in high risk areas, including but not limited to, those men-
tioned above.
Additional Safety Instructions For Dust Collector

-6-
This equipment must be grounded. Verify
that any existing electrical outlet and circuit
you intend to plug into is actually grounded.
If it is not, it will be necessary to run a sep-
arate 12 A.W.G. copper grounding wire from
the outlet to a known ground. Under no cir-
cumstances should the grounding pin from
any three-pronged plug be removed. Serious
injury may occur.
Voltage
220V Operation
ELECTRICAL REQUIREMENTS
When it is necessary to use an extension cord,
use the following guidelines:
•Use cords rated for Hard Service
•Never exceed a length of 100 feet
•Use cords with 14 ga. wire or bigger
•Insure cord has a ground wire and pin
•Do not use cords in need of repair
Extension Cords
Grounding
This machine must be grounded! See Figure 1.
The electrical cord supplied with the W1666
does not come with a plug. Use a plug with a
ground pin. If your outlet does not accommo-
date a ground pin, have it replaced by a quali-
fied electrician or have an appropriate adapter
installed and grounded properly. An adapter
with a grounding wire does not guarantee
machine will be grounded. Ground source must
be verified.
The Shop Fox®W1666 Dust Collector can be
operated at 110 or 220 volts. The motor supplied
with your new Dust Collector is rated at 2 horse
power and will draw approximately 9 amps at
220 volts and 18 amps at 110 volts.
The motor comes prewired for 220 volt opera-
tion and is not supplied with a plug. Use a plug
and outlet rated at least 15 amps. The circuit for
this machine, should also be protected by a 15
amp circuit breaker or fuse. Keep in mind that a
circuit being used by other machines or tools at
the same time will add to the electrical load
being applied by the Dust Collector. Add up the
load ratings of all machines on the circuit. If this
number exceeds the rating of the circuit break-
er or fuse, use a different outlet.
110V Operation
The motor can be wired for 110 volt operation.
Please see the wiring diagram near the end of
this manual for information about rewiring the
motor. Use a plug and outlet rated at least 20
amps. The circuit for this machine, should also
be protected by a 20 to 25 amp circuit breaker
or fuse. It is not recommended that other
machines or tools be used on the same circuit.
Figure 1. Typical 220V 3-prong plug and outlet.

-7-
AVOIDING POTENTIAL INJURIES
Figure 2. Never collect anything except wood dust. Figure 3. Keep hands and loose objects away.
Fig. 4. Remove Switch Safety Key when not in use. Figure 5. Unplug machine when changing bags.
Figure 6a. Wear a respirator when changing bags.
Figure 6. Do Not remove impeller guard.

-8-
Figure 7. Components laid out for identification.
The following is a description of the components shipped with the Shop Fox®W1666 Dust Collector. It
is recommended that all parts be laid out in a similar fashion to those in Figure 7. This will help in
identification before beginning assembly. Should any part be missing, examine the packaging careful-
ly. If any key parts are missing call Woodstock International, Inc. at 360-734-3482 or contact us via
1. Hose
2. Collector Body
3. Separator
4. Base Plate
5. Upper Bag Support
6. Separator Supports (3)
7. 4" “Y” Inlet
8. Collection Bags (2)
9. Gasket
10. Casters (4)
11. Bolt Bag
12. Outlet
13. Hose Clamps (2)
14. Bag Clamps (2)
15. Wrenches (2)
ASSEMBLY INSTRUCTIONS

-9-
While the main collector assembly of the Shop Fox®W1666 Dust Collector is completed at the factory,
other components require assembly. The following is the recommended sequence best suited for final
assembly.
TOOLS REQUIRED: You will need a Phillips®screw driver, 14mm and 10mm open end wrenches (sup-
plied).
Base
1. Locate and place the base plate upside
down on the floor.
2. Secure casters to base plate with fasteners
supplied. Figure 8.
3. Turn base plate over.
Figure 8. Securing casters to base.
Do not connect the
dust collector to power
at this time. This
machine must remain
unplugged throughout
the entire assembly
process. Failure to do
this may result in seri-
ous personal injury.
The W1666 Dust Collector can be used as a
mobile or stationary unit. When used as a
mobile collector, flexible hose must be used.
Hard pipe, whether metal or plastic, may be
employed when dust collector is used as a sta-
tionary unit. However, all connections between
machines and ducting should have a short flexi-
ble joint. While casters are not necessary when
collector is setup for stationary use, anchoring
the base to the floor with concrete anchors or
lag bolts should be considered.
Do not secure dust collector to floor until it has
been completely assembled. The layout of your
shop, the suction requirements of each machine
and general duct efficiency must be considered
before installing your Shop Fox®Dust Collector.
For more information about dust collection sys-
tems, ask your local retailer about Woodstock
International’s Dust Collection Basics or check
your local library for more information.
Wear safety glasses dur-
ing the entire assembly
process. Failure to com-
ply may result in serious
personal injury.

-10-
Figure 9. White lines indicate placement.
Figure 10. Suspended to ease bolt installation.
Collector Body
1. Place the base on 4" x 4" blocks of wood to
keep it from rolling and to allow access to
the fasteners under the base.
2. Seek assistance and place the collector
body with motor on the base. See Figure 9.
Align holes in bottom of collector stand with
those on end of the base.
3. Secure collector body and motor stand to
base using the wrenches, nuts, bolts and
washers supplied. See Figure 10.
The Collector Body rep-
resents a heavy load.
Seek assistance before
beginning this step.

-11-
Figure 11. Gasket in place.
Figure 12. Outlet placed on gasket
Outlet and Gasket
1. Place gasket on top of collector body. See
Figure 11.
2. Place outlet on gasket. See Figure 12.
3. Secure using the hex bolts and washers sup-
plied.
Do not over tighten mounting bolts or damage to
the outlet will occur.

Separator Supports
1. Place a separator support on one of the
holes indicated in Figure 13. Make sure the
tail at the top is oriented towards the inside
as in Figure 14.
2. Secure in place with bolts and washers pro-
vided.
Figure 13. The arrows indicate support locations.
Figure 14. Note orientation of tails.
-12-

Figure 15. Separator in position.
Figure 16. Installing upper bag support.
1. The separator has 3 tabs with threaded
holes along the bottom edge for mounting.
Orient the separator so the holes align with
supports and the inlet is pointed toward the
collector body. See Figure 15. Secure the
front and back supports using the hex bolts
and washers provided.
2. Secure the upper bag support rod and the
last separator support to the separator as in
Figure 16.
-13-
Separator

-14-
Dust Collection Bags
Figure 19. Fabric loop in upper support hook.
Figure 18. Latch clamp with toggle.
Figure 17. Upper bag has logo.
Two dust collection bags are included with your
new Shop Fox®Dust Collector. There is a top and
a bottom bag. The top is distinguished by a Shop
Fox®logo, see Figure 17. Both are secured with
clamps.
1. The lower collection bag does not have a
logo printed on its side. Find the opening of
the bag and wrap it around the lower sec-
tion of the separator.
2. Wrap a bag clamp over the bag.
Please note that bottom bags are supplied with
black fabric latches sewn into them. Tighten
these so bag is secure before wrapping bag
clamp onto bag.
3. Note that there are slots for hooking the
spring loaded clamping loop. Attach the
clamping loop through the first slot from the
end of the clamp and secure with the tog-
gle. See Figure 18. If bag is still loose,
remove clamping loop from first slot and
place on next slot. Repeat until bag is
secure. Do Not over tighten clamp.
4. Note that the top bag has a fabric loop sewn
onto the end. Attach fabric loop to the
upper bag support hook as in Figure 19.
5. Secure upper bag to upper portion of sepa-
rator using steps 1 - 3.

-15-
A transfer hose connects the collector body with
the separator using 2 wire hose clamps.
1. Slide a wire hose clamp onto the end of the
transfer hose.
2. Slide the transfer hose end over the inlet for
the separator making sure end passes the
ridge on the inlet by 11⁄2".
3. Position hose clamp over hose and inlet
making sure clamp is 3⁄4" from end of hose
and tighten screw on clamp. See Figure 20.
4. Slide the second hose clamp onto free end
of hose.
5. Slide end of transfer hose onto outlet of the
collector body. Hose should go on as far as
possible.
6. Slide hose clamp within 3⁄4" of the end of
hose and tighten screw on clamp.
Transfer Hose
Figure 20. Securing hose with clamp.
A 4" inlet is supplied with your Shop Fox®dust
collector. It is sized for connecting one or two 4"
flexible hose(s). One or both of the openings
may be used and a cap is included to block off
air, if needed. The opening on the collector
body is 5" and may be used in conjunction with
5" ducting. To use the 4" inlet, follow the
instructions below.
1. Slide inlet onto 5" opening on the face of
the collector body.
2. Secure inlet with sheet metal screws. See
Figure 21.
4" Inlet
Figure 21. Securing inlet with screw.
Do Not remove inlet grat-
ing. If large debris should
come into contact with
the impeller, serious
injury may occur.

-16-
Static electricity is generated in dust collection
systems. Any spark generated by static electric-
ity is a potential fire or explosion hazard.
Therefore, your dust collection system must be
grounded by means of metal ducting throughout
the system or, when plastic pipe and/or hoses
are used, by bare copper wires.
If using metal ducting for the collection system,
ensure that it is electrically connected to both
the dust collector and each machine serviced in
the system. If plastic hose is placed between
metal ducting and any machine, secure a 12
gauge bare copper wire between the metal
ducting and the machine.
When the system is to be made up of plastic pipe
and/or hoses, wrap 12 gauge bare copper wire
around the hose from the dust collector to the
machine. Another wire should be placed inside
the pipe/hose with exit holes for the wire
placed near each end. See Figures 22 and 23. If
the system has branches, place wires in the
same fashion and connect to the wires on the
main pipe/hose with wire nuts. If blast gates are
to be used, drill exit and entrance holes on
either side of the blast gate to allow wire to be
fed out of and into the system. See Figure 24.
Note: For more extensive information on Dust
Collection System design, refer to Dust
Collection Basics which is available for purchase
through any Woodstock/Shop Fox®Dealer.
System Grounding
Figure 22. Wire inside and around pipe.
Figure 23. Ground wire secured to collector.
Figure 24. Ground wires bypassing blast gate.

-17-
OPERATIONS
Once assembly is complete and adjustments are
done to your satisfaction, you are ready to test
run the machine.
Make sure the starting switch is off. The pad-
dle is in the down position when off. Make
sure all the fasteners and bag clamps are tight.
Plug in the power cord. Pull the START paddle.
Make sure that your finger is poised over the
paddle, as in Figure 25, just in case there is a
problem. The Dust Collector should run smooth-
ly, with little or no vibration or rubbing noises.
Strange or unnatural noises require that you turn
off the machine, wait for it to stop moving,
unplug the machine, investigate and correct the
problem before further operation.
If the source of an unusual noise or vibration is
not readily apparent, contact our service
department for help at 1-360-734-3482 or via
Test Run
Bag Changes
DO NOT investigate or
adjust the machine while
it is running or moving.
Wait until the machine is
turned off, unplugged
and all working parts
have come to a stop
before proceeding!
Always wear a dusk mask
when removing and
installing bags. Failure
to do this will risk good
health.
Figure 25. Hand poised over stop paddle.
Always wear safety glass-
es when operating Dust
Collector. Failure to
comply may result in
serious personal injury.
The lower bag on the dust collector should be
emptied when it becomes 2⁄3to 3⁄4full.
1. Always wear a dust mask when removing
and installing dust collection bags.
2. Shake the upper bag and let the dust inside
settle for a few minutes.
3. Loosen the latch clamp holding the bag.
4. Take the bag off of the collector body and
close up the opening.
5. Place a garbage bag over the opening of the
collection bag. Invert both bags to empty.

-18-
MAINTENANCE
Lubrication
Since all bearings are shielded and permanently
lubricated, simply leave them alone until they
need to be replaced. Do not lubricate them.
Cleaning
Make sure the dust collector motor remains
clean and free of dust build up. Dust can cause
heat to build up in the motor, reducing the life
of the motor. It should be cleaned daily or every
time the collection bag is emptied.
Regular periodic maintenance on your Model
W1666 Dust Collector will ensure its optimum
performance. Make a habit of inspecting your
Dust Collector each time you use it. Check for
the following conditions and repair or replace
when necessary.
1. Loose mounting bolts.
2. Worn switch.
3. Worn or damaged cords and plugs.
4. Ripped or worn dust collection bags.
5. Any other condition that could hamper the
safe operation of this machine.
General
Disconnect power to the
machine when perform-
ing any maintenance or
repairs. Failure to do this
may result in serious per-
sonal injury.

-19-
The following pages contain parts diagrams/lists
and warranty/return information for your Shop
Fox®Model W1666 Dust Collector.
If you need parts or help in assembling your
machine, or if you need operational informa-
tion, we encourage you to call our Service
Department. Our trained service technicians will
be glad to help you.
If you have comments dealing specifically with
this manual, please write to us using the address
in the General Information. The specifications,
drawings, and photographs illustrated in this
manual represent the Model W1666 as supplied
when the manual was prepared. However, due
to Woodstock International’s policy of continu-
ous improvement, changes may be made at any
time with no obligation on the part of
Woodstock International, Inc. Whenever possi-
ble, though, we send manual updates to all own-
ers of a particular tool or machine. Should you
receive one, add the new information to this
manual and keep it for reference.
We have included some important safety mea-
sures that are essential to this machine’s opera-
tion. While most safety measures are generally
universal, we remind you that each workshop is
different and safety rules should be considered
as they apply to your specific situation.
We recommend you keep this manual for com-
plete information regarding Woodstock
International, Inc.’s warranty and return policy.
If you need additional technical information
relating to this machine, or if you need general
assistance or replacement parts, please contact
the Service Department at 1-360-734-3482 or
There are many information sources which can
help you realize the full potential of this
machine. Trade journals, woodworking maga-
zines, your local library and the book Dust
Collection Basics written by Woodstock
International are good places to start.
The Model W1666 was specifically designed for
dust collection operations. DO NOT MODIFY
AND/OR USE THIS DUST COLLECTOR FOR ANY
OTHER PURPOSE. Modifications or improper
use of this tool will void the warranty. If you
are confused about any aspect of this machine,
DO NOT use it until you have answered all your
questions.
CLOSURE
As with all power tools, there is danger
associated with the Model W1666 Dust
Collector. Use the tool with respect and
caution to lessen the possibility of mechan-
ical damage or operator injury. If normal
safety precautions are overlooked or
ignored, injury to the operator or others in
the area is likely.
Keep your shop “Kid
Safe”. Always remove
the switch safety key
when Dust Collector is
not in use. Serious injury
may occur.
Other manuals for G9975
1
This manual suits for next models
1
Table of contents
Other Woodstock Dust Collector manuals