2
20230701
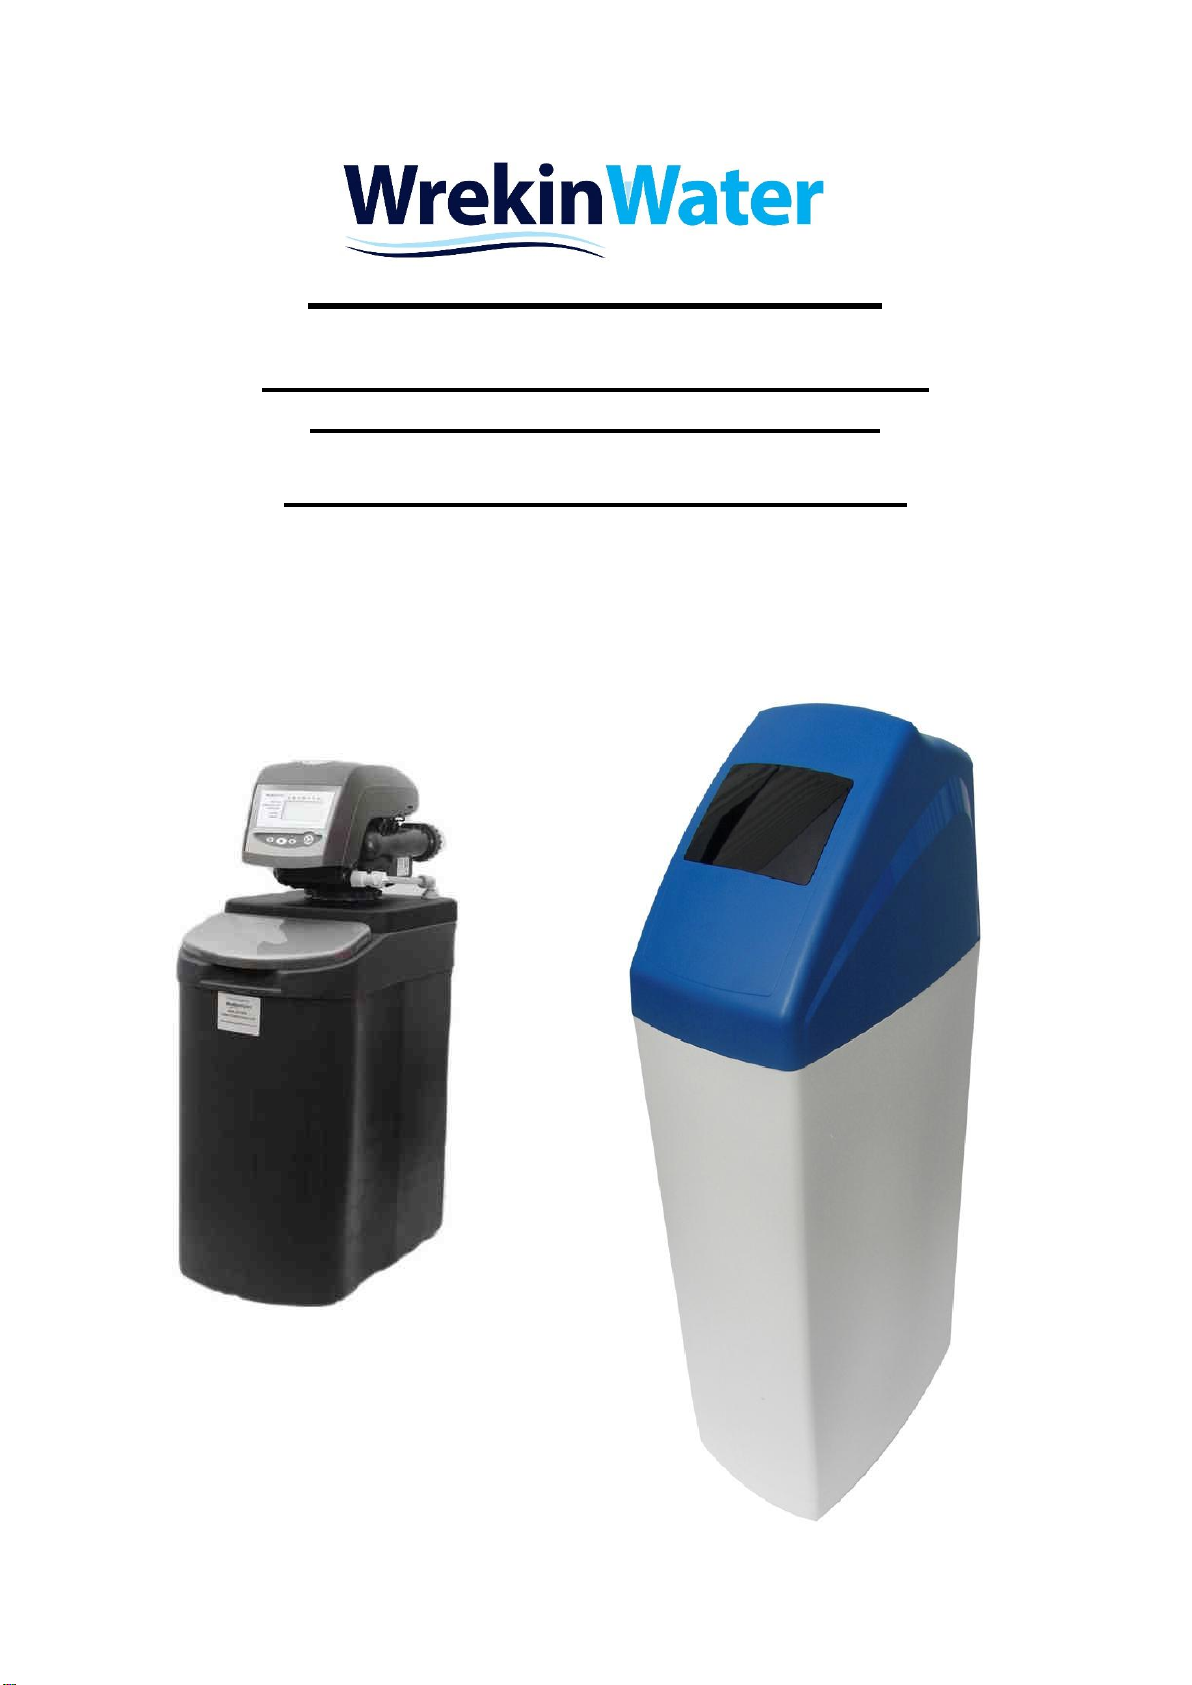
Thank you for purchasing this Wrekin Water Softener. We are sure this will provide you with many
years of trouble free service. This guide is designed to help you plan, install and commission your
softener correctly so that you get the best out of the machines capability
PLANNING YOUR INSTALLATION
The installation schematic found later in this guide covers all the aspects to assist you with the
correct installation of the softener and covers the main points you need to consider during the
planning stage of your installation (FIG 1)
Check that you have only one rising main and that you have allowed space to access the unit for
possible future maintenance and salt replenishment.
Unless you are replacing an existing water softener, this installation will require you to carry out
plumbing work and may require an electrical outlet to be fitted near the softener. You should only
attempt this if you have the necessary skills
POSITIONING THE SOFTENER
Where possible the softener should be placed close to the rising main. Allowances should be
made to take hard water take off points for untreated drinking water and/or outside taps if required.
Ensure that the drain and overflows will not freeze or reach temperatures higher than 40°C. If the
softener is to be placed inside a cupboard ensure that the base has adequate support. If you are
fitting in a loft space, then the softener should be placed inside a secondary tank/container with its
own overflow fitted at least 3/4in in size. This overflow on the tank must be positioned lower than
the overflow located on the softener. A tank size capable of holding 100 litres would be preferable
if space allows. If installation is to be outside, then this must be contained in a well, insulated
cabinet containing at least 2”of High Grade insulation on all sides and any other steps taken to
avoid freezing
SINGLE CHECK VALVE.
A suitable check valve should be fitted on the supply to the softener. This can be purchased
separately or will be included in the optional fixing kit supplied with the machine.
WATER PRESSURE TEST
It is important to test the water pressure. High and low water pressure can result in either damage
to or failure of the softener. Although the softener is tested to a pressure of 8 Bar (120psi), we
recommend fitting a pressure limiter should your daytime pressure exceed 5bar (70psi). A 5 Bar
PRV can be purchased separately. The minimum working pressure is 1.4bar (20psi). Please note
that partially closing the stop cock will not reduce maximum pressure, it will just reduce flow.
WASTE PIPE CONNECTION
The waste, or Drain pipe should be run to an up stand with a 20mm air gap or to an outside drain
or gully. Softened water waste will have no adverse effect on septic tanks. Should you need to
extend the drain hose this can be done by connecting to 15mm copper tube to a maximum run of
8mtrs with a daytime pressure of 40psi and can be run uphill to a maximum of 1m per 40psi of
daytime pressure Ensure that the drain hose is not kinked or obstructed in any way as this will
lead to an overflow of the softener. A plumbing out kit, with its own Non-Return Valve that can be
attached to a 32mm or 40mm waste pipe to assist in the drain connection can be purchased
separately if required
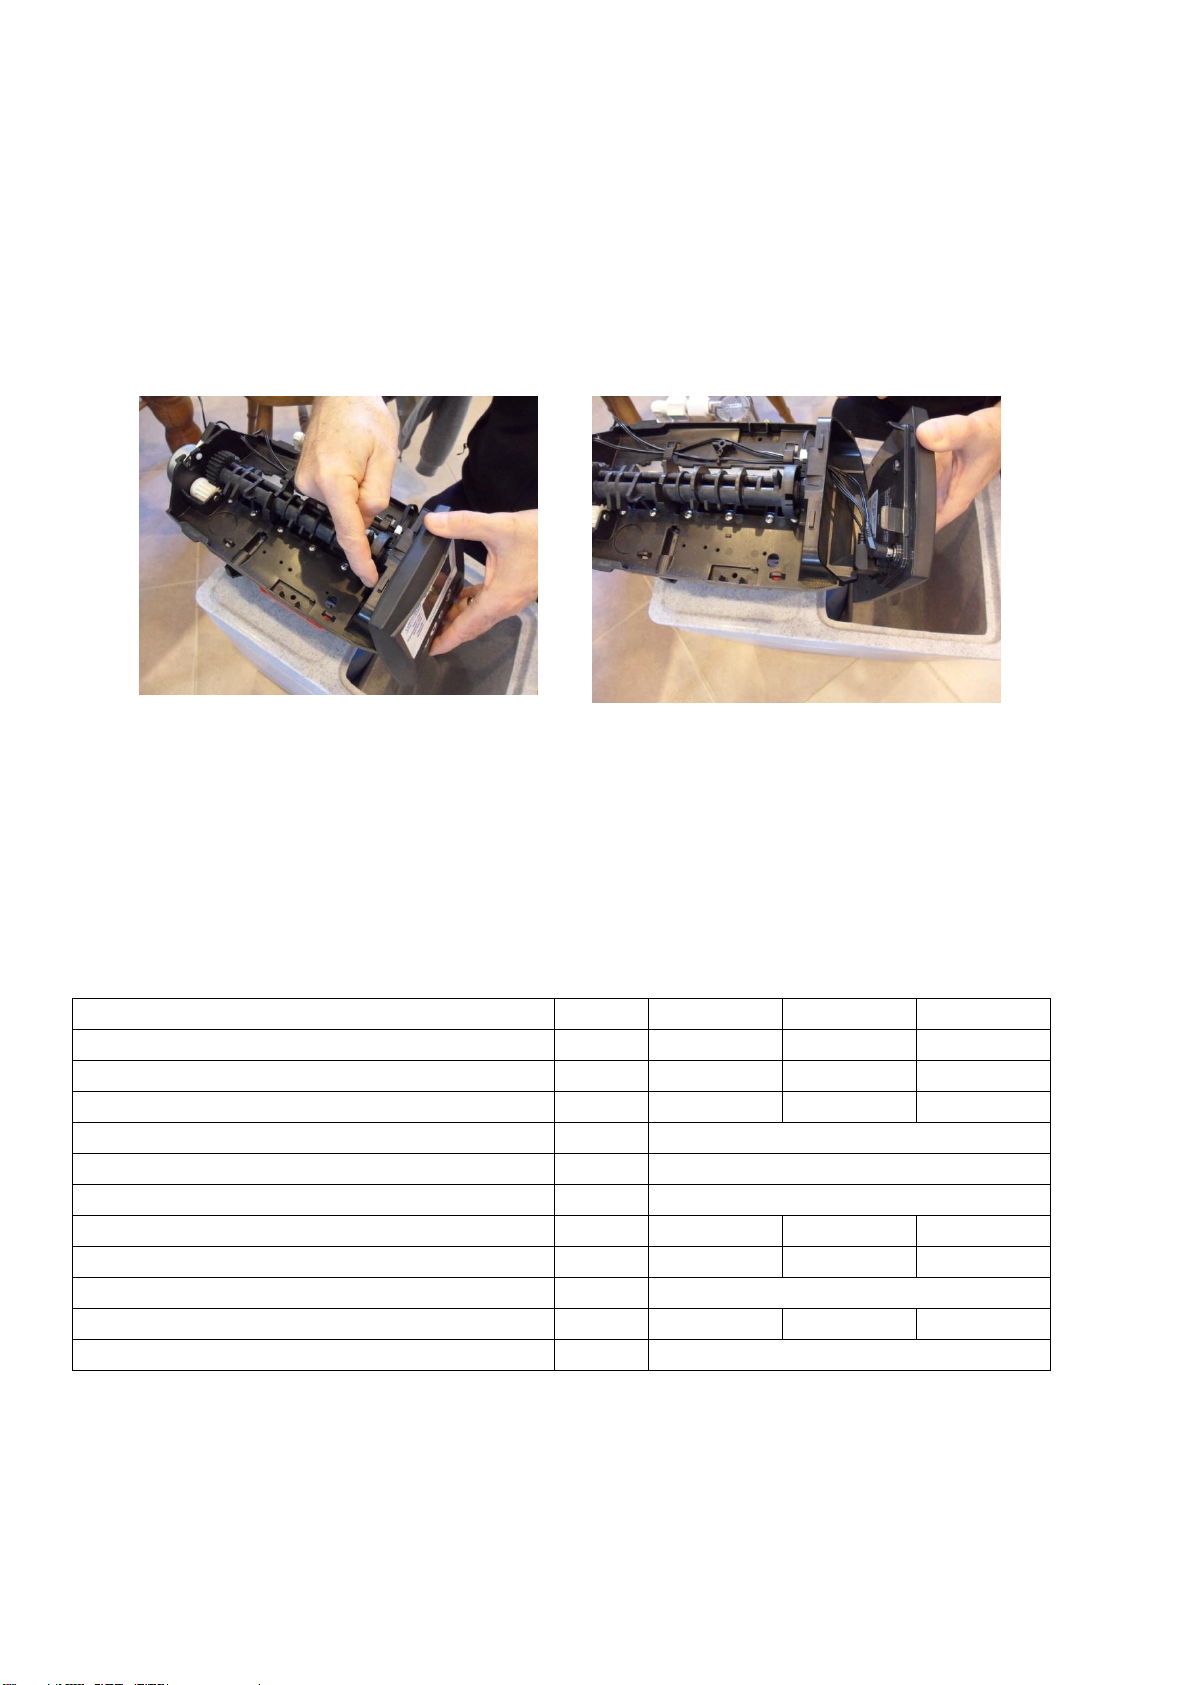
Now you can commence the installations of the valves. Before starting, ensure that you have
turned off the water supply at the main stop cock