X10WirelessTechnology,Inc.LIMITED1-YEARWARRANTY
X10.com,adivisionofX10WirelessTechnology,Inc.(X10)warrantsX10productstobefree
fromdefectivematerialandworkmanshipforaperiodofone(1)yearfromtheoriginaldateof
purchaseatretail.X10agreestorepairorreplace,atit’ssolediscretion,adefectiveX10product
if returned to X10 within the warranty period and with proof of purchase.
If service is required under this warranty:
Merchandise Authorization (RMA) number.
2. Return the defective unit postage prepaid to X10 (see address on back).
3. Enclose a check for $4.00 to cover postage and handling.
4. Enclose a dated proof of purchase.
5. X10 is not responsible for shipping damage. Units to be returned should be packed
carefully.
Pleasevisitwww.x10.com/warranty
tocompleteyouron-linewarrantyregistration.Thankyou.
Forhelpormoreinformationonsetup,pleasevisit:www.x10.com/support
KR22ACreditCardControllerinstallationandoperatinginstructions
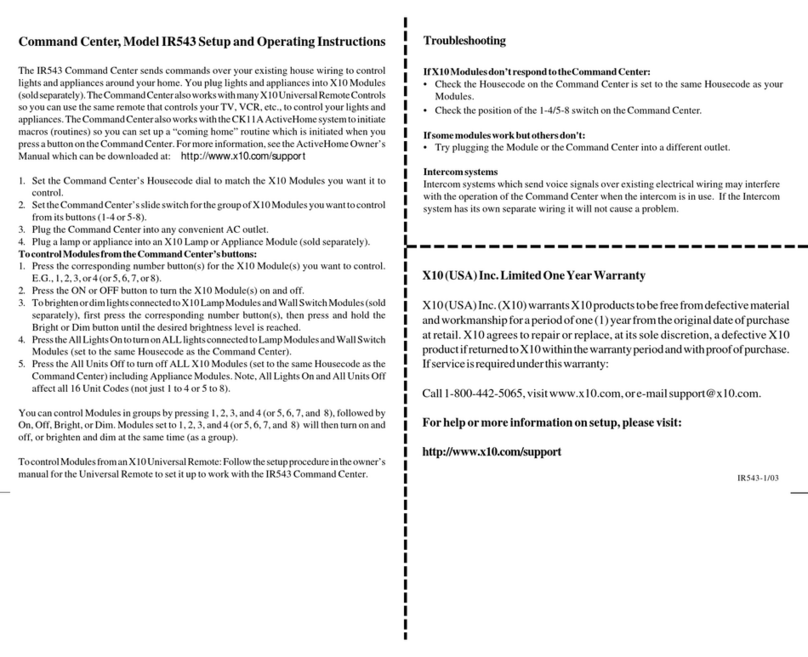
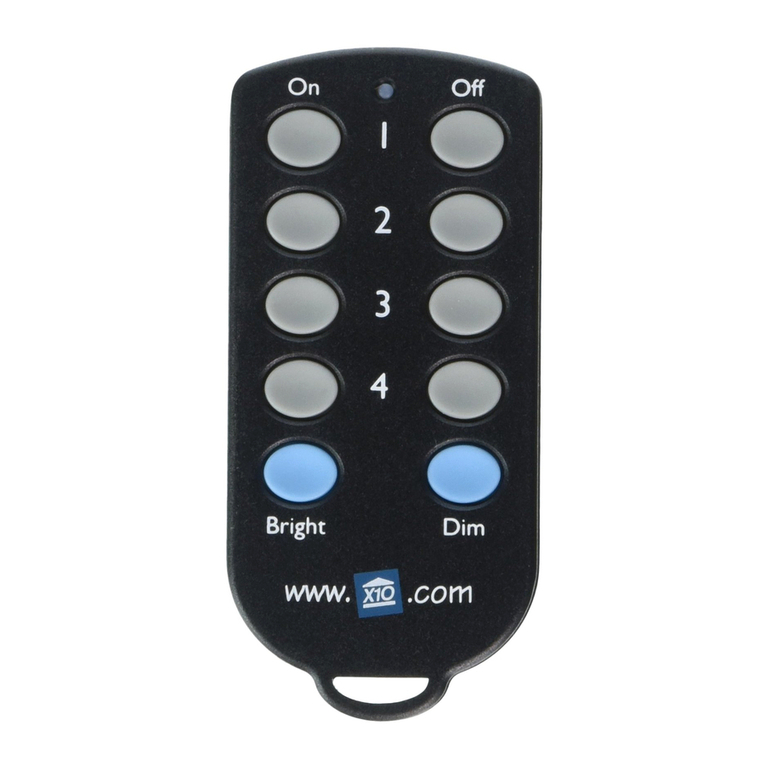
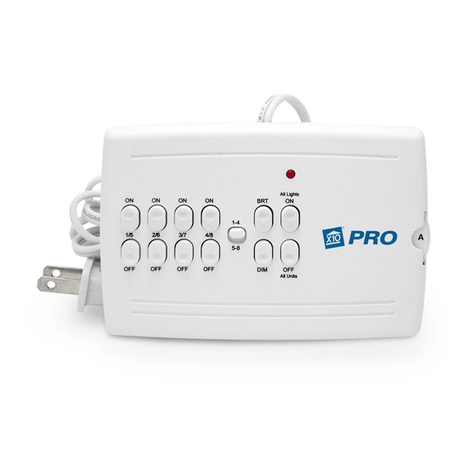
The KR22A works with the RR501 (part of the RC5000) and the TM751 (part of the RC6500). It lets
you turn on and off 4 individually coded X10 Modules and brighten and dim lights connected to Lamp
Modules and Wall Switch Modules. In the default state (after first fitting the battery) the KR22A is set
to Housecode A. The first (top) two ON-OFF buttons control modules set to Unit Code 1. The second
two buttons control A2, the third A3, and the fourth A4.
1. Plug in an X10 Transceiver (RR501 or TM751, sold separately).
2. To turn on or off X10 Modules set to Unit Code 1 (on Housecode A) press the first (top) ON
or OFF button. To turn on or off X10 Modules set to Unit Code 2 (on Housecode A) press the
second ON or OFF button, and so on. To brighten or dim Lamp Modules or Wall Switch Modules
press the number button first, then press the Bright or Dim button. If you want to control Modules
1 thru 4 on Housecode A, that's it. You don't need to read any further.
To change the Housecode
•Press and hold the first (top) ON button. The red LED blinks once. 3 seconds later, the LED
blinks the current setting: 1 blink for Housecode A, 2 blinks for B..... 16 blinks for P.
•Release the first (top) ON button.
•Press and release the first (top) ON button the appropriate number of times for the Housecode
you want to set. Once for A, twice for B, etc. The LED blinks for each press. IMPORTANT:
Hold the button on your last press. 3 seconds later, the red LED blinks back the new setting, e.g.
3 blinks for Housecode C. If you do not follow this programming sequence, the LED will stay
on for 1 second and your existing setting will not be changed.
To change the Unit Code for the first (top) two buttons (the next three buttons always run in
sequence, i.e. if you set the first button to 6, the four buttons will control 6, 7, 8, and 9, etc.).
•Press and hold the top OFF button. The red LED blinks once. 3 seconds later, the LED blinks
the current setting: 1 blink for Unit Code 1, 2 blinks for 2, 16 blinks for 16.
•Release the top OFF button.
•Press and release the top OFF button the appropriate number of times for the Unit Code you
want. IMPORTANT: Hold the button on your last press. 3 seconds later new code blinks back.
If you do not follow this programming sequence, the LED will stay on for 1 second and your
existingsetting willnot bechanged.
To change the battery: Pry the unit apart and fit a CR2032 Lithium 3V battery. Observe polarity.
F.C.C.CAUTION-THISDEVICECOMPLIESWITHPART15OFTHEFCCRULES.OPERATION
IS SUBJECT TO THE FOLLOWING TWO CONDITIONS: (1) THIS DEVICE MAY NOT CAUSE
HARMFUL INTERFERENCE, AND (2) THIS DEVICE MUST ACCEPT ANY INTERFERENCE
RECEIVED, INCLUDING INTERFERENCE THAT MAY CAUSE UNDESIRED OPERATION.
NOTE:NO CHANGESOR MODIFICATIONS MAYBE MADE TOTHE UNITS. ANY CHANGES
MADETOTHEUNITSWILLVOIDTHEUSER'SAUTHORITYTOOPERATETHEEQUIPMENT. KR22A-09/01
Press to turn
A3ON.
After pressing a
number, press and
hold to Brighten.
After pressing a
number, press and
holdtoDim.
Press to turn
A4ON.
Press to turn
A3OFF.
Press to turn
A4OFF.
Press to turn
A2ON. Press to turn
A2OFF.
Press to turn
A1ON. Press to turn
A1OFF.


