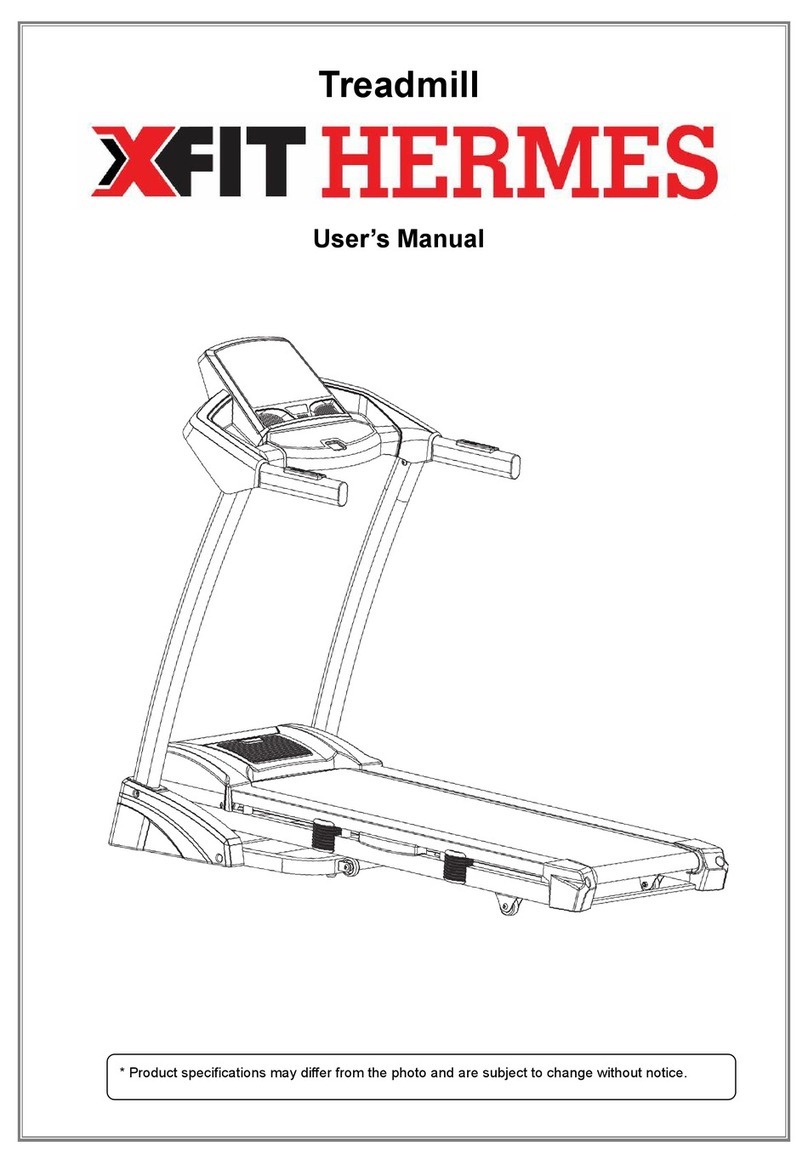
XFit C.L.2500 User manual

Curve Treadmill
User’s Manual
* Product specifications may differ from the photo and are subject to change without notice.


IMPORTANT PRECAUTIONS
Read all instruction carefully before use this product. Retain this owner’s manual for the
future’s reference:
When you are running, keep your hand swinging natural, stare frontward, never look
down at your feet.
Add the speed step by step when running.
ATTENTION
1. Before starting any exercise program, consult your doctor. He/she can help determine
the frequency, intensity of exercise (target heart zone) and time that is appropriate for
your age and physical condition.
2. Before use, check that all bolts are fully tightened.
3. To avoid any injuries, please warm up before exercising.
4. Always hold the handles when initially walking or running on the treadmill until you are
comfortable using the treadmill.
5. The treadmill is used by adults only. Keep small children away from the treadmill
during operation.
6. Provide the elderly, children and disabled persons with assistance, guidance, and
supervision.
7. Do not place anything on the treadmill, otherwise damage may occur.
8. Place the treadmill on a clean, flat surface. Do not place the treadmill on a thick carpet,
near water, outdoors or in a damp place.
9. Wear appropriate clothing when exercising on the treadmill. Don't wear long, loose
clothing that can get caught in the hallway. Always wear running or aerobic shoes with
rubber soles.
10. Make sure there is at least 2*1 m free space behind the aisle.
11. If you experience chest pain or tightness, an irregular heartbeat, shortness of breath,
feel faint, or experience any discomfort while exercising, STOP! Consult your doctor
before continuing.
CAUTION! The company does not have no responsibility for causing damage due to misuse of the
product and non-compliance with the instructions for use.

ASSEMBLY STEPS
Η συναρμολόγηση απαιτεί 2 άτομα.
Caution: Read the instructions carefully before assembly
ASSEMBLY STEP ONE:
1. Take the main frame (1) from the wooden pallet, and then put the main frame (1) on the
ground, as the picture shown.
ASSEMBLY STEP TWO:
1. Connected the lower sensor extension wire(55)and middle sensor extension wire(56)
well.
2. Lock handlebar post (6L&R)to main frame(1)respectively with hex socket screw
(31),and hold the hex socket screw (31),don’t lock it at the moment.

ASSEMBLY STEP THREE:
1. Insert handlebar connection (9)to the L&R handlebar post (6L&R)meter connection
tube and handlebar connection. Then lock them to Left &right handlebar post (6L&R)
respectively with hex socket bolt (37). And don’t lock hex socket bolt(37)at the
moment.
Check and tighten the screws at regular intervals, as they may loosen due to vibrations.
Damage that may be caused by a lack of maintenance is not covered by the warranty.

ASSEMBLY STEP FOUR:
1. Connected middle sensor extension wire(56)and upper sensor extension wire (57)
well.
2. Insert console connection(7)to handlebar post (6L/R)’s console connection tube.
Then lock the console connection (7)to handlebar post (6L/R)respectively with
hex socket bolt (37).Then lock all bolt and screw tightly in this process.
3. Insert spring pop-pin knob (15)to the Bolt rod (18).And adjust the handlebar
connection (8)in a suitable position.

ASSEMBLY STEP FIVE:
1. Firstly,connect upper sensor extension wire(57)to wire of console (38).
2. Then lock console (38)to console connection(7)with cross pan screw(58).
3. Finally,lock console rear cover (29)to console connection (7)with cross pan
screw(46).

ASSEMBLY STEP SIX:
1. Lock Aluminum bottle bracket (21)to handlebar post (6R)with Cross pan screw
M5*15(42).
2. Attach the clip of L&R handlebar post cover(27L/R)to the L&R protective cover of
main frame(1)(NOTE: when you attach the L&R handlebar post cover(27L/R)
please note the angle should like below picture A to avoid the broken of cover )
Then,lock L&R handlebar post cover(27L/R)to main frame (1)with Cross pan
screw M5*12 (44).

EXPLODED DRAWING

PARTS LIST
No. Description Qty No. Description Qty
1 Main frame 1 30 Rubber roller wheel 2
2L/R L&R front foot pad
1pr 31 Hex socket screw M10*55 8
3L/R L&R front foot pad
1pr 32 Hex socket screw M10*35 8
4L/R L&R Rear base cover 1pr 33 Cross pan head screw M10*25 4
5 Handlebar 1 34 Hex socket bolt M10*25 6
6L/R L&R handlebar post 1pr 35 Hex socket bolt M10*20 2
7 Console connection 1 36 Hex socket screw M10*15 16
8 Front handlebar connection
1 37 Hex socket bolt M8*15 10
9 Handlebar connection 2 38 Console 1
10 L&R protective cover 4 39 Hex socket bolt M8*15 4
11 Main frame F
ront rotate axle
1 40 Hex socket screw M6*16 4
12 Main frame rear rotate axle
1 41 Cross tapping screw ST5*20 24
13 Universal adjustable foot
4 42 Cross pan screw M5*15 2
14 Press spring 1 43 Screw M5*15 2
15 Spring pop-pin knob
1 44 Cross pan screw M5*12 20
16 Spacer 2 45 Cross tapping screw ST4*20 6
17 One-way bearing base
2 46 Cross pan screw M4*6 3
18 Bolt rod 1 47 Nylon nut M10 4
19 Roller wheel spacer
4 48 Inner serrated washer Φ10 16
20 Roller wheel axle 2 49 Standard flat washerΦ10 16
21 Aluminum bottle bracket
1 50 Standard spring washerΦ10 16
22
FL005 bearing base 2 51 Inner serrated washer Φ8 4
23 6205PP one way bearing 2 52 Flat washerΦ8 4

24 Coated aluminum chain 60 53 Standard spring washerΦ6 4
25L/R Main frame front cover 1 pr 54 Flat washerΦ6 2
26L/R Main frame rear cover 1pr 55 Lower Sensor extension wire 1
27L/R L&R handlebar post cover
1 pr 56 Middle Sensor extension wire 1
28 Round end cap 2 57 Upper Tension extension wire 1
29 Console rear cover 1 58 Cross pan screw M5*12 4

EXERCISE MONITOR INSTRUCTION MANUAL
KEY FUNCTION
●This key lets you to select and lock on to a particular function you want.
SCAN→TIME→CALORIES(CAL) →SPEED→DIST→TOTAL DIST(ODO) →PULSE RATE
●Pressing and hold with 3 seconds to reset the value to zero(without ODO).
SLEEP MODE
●The system sleep mode automatically when the sensor has no signal
input or no keys are pressed for approximately 4 minutes.
●The system turns on when the MODE key is depressed or a signal input from
the sensor, in the system sleep mode.
FUNCTION:.
1. SCAN : Display automatically changes according to the next diagram every 6 seconds.
TIME→SPEED→DIST→CALORIES(CAL)→ODO(if have) →RPM(if have) →PULSE RATE
2. TIME : The total working time will be shown when starting exercise.
3. SPEED: The current speed will be shown when starting exercise.
4. DISTANCE : The distance of each workout will be shown when starting exercise.
5. CALORIE : The calorie burned will be shown when starting exercise.
6. TOTAL DIST: The distance with all of the workout will be shown when starting exercise. . if the battery is
replaced, the value returns to zero.
7. PULSE RATE: The current pulse rate will be shown when starting exercise.

SPECIFICATIONS
TECHNICAL PARAMETER
DIMENSIONS (mm) 188.5 x 880 x 1590
RUNNING BELT CATERPILLAR
RUNNING BELT DIMENSIONS (mm) 450 x 3600mm
RUNNING SURFACE (mm)
450 x 1700mm
WEIGHT
127 kg
WEIGHT MAX USER WEIGHT 150 kg
FUNCTION
SCAN 6S
TIME 0:00-99:59(M :S)
SPEED 0~999.9KM(MILE)/H
DIST 0~999.9KM(MILE)
ODO 0~9999KM(MILE)
CAL 0~999.9Kcal
PULSE
RATE
40~240BPM
BATTERY
SIZE-AAA *2
Operating temperature 0~40℃(32℉-104℉)
Storage temperature -10~60℃((14℉-140℉)

TERMS OF WARRANTY
•Warranty period is 2 years.
•X-TREME STORES S.A. undertakes to repair the machine free of charge in the event of
damage due solely to a manufacturing fault. The warranty covers the cost of the spare parts.
Replacement of spare parts or not is up to the company technicians. The customer is
responsible for the control and adjustment of the machine.
•This warranty note is only valid if it is accompanied by legal proof of purchase (invoice or retail
receipt). The warranty period is not extended for any reason and the transfer of it to a third
party is excluded.
•Any damage is repaired as soon as possible and any claim for damages due to lack of spare
parts and delay in repairing the damage is excluded. The costs of transporting the machine to
or from the dealership will be borne by the customer after 6 months of purchase.
•The warranty conditions are set by the manufacturers of machinery and are governed by
European regulations.
•Upon expiry of the warranty, any replacement part is covered by a 6-month warranty.
THE WARRANTY SHALL NOT APPLY:
•When the damage is the result of misuse, alterations, or poor maintenance.
•Parts that have been damaged by user fault such as broken plastic parts, worn belt due to
incorrect adjustment, damages during the movement of the machine.
•When the machine is opened or repaired by third parties.
•When the damage is caused by the buyer's negligence & the instructions for use have not
been followed.
•When the machine is placed outdoors or exposed to the sun and moisture.
•When the console has been damaged by intense sweating or other liquid substance that has
come into contact with or entered its interior.
Tel.: 210 66 20 921 -2 – Fax: 210 66 20 923 – e-mail:service@xtr.gr


Koupi Avenue 34, Koropi P.C. 19441 P.O.Box 6201
Tel.: 210 66 20 921 -2 - FAX: 210 66 20 923
E-mail: info@xtr.gr • f/xtrstores • /@xtr.gr
Tel. for all of Greece:
801.11.15.100
www.xtr.gr
Table of contents
Other XFit Treadmill manuals
Popular Treadmill manuals by other brands

Keys Fitness
Keys Fitness Treadmill KF-3.5T owner's manual

Weslo
Weslo Crosstrainer 505s Treadmill user manual

Weslo
Weslo Cadence4.8 Treadmill manual

Reebok
Reebok Challenger 150 Cwl Treadmill Manuel de l'utilisateur

True Fitness
True Fitness 550ZTX owner's guide

NordicTrack
NordicTrack A2550 NTL09107.0 user manual