XPower X-2700 User manual

Air Scrubber Owner's Manual
Model:
X-2700, X-2800, X-2830
(115 V~, 60Hz)
Read and save these instructions before use
www.xpower.com | 1-(855)-855-8868 | info@xpower.com
Index: NA-1-A38
Edition: 2.1.Final

English - 2
Safety Instructions
WARNING - READ AND SAVE THIS INSTRUCTIONS BEFORE USING THIS PRODUCT.
The user of electrical products may create hazards that include, but are not limited to
injury, fire, electrical shock. Failure to follow these instructions may damage and/or
impair its operation and void the warranty.
• Before operating, remove all packaging material and check for any damage that may
have occurred during shipping or any missing items.
• Check household power supply to ensure it matches the appliance’s specification.
• DO NOT operate any fan with a damaged cord or plug. Discard fan or return it to an
authorized service facility for examination and/or repair.
• Use only on GFCI protected receptacles. Please contact a qualified electrician for
verification and / or installation of a GFCI receptacle if necessary.
• DO NOT run cord under carpeting. DO NOT cover cord with throw rugs, runners, or
similar coverings. DO NOT route cord under furniture or appliances. Arrange cord away
from traffic area and where it will not be tripped over.
• To reduce the risk of fire or electric shock, DO NOT use this appliance with any solid-
state speed control device.
• DO NOT touch this appliance or the plug with wet hands or while standing in water.
• DO NOT operate the appliance in any pooled water.
• DO NOT use the product in areas where gasoline, paint or other flammable goods and
objects are used or stored.
• DO NOT insert or allow objects to enter any ventilation or exhaust opening as this may
damage the appliance and void the warranty.
• DO NOT cover the air inlet or outlet on the appliance.
• DO NOT direct the air flow at human faces or bodies.
• DO NOT allow children to play around or with this appliance.
• AUTOMATICALLY OPERATED DEVICE – To reduce the risk of injury, disconnect from
power supply before servicing.
• Remove the power cord from the electrical receptacle by grasping and pulling on the
power cord plug-end only, DO NOT pull the cord directly.
• DO NOT attempt to repair or adjust any electrical or mechanical functions of this
appliance, as this may cause danger and void the warranty.
• If the appliance is damaged or it malfunctions, DO NOT continue to use it. Unplug the
product from the electrical outlet. Refer to troubleshooting guide or contact XPOWER.
• Store in a dry area, away from exposure to sunlight, extreme temperature and humidity,
or other extreme environments, when not in use.
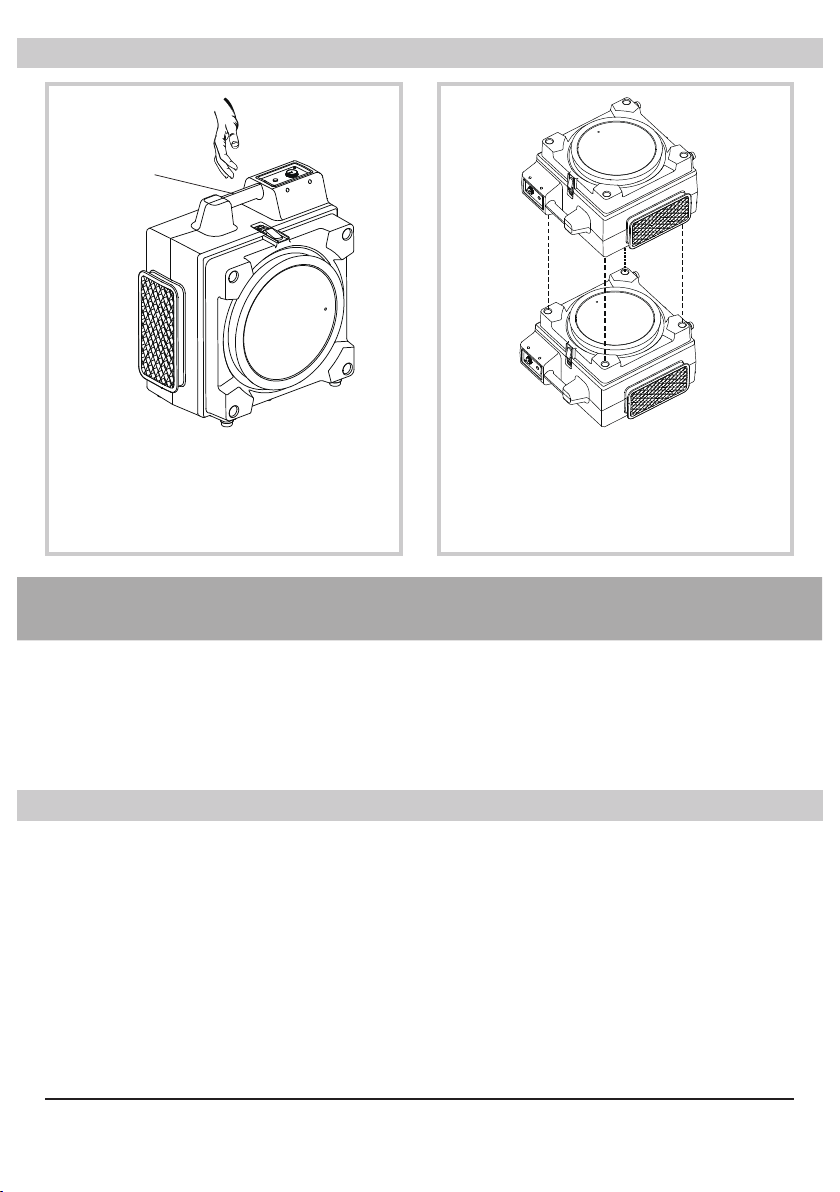
• DO NOT stack more than five units of this appliance.
• An electronic instruction manual can be obtained through manufacturer’s website
www.xpower.com.
!

English - 3
Items Included
Air Mover Owner's Manual
XXXManual De Usuario (página 10)
XXXMode d'emploi (page 18)
Model / Modelo / Modèle:
P-80 Series, P-100 Series, P-200 Series
(115V 60HZ)
Readand save these instructions before use
Leay guarde estas instrucciones antes de usar la unidad
Lireet conser ver ces instructions avantutilisation
Index:NA-1- A2
Edition:1.0.Alpha
• Owner’s Manual x 1• Air Scrubber x 1
(1) Air Quality Sensor Cover
(2) Air Quality Sensor
(3) Rear Housing
(4) Switch Plate
(5) Capacitor
(6) Pressure Switch
(7) Pressure Switch Cover
(8) Air Quality Sensor Box
(9) Rubber Sealing Ring
(10) Latch Kit
(11) Front Housing
(12) Rubber Feet
(13) Power Cord
(14) Quakeproof Washer
(15) Transformer
(16) Motor Holder
(17) Motor Assembly
(18) Zinc Alloy Hinge
(19) Cover
(20) Air Inlet End Cover
(21) Foam Cover
(22) Cover
4
1 2
3
5
8 9
6
7
10 11
14 15
12
13
16 17
22
18
10
10 19 20 21
X-2700 X-2800
X-2830
Parts Description
Machine

English - 4
Filters
The graph only presents the appearance of the filters. The actual sizes of filters with
different part number could be slightly different. (See Page 15: Technical Specifications)
If your product(s) is not listed above, please visit www.xpower.com for more information.
Nylon Mesh
Filter
HEPA
Filter
NFS13 PF13 CF15 HEPA35-33/
HEPA50-33/HEPA65-33
Pleated
Media Filter
Carbon
Filter
MODEL NUMBER X-2700 X-2800 X-2830
First Stage Filter NFS13
Second Stage Filter PF13
Third Stage Filter HEPA35-33 HEPA65-33 CF15
Fourth Stage Filter - - HEPA50-33

English - 5
Installation and Operation Guide
Air Scrubber Introduction
• XPOWER’s unique and highly innovative Air Scrubbers
create a fresh and clean environment for various
purposes.
• With a special designed powerful motor, XPOWER Air
Scrubbers are able to provide suction in even difficult
areas.
• The included filtration system can capture a wide range of
compounds and prevents organism migration from location
to location.
Selecting a Location (Important)
• Enclosed Area: For optimal efficiency and longer filter lifespan, the Air Scrubber should
be operated in an enclosed area. Keep all doors, windows and other outside entrances
to the room closed.
• Air Circulation: It’s suggested to have a constant efficient air circulation inside your
working area. You may achieve this with XPOWER Air Mover combinations.
• Environment Humidity: For optimal efficiency and higher filter lifespan, the Air
Scrubber should not be operated in an environment with a high relative humidity level.
High humidity level could cause blockage and damage to filters.
• Power Cord: The power cord has a length of 13 feet (4.0 meters). Select a location
where the power cord can reach the power source.
• Inlet and Outlet Orientation: Also pay attention to the orientation of the air inlet and
air outlet. Make sure the airflow won’t influence any object nearby the Air Scrubber.
• IMPORTANT: The effectiveness of the Air Scrubber can be influenced by different
factors. You may also find that installing multiple Air Scrubbers may be required for
larger enclosed areas.

English - 6
Extension Setup (Optional)
Exhaust Ducting
• Turn off the machine.
• Attach the ducting hose to the exhaust.
Foam Cover
Intake Ducting
• Turn off the machine and remove the foam cover*.
• Attach the ducting hose to the intake.
* For model X-2700 only.

English - 7
Control Panel
RUNNING TIME OFF-TIMER FILTER CHANGE SPEED
TIMER
Power
Switch
Speed
Control
Timer
Control
Timer Value
/Running
Time Value
Switch
Timer Value /
Running Time Value
Display Fan Speed
Filter Change
Indicator Light
Value Display
Indicator
RUNNING TIME OFF-TIMER FILTER CHANGE SPEED
TIMER
Power
Switch
Speed
Control
Timer
Control
Timer Value
/Running
Time Value
Switch
Timer Value /
Running Time Value
Display Fan Speed
Filter Change
Indicator Light
Value Display
Indicator
Running Time Value /
Timer Value Switch
Press to exit timer setting mode and
swich the display of the running time
value / enter timer setting mode and
timer value display.
Power Switch
Press to switch on / off the machine.
Timer Value / Running Time Value Display
This will show the value of the timer or running time. As default, it displays the
running time value. When the machine is switched off, the value will be reset to zero
automatically.
Fan Speed Display
This will show the speed setting of the fan. There are 5 speed settings. 5 Bars mean
the machine is on the highest speed setting and 1 bar means the machine is on the
lowest speed setting.
Speed Control
Tap “+”/“-” to increase/decrease the
desired fan speed.
Timer Control
When the display is switched to
indicate the timer value, tap “+”/“-”
increase / decrease the value of the
timer setting.
Buttons
Information
RUNNING TIME OFF-TIMER FILTER CHANGE SPEED
TIMER
Power
Switch
Speed
Control
Timer
Control
Timer Value
/Running
Time Value
Switch
Timer Value /
Running Time Value
Display Fan Speed
Filter Change
Indicator Light
Value Display
Indicator

English - 8
Control Panel (Continued)
Air Quality Monitor
Running Time Value
Display Indicator
When this indicator illuminates, it
indicates the value display is showing
the value of the running time.
Filter Change Indicator Light
When the green light illuminates, it indicates the filters are under a good condition.
When the red light illuminates, it indicates that the filters have exceeded the
maximum capacity of particles, and the filtration efficiency has diminished. You
should clean or replace the filters. (See Page 10: Filter Maintenance)
Timer Value
Display Indicator
When this indicator illuminates, it
indicates the machine enters the timer
setting mode and the value display is
showing the value of the timer.
Indicators
RUNNING TIME OFF-TIMER FILTER CHANGE SPEED
TIMER
Power
Switch
Speed
Control
Timer
Control
Timer Value
/Running
Time Value
Switch
Timer Value /
Running Time Value
Display Fan Speed
Filter Change
Indicator Light
Value Display
Indicator
RUNNING TIME OFF-TIMER FILTER CHANGE SPEED
TIMER
Power
Switch
Speed
Control
Timer
Control
Timer Value
/Running
Time Value
Switch
Timer Value /
Running Time Value
Display Fan Speed
Filter Change
Indicator Light
Value Display
Indicator
RUNNING TIME OFF-TIMER FILTER CHANGE SPEED
TIMER
Power
Switch
Speed
Control
Timer
Control
Timer Value
/Running
Time Value
Switch
Timer Value /
Running Time Value
Display Fan Speed
Filter Change
Indicator Light
Value Display
Indicator
• When this monitor blinks, it indicates the Air Quality Sensor is now preparing for
detection.
• The digital display will show the concentration of fine particulate matter (PM2.5) in the
environment in μg/m3.
• The index light will indicate the air quality category of the environment. According to the
Air Quality Index developed by the United States Environmental Protection Agency (EPA),
the index light corresponds to different levels of health concern as below:

English - 9
Foam Cover*
• Before use, please take off
the foam cover. Otherwise it
will cause abnormal motor
operation and failure.
• After use, please put back the
foam cover.
* For model X-2700 only.
Foam Cover
Air Quality Monitor (Continued)
Index Light Levels of Health Concern according to the AQI by EPA
Green / Good Good
Orange (Yellow) /
Moderate
Moderate or, Unhealthy for Sensitive Groups
Red / Poor Unhealthy, or Very Unhealthy, or Hazardous

English - 10
User Maintenance Instructions
Frequent maintenance is recommended on this appliance. Failure to follow the
maintenance instructions may cause failure of the appliance and void the warranty.
Before performing any maintenance or cleaning, always disconnect the Air Scrubber from
its power source.
Transportation
Machine Maintenance
• When not in use, unplug, remove all the extension and cover the intake with the foam
cover* (See Also Page 8: Foam Cover). Store the appliance in a dry and cool indoor
place. Make sure it’s out of reach of children.
• Use a damp cloth to wipe the surface of the housing. Do not clean the unit with water
directly.
• Check if the grille covers are clean. Remove dirt or any other objects that could block
the air inlet and air outlet.
• Do not stack more than five units of this appliance.
* For model X-2700 only.
Handle
Carry with Handle
Lift the Air Scrubber with the
handle on the top of the housing.
Stack in Carrier
You can stack up to 5 Air Scrubbers
and transport.

English - 11
Filter Maintenance
Unload the filters (See Also Page 3: Parts Description)
To ensure the best filtration efficiency and to prevent secondary pollution of used
filters, you should replace or clean the filters frequently or when the filter change light
illuminates. Please follow the instructions below.
Machine Maintenance (Continued)
Organize the Cord
• Wrap the power cord
around the intake for
storage after use.*
• Use convenient clip at
end of cord to secure in
place.
* Wrap-around design does not apply to all models
mentioned in this manual.
Inner Filters
Open the filter cover by releasing the latch kit on top. Unload inner filters inside.

English - 12
Filter Maintenance (Continued)
Clean the filters (See Also Page 4: Filters)
• Nylon Mesh Filters: These filters are washable with water. Use a vacuum or clean
cloth to remove loose debris. And then further clean the filter with water. Use a cloth to
remove the water on the filter and dry it naturally in the air.
• Pleated Media Filters: This filter is not washable. Use a vacuum to remove loose
debris. If filter change light still illuminates, you might need to replace the filter.
• Carbon Filters: This filter is not washable. Use a vacuum to remove loose debris. Lay
it flat on a clean and dry surface under the sun for 3 hours. Sunshine will help remove
various substance absorbed in the carbon with an appropriate temperature. If filter
change light still illuminates or a decline of effectiveness is noted, you might need to
replace the filter.
• HEPA Filters: This filter is not washable or reusable. Highly concentrated particles are
captured by the HEPA filter and cleaning this filter can be hazardous to human health
and contaminate the nearby environment. You must replace the filter if all the other
filters are clean and however the filter change light still illuminates.
Filter storage
• When not in use for a long time, you should store the filter separately from the
machine.
• Always clean the filters before storage. Place the filters in a sealed plastic bag and
store it in a dry and cool indoor place.
WARNING: DISPOSAL OF FILTERS NO LONGER IN USE
The particles captured by a used filter can cause adverse human health effects and
contaminate the nearby environment once the filter is exposed to the open air. Adequate
personal protection equipment (PPE) is required during the whole process, for example,
industry approved masks, eye protectors, gloves and coveralls. You should place the used
filters in a sealed plastic bag before disposing. Follow local disposal regulations.
!

English - 13
Filter Maintenance (Continued)
Inner Filters
• Other filters must be loaded
inside the Air Scrubber.
• See Page 4: Filters to check
the installation sequence.
Inner Filters
Former
Stage
Latter
Stage
Last Stage Filter:
• On one of the side of the
last stage filter, there is an
EVA sealing pad around the
frame.
• The last stage filter must be
loaded with EVA side facing
the machine housing.
• The EVA sealing pad ensures
that all the air is filtered.
EVA
Housing
Former
Stage
Filters
Reload the filters
To ensure the best efficiency and lifespan, each filter must be reloaded in a correct
position, sequence and orientation.

English - 14
Filter Maintenance (Continued)
Tips:
• On one of the side of each filter,
there is a label with an arrow
showing the airflow direction.
• When placing the filter, the side
with label should face up. The
arrow on the label should point
to the blue housing.
Airflow Direction

English - 15
Troubleshooting Guide
If troubleshooting does not resolve your problem, please contact XPOWER or other
parties authorized by XPOWER for further instructions.
PROBLEM POSSIBLE CAUSE SOLUTION
Air Scrubber does
not start
No electricity. Check for power supply.
The power cord is not properly
plugged in.
Remove and reconnect the
power cord.
Unit runs but no
or very low air
movement
Air outlet is blocked. Remove blockage.
Filters are fully loaded. The
filter change light illuminates.
Clean or replace the loaded
filters. (See Page 10: Filter
Maintenance)

English - 16
Technical Specication
MODEL NUMBER X-2700 X-2800 X-2830
Voltage/
Frequency 115 V~, 60 Hz
Amperage 2.8 A
Motor Power 1/2 HP
Rated Airflow 550 CFM
Speed Control 5 Speeds
Off-Timer Meter 0.5 - 24 h
Cord Length 13 ft. / 4 m
Unit Dimension
(L) x (W) x (H) 16.6 x 10.4 x 18.9 in. / 42.2 x 26.4 x 48.0 cm
Unit Weight 23.7 lbs. / 10.74 kg 24.5 lbs. /11.1 kg 24.7 lbs. /11.2 kg
Machine Specication
This manual suits for next models
2
Table of contents
Other XPower Scrubber manuals
Popular Scrubber manuals by other brands

IPC Soteco
IPC Soteco Zip User and maintenance handbook

CleanFreak
CleanFreak TPL-PH12 Owner's and operator's manual

Nilfisk-Advance
Nilfisk-Advance CA 240 Specifications

Crescent
Crescent SC250 troubleshooting guide

SNOWJOE
SNOWJOE Sunjoe 24V-PWSCRB-LTW Operator's manual

ECOFLEX
ECOFLEX 9087350020 Instructions for use

Tornado
Tornado BR 13/1 Operation & maintenance manual

Windsor
Windsor Saber Glide SG28 Operator instructions

Kärcher
Kärcher BD Trike BAT manual

Nilfisk-Advance
Nilfisk-Advance ROS1300 Service manual

HydraMaster
HydraMaster PEX 500-C-TICK Information & operating instructions

CDA
CDA ECHK90 Installation, use and maintenance