3
Introduction
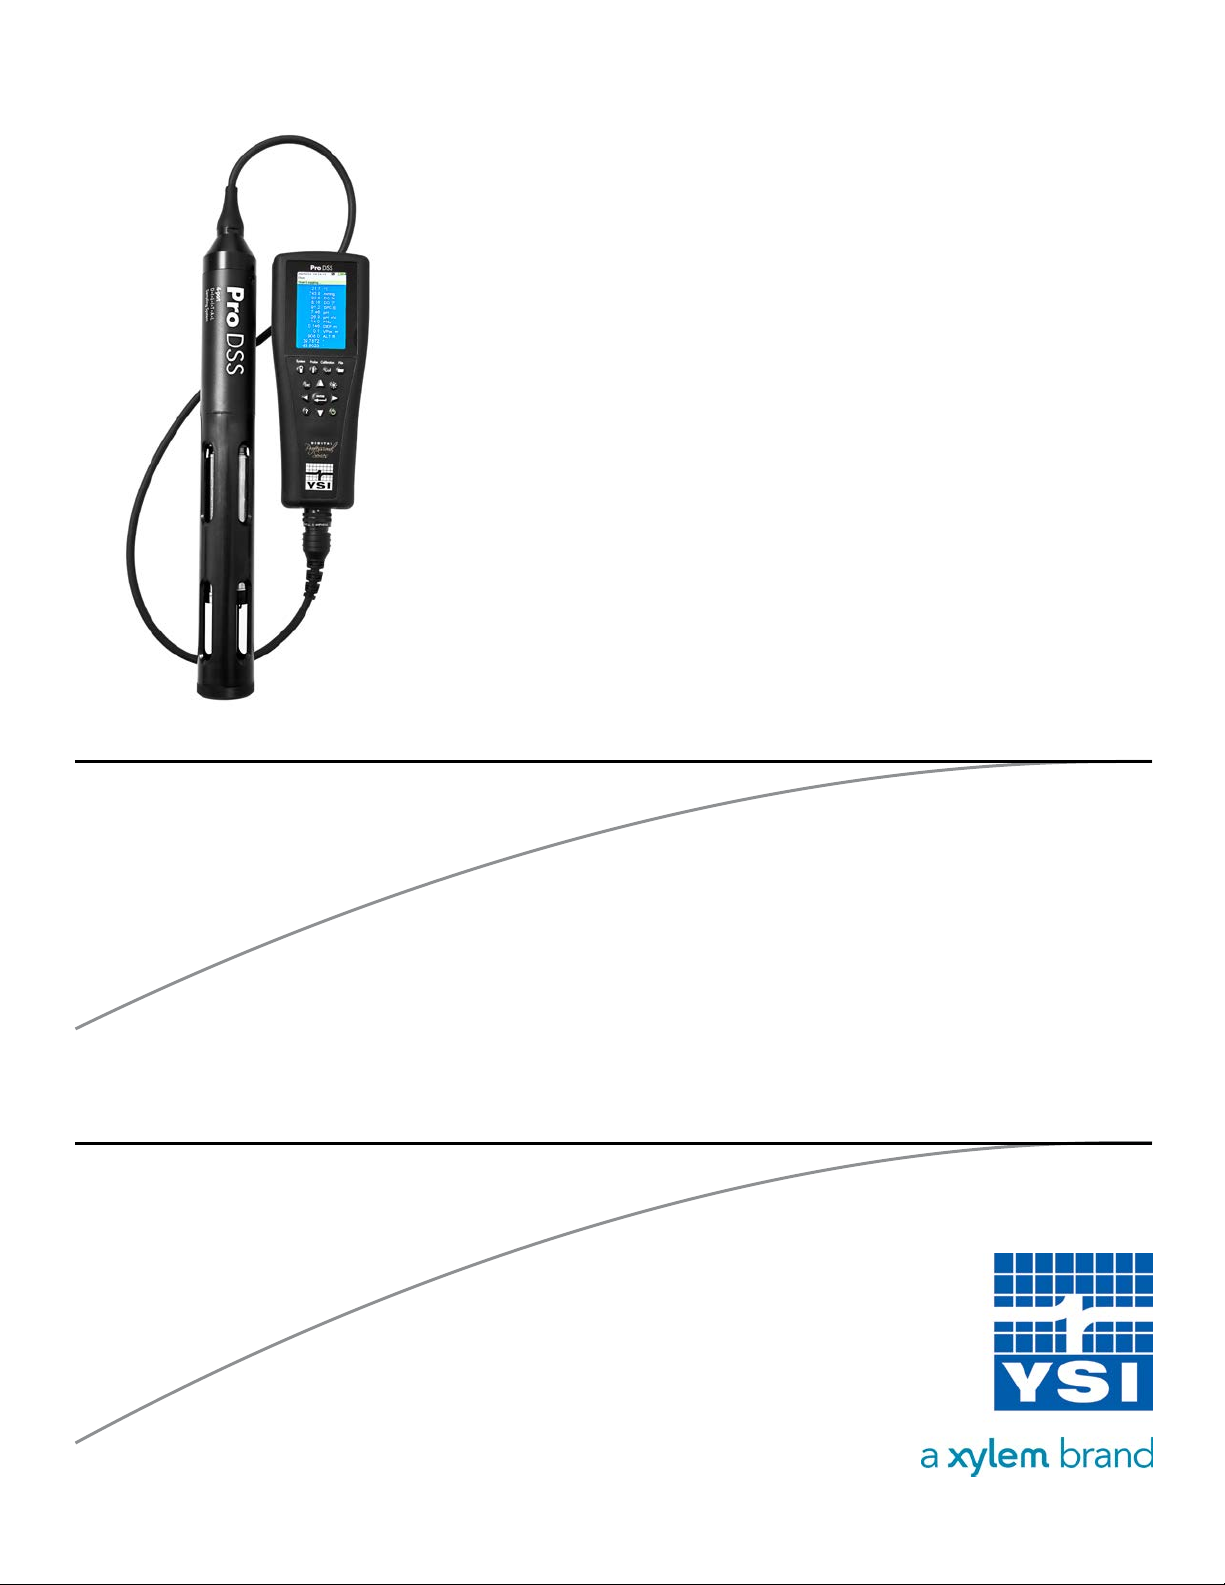
Thank you for purchasing the YSI Professional Digital Sampling System (ProDSS).
ProDSS features include:
• Digital smart probes that are automatically recognized by the instrument when connected
• Waterproof (IP-67) case
• Long-life rechargeable lithium-ion battery pack
• Color display and backlit keypad
• User-selectable cable options
• USB connectivity
• Global Positioning System (GPS) (optional)
• Depth sensor (optional)
• Large memory with extensive site list capabilities
• Rugged enclosure with rubber over-molded case and miltary-spec (MS) connectors
• KorDSS data management software included with each instrument (Please see installation instructions on page 73)
Safety Information
Please read this entire manual before unpacking, setting up or operating this equipment. Pay attention to all
precautionary statements. Failure to do so could result in serious injury to the operator or damage to the equipment.
Make sure that the protection provided by this equipment is not impaired. Do not use or install this equipment in any
manner other than that specified in this manual.
NOTICE: The manufacturer is not responsible for any damages due to misapplication or misuse of this
product including, without limitation, direct, incidental and consequential damages, and disclaims
such damages to the full extent permitted under applicable law. The user is solely responsible to
identify critical application risks and install appropriate mechanisms to protect processes during a
possible equipment malfunction.
NOTICE: Indicates a situation which, if not avoided, may cause damage to the instrument
Precautionary Symbols
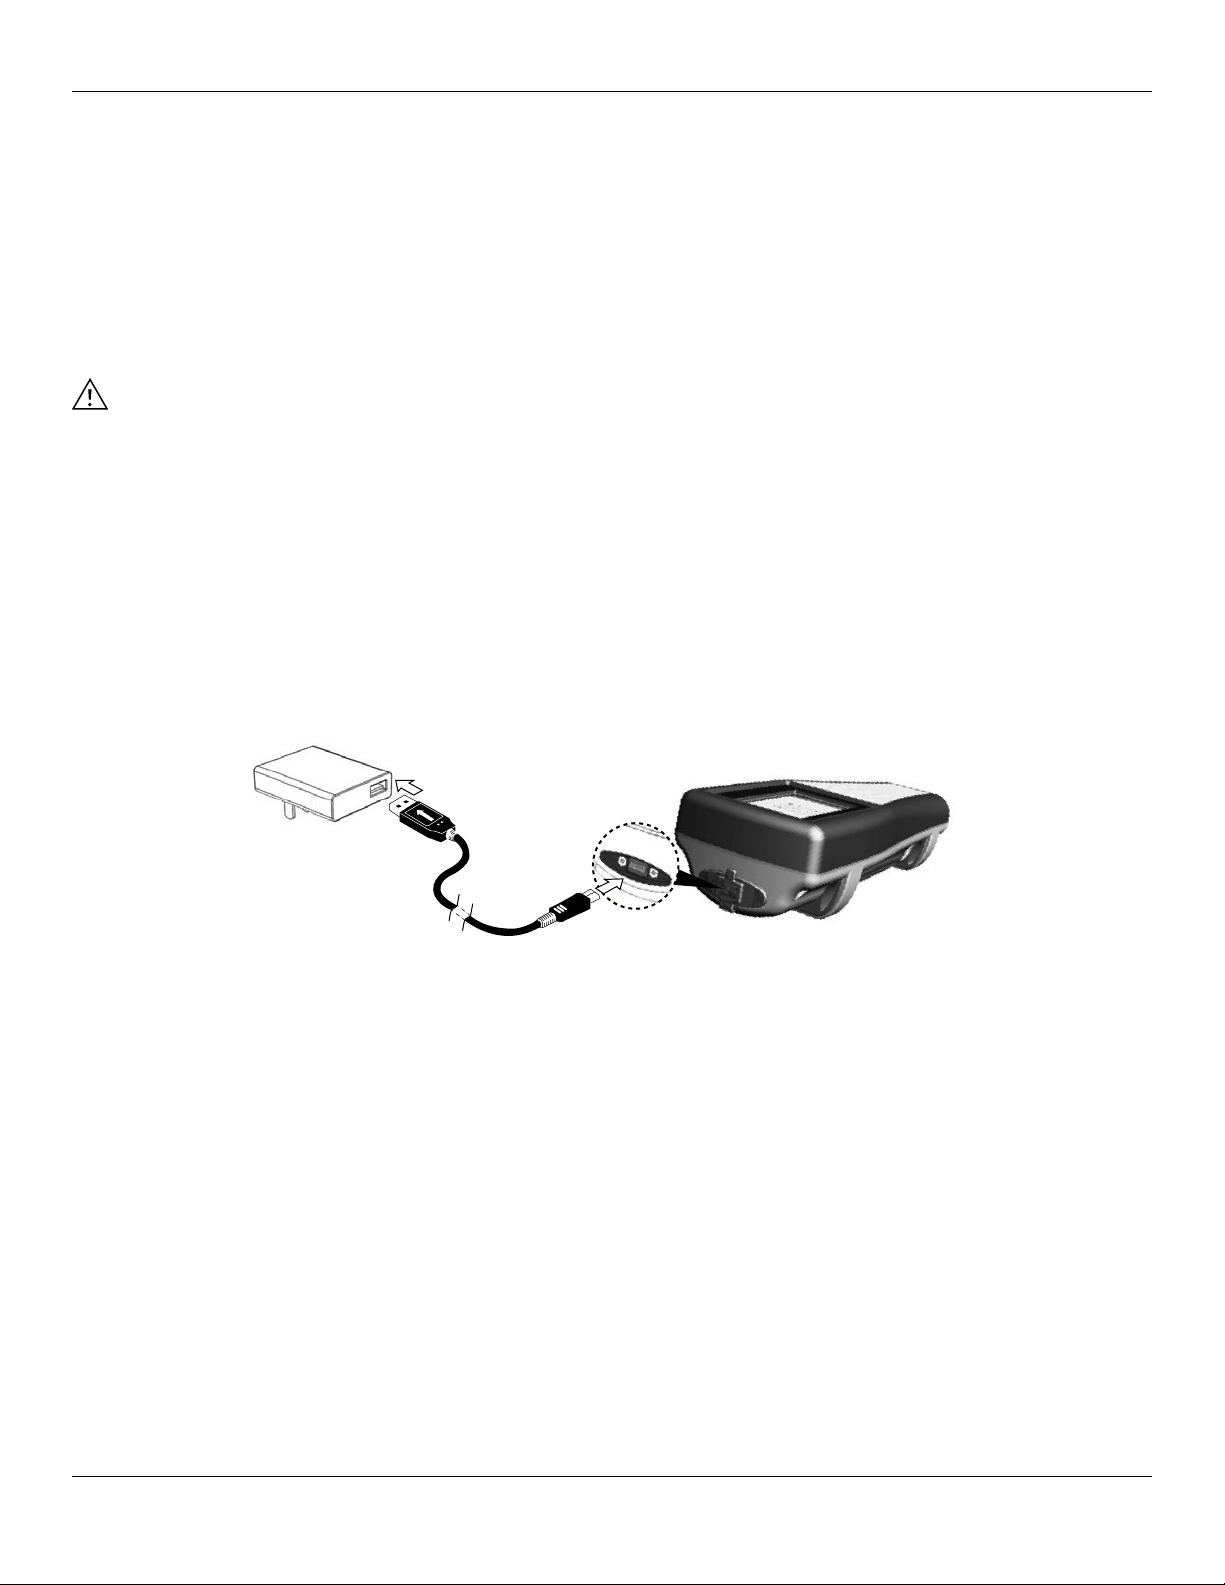
Product Components
Carefully unpack the instrument and accessories and inspect for damage. If any parts or materials are damaged,
contact YSI Customer Service at 800-897-4151 (+1 937 767-7241) or the authorized YSI distributor from whom the
instrument was purchased.
NOTE: Information that requires special emphasis
WARNING: Indicates a potentially or imminently hazardous situation which, if not avoided, could result in death
or serious injury
CAUTION: Indicates a potentially hazardous situation that may result in minor or moderate injury