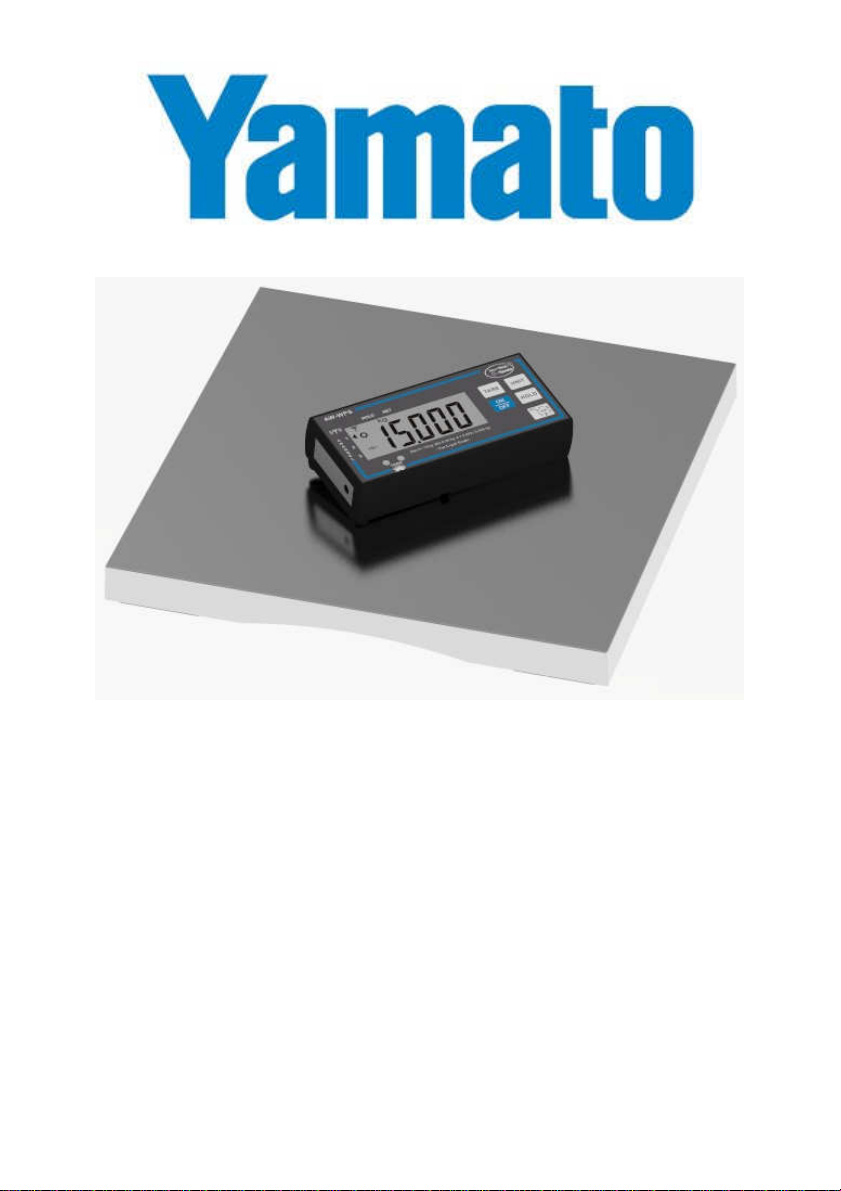
Yamato AW-WPS User manual
Other Yamato Scale manuals

Yamato
Yamato SPC - Solar User manual

Yamato
Yamato BC-10 User manual

Yamato
Yamato AW-300P User manual

Yamato
Yamato PPC-101 User manual

Yamato
Yamato DKS-3002 User manual

Yamato
Yamato PPC-300 User manual

Yamato
Yamato AW-WPS User manual

Yamato
Yamato PB-200 User manual

Yamato
Yamato AW-WLG Series User manual

Yamato
Yamato DP-8100 User manual

Yamato
Yamato DP-6200 User manual

Yamato
Yamato PLS Series User manual

Yamato
Yamato DP-6100GP User manual

Yamato
Yamato AW-WSM-5KG User manual

Yamato
Yamato DP-6200 User manual

Yamato
Yamato AW-300P User manual

Yamato
Yamato CPC-2000 User manual

Yamato
Yamato DSR-200 User manual

Yamato
Yamato DSR-200 User manual

Yamato
Yamato SPC-2002 User manual