YIYITOOLS B084V7KGR1 User manual

48’’ FARM JACK
YOUNEEDTOKNOWABOUTOURPRODUCT
COMPLYWITHASIN:B084V7KGR1INSTRUCTIONSFORUSE.
READTHISMANUALBEFOREUSINGTHEFARMJACK.
-ProductInformationIntroduction
-OperationInstructions
-MaintenanceInstruction

Product Information Introduction
SPECIFICATIONS
48"FarmJack
Maximumload:3Ton(6600LBS)Maximumraisedheight:48"
SAFETYPRECAUTIONS
1. Be sure base of jack is on firm and level ground.
2.Besurejackwillnotslipafterloadisapplied.
3.Besureliftingarmisfullyunderloadisapplied.
4.Besuretheloadisstabilizedbeforeliftingsothatitwillnotshiftwhenliftingorlowering.
5.Donotworkundervehicleafterliftingunlessyouhavejackstandssupportingthe
vehicle.
6.Donotpushloadoffthejack;loweritcarefully.
7.Donotusehandleextensions.
8.Donotcarryjackbyhandle.

Part List:
1. Top Clamp-Clevis Bolt
2. Top Clamp-Clevis
3. Steel Standard (Bar)
4. Steel Handle W/Cotter Pin
5.Handle Socket
6. Pin
7. Hex Bolt
8. Connecting Rod
9. Small Runner
10.Srew Bolt
11.Base
12.Climbing Pin Spring (2 required)
13. Climbing Pin (2 required)
14.Cross Pin (2 required)
15.Reversing Switch Cam Bar and Spring
16.Cap Screw W/Washer
17.Reversing Latch
18.Reversing Switch Spring
19.Large Runner
20.Running Gear (assembled)

Operation Instructions
A.TORAISEALOAD
1.Followingallsafetyprecautions,placethefootofthejackbeneaththeload.Liftthe
ReversingLatch(20)toits'"UP"positionandensureitislockedinplace,withthe
indentationintheLatch,firmlyengagedinthenotchontheReversingSwitch(18)-referto
fig.1.Jackupthenoseuntilitcomesintocontactwiththeloadatthedesiredpointoflift.
Pauseatthisstageandchecktoensuretherearenoobstaclestoacieanlift.
2.Pulldownfirmlyandevenlyonthehandleandobservetheloadrising.Asthehandleis
pulleddown,youwillheartheclimbingpin(15)clickintoplaceasitlocatesinaholeinthe
steel bar (3). At this point, relax the handle allowing the pin (15) to take the load, Raise the
handle to the top of its stroke to take a fresh purchase, and pump the handle once again.
B. TOLOWER A LOAD
IMPORTANT: The jack must be loaded with a minimum 50kg (110lbs) to lower step by
step,otherwise the lifting nose will drop.
Taking all necessary precautions, take the load with the jack, (i.e. jack the load up slightly),
and ensuring the handle is in the FULLY UPRIGHT position, trip the Reversing Latch (20),
so that it is in the "Down" position, i.e. the indentation on the latch, becomes disengaged
from the notch on the reversing switch (see fig. 2). Keeping a firm grip on the handle,
pump it as you would for 'raising a load'.

1. Securely chock and stabilize the load to prevent it from rolling or shifting as you lift it
(see General Safety: Chock and Block).
2. Place the jack’s base plate securely on a firm, level, and dry surface with the steel
standard bar pointing straight up.
3. Lift the reversing latch until it locks in the up position.
4. Pull the handle away from the steel standard bar, releasing the handle clip spring.
5. Grasp the handle or the handle socket and raise the lifting mechanism until the large
runner is completely and securely under the load.
6. Grasp the handle firmly with both hands. Carefully pump the handle up and down to
raise the load. Do not use an extension on the handle.The load will be raised on each
down stroke of the handle. Watch the load and the jack carefully. Stop lifting if either one
starts to move. Do not continue until it is safe to do so. When safe, stabilize and block the
load.
7. When the load is raised to the desired height, place the handle in the upright position
clipped to the steel standard bar.
8. Block the load securely.
9. Lower the load onto the blocks (see Lowering a Stationary Load).
10. Remove the jack from the stabilized load.
Additional Instructions For Farm Jack
1. When attaching the jack to equipment using tubular mounting brackets, always place
lock-pin completely through the holes in the tubular mounting bracket.
2. Always secure the lock-pin in the tubular brackets with the safety cotter pin.
3. Chock the equipment that you have attached the jack to before lifting with the
jack. Side lift is limited to 2,000 lbs. (907 kg).
After you have properly hooked the raised equipment to a mobile vehicle, lower the lifting
mechanism of the jack to its base and move the reversing latch into the up position.

Chock and Block (Stabilize)
A chock is a wedge for steadying an object and holding it motionless, or for preventing the
movement of a wheel. Chock the wheel opposite the end being lifted. When you block a
load, you secure and support a load that is being lifted. The block(s) or stabilizer(s) should
have a weight capacity that is greater than the weight of the load which is being lifted. Do
not use the jack to support the load.
DANGER: Lowering the load can be dangerous. Keep your head clear of the path
of the handle. During lowering, the weight of the load pushes UP against the Jack's
handle. If your hands slip off the handle, or if the handle is horizontal when you move the
reversing latch, it may move up very quickly. If your head is in the handle's travel path, it
could strike you, causing serious injury or death.

Maintenance Instructions
If you use and maintain your farm jack properly, it will give you many years of service.
Follow the mainte nance instructions carefully to keep your jack in good working condition.
NEVER PERFORM MAINTENANCE ON THE JACK WHILE IT IS UNDER LOAD.
Cleaning
If the moving parts of the jack or the standard bar are clogged, use air pressure, water
pressure, or a stiff brush to clean. Use a non-flammable cleaning solvent or another good
de-greaser to clean the jack. Remove any existing rust, preferably with a penetrating
lubricant.
Binding
If the climbing pins start to bind in the holes of the standard bar the jack will not operate
properly and safely. Rusty climbing pins, dirt, or worn bar can be causes of binding. Clean
and lubricate the lifting mechanism as indicated in the Lubrication section. Test the jack by
lifting it up without a load. If the binding continues, send it to our Factory Service for repair.
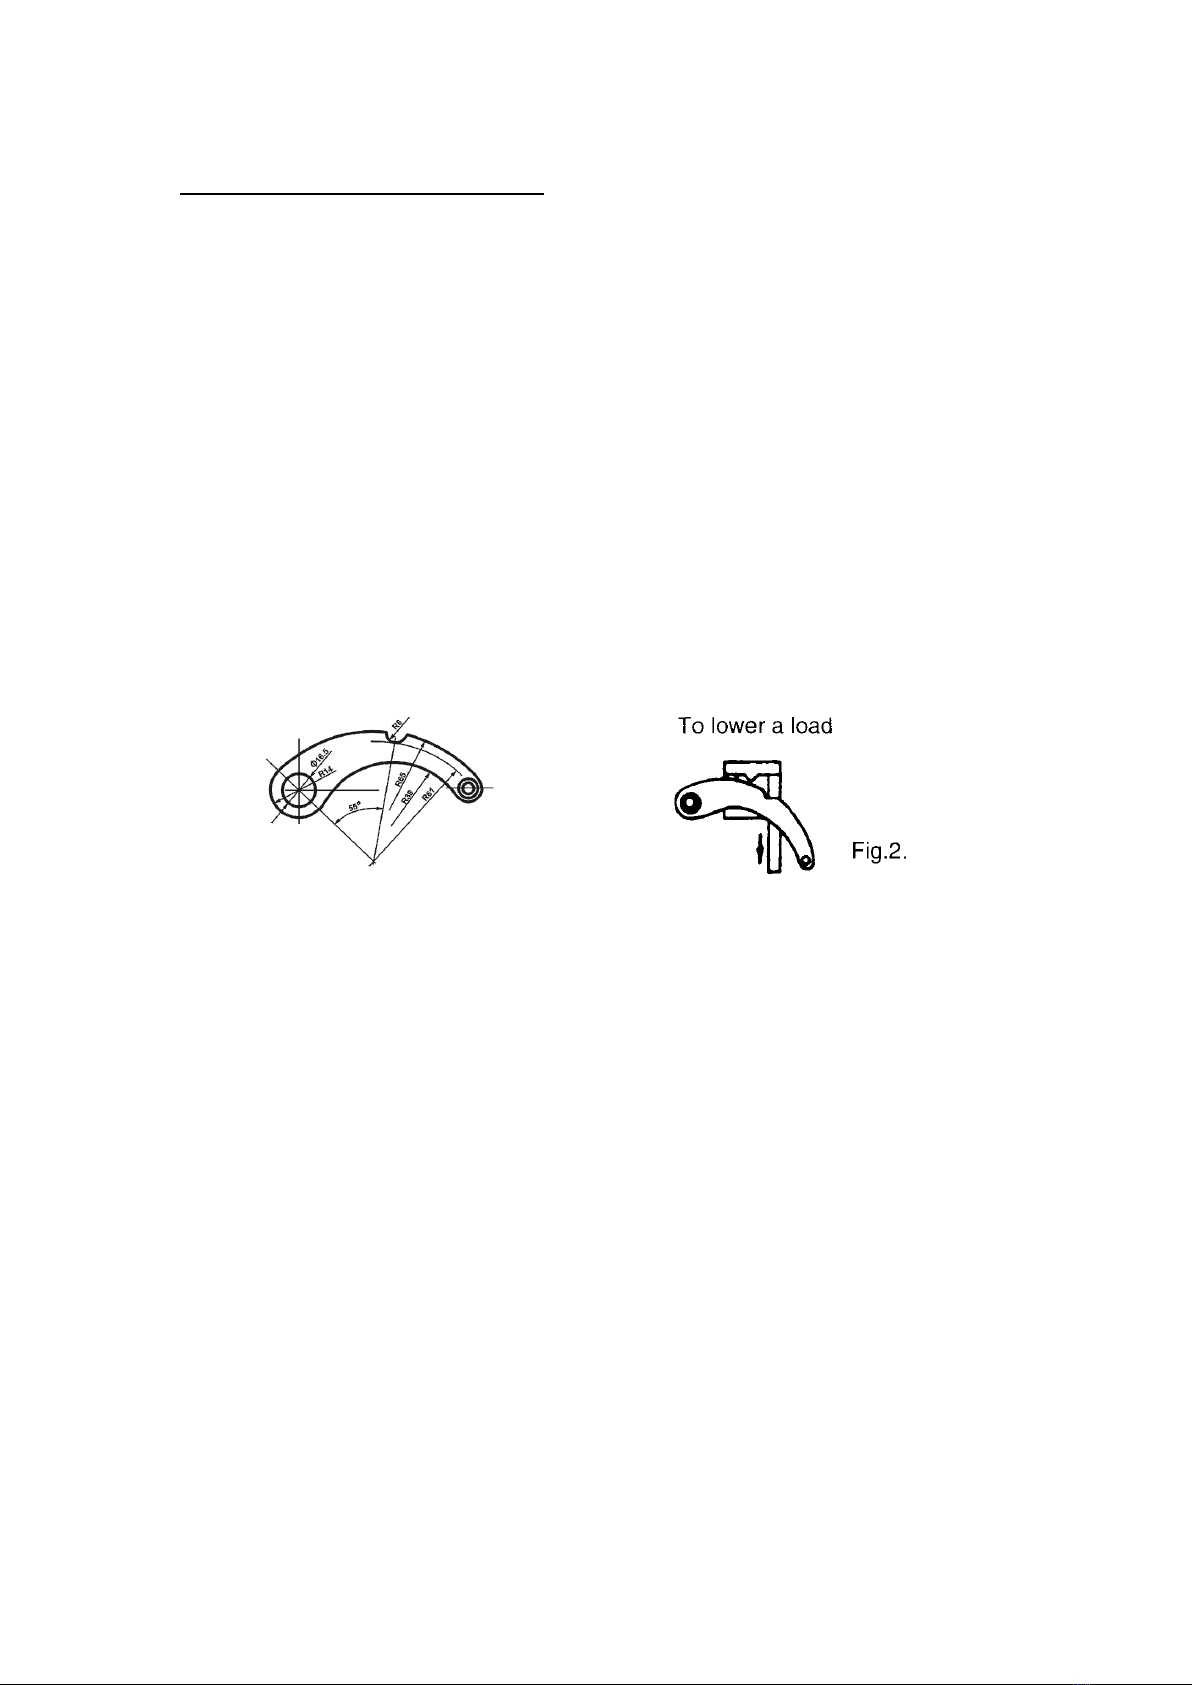
If the jack binds while under a load, use a jack with equal or larger load capacity to lower
the load safely to the ground. After unbinding the jack clean, lubricate and test as
described at the start of this paragraph.
Storing the Jack
1. Place the handle in the upright clipped position against the steel standard bar.
2. Raise the reversing latch until it locks in the up position.
3. Store in the upright clipped position in a dry location, preferably indoors.
Tip: If the jack is stored outdoors, consider using a farm jack protective cover accessory.
Storing the Jack
1. Pivot the jack to a horizontal position. Rest the steel handle of the jack on top of the
steel standard bar.
2. Secure the jack in this position with the lock-pin through the holes in the tubular
mounting bracket.
3. Secure the lock-pin in the tubular mounting brackets with the safety cotter pin.
Inspection
You should inspect the jack for damage, wear, broken or missing parts (e.g.: climbing pins)
and functionality before each use (see General Safety: Inspection). Follow lubrication and
storage instructions for optimum jack performance.
Table of contents