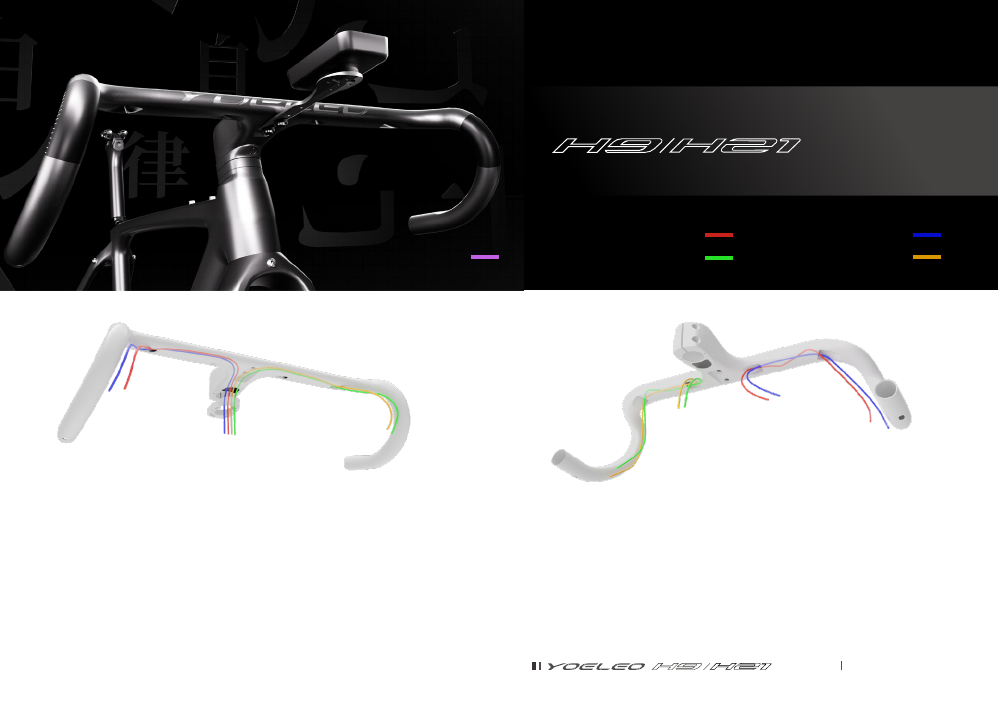
Handlebar Installation Guide
Rear brake hose
Front derailleur cable
Rear derailleur cable
Front brake hose
Di2 wire
Internal Routing Frameset
In order to use the complete internal cables routing,
the frame and the fork have to be compatible.
Fork: The fork must have a hole for the entrance of the
brake front cable in the fork-tube to allow the cable
routing up to the exit near front brake caliper.
Traditional Frameset
In case of assembling on traditional frameset, cables
will enter close to the levers and will go out from
central holes. Here above a picture showing the cables
passages.
installation
A Quick guide for
Shifting cable and brake house routing