8
COMMENTS/QUESTIONS? EMAIL SUPPORT@YOLOBIKE.COM
13. Next install the pedals. Place a small
amount of lubricant such as lithium grease
or petroleum jelly on the thread before
installing. PLEASE NOTE that the Right and
Left pedals are labeled with an R or L sticker
on them (the left pedal has stripes where
you hold to tighten). The right pedal screws
in clockwise while the left pedal is a reverse
thread and screws in counterclockwise.
Tighten with a 15mm open-end wrench
(Figure 13). Remember the Right Pedal
Tightens Clockwise, and the Left Pedal
Tightens Counter-Clockwise.
Apply lubricant to the chain and sprockets
regularly. There are many choices that
include Teon, wax, and ceramic-based
lubricants on the market.
13. Proper tire ination for your Single
Speed tires is recommended up to 30
+/- PSI. You should monitor regularly to
ensure the best performance from each tire.
Correct tire pressure is critical to the peak
performance of the bike.
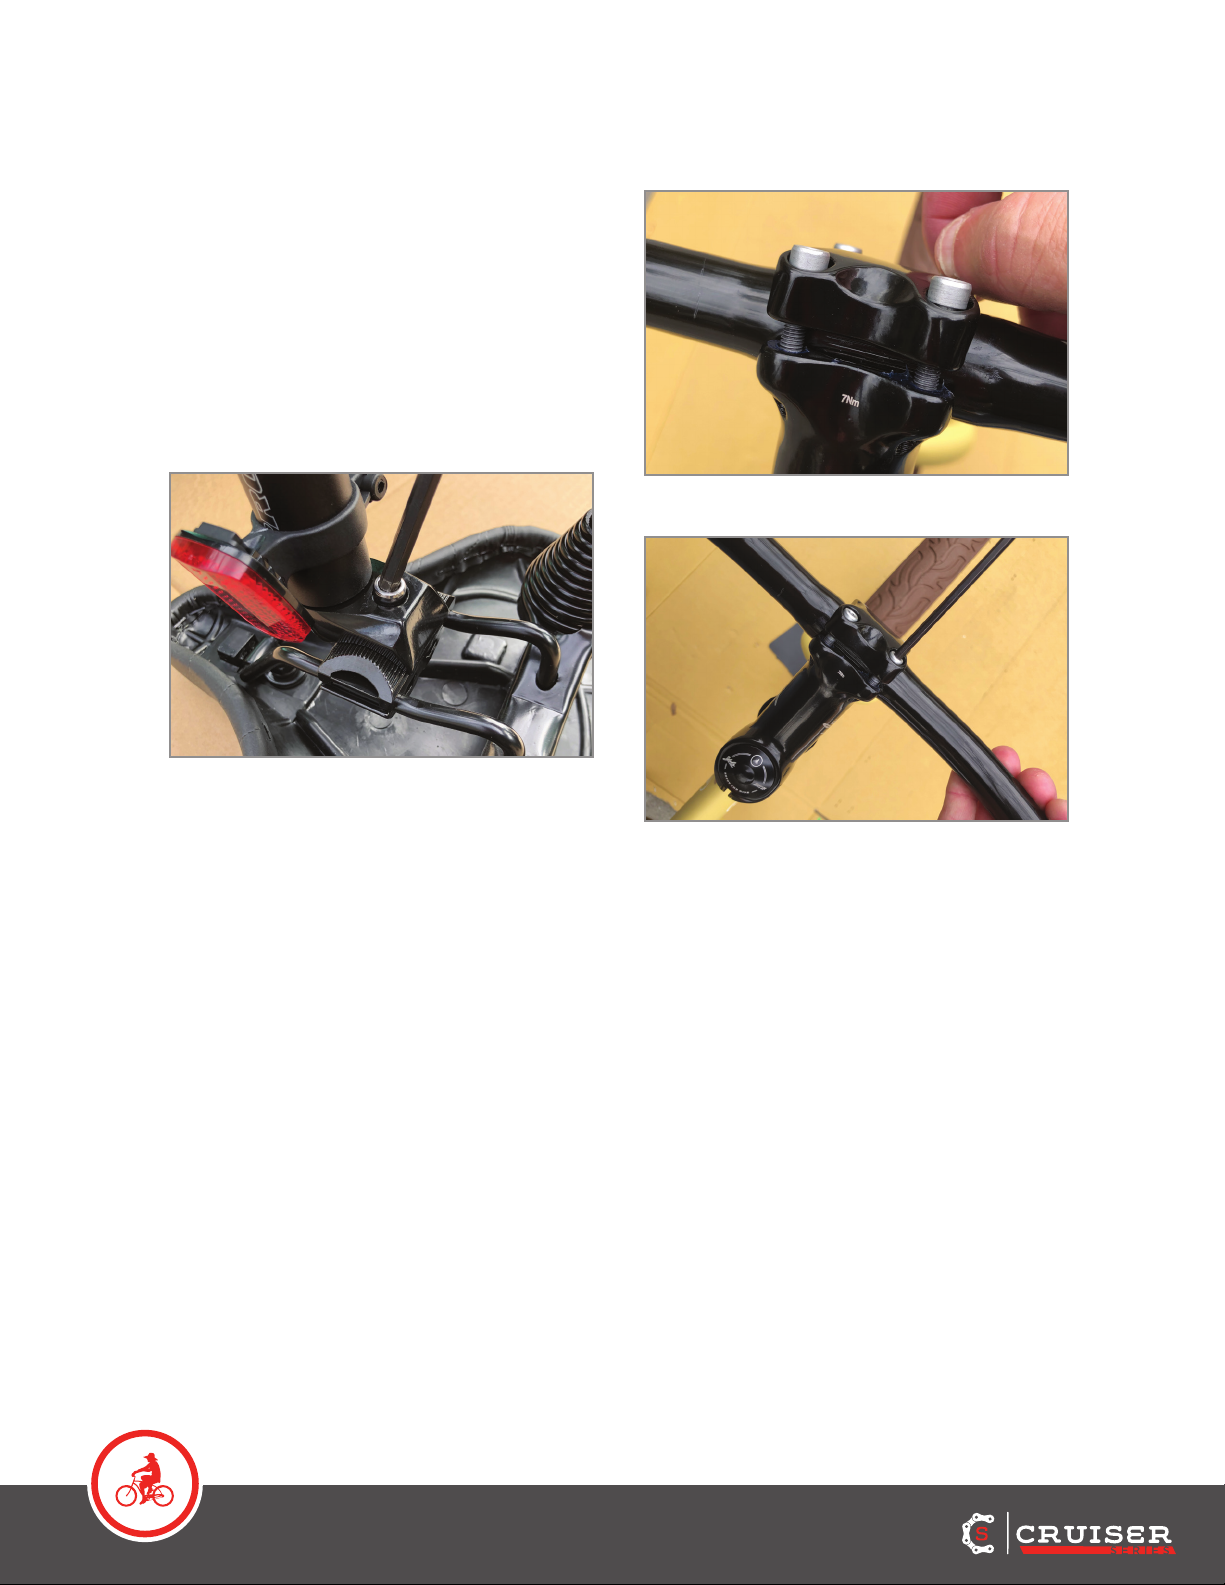
14. Attach the white reector to either the
left or right side but near center of the
handlebar with the reector still being
visible and squarely facing to the front of
the bike (Figure 14). Please remove the
screw before attaching to the handlebar to
minimize any metal scratches.
15. That concludes the standard assembly
of your YOLO® Single Speed Cruiser. We
recommend giving every component a
thorough check before riding and then
taking a test ride to make sure everything
runs smoothly. If the chain makes any
unusual noise while pedaling, inspect the
chain path and make any adjustments to
the chain guard if needed by tightening the
Phillips screw or by gently bending the chain
guard with your hand to slightly adjust.
YOU SHOULD NOW BE READY TO ROLL!
ENJOY THE RIDE!
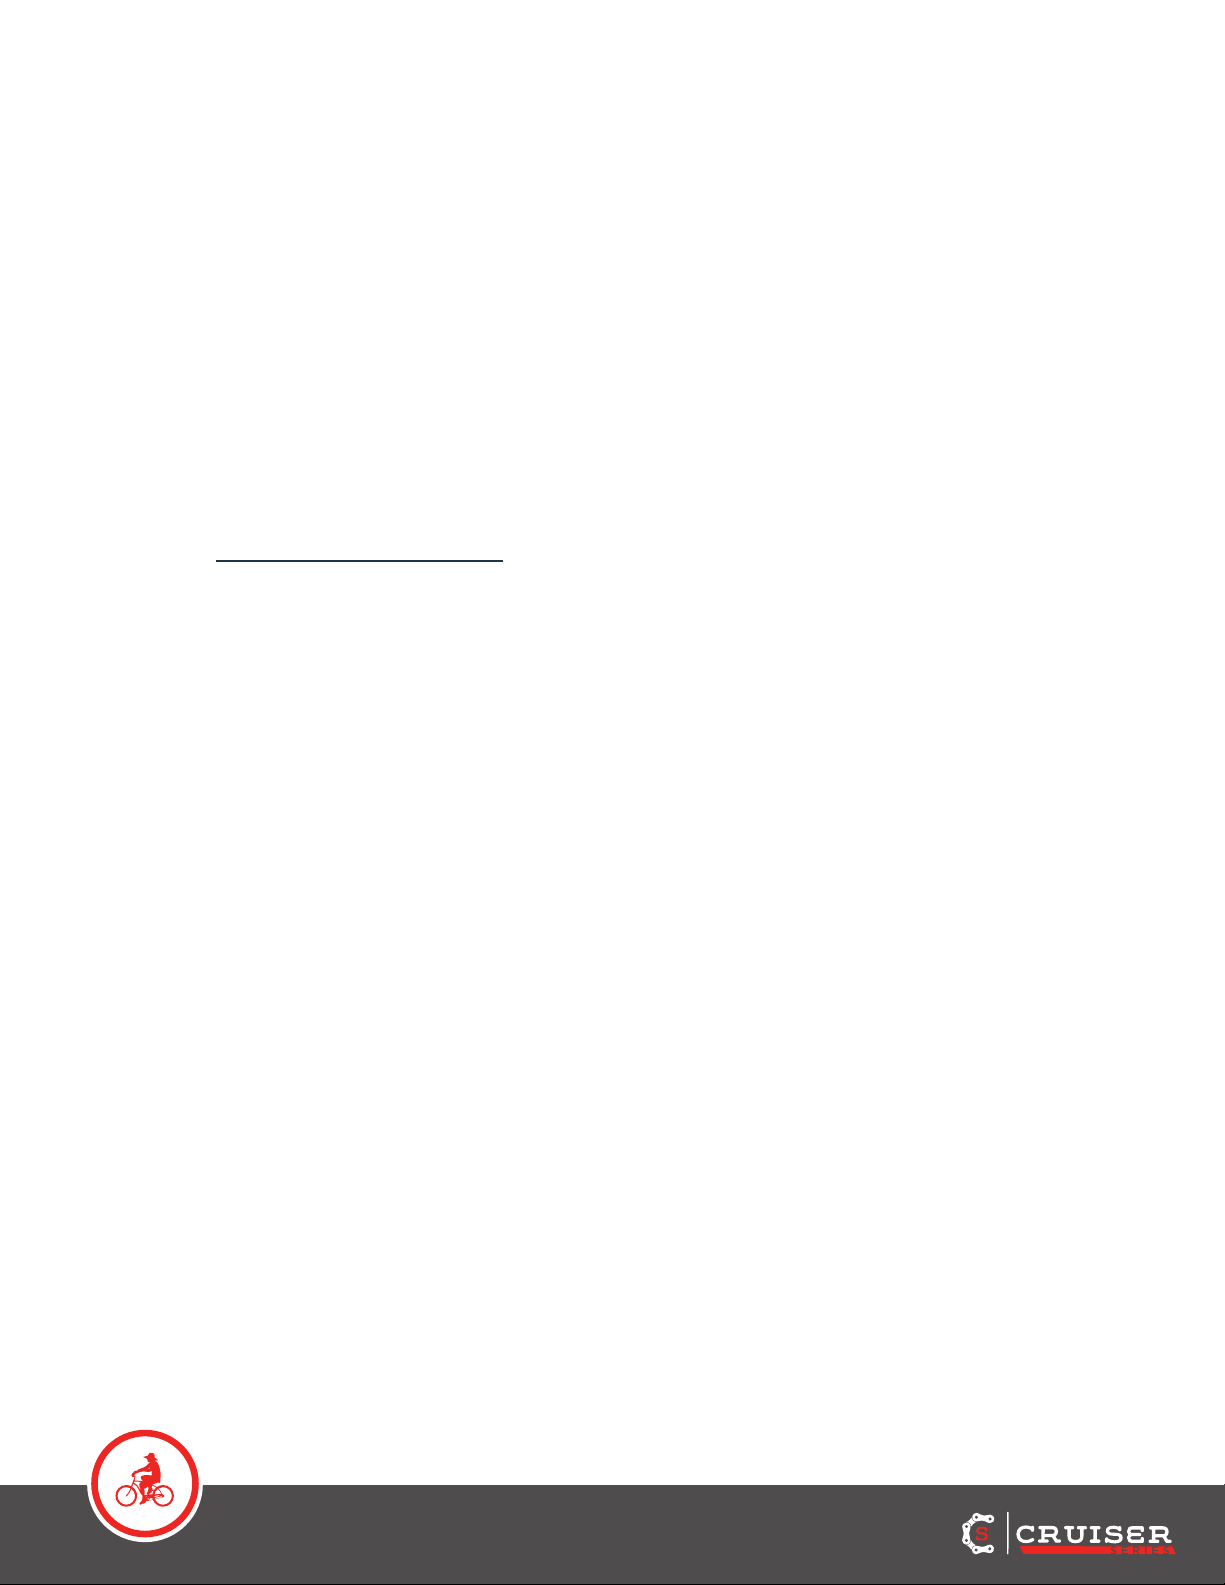
Figure 12
Figure 13
Figure 14