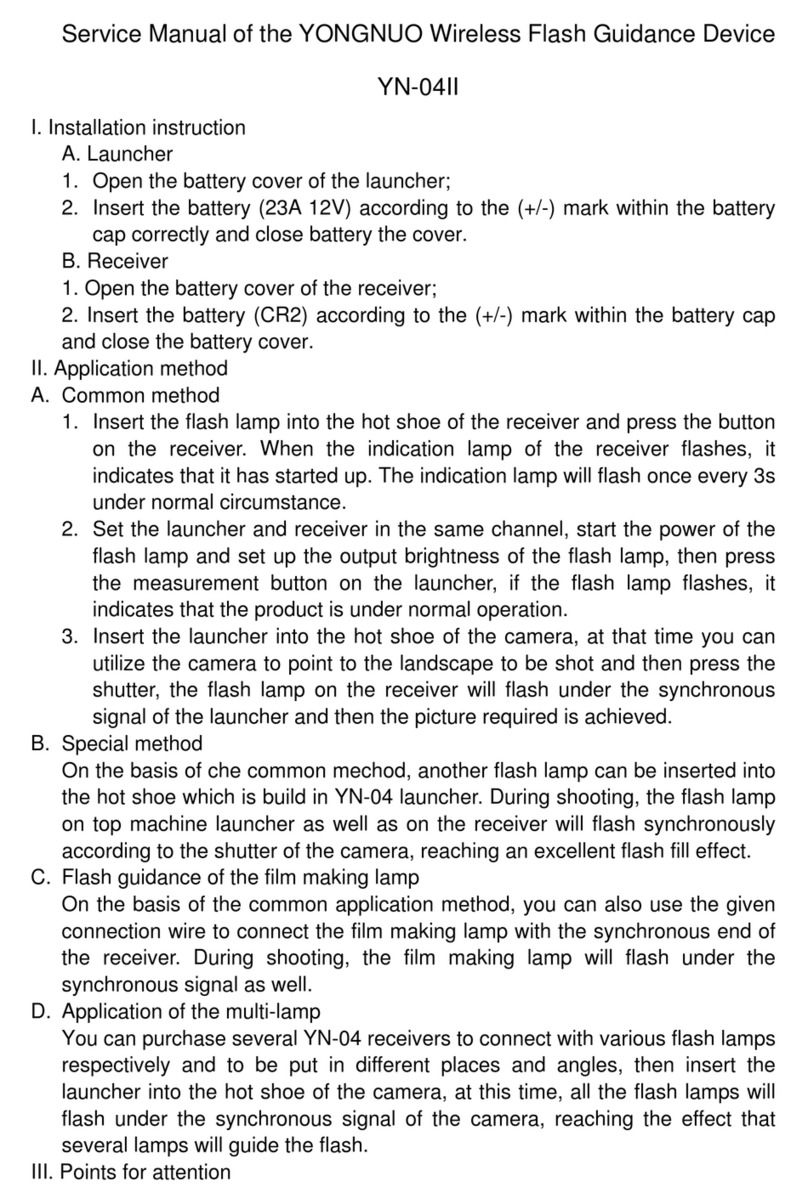
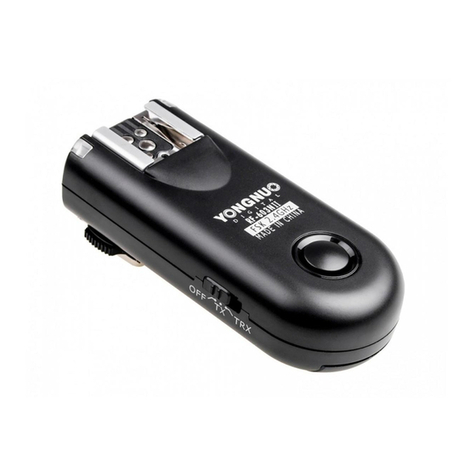
Yongnuo Speedlite YN468-II User manual

USER MANUAL

I. Caution
To avoid fire or electrical shock, do not expose this product to rain
or moisture.
Do not flash at high level output continuously for over 15 times.
To avoid short circuit, be sure the batteries contacts are securely
packed and in accordance with local provision when handling the
batteries.
Please place the batteries and the parts which can be swallowed
mistakenly away from children. Contact a doctor immediately
when it occurs.
To avoid possible injury to eyes, do not use the flush light in a
short distance from the eyes.
To avoid possible safety accident, do not use the flush light on the
people who need a high degree of attention.
Please take out the batteries and stop using immediately in case of
below:
●This product is dropped or shocked seriously and the inner part
of the product is bared.
●If the battery leaks corrosive liquids, please take out the battery
with gloves.
●The product gives off strange smell, smokes or heats.
Do not disassemble or maintain this product. Touching the
internal high voltage circuit will cause electric shock.
II. Nomenclature
1. Reflection board
2. Wide-angle diffuser
3. Flash light’s head
4. Battery chamber’s cover
5. AF LED and optical control sensor
6. Locking ring
7. Hot shoe stand
8. Hot shoe pin

9. LCD panel
10. +/- buttons
11. Power Switch (ON/OFF)
12. Mode switch button
13. PC port
14. Charging indicator
15. Test button
LCD panel description
16. Mode indicator
17. Output/EV indicator
18. AF LED switch indicator
19. Aperture indicator
20. Output level fine / frequency indicator
21. Flash times indicator for Multi mode
22. Read-curtain indicator
23. Power low indicator
24. Flash head zooming indicator
25. Flash head manual zoom indicator

III. Installation Instruction
1. Install Batteries
Slide the batteries chamber’s cover in the
direction of the arrow.
Insert the batteries according to the label inside
battery chamber.
Make sure the direction of the batteries’ polarity
is correct. Close the battery chamber cover in
the direction of the arrow.
2. Mount the speedlite on your camera
Loosen the locking ring by turning it in the
direction of the arrow. Slip the speedlite hot shoe stand into the
camera hot shoe stand until it stops. Turn the locking ring in the
direction of the arrow tighten. To detach the speedlite, loosen the
locking ring by turning it in the opposite direction.
IV. Basic Functions
1. Basic Operations
Operation of the buttons:
Component Operation
[Power Button] Power switch of the flash light. The power
of the flash light can be opened or closed
by pressing this button for 2 seconds. It is
suggested that the battery shall be taken
out after the power of the flash light is
turned off through this button.
[Mode Switch
Button]
The mode of the flash light will be switched
among the TTL/M/Multi/S1/S2 in circle for
each press.
[Test Button] Press the test and the flash will output the
brightness.
[+]and[-]button Under the TTL mode, the exposure
compensation can be adjusted through this
button (the flash compensation of the
camera will be covered)

Under the M, Multi, S1 and S2 modes, the
output power of the flash light can be
adjusted through this button
Under the Multi mode, this button can also
be used to adjust the time of the frequency
flash and the frequency. Please refer to the
section of Multi mode.
[Mode Switch
Button]+[-]
Please press the [Mode Switch Button] first
for a while and then press [-]. The switch of
the focus light will turn on or turn off for
each press.
[Mode Switch
Button]+[+]
Please press the [Mode Switch Button] first
for a while and then press [+]. The flash
light will switch between the front-curtain
synchronization and back-curtain
synchronization for each press.
[Mode Switch
Button]+[Power
Button]
Please press [Mode Switch Button] first for
a while and then press [Power Button]. The
head focus of the flash light will switch
among the (Auto / 24 / 28 / 35 / 50 / 70 /
85mm) in circle for each press
Status and meaning of [Charging indicator]
Status of
[Charging
Indicator]
Meaning Operation
The red light
is lit.
The flash light is fully
charged, and can be used.
Normal
The green
light is lit.
The flash light has not been
fully charged.
If the green light is
lit for a long time,
replace the batteries.
The green
light blinks.
The flash light is locked
due to low battery.
Replace the
batteries.
The red and
green lights
blink
alternatively.
The flash light is locked to
prevent overheating due to
frequent flashing.
Wait for about 3
minutes to cool the
flash light.
2. Power-on and Power-off
Turn the switch knob clockwise to turn on the flash light power
supply; at the same time, the flash light is set as TTL mode, the
charging indicator is green and it will turn to red after the charge
is finished many seconds later, which indicates the flash is

available. Continue turning the knob to make the flash light enter
M mode and adjust flash power.
If the charging indicator keeps green for more than 20 seconds,
the flash will power off automatically.
After use, the power of the flash light can be closed by pressing
this button for 2 seconds.
3. TTL Mode
In this mode, the metering system of this camera will detect flash
illumination reflected back from the object so as to automatically
control flash output. When taking photos, you only require aiming
at some scene and press the shutter after focusing, the light will
give proper light as per tips and then you can get your desired
photo.
In the TTL mode, you can also make compensation of flash
brightness with the [Output control knob] within the range of ±3ev,
with the precision of 1/3ev. Please Note that this compensation
setting will override the exposure compensation setting on the
camera.
4. M Mode
In this mode, you can set flash luminance as per your favorite via
【+】 and 【-】 buttons. When taking photos, you only require
setting the flash luminance, adjust the camera and press the shutter,
the flash light will flash under the camera synchronous signal.
5. Multi Mode
The Multi mode is the stroboflash mode. Under this mode, the
flash light will output the power, flash frequency and time flash
you have set. The power can be adjusted by [+] and [-]. The
adjustmentscope of the output power is
1/128-1/64-1/32-1/16-1/8-1/4. If you want to adjust the flash time
and flash frequency, please press [+] once firstly and the output
power will shine. Press [Mode Switch Button] that is the MODE
button under this status, the flash time will shine. The flash time
can be adjusted at this time by pressing [+] and [-]. Then press
[Mode Switch Button] again, the flash frequency starts to shine.
The flash time can be adjusted at this time by pressing [+] and [-].
NOTE: The charging speed of the flash light is slow under the
situation that the electricity quantity of the battery is insufficient, which
may cause the occurrence of the high-frequency flash. Please reduce
the flash frequency or change new battery under this situation.
6. S1/S2 Mode
Press the [MODE] button, then the flash will enter S1/S2 mode.
These modes are applicable for slave flash in order to create many
light effects. They are respectively applicable for manual flash
environment and TLT flash environment.
When the flash is in S1 mode, it will work with the first work of
the master flash synchronously, with the result consistent with the
use of radio slave. To use this mode correctly, the master flash
should be set at manual flash and the TTL flash system with
preflight function and the red-reduction function with multiple
flashes should not be used.
S2 mode is similar to S1 mode, but it can support the master flash
in TTL mode. In particular, if S1 mode cannot have correct and
synchronous flash with the inbuilt flash, you can try to use S2
mode.
7. Menu Access of Camera (only compatible with Canon
ETTL camera system)
On the Canon camera
supporting ETTL, you can
switch flash mode via the
camera menu. With the
setting function of the
external flash function in the
flash control menu, you can
switch between the TTL
mode and the manual flash mode; in addition, on such menu, you
may also set front and rear curtain synchronization, and set
manual flash output with 1/3ev step length.
8. Test Flash
Whether in any mode, you can press PILOT button to test if the
flash light flashes normally.
In M/S1/S2 mode, press the PILOT button and the flash light will
send light with different luminance as per levels of output power
selected.
9. Power-saving Function
In TTL/M/MULTI mode, if idle for about 30min, the flash will
power off automatically.
In S1/S2 mode, if idle for 60min, the flash will power off
automatically.

10. Overheating Protection
If the flash light is used too frequently, its overheating protection
function will be triggered, the red and green lights of the charging
indicator will blink alternatively, and the flash light will be locked.
In such case, please wait for three minutes to cancel the protection
before continuing the use.
Please try to use the 1/4 output or lower when rapid shooting is
needed to prevent the effect on the shooting.
11. Auto Zoom
When the flash light is mounted on the camera system supporting
i-TTL/ETTL, the flash light tube will move forward and backward
with the changes of lens focus to suit different illumination zones.
Note: Auto Zoom does not support full frame camera system, but
you may pull out the wide-angle diffuser to avoid vignetting in
photos.
12. Set the focus position of the light head manually
The focus position of the light head can be set manually be
pressing [Mode Switch Button] + [Power Button]. Please press the
[Mode Switch Button] for a while and then press [Power Button].
The light head focus of the flash light will switch among the (Auto
/ 24 / 28 / 35 / 50 / 70 / 85) in circle for each press.
V. Advanced Application
1. Multi-lamp Lighting Application
Use inbuilt flash or top-mounted flash as master flash.
Place speedlite in different directions.
In outdoor application, radio signals
can be reflected by walls; therefore,
the placement of the slave flash
should have more space.
Before placing of the slave flash, test
whether S1/S2 can be synchronous
normally.
Do not place any obstacles between the host flash and the slave
flash, because they may block the transmission of radio signals.
In radio flash mode (S1 or S2), if the flash is idle for 30min, it will
power off automatically in order to save power
2. Exposure Bracketing (FEB)
The FEB function is set on the camera. For the specific setting
method, refer to your Camera Instructions. After the FEB is set,

after 3 photos are taken, exposure compensation will be made
automatically in the sequence of, for example, “normal Æunder
Æover”. This function helps you improve the success rate of
photo taking.
3. FV Lock (Nikon)
Set the AE-L/AF-L function as FV Lock on the camera before
using this function. At this time, you can aim at your desired
object in the viewfinder and then press the AE-L key or AF-L key,
in such case, the flash light will pre-flash to get the reading of
flash exposure for the object; after you have confirmed the scene
frame, press the shutter. (This function can only be available when
your camera supports it; for the setting of AE-L and AF-L, refer to
your camera manual)
4. FE Lock (Canon)
To use this function, cover the subject for which flash exposure
will be locked at the center of the viewfinder of camera, press the
button <*> of the flash exposure lock, and the flash light will
pre-flash and the camera will calculate the appropriate flash
output data. Now you have some time for recomposition, after
which, you can take photo. (The function can be used only when it
is supported by your camera. For the setting method, refer to your
Camera Instructions.)
5. Rear-curtain Sync
You can use slow-speed shutter to produce trailing smear for the
object and the flash light will flash at the moment when the shutter
is going to be shut, which means the rear-curtain sync
function .(For the rear-curtain sync setting, refer to your camera
manual for setting)
6. Application of AF LED
If the object or environment lacks sufficient light, the camera can
not conduct accurate focusing; at this time, the flash light can give
out AF light to assist in the camera’s focusing so as to achieve
accurate focusing.
7. Exposure Compensation
You can use the exposure compensation function of this camera to
compensate flash output so as to make shooting effect better meet
your requirements. (For Canon version, the exposure
compensation function on camera is available only in TTL mode)
In the TTL mode, you can also make compensation of flash

brightness with the [Output control knob] within the range of ±3ev,
with the precision of 1/3ev. Please Note that this compensation
setting will override the exposure compensation setting on the
camera.
8. Reflection Flash
Bounce flash means to take photos by making flash light head
aimed at wall or ceiling and using the light reflected back from the
ceiling or wall to light the desired object, so that the shade behind
the object can be decreased to get more natural shooting effect.
If the wall or ceiling is too far,
the bounce flash may be too
weak to get enough exposure.
The wall or ceiling should be
even and white in order to get
efficient reflection; if the
reflection surface is not white,
color cast may appear in photo.
9. Use Reflection Board to Take Photos
With the reflection board flash, draw the reflection board and the
wide-angle diffusion board out from the light head at the same
time and then push the wide-angle
diffusion board back. In such case,
if this product is being used to take
photos, it will produce a
highlighted point on the eyes of
the subject and thus make the eyes
charming (catch light). This
function can reach optimal effect
when the flasher head is up 90°.
10. Use Wide-angle Diffuser
Pull out the wide-angle diffusion
board, push back the reflection board
and arrange them as per the figure; in
such case, the flash scopes will extent
to 18 mm and the flash effect will be
softer and more natural.
Note:When this product is used in incompatible iTTL/ETTL
camera, Functions 2, 3, 4, 5, 6 and 7 are not available.

VI. Specifications
Guidenumber 33
Circuit design Insulated Gate Bipolar Transistor (IGBT)
Flash mode TTL, M, Multi, S1, S2
Zoom range auto, 24, 28, 35, 50, 70, 85 mm
Vertical rotation angle -7~90 degrees
Horizontal rotation angle 0~270 degrees
PowerSupply 4×AAsizebatteries(AlkalineorNi-MH
are usable)
Lighting times 100~1500 times (AA alkaline cell used)
Recycle time less than 5s (AA alkaline cell used)
Color temperature 5600k
Flash time 1/800s~1/20000s
Flash control TTL auto flash or manual Level 8 light
quantity output control with 0.3 stop
increment
Additional features FEB, FEC, FEL, Automatic zooming,
Rear-curtain Sync.
Dimensions 60×72×172 mm(extended state)
Netweight 300g
Accessories Flash light (1), protecting bag (1), and
mini stand(1) and manual (1)
VII. Possible problems during use and solutions
1. The AF LED is not on? Check if this camera needs flash light
assist AF or if it supports the function; some cameras requires
focucal points to be in the center, focus method to adopt AF-S and
requires dark environment; check if some settings in the camera
are forbidden.
2. Photos are under exposure or over exposure? Check if the set
shutter, aperture and ISO are too near the flash limit or if some
settings including exposure compensation in relation to flash are
proper.
3. Vignetting appears in photos or only part of the subject is
illuminated? This product has a designed light head zoom range
of 24-85 mm, and is currently not compatible with full frame
camera system. You may pull out the wide-angle diffuser to widen
the flash range.
4. Because of differences among various models of cameras and
different personal preferences, the use of this product may cause

the whole overexposure or underexposure; please try to make
adjustments by the camera flash compensation or exposure
compensation settings.
5. You may feel the flash control panel is dim, because there is
one protective film on the panel; you can tear it away to enjoy a
clear visual effect.
6. The flash light is abnormal? Switch off the power of flash
light and camera, mount the flash light on the hot shoe of camera,
and switch on the power of flash light and camera again. If the
abnormity continues, replace the batteries.
7. Precaution for outdoor use of lambency umbrella: The
lambency umbrella mounted on the flash light outdoors may be
blown down easily, and the hot shoe of the flash light may be
broken. Please fix the mounting rack or avoid outdoor use.
8. The S1 and S2 lead flash without the camera failed? The
following situation shall be avoided when the S1 and S2 modes
are used: the wireless touch sensor is directly shined under the sun;
the red eye reduction function of the main light is used; the order
mode (Nikon) or wireless mode (Canon) of the main light is used;
the ST-E2 is used as the flash controller.
The YONGNUO logo in this manual includes the registered
trademark or trademark of SHENZHEN YONGNUO
PHOTOGRAPHY EQUIPMENT Co., Ltd in China or/and other
countries (regions). All other trademarks are the property of their
respective owners.
Shenzhen Yong Nuo Photographic Equipment Co., Ltd
Address: 2-A511 Saige Science & Technology Park, North
Huaqian Rd, Futian District, Shenzhen, China
Website: www.hkyongnuo.com
TEL: 400-001-3888
Table of contents
Other Yongnuo Camera Accessories manuals

Yongnuo
Yongnuo TOYUG YN-622C User manual

Yongnuo
Yongnuo TOYUG YN-622C User manual

Yongnuo
Yongnuo YN565EXII User manual

Yongnuo
Yongnuo RF-603 User manual

Yongnuo
Yongnuo YNLUX200 User manual

Yongnuo
Yongnuo YN650EX-RF User manual

Yongnuo
Yongnuo YN-04II User manual

Yongnuo
Yongnuo RF-603 II User manual

Yongnuo
Yongnuo RF605C User manual

Yongnuo
Yongnuo yn565ex II User manual