Security issue verification
A&AT 16:59
you can verify by answering the question
Which city did you go to on the first flight?
XXXXX
what is your QQ number?
XXXXXXXX
what is your pet’s name
input your answer
next step
safety verification
A&AT 16:59
input the code
get the code
You are logging in to a new device.For account security,
please conduct safety certification.
verify
change the account
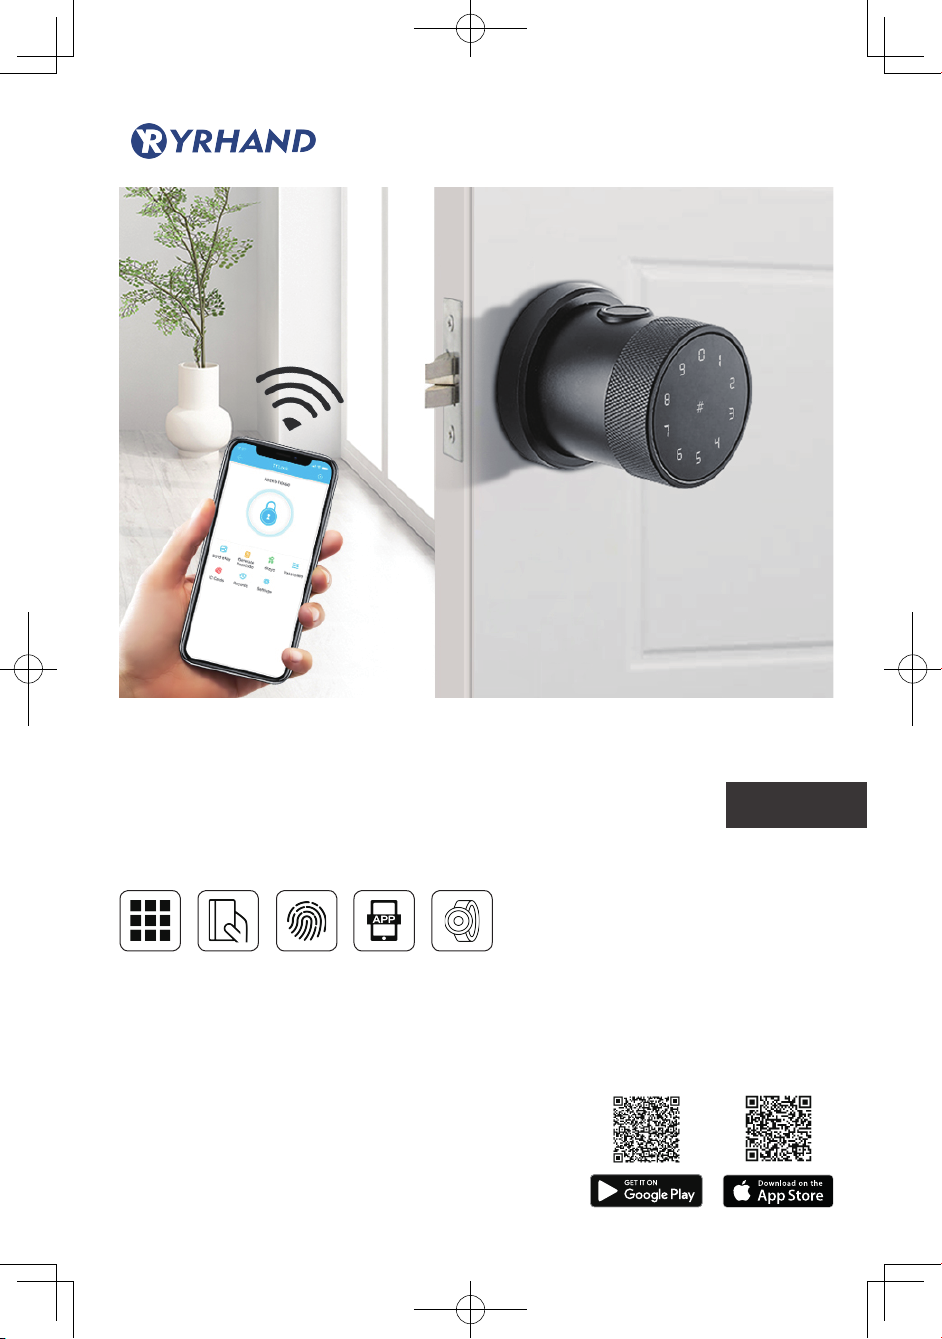
Operations for TTLOCK6
Serch on APP store or Android store or scan the QR code we
provided to download TTLOCK and install it.
Please read this manual carefully before install and keep it
properly. Please refer to sales agents and professionals for
information not included in this manual.
Introduction
The App is a smart lock management software developed by
Hangzhou Sciener Intelligent Control Technology Co.,Ltd. It
includes door locks, parking locks, safe locks and more.
The app supports Chinese, Traditional Chinese, English, Spanish,
Portuguese, Russian, Frenchand Malay.
Contents
The App communicates with the lock via
%OXHWRRWK%/(DQGFDQXQORFNORFNÀUPZDUH
upgrade, read operation records, etc. The
Bluetooth key can also open the door lock
through the watch.
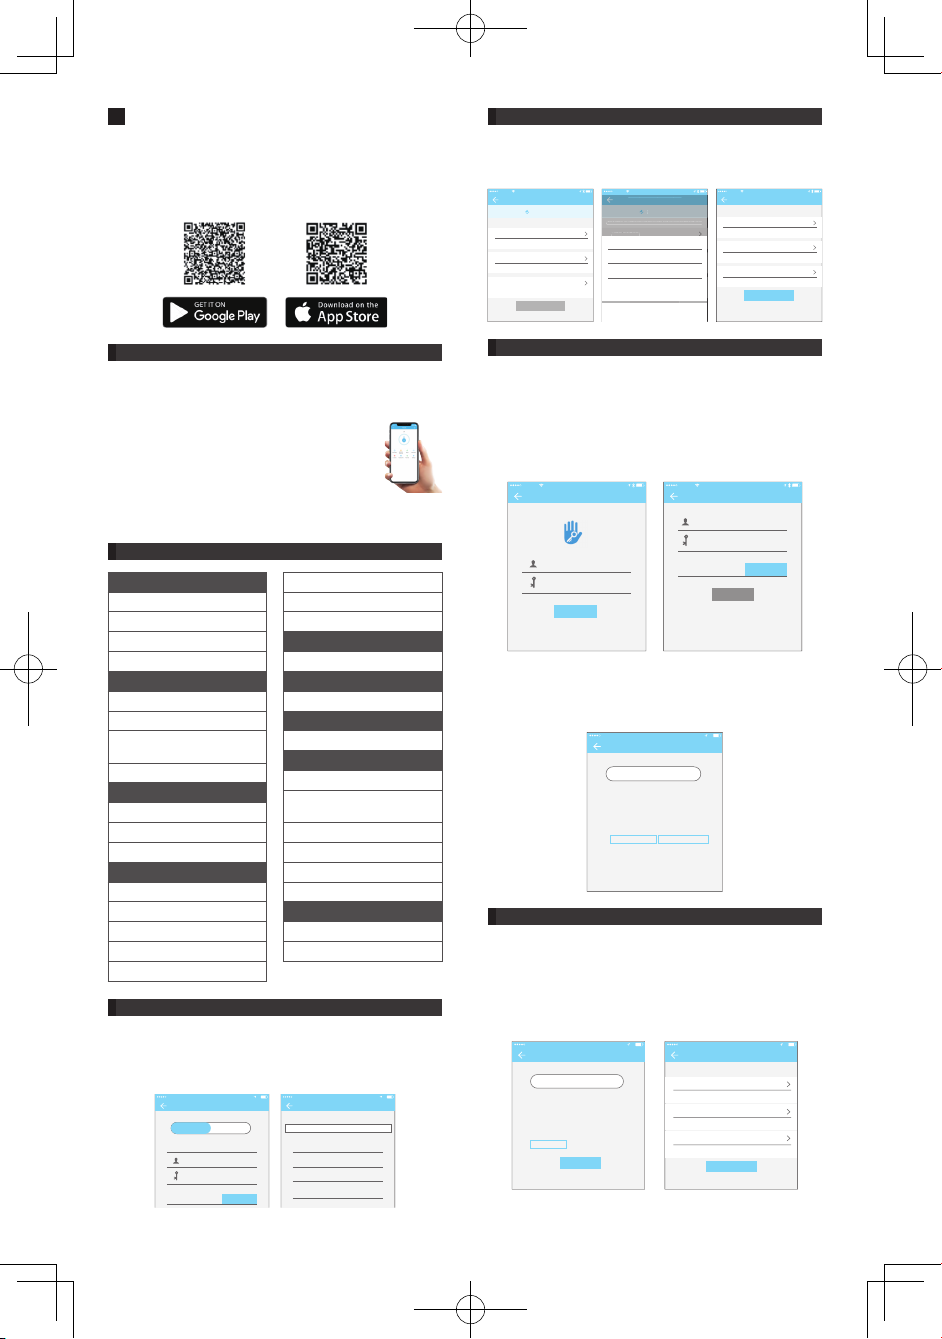
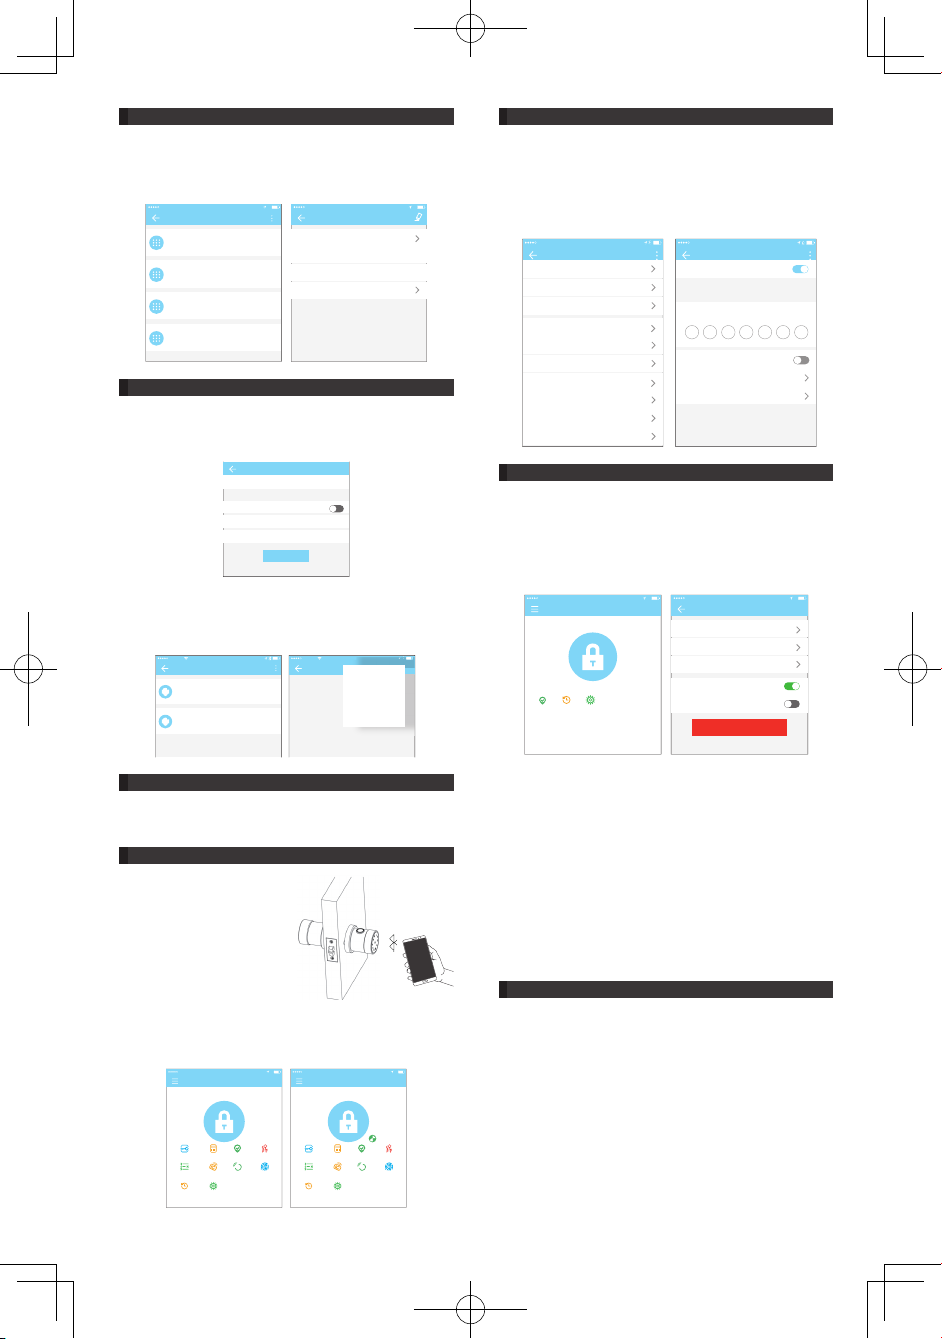
1. Registration and login
1.1 Security question settings
1.2 Login authentication
1.3 Ways of identifying
1.4 Login successful
2. Lock management
2.1 Lock adding
2.2 Lock upgrading
2.3 Error diagnosis and time
calibration
2.4 Authorized administrator
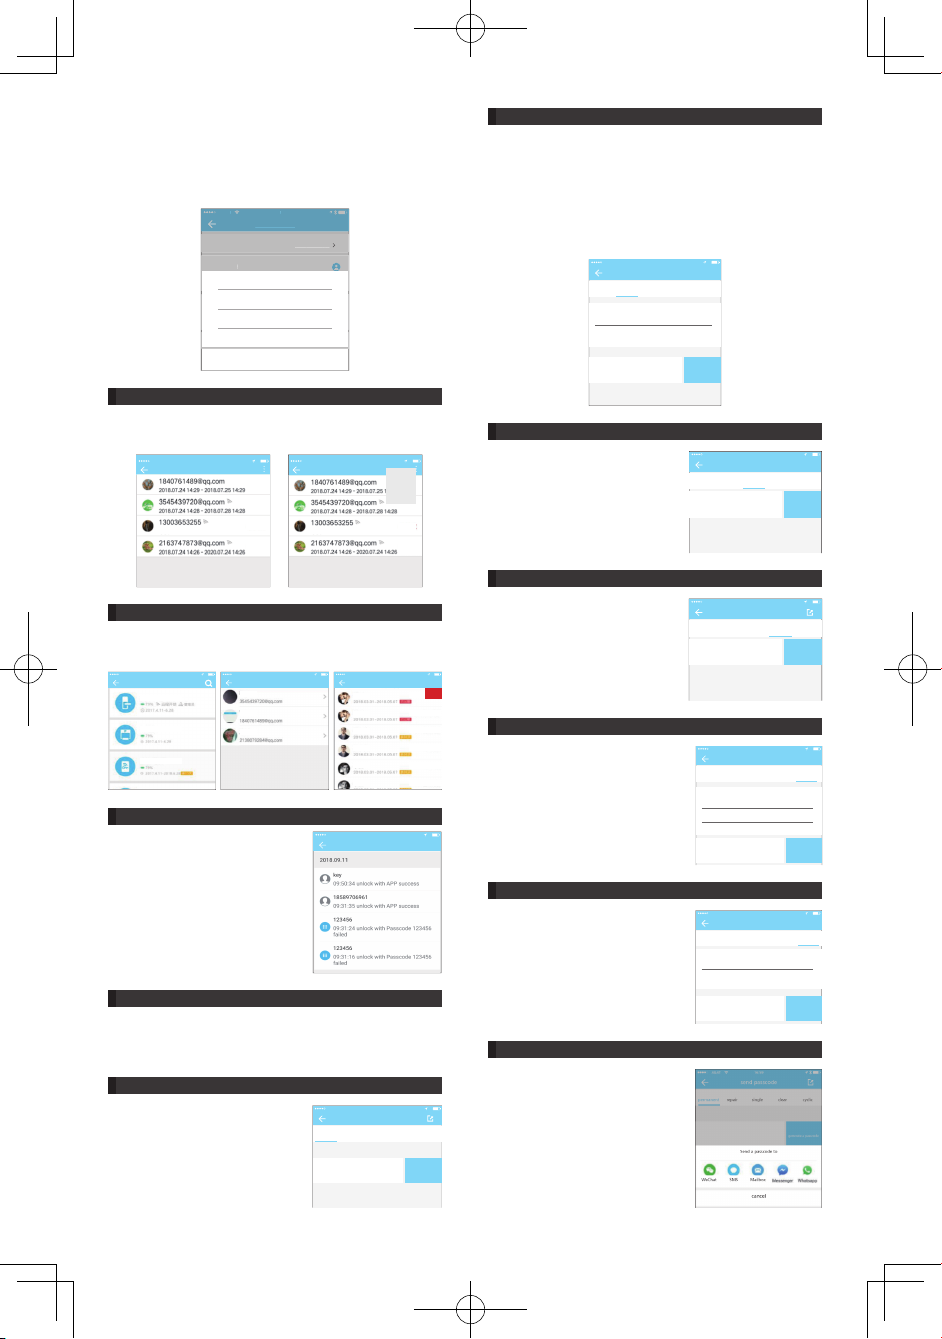
3. Key management
3.1 Key management
3.2 Deadline warning
3.3 Search lock record
4. Passcode management
4.1 Permanent passcode
4.2 Time-limited passcode
4.3 One-time passcode
4.4 Clear code
4.5 Cyclic passcode
4.6 Customized passcode
4.7 Passcode sharing
4.8 Passcode management
5. Card management
6. Fingerprint management
7. Unlock via Bluetooth
8. Passage mode
9. Attendance management
9.1 Attendance setting
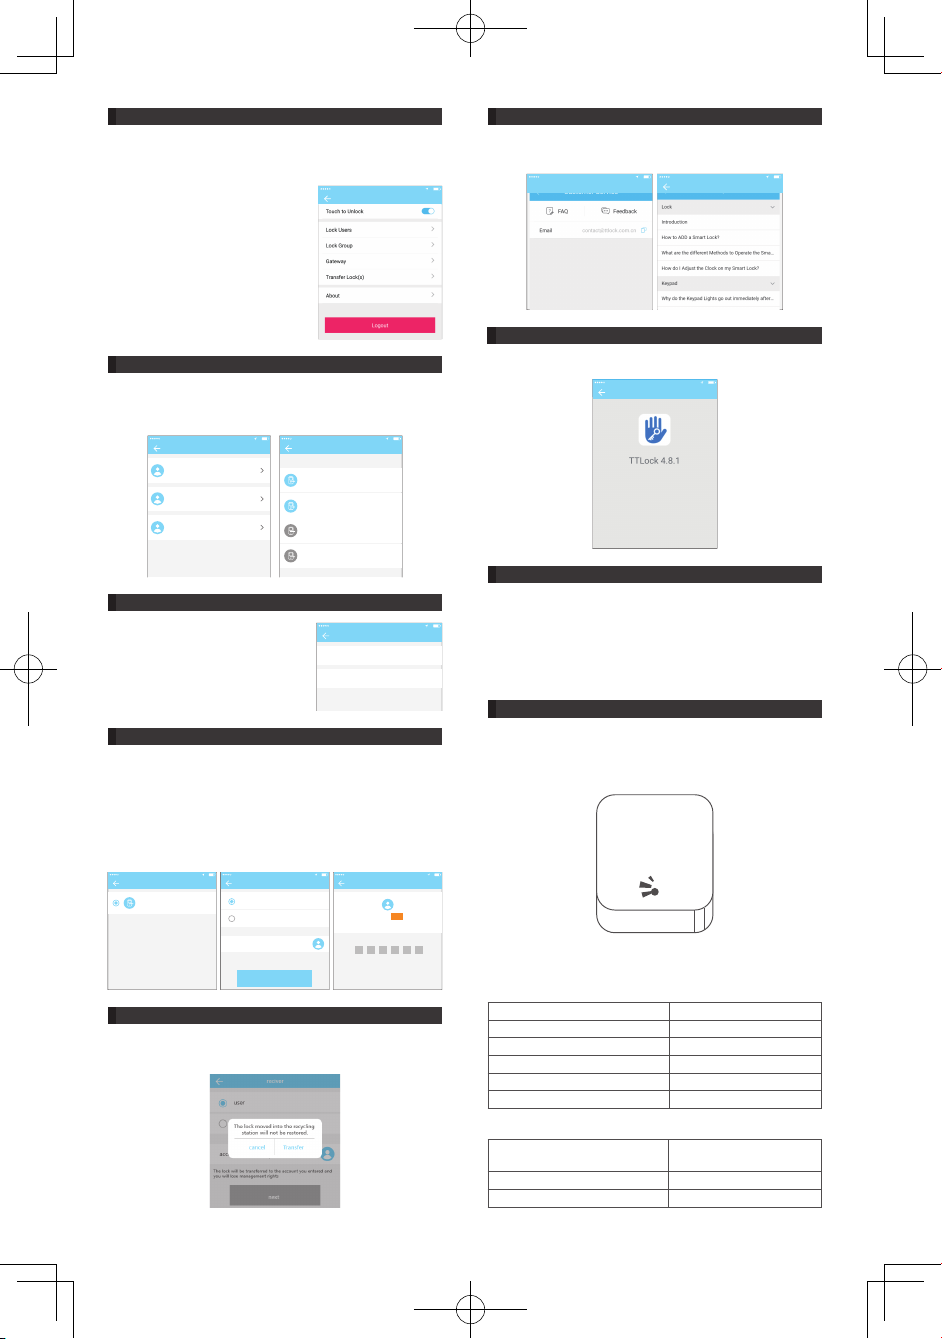
10. System setting
10.1 User management
10.2 Group management
settings
10.3 Transfer admin rights
10.4 Recycle bin
10.5 Customer service
10.6 About
11. Gateway management
11.1 WIFI gatway (G2 version)
11.2 Pair the gatway with APP
1. Registration and login
Users can register the account by mobile phone and Email which
currently support 200 countries and regions on the world. The
YHULÀFDWLRQFRGHZLOOEHVHQWWRXVHU·VPRELOHSKRQHRUHPDLO
DQGWKHUHJLVWUDWLRQZLOOEHVXFFHVVIXODIWHUWKHYHULÀFDWLRQ
registration
A&AT 16:59
mobile phone Email
country/region
input the phone number
Please enter a 6-20 alphanumeric password
verification code
CHINA(+86)
get the code
choose the country
A&AT 16:59
search
Afghanistan
Azerbaijan
Oman
United Arab Emirates
+93
+994
+968
+971
A
B
C
D
E
F
G
H
I
J
K
L
1.1 Security question settings
You will be taken to the security question settings page when
registration is successful. When log in on a new device, the user
can authenticate himself by answering the above questions.
security question settings
A&AT 16:59
It can be verified by answering questions when logging in to a new device
Which city did you go to on the first flight?
input your answer
What is your QQ number?
input your answer
What is your pet’s name?
input your answer
next step
Security question settings
A&AT 16:59
successful
It can be verified by answering questions when logging in to a new device
Question one
䈧൘↔༴䗃ޕⲴㆄṸ
䰞仈а
䈧൘↔༴䗃ޕⲴㆄṸ
䰞仈а
䈧൘↔༴䗃ޕⲴㆄṸ
⺞ᇊ
ecur
ty quest
on sett
ng
success
u
t can be verified by answerin
questions when lo
in
in to a new device
uest
on on
൘↔༴
ޕ
ⲴㆄṸ
仈а
൘↔༴
ޕ
ⲴㆄṸ
仈а
൘↔༴
ޕ
ⲴㆄṸ
choose a question
Which city did you go to on the first flight?
What is your QQ number?
What is your pet’s name?
cancel
Security question settings
A&AT 16:59
successful
It can be verified by answering questions when logging in to a new device
Question one
input your answer
Question two
input your answer
Question three
input your answer
next step
1.2 Login authentication
1.3 Ways of identifying
Log in with your mobile phone number or email account on
the login page. The mobile phone number is automatically
recognized by the system and does not input the country code.
If you have forgotten your password, you can go to the passward
page to reset your password. When reset the password, you can
receive a verification code from your mobile phone and email
address.
When the account is logged in on the new mobile phone, it
QHHGVWREHYHULÀHG:KHQLWLVSDVVHG\RXFDQORJLQRQ WKH
new mobile phone. All the data can be viewed and used on the
new mobile phone.
7KHUHDUHWZRZD\VRIVHFXULW\YHULÀFDWLRQ2QHLVWKHZD\WRJHW
WKHYHULÀFDWLRQFRGHYLDWKHDFFRXQWQXPEHUDQGWKHRWKHULVWKH
way to answer the question.
,IWKHFXUUHQWDFFRXQWLVVHWWKHDQVZHUWKHTXHVWLRQYHULÀFDWLRQ
then when the new device is logged in, there will be an "answer
TXHVWLRQYHULÀFDWLRQRSWLRQ
9HULI\ZLWKYHULÀFDWLRQFRGH Verify by answering questions
register
A&AT 16:59
input verification code here
get the code
You are logging in to a new device.For account security,
please conduct safety certification.
Admission fee: xxxxxxxxxx
Replace receiving account Replace verification method
Retrieve passcode
A&AT 16:59
mobile phone/Email
passcode
Verification code get the code
reset the passcode
loginr egister
A&AT 16:59
mobile phone/ Email
passcode
Forgot Password?
Login
3