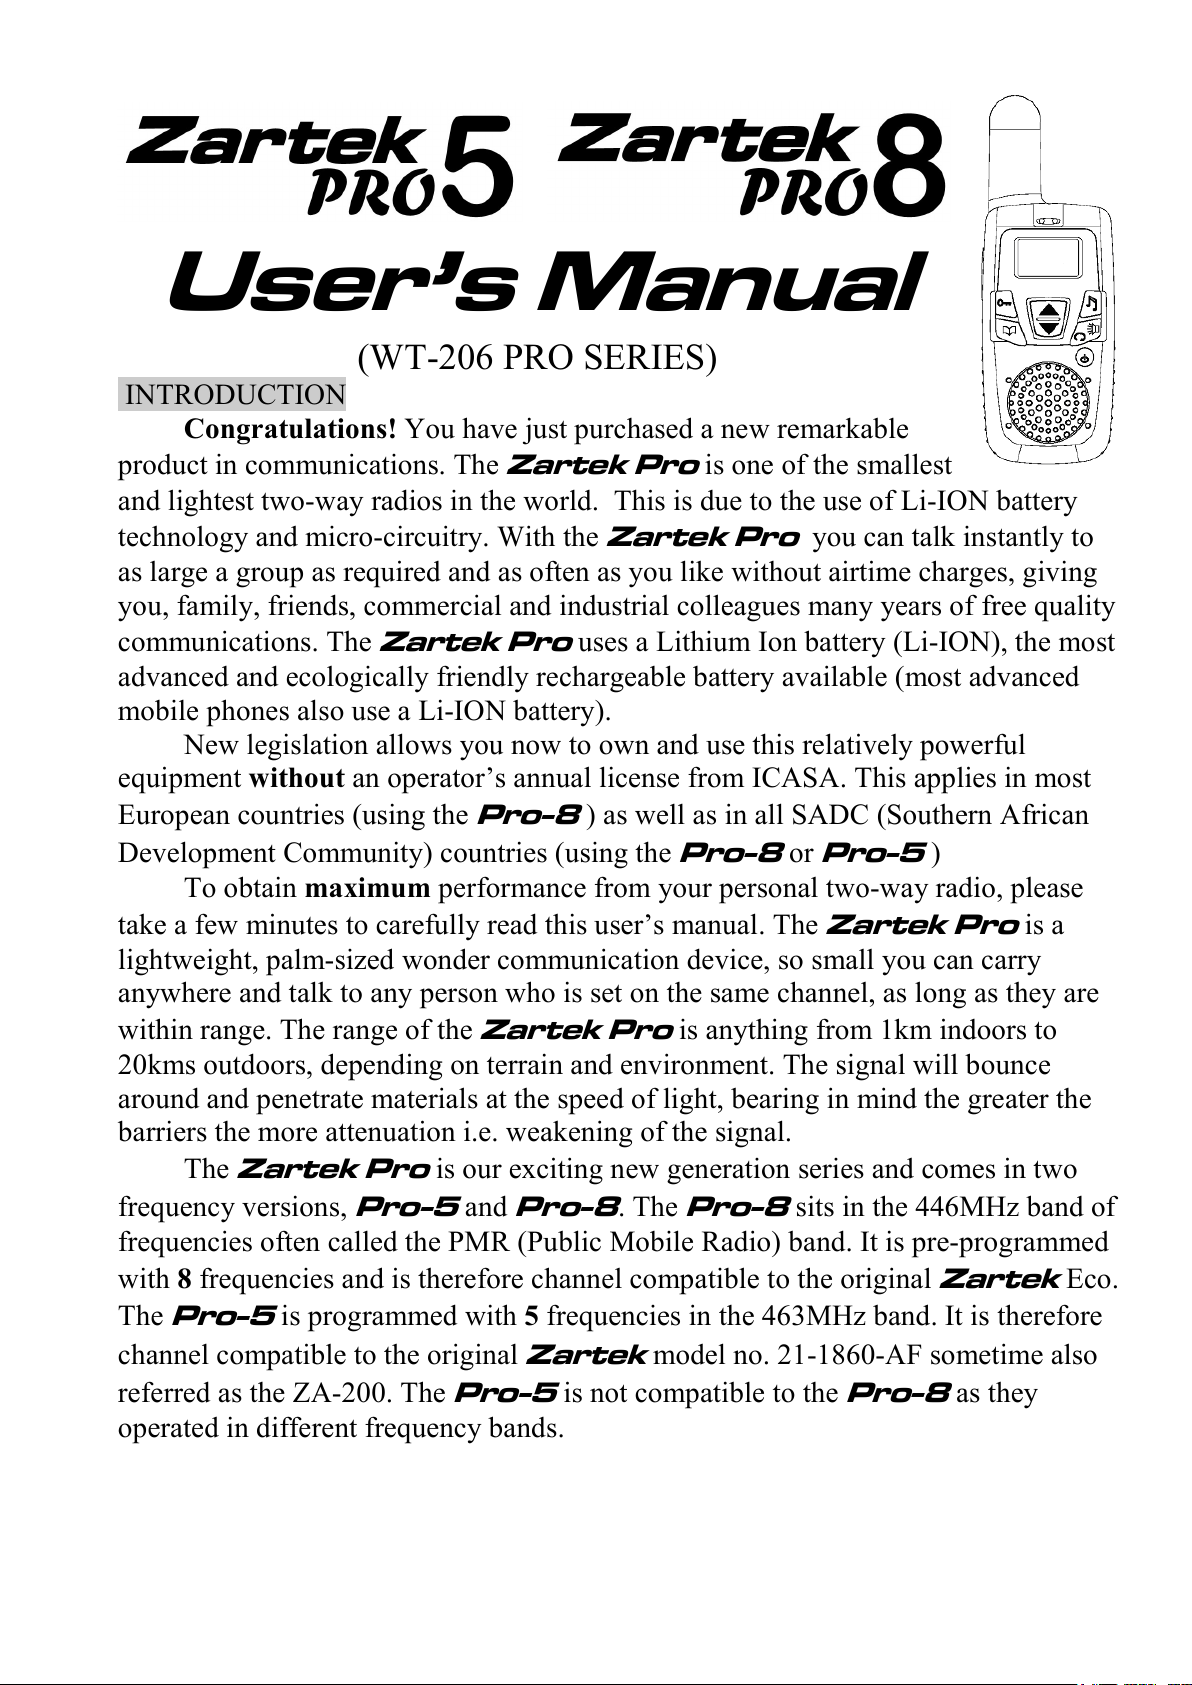
Zartek Pro 5 User manual

User’s Manual
(WT-206 PRO SERIES)
INTRODUCTION
Congratulations! You have just pur hased a new remarkable
produ t in ommuni ations. The
Zartek Pro
is one of the smallest
and lightest two-way radios in the world. This is due to the use of Li-ION battery
te hnology and mi ro- ir uitry. With the
Zartek Pro
you an talk instantly to
as large a group as required and as often as you like without airtime harges, giving
you, family, friends, ommer ial and industrial olleagues many years of free quality
ommuni ations. The
Zartek Pro
uses a Lithium Ion battery (Li-ION), the most
advan ed and e ologi ally friendly re hargeable battery available (most advan ed
mobile phones also use a Li-ION battery).
New legislation allows you now to own and use this relatively powerful
equipment without an operator’s annual li ense from ICASA. This applies in most
European ountries (using the
Pro-8
) as well as in all SADC (Southern Afri an
Development Community) ountries (using the
Pro-8
or
Pro-5
)
To obtain maximum performan e from your personal two-way radio, please
take a few minutes to arefully read this user’s manual. The
Zartek Pro
is a
lightweight, palm-sized wonder ommuni ation devi e, so small you an arry
anywhere and talk to any person who is set on the same hannel, as long as they are
within range. The range of the
Zartek Pro
is anything from 1km indoors to
20kms outdoors, depending on terrain and environment. The signal will boun e
around and penetrate materials at the speed of light, bearing in mind the greater the
barriers the more attenuation i.e. weakening of the signal.
The
Zartek Pro
is our ex iting new generation series and omes in two
frequen y versions,
Pro-5
and
Pro-8
. The
Pro-8
sits in the 446MHz band of
frequen ies often alled the PMR (Publi Mobile Radio) band. It is pre-programmed
with 8 frequen ies and is therefore hannel ompatible to the original
Zartek
E o.
The
Pro-5
is programmed with 5 frequen ies in the 463MHz band. It is therefore
hannel ompatible to the original
Zartek
model no. 21-1860-AF sometime also
referred as the ZA-200. The
Pro-5
is not ompatible to the
Pro-8
as they
operated in different frequen y bands.

MAIN FEATURES
• PLL (Phase Lo k Loop) Controlled Cir uitry
• Ultra Slim size (19mm)
• Ultra light weight (67g with battery)
• Li-ion re hargeable battery
• 5 or 8 UHF (Ultra High Frequen ies) Frequen ies
• 38 Quiet (CTCSS-Continuous Tone Coded Sub-audible Squel h) Codes
• 190 hannels (PRO-5) or 304 hannels (PRO-8)
• Digital Volume Control (15 levels)
• Channel S anning
• VOX (Voi e Operated Transmit) Fun tion (3 levels of sensitivity)
• S ramble Fun tion ( 4 formulae )
• Baby Monitor (3 levels of sensitivity)
• FM Radio 88~108MHz
• Stop Wat h with Lap Time
• Roger Beep On/Off
• Call Fun tion (10 different tones)
• Auto Squel h Control
• Ba k lighted LCD (Liquid Crystal Display)
• Keypad Lo k
• Memory Retention Fun tion
• Auto Power Off (APO)
• Power Saving Cir uitry
• Battery Charge/Drain Indi ation
• External Mi /Headset (PTT or VOX) in luded
• Transmit indi ator i on and light
INSTALLING BATTERIES
Use the Li-ION re hargeable battery provided.
Press battery over release button slightly
down and then slide the battery door off.

.
WARIG
• Make sure the polarity of battery is orre t.
• When the battery is damaged or not working, dispose of it safely. Never dis ard
them or put them lose to heat, otherwise, it may explode.
This radio is designed to use a 3.7v Li-ION re hargeable battery. The battery
in luded is well designed to fun tion with this equipment and has built-in prote tion
ir uitry for internal short ir uit and over harge.
RECHARGING BATTERIES
When the “Battery Level” i on is low, you need to harge the battery with the
en losed AC/DC Adaptor (or Optional Desktop Charger). The battery has a built-in
harging urrent limiting ir uit and when the battery is fully harged, the ir uit will
automati ally ut the harge urrent to prote t the battery.
• The harging y le rate is about 750 times. Li-Ion batteries do have a shelf life
and should be stored with harge and in a ool environment to extend their life.
With AC/DC Adaptor & vehi le igarette lighter Adaptor:
• Plug the adapter into the wall or vehi le igarette lighter so ket and the other end
plug into the earphone ja k on the radio.
• The unit will automati ally turn off and the LCD ba klight will turn RED to
indi ate harging.
• To harge fully from empty requires about 4 hours.
• When fully harged the LCD ba klight will turn GREE.
• Unplug the adapter from the so ket and the radio will automati ally turn on.
Follow "This Side Fa e Up" and +/- polarity to
install the Li-ION battery pa k into the
ompartment
Slide the battery door on to lose.

WARIG:
• Only use vehi le igarette lighter adaptor with standard 13.6vDC so ket.
• The unit will warm up slightly during harging.
With Desk Top Charger
• Plug the AC/DC adaptor into wall and other end plug into the desk-top harger.
• Pla e the radio into the desk-top harger.
• While harging, the Red LED on the harger will remain ON
• Unlike the dire t adaptor, the radio remains ON and does not turn auto OFF.
• A full harge requires about 6 hours. The Red LED of the harger will then turn
OFF and the radio’s Red LED will turn ON, indi ating full harge.
WARNING: To avoid damage to the radio use only original a essories.
OVERVIEW
1. Mi rophone
2. Earphone & Mains/Vehi le Charger Ja k
3. Keypad Lo k key
4. Menu key
5. Up key
6. Down key
7. Call Tone key
8. S an / Monitor key
9. Power On / Off key
10. Speaker
11. Desktop Charger Conta ts
12. PTT Button
LCD DISPLAY ICONS

GENERAL OPERATION
Power On/Off the unit 1
Making ommuni ation 2
Speak to other radios 3
Listen to other radios 4
Adjusting speaker volume 5
Talk Time-Out Fun tion 6
Talk Range 7
Menu Flow hart 8
Sele t hannel 9
CTCSS ode fun tion 10
FM Radio 11
Sending Call Tones 12
Sele t Call Tones 13
S ramble Fun tion 14
VOX “Hands-Free Walk & Talk” 15
Stop Wat h 16
Lap Time 17
Baby Monitor 18
Roger Beep (ON/OFF) 19
Auto Power Off (APO) 20
S anning Channels 21
Keypad Lo k 22
Using a PTT/VOX Earphone 23
Care and Safety 24
Warning 25
Spe ifi ations 26
Compatibility 27
A essories 28
Warranty 29
(1) POWER ON/OFF
• To power ON the radio, press Power On/Off key " " for 2 se onds until a beep is
heard and the LCD s reen displays the hannel and battery level i on
• To power OFF the radio, press Power On/Off key " " for 2 se onds until LCD
display turns off.

(2) MAKING COMMUNICATIONS
The radio has 5 or 8 main frequen ies (large numbers) & 38 CTCSS odes (small
numbers) effe tively giving you 190 or 304 hannels respe tively. You an
ommuni ate with any other user who is using the same ombination, providing they
are within range.
(3) SPEAK TO ANOTHER RADIO
• Press & hold the PTT key, the RED LCD ba klight turns on and shows the i on
indi ating the radio is transmitting.
• Hold the radio in a verti al position with the mi rophone 3-5 m from your mouth
and then speak.
• When you finish speaking, release the PTT key and a beep tone will be heard.
(4) LISTEN TO ANOTHER RADIO
• The radio will automati ally sound re eived transmissions from the same hannel.
• When you press the PTT key, you an’t listen to other radios. Make sure you do
not press the PTT key for listening.
• Adjust volume ontrol if ne essary.
(5) ADJUSTING SPEAKER VOLUME (15 LEVELS)
• Press the " " key to in rease the volume.
• Press the " " key to de rease the volume.
(6) TALK TIME-OUT FUNCTION
• Time-out fun tion an avoid transmitting by han e and prolong the battery life.
• The radio will stop transmitting and sound a warning tone when PTT is held over
60 se onds. You then need to release PTT and press again for further
transmission.
• In VOX mode, the unit will stop transmitting and sound a warning tone after
ontinuous talk for 60 se onds. You an re-a tivate VOX after the time-out.
(Please refer to VOX fun tion for detailed VOX operation)
(7) TALK RANGE
The range will depend on the type of terrain that you are ommuni ating a ross.
The
Zartek Pro
uses the UHF (Ultra High Frequen y) band and will be subje t
to similar obsta le interferen e as ellular phones. The radio works indoors as well as
outdoors. Typi al rough estimate ranges for different terrains are:
• Shopping entre 300m-1000m

• Building 5-30 stories,
• City entre & dense bush 500m-2km,
• Residential & over water 2-4km,
• Farmland 3-5km,
• Top of mountain or building (line-of-sight) 10-30km.
When you press the PTT talk button a signal is transmitted and the signal floods the
area in all sideway dire tions. The signal travels in 3 different ways:
1) Penetration: The signal an go through materials su h as wood, plasti , ement
and fabri . The denser the material or more built up the environment the weaker the
signal will be ome. The signal annot go through solid metal or very large solid land
stru tures su h as a hill or mountain. Metal a ts like a shield and that is why the
performan e from the inside of a vehi le ( ar or 4x4) will be less than outside.
2) Re lection: The signal annot go through metal or very large stru tures su h as a
hill or mountain, but it an boun e off (like a mirror), go around and refle t in other
dire tions as well. This happens at the speed of light.
3)Line-o -sight: Line-of-sight is when there are no obstru tions in the path between
the ommuni ating parties. The higher up you go the further you an see, so the
larger the line-of-sight distan es will be. Generally you an talk to wherever you an
see, whi h is why the overage in a valley is mu h less than the overage from on top
of a hill.
Ensure that there is nothing blo king the antenna .The less metal in lose proximity
(0-2m) the better the range. There may be external interferen e from ele tri al
equipment (power lines or fa tories) or natural auses (moisture in the air or storms)
that may vary depending on the lo ation and the weather.
(8) MENU FLOW CHART
Press " " on e to enter main hannel sele tion, press " " again for next fun tion
sele tion et .
Main s reen Main Frequen y CTCSS FM Radio Call tone S ramble
VOX Stop Wat h Baby Monitor Roger Beep APO Main s reen
(9) SELECT CHANNEL
To set the Main Frequen y
• Press the " " key on e, 1 of the 8 “frequen y numbers” displayed will flash.
• Press" " or " " key to sele t your required main frequen y.
• Press the "PTT" key to onfirm or press " " to ontinue.
• You have 12 se onds to de ide before auto-reverting ba k to the main s reen.

(10) CTCSS CODE FUNCTION
This fun tion an help you sele t your group (38 CTCSS odes) of users on the
shared frequen y. Only the users with the same CTCSS ode an listen and talk to
ea h other.
To sele t a CTCSS ode
• Press the " " key twi e, the CTCSS ode display will flash.
• Press " " or " " key to sele t your required CTCSS ode (1~38, " 0 " is off).
• Press the "PTT" key to onfirm or press " " to ontinue.
• You have 12 se onds to de ide before auto-reverting ba k to the main s reen.
(11) FM RADIO
You an listen to FM Radio with the speaker or through earphone.
• Press " " key 3 times to enter FM radio mode.
• LCD will display the FM radio frequen y.
• Press " " or" " key to hange the FM radio frequen y.
• Press and hold " " or" " key to automati ally s an FM radio frequen ies.
S anning will stop when it finds a FM radio hannel
• Continue s anning for FM radio frequen ies by pressing the " " or" " key.
• Volume on the radio is adjusted by pressing " " key and then pressing " " or " "
key whilst listening to FM radio.
• When you re eive other 2-way radio all signals, or you press PTT key to
transmit, the unit will automati ally swit h to 2-way radio mode.
• After finishing the ommuni ation, you an press " " key 3 times again to enter
FM mode. The unit will remain on the last FM radio frequen y you have sele ted.
(12) SENDING CALL-TONES
You an use 1 of 10 different “Call Tones” to all to attention another user on the
same hannel. The 10 kinds of sounds an be used for personal identifi ation
• Pulse “ ” key on e and the tone will sound, the transmit i on and all tone
i on will appear on the LCD and your sele ted all tone will be sent.
• If the “ ” key is held pressed the all will not be transmitted but the LCD
ba klight will remain on.
(13) SELECTING A CALL-TONE (10 AVAILABLE)
• Press " " key four times, i on will appear and all tone number will flash.
• Press" " or " " key to sele t your desired all tone.
• Press the "PTT" key to onfirm or press " " to ontinue.
• You have 12 se onds to de ide before auto-reverting ba k to the main s reen.

(14) SCRAMBLE FUNCTION
You an enjoy privacy to talk within your group by sele ting a same s ramble
formula as your group member does.
• Press " " key 5 times and LCD will display the s ramble i on
.
• Press " " or " " key to sele t a formula from 1 to 4. Option OF is to turn the
s ramble fun tion off.
• Press PTT to onfirm and return to the main s reen or press " " key on e to
onfirm the sele tion and ontinue to the next menu feature.
• After turning the s ramble fun tion on (1-4), the LCD will display
i on.
• Please make sure other group member’s PMR has s ramble fun tion and has
sele ted the same formula otherwise the re eived onversation will be s rambled
and in omprehensible.
(15) VOX “HANDS FREE WALK & TALK”
The
Zartek Pro
has innovative state-of-the-art te hnology not seen in other two-
way radios with its multi-level sensitivity built-in VOX fun tion. You an enjoy
talking and listening without pressing PTT key as transmit is automati ally a tivated
by sound. This turns your radio into hands free “walk & talk” with your a essory
earphone.
• To turn on VOX fun tion press " " key six times, the LCD displays the i on
and the VOX sensitivity digit display will flash.
• Press" " or " " key to sele t OF, 1, 2 & 3 for OFF, low, medium & high
sensitivity.
• After turning on VOX the LCD will display i on, and press PTT to onfirm and
quit or press " " key on e to onfirm the sele tion and ontinue to the next menu
feature.
• You an plug in the earphone for hands-free talking & listening.
• The VOX feature works best when speaking dire tly into (or lose to) the
mi rophone on the radio or on the external headset.
(16) STOPWATCH
• Press " " key 7 times to enter the stopwat h mode.
• Press " " or " " key to start the wat h.
• Press " " or " " key to stop the wat h.
• Press " " key to reset.
(17) LAP TIME
• On e in stopwat h mode to get a lap time, press " " or " " key to start the wat h.

• Press the " " key to stop and show the lap time while the wat h is running.
• Press the" " key again to swit h ba k to stopwat h mode and show the running
time.
• Press the " " or " " key to stop and press " " key to reset.
• Press the" " key 4 times to exit to the main s reen.
Whilst in stopwat h mode the user an transmit and re eive on the stored hannel.
(18) BABY MONITOR
• Press the" " key 8 times and the LCD will display the "Baby" i on.
• Press the " " or " " key to monitor sensitivity level from 1 to 3 (low to high
level), OF is turn OFF this fun tion.
• Press PTT to onfirm and quit or press " " key on e to onfirm the sele tion and
ontinue to the next menu feature.
• After turning on this fun tion the LCD will display "Baby" i on on the main
s reen.
(19) ROGER BEEP (ON/OFF)
The Roger beep notifies the re eiving radio that the onversation has ended by
sounding a beep when the transmitter has finished.
• To a tivate the roger beep press the " " key 9 times and the LCD will display
"RGR".
• Press the " " or " " key to turn on ("O" i on) or turn off ("OF" i on) the Roger
beep.
• Press PTT to onfirm and exit to the main s reen or press the " " key on e to
onfirm the sele tion and ontinue to the next menu feature.
• After turning on the Roger beep, LCD will display RGR i on.
(20) AUTO POWER OFF (APO)
• Press the " " key 10 times the LCD displays the
i on.
• Press " " or " " key to sele t auto power off time from 0 to 12 hours.
• Press PTT button to onfirm and return to the main s reen or press the" " key
on e to onfirm the sele tion.
• After turning on this fun tion the LCD will display the "
" i on and
automati ally turn off at designated time.
(21) SCANNING CHANELLS
• Press " " key on e and the " " i on will appear and radio will start s anning
through the 190/304 hannels automati ally.

ote: Pressing the button for over 2 se onds, will break the squel h noise and
open (un-squel h) the frequen y.
• The radio s ans all the frequen ies one by one and will lo k on any a tivity. After
lo king-on to a onversation, press the " " or " " key to ontinue s anning or
press the PTT key to store the hannel and ommuni ate ba k.
• If there is no a tivity, it will ontinue to s an. By pressing the PTT key, it will
stay on the urrent sele ted hannel and quit the s anning fun tion or press the
"" key on e to onfirm the sele tion and ontinue to the next menu feature.
(22) KEYPAD LOCK
• Press and hold the" " key for 1.5 se onds, the keypad lo k " " i on will appear.
• This will lo k all keys ex ept the PTT and " " keys
• To unlo k, press " " key again for 1.5 se onds.
(23) USING A PTT/VOX EARPHONE
A single headset an be used with both PTT and VOX apabilities.
• Plug the PTT/VOX Earphone into the earphone ja k
• Press & hold the PTT key on the in-line mi rophone to speak.
• Release the PTT key to listen.
• Adjust volume ontrol if ne essary.
• Set up VOX on the radio using the menu " " key (see se tion 15 above).
• Speak into the in-line mi rophone to a tivate the transmitter and listen though the
earpie e.
(24) CARE & SAFETY
To lean the radio, wipe with a soft loth dampened with water. Never use solvents
or leaners on the radio, they an harm the body and leak inside, ausing permanent
damage. Your radio is not splash proof or waterproof. If the radio gets wet, turn it
OFF and remove battery immediately. Dry the battery ompartment to minimize
potential water damage. Leave over off battery ompartment and do not use until
ompletely dry.
(25) WARNING
Do not operate the radio in hazardous environments, explosion or fire may result. Do
not operate the radio near unshielded ele tri al blasting aps. Under ertain
onditions, radio an interfere with blasting operations and may ause an explosion.
Turn your radio OFF to prevent a idental transmission when in a “blasting area” or
in areas posted “Turn your radio off”. Constru tion rews often use remote ontrolled
RF devi es to set off explosives.

(26) SPECIFICATIONS
Operating Frequency Range
PRO-5
PRO-8
463.975 ~ 464.375 MHz
446.00625 ~ 446.09375 MHz
umber o Frequencies 5 or 8 (12.5KHz spacing)
Modulation FM
Frequency Control PLL
RF Output Power 500mW e.r.p
Power Supply 3.7v 720mAh Li-Ion rechargeable battery
Antenna Impedance 50 Ohm
Operating Temperature -20 to +60C
(27) COMPATIBILITY
There are two different frequen y bands for handheld publi UHF two-way radios in
South Afri a, a 5 and an 8 frequen y band. The
Pro-8
is pre-programmed with 8
frequen ies and is therefore hannel ompatible to the original
Zartek
E o and
other radios also using this band. The
Pro-5
is programmed with 5 frequen ies
and is therefore hannel ompatible to the original
Zartek
model no. 21-1860-AF
sometime also referred as the ZA-200. The
Pro-5
is thus not ompatible to the
Pro-8
as they operated in different frequen y bands.
(28) ACCESSORIES
GE-244……….Ear-bone mi rophone (high noise environments)
GE-245 ………Desk-top dual battery harger (PRO)
GE-246 ………PTT (and VOX) Earphone with in-line mi rophone
(29) WARRANTY
This produ t is warranted by Zartek against manufa turing defe ts in materials and
workmanship under normal use for a 12 month period from date of pur hase via our
authorized appointed dealers.
Manufactured for Zartek of South Africa to meet ICASA technical requirements.
For further information contact us via email: in o@zartek.co.za or visit our website
http://www.zartek.co.za/
AUTHORISED DEALER
This manual suits for next models
2
Table of contents
Other Zartek Two-way Radio manuals

Zartek
Zartek ZA-758 User manual

Zartek
Zartek PT8 User manual

Zartek
Zartek COM8 User manual

Zartek
Zartek Pro5l Pro8 User manual

Zartek
Zartek PERSONAL TWO-WAY RADIO User manual

Zartek
Zartek ZA-711 User manual

Zartek
Zartek RX-8 User manual

Zartek
Zartek ZA-723 User manual

Zartek
Zartek ZA-721 User manual

Zartek
Zartek ZA-748 Operating instructions