ZEIT ZASH study kit User manual

ZASH study kit
Instructions for use

zeitmedical.com ZASH_IFU_v3.0 | 01
Welcome to ZASH Study!
Thank you for participating in this important study to evaluate Zeit Medical’s stroke
monitoring system.
For the next 90 days, you will be using Zeit’s technology to collect valuable brain activity data
with a wearable headband device. The more brain activity data we can gather the better our
technology can be. Therefore, we kindly ask you to wear the headband for at least 8 hours
each day. You can use it longer if you wish, but please note that the battery will last
approximately 11 hours prior to requiring a recharge.
Zeit Medical is hoping to use this data to build an early warning system that can help avert
the injury associated with strokes in the future.
What is part of your ZASH Study kit?
1Halo: Wearable headband that records brain electrical activity
3Power Supply: Power adapter for Loop
2Loop: Bedside hub that collects, stores, and transmits data from Halo to Zeit
4Wi-Fi Hotspot: Enables a connection to our server whether you are in the hospital, a
rehab center, skilled nursing facility, or at home

zeitmedical.com 02
First Steps
Please complete these following steps before using the equipment.
If you get stuck at any point, feel free to call our support line at +1 (650) 480-9903.
System Setup
1 2
Take out the Wi-Fi hotspot (white box)
If the antenna paddles are not already attached
to the Wi-Fi Hotspot body, please attach both
antenna paddles to the Wi-Fi Hotspot by
screwing them clockwise.
3
The Wi-Fi Hotspot turns on automatically
when connected to power. Plug the Wi-Fi
Hotspot into a wall socket close to your bed.
The power sign should light up green. The
Wi-Fi Hotspot will take approximately 5
minutes to fully boot up at which point the
Wi-Fi sign and the LTE sign should also be lit
green (or flickering). The Wi-Fi Hotspot has a
backup battery for power outages but it should
remain plugged in at all times.
ZASH_IFU_v3.0 |
5’

zeitmedical.com 03
4
Open the study kit box (green box) and take out
the materials
6
Connect the Loop to the Halo (headband) by plugging the rectangular USB
into the Loop (orange dot to orange dot) and then connecting the magnetic
charger to the headband (green dot to green dot).
7
10’
Allow the Loop to boot up and connect to the
Wi-Fi Hotspot. The first time may take up to
10 minutes.
5
Connect the Loop (black box) to a wall socket
near your bed (i.e. your bedside table), by
plugging the power adapter into a power outlet
and then connecting it to the loop (look for the
red dot on the long side of the loop).
8
If everything has been set up correctly the
Loop should have at least one blue LED lit up
on the long LED strip on top (hint: the more
the Halo is charged the more LEDs are lit up).
ZASH_IFU_v3.0 |

zeitmedical.com 04
Wi-Fi hotspot detailed design for extra help
9
You probably have practiced wearing the Halo
correctly with your research coordinator, if you
need a refresher please proceed to the section
“How to wear the Halo” below.
10
If you feel unsure, practice the routine of
wearing the Halo and achieving a good
quality signal at least three times prior to
your first night at home. A mirror can be
helpful in refining your method.
That’s it! Congrats on finishing your onboarding!
Our support line is available at +1 (650) 480-9903 if you have any questions.
ZASH_IFU_v3.0 |
PLEASE SAVE ANY CONTAINERS AND PADDED ENVELOPES.

zeitmedical.com 05
What to do every night
before you go to bed
1Take a look at your Loop
a. The lights on the Loop should be BLUE
(If they're not, make sure the Halo (headband) is plugged into the Loop (black box) and the
Loop is plugged into power. Also, check that the hotspot is powered on. If the lights still don't
turn BLUE, please text or call: +1 (650) 480-9903.)
b. All eight LEDs on the Loop will light up BLUE when the Halo Battery level reaches
100%. This should always be the case if it was left to charge during the day.
2Detach the headband from the Loop
a. The lights on the Loop will turn from BLUE to ORANGE and remain ORANGE until
the Halo is properly placed on your head and the sensors have good signal.
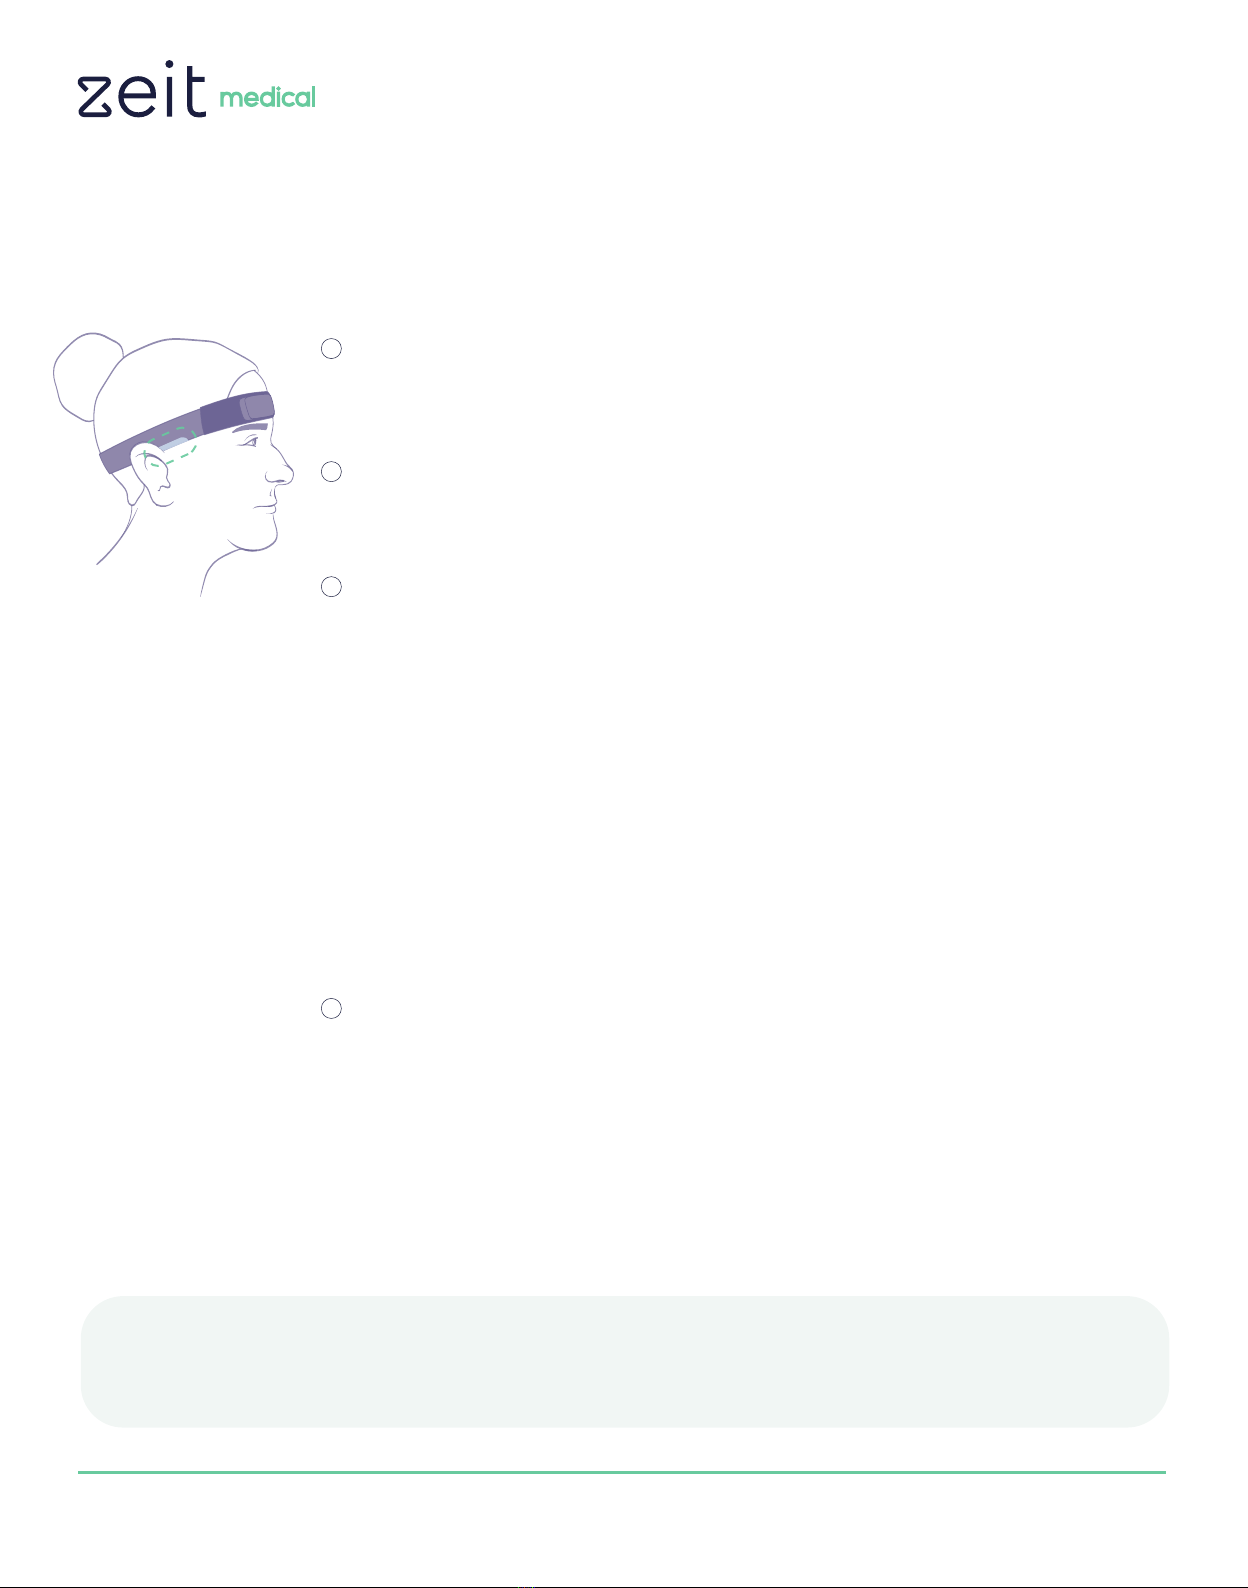
3Wear the headband and adjust it
a. Place the Halo on your head with the gray plastic pod centered on your forehead,
well above your eyebrows.
b. Pay attention to the area around your ears and forehead so that the brain activity
sensors (golden stripes) are touching your skin. You can always read the instructions
on “How to Wear the Halo” should you need a refresher.
Each night you will be expected to follow these steps:
This is an exciting time! You will help us gather valuable data to make immediate stroke
detection a reality!
During this study, you will be asked to wear a smart headband (Halo) at least 8 hours every
night during bedtime. If your usual sleep duration is shorter than 8 hours, please try to wear
the Halo until you achieve the 8-hour target or longer. You may be awake during those hours.
Each successful session yields very valuable information that will allow us to improve this
stroke monitoring technology. The Loop will provide visual cues to assist you in getting the
best possible brain activity data.
ZASH_IFU_v3.0 |
DUE TO LED COLOR LIMITATIONS THE ORANGE CAN SEEM SIMILAR TO RED

zeitmedical.com 06
4When everything turns GREEN you are ready to go to bed
a. When you achieve good signal quality in all the sensors, the lights on the Loop will
turn GREEN.
b. The lights on the Loop will dim after a while to not interfere with your sleep.
c. Please note that if you leave the room or go more than 25 feet away from the Loop,
the connection between the Halo and the Loop might be disrupted.
d. If you are unable to obtain a good signal (lights remain ORANGE) please reach out
to our support team.
c. The signal quality indicators on the Loop will switch from ORANGE to GREEN
when you obtain good signal quality in each of the sensors.
d. There are four pairs of signal quality indicators. Each pair corresponds to one of the
four sensors. The image below shows which pair corresponds to which sensor.
e. The lights on the Loop will remain ORANGE until good signal quality is achieved in
each of the sensors.
ZASH_IFU_v3.0 |

zeitmedical.com 07
5Once you have completed 8 hours of monitoring
a. Remove the Halo from your head.
b. Connect the Halo back to the Loop to recharge for the next night.
c. The lights on the Loop will turn BLUE to indicate that it is charging.
Four color states of the Loop
1BLUE: Halo connected to Loop and charging.
3GREEN: Halo is getting good signal quality.
2ORANGE: Halo is not getting good signal quality.
4RED: Network problems
ZASH_IFU_v3.0 |
Great!
Improve fit
Ready to go to sleep
Plug Halo into Loop. Unplug Loop from power and plug back
into wall socket. Wait 5 minutes and if you still see red lights.
Call or text us for support at +1 (650) 480-9903.

zeitmedical.com 08
How to wear the Halo
For short hair
1Remove any accessories from your head
a. Make sure to remove any glasses, hearing aids, and large jewelry
from your ears.
2Get the Halo orientation right
a. Make sure the green sticker on the gray plastic pod is pointing
upwards.
4Obtain good signal quality across all sensors
a. Confirm with the app and/or the Loop lights whether you have
achieved good signal quality in all sensors.
b. Once you have obtained a good signal, the lights on the LOOP will
turn GREEN
3Place the Halo on your head
a. Place the Halo on your head.
b. Pull the Halo downwards so that the front sensors sit on your
forehead, and the side sensors sit downwards behind your ears.
c. While placing it, use your fingers to remove any hair that might sit
between the sensors and your skin. It is critical that the sensors
have good contact with your skin, otherwise the sensors will not be
able to collect good data
Tip: A little moisture can help improve the contact between your skin and the sensors. For example, you can wipe down the sensors with a damp cloth
before starting your session. Please do not immerse the headband in water.
ZASH_IFU_v3.0 |

zeitmedical.com 09
How to wear the Halo
For medium to long hair (covering the ears or longer)
1Remove any accessories from your head
a. Make sure to remove any glasses, hearing aids, and large jewelry
from your ears.
2Get the Halo orientation right
a. Make sure the green sticker on the gray plastic pod is pointing
upwards.
4Obtain good signal quality across all sensors
Confirm with the app and/or the Loop lights whether you have
achieved good signal quality in all sensors.
Once you have obtained a good signal, the lights on the LOOP will
turn green and the ZASH Study app will also show “Monitoring” with
a green circle.
Once a good signal is acquired you may also let your hair down if it is
more comfortable during your sleep.
3Place the Halo on your head
a. Pull the headband down to your neck, or use the magnetic clasp (twist
to open) to put the headband around your neck like a necklace.
b. Put your hair up tight in a bun or a ponytail using a hair tie. Make sure
that there aren’t any extra strands resting on your ears as the Halo
needs direct contact with the skin.
c. Pull the headband upwards over your face so that the gray plastic pod
sits centrally on your forehead.
d. Pull the sides of the headband over your ears so that the sensors rest
behind your ears.
e. While placing it, use your fingers to remove any hair that might sit
between the sensors and your skin.
If your headband is too loose on the smallest setting or you cannot get good signal, please
contact us at (650) 480-9903. We have a smaller headband we can ship to you.
DISCLAIMER
ZASH_IFU_v3.0 |

zeitmedical.com 10
Maintenance
• You can clean the brain activity sensors of the headband (yellow stripes) with a damp
cloth to ensure good signal quality.
• If you travel with the headband, make sure to carefully place the headband in your lug-
gage so that the yellow stripes on the sides are not kinked.
Connections
• All connections of the system are color coded
• Please connect the plugs and ports according to the color coding
Getting help
• Phone: +1 (650) 480-9903
Questions about how to use the study equipment or the app? Get support via:
ZASH_IFU_v3.0 |

zeitmedical.com 11
How to return the Zash Study Kit
Once you have completed 90 nights of monitoring, the last step will be to place all the study
materials back in the return envelope and mail them back to us.
Please, follow the steps below:
1Locate the padded envelope and containers that you stored away after receiving the
study kit.
3Place the Loop in the foam container labeled “Loop” and position it in the top right
space of the Zeit box (see the layout figure on the bottom of the Zeit box.). If you have
trouble fitting the usb cable and the Loop in the pouch, you can disconnect the cable
from the Loop and place the cable next to the “Loop” container .
4Place the Power adapter in the foam container labeled “Power Supply” and position it
in the top left space of the Zeit box (see the layout figure on the bottom of the Zeit
box.)
5Locate the USPS PRIORITY MAIL padded envelope that was included when you
received your materials. The envelope is already pre-labeled.
6Place the Zeit box in the pre-labeled envelope and seal it by removing the tape along
the envelope’s fold. Please make sure not to accidentally cover or damage the pre-ap-
plied shipping label.
7The shipping postage is prepaid, and you can just drop the padded envelope at any
USPS location. You can also scan the QR code on the front of the envelope to schedule
a pick-up from your location.
2Place the Halo in the foam container labeled “Halo” and position it along the long side
of the Zeit box (see the layout figure on the bottom of the Zeit box.)
ZASH_IFU_v3.0 |

zeitmedical.com 12
Please, follow the steps below to return the Wi-Fi Hotspot:
8Locate one of the USPS PRIORITY MAIL padded envelopes. The envelope is already
pre-labeled.
10 Place the main body of the Wi-Fi hotspot in the hotspot container.
11 Place the white power adapter of the Wi-Fi hotspot inside the hotspot container.
12 Place the hotspot container inside the padded envelope.
13 Fold the padded envelope so that it securely wraps the contents and seal it shut by
removing the tape along the envelope’s flap. Please make sure not to accidentally
cover or damage the pre-applied shipping label.
14 The shipping postage is prepaid, and you can just drop the padded envelope at any
USPS location. You can also scan the QR code on the front of the envelope to schedule
a pick-up from your location.
9Detach (unscrew) the paddle antennas, place them in the hotspot container.
Thank you again for participating! With your help, we will change the world!
ZASH_IFU_v3.0 |
Table of contents
Popular Personal Care Product manuals by other brands

DJO
DJO Donjoy TROM quick start guide

Xiaomi
Xiaomi PMA Graphene quick start guide

Hans Grohe
Hans Grohe Xarita S 54981700 Instructions for use/assembly instructions

mind alive
mind alive David Delight quick start guide

BELLA LEEZA
BELLA LEEZA NAIL POLISHER Operation manual

NRS Healthcare
NRS Healthcare Rise Easy G21808 User instructions