1514
EN
4.3 Description of Programmes
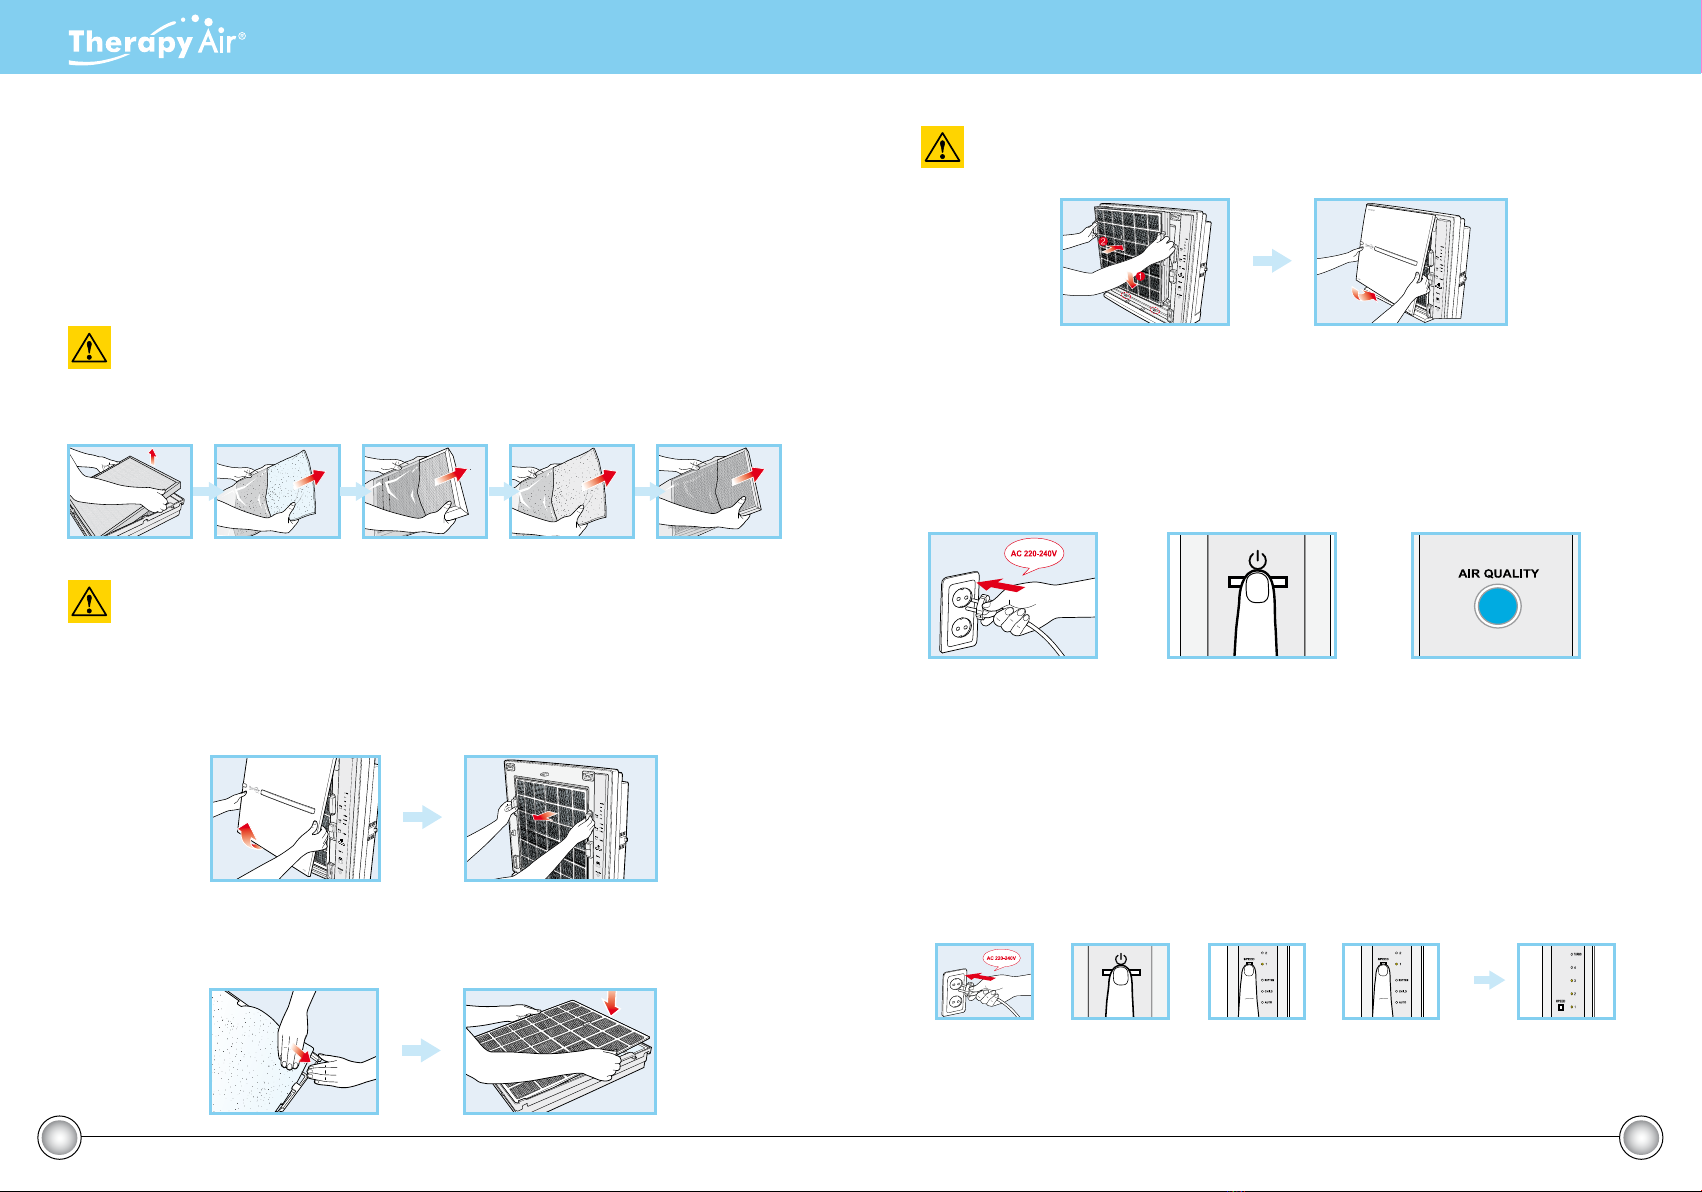
TURNING ON/OFF
You can operate the appliance manually, by
pressing the ON/OFF switch.
Initially, the appliance functions in the automatic
mode. When you switch it off and then on
manually, it will function in the last mode that
you selected.
SPEED
By pressing this button, you set the air ow
speed.
(positions: 1 - 2 - 3 - 4 - turbo). Automatic mode
and children’s mode are available in SPEED-
LEVELS from 1 to 4.
MODE
By pressing this button, you can select the
operational mode:
• Automatic mode;
• Children’s mode;
• Rhythmic mode.
MOOD LIGHT
This light indicates the current operational
mode. The light can be set manually. When the
appliance is not working, the illumination and
light are automatically set.
OPERATING INSTRUCTIONS
5. OPERATING INSTRUCTIONS
5.1 Indicators
Indicators (lights) enable you to follow and control the appliance’s functions.
Air flow speed indicator (Speed Light)
The air ow speed is set automatically in the automatic mode/children’s mode in
positions 1 to 4, depending on the level of air pollution. You can manually set the
speeds from 1 to TURBO. The light, the air ow speed indicator, indicates the volume
of air running through the appliance.
• BRIGHT - Illumination Light
If you select the night mode and the room is lit, the variable light will turn off. If the
room is not lit, the intensity of the light emitted will be reduced by 50%. The light
is always turned off when other operational modes are selected, but you can set
the variable light manually.
• RHYTHM - Rhythmic Cleaning Light
With rhythmic air cleaning, pollutants are removed efciently and the air ow
speed is controlled. The light changes:
Blue - pink - violet - red
• CHILD - Child Mode Light
When you select the operational mode, the air ow speed is set automatically. The
volume of air is lower than usual and the light turns violet.
• AUTO - Auto Mode Light indicates that the appliance is in the automatic operational
mode and the light turns blue.
• SLEEP - Sleep Light - This light indicates the night (quiet) mode.
• AIR QUALITY - Air Pollution Degree Light
This light indicates the current quality of the air in the room:
•Very clean - blue
•Clean - pink
•Normally clean - violet
•Unclean - red
The Variable light (Mood Light) automatically turns on when you switch the
appliance on and the colour changes depending on the operational mode.
•Automatic / manual mode: blue
•Children’s mode: violet
•Rhythmic mode: blue - pink - violet - red