WALL CONTROL FUNCTIONS
AUTOMATIC MODE
AUTO
MANUAL MODE
AUTO
COOL
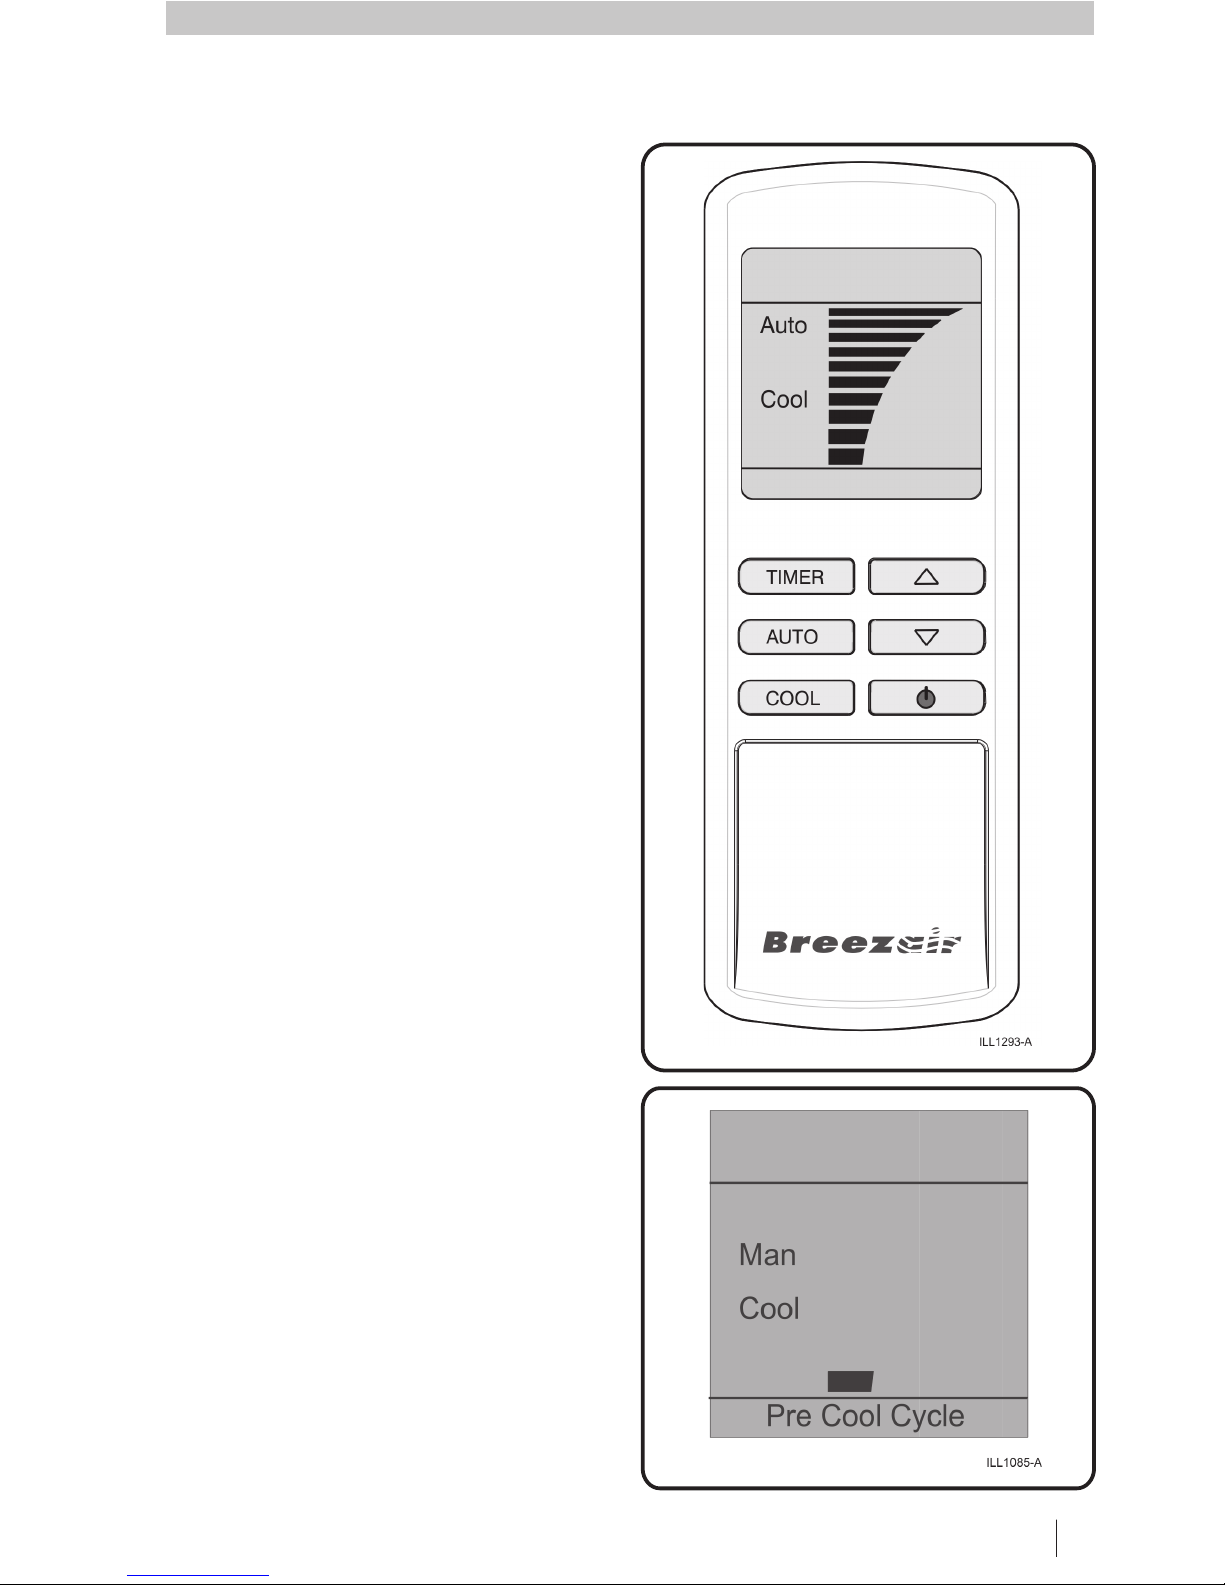
The button is used to select Automatic
mode or Manual mode. When “Auto” is
displayed the cooler is under Automatic
control and will operate according to the
temperature sensed at the wall control.
When the air cooler is turned on, it will read
the temperature and set the cooler operation
accordingly. If the temperature increases at
the wall control, then the fan speed will
increase. As the temperature decreases the
fan speed will decrease until the cooler turns
off.
Press or to over-ride the automatic
cooling level setting and adjust your room
temperature.
To switch to Manual mode, press until
“Man” appears in the display. In Manual
mode the cooling level can be manually
adjusted.
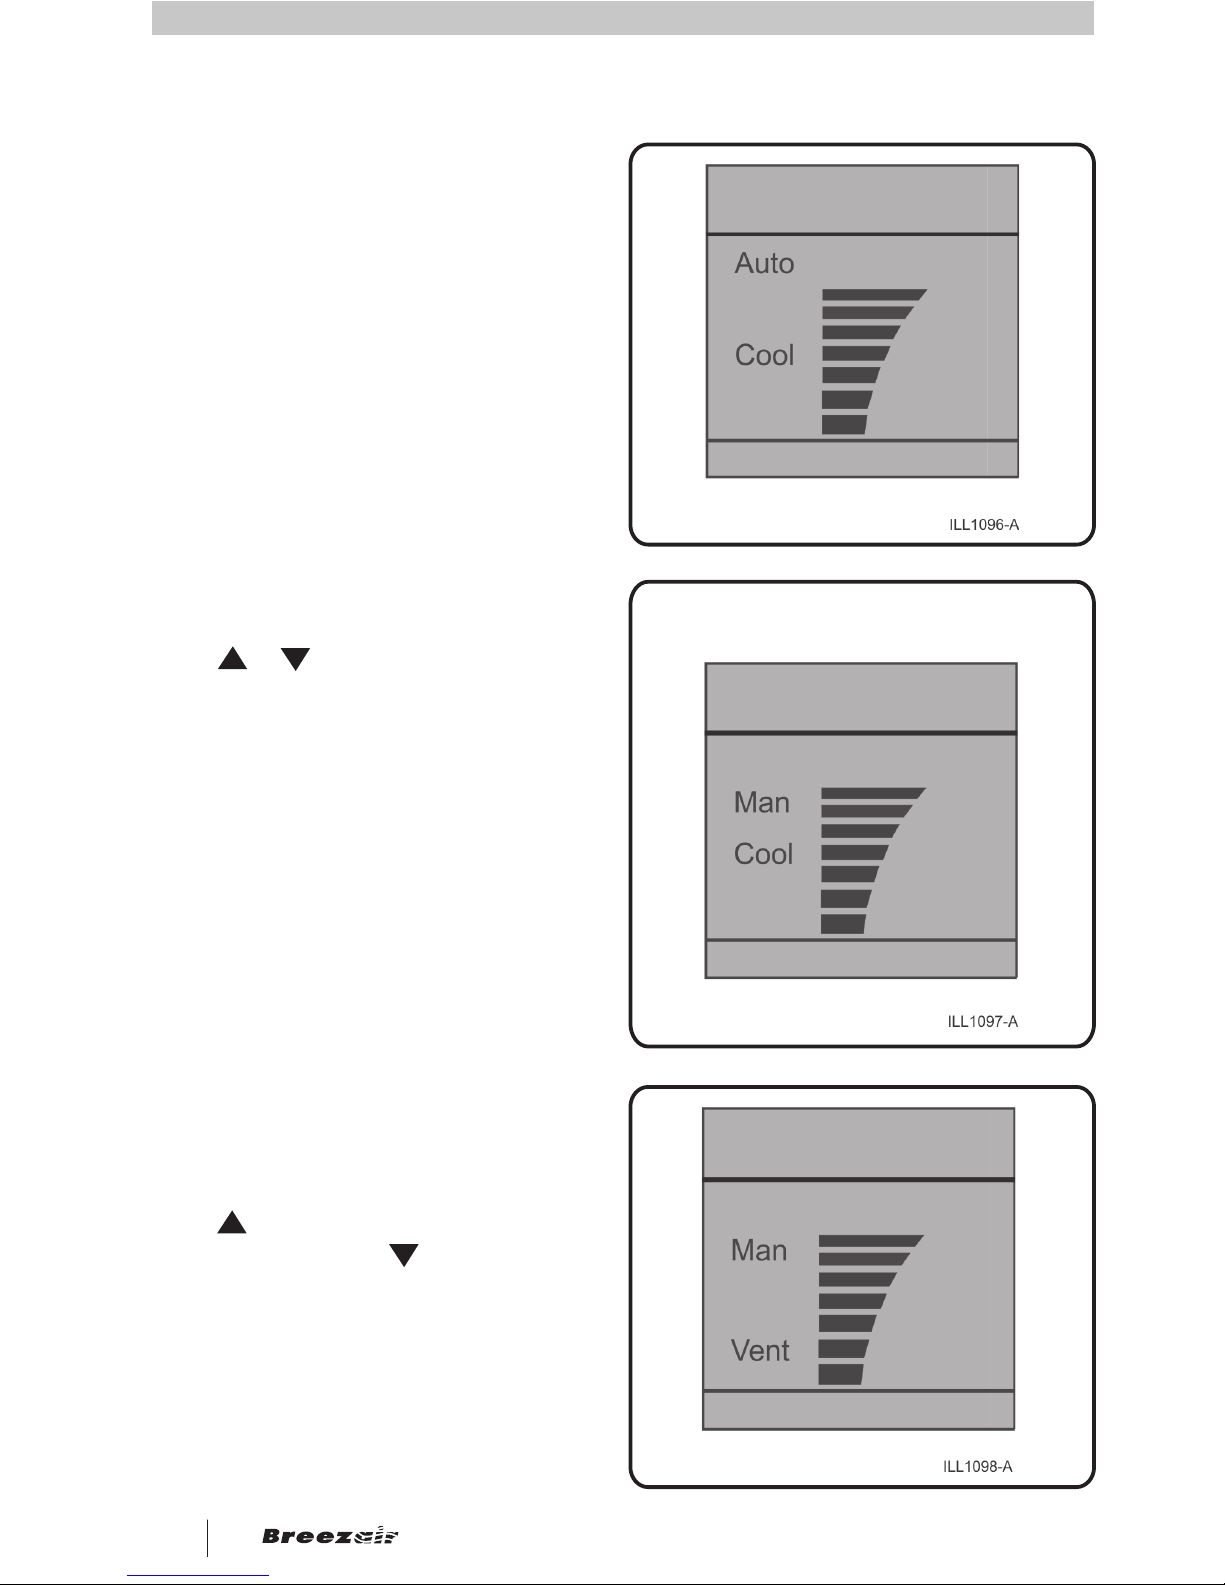
In Manual mode, press to choose
between circulating cool air or un-cooled air.
When “Cool” is displayed, fresh cool air will
circulate into the building. When “Vent” is
displayed as shown, fresh un-cooled air will
circulate through the building.
Press to increase the fan speed and
circulate more air. Press to decrease the
fan speed and circulate less air. Press once
to change the speed by one increment. Hold
the button down to change the speed more
quickly.
s t
s
t
MANUAL MODE DISPLAY
WALL CONTROL FUNCTIONS
TIMED AUTOMATIC START
TIMER
AUTO
AUTO
COOL
TIMER
TIMER
TIMED AUTOMATIC STOP
TIMER
TIMER
You can set the air cooler so that it will turn
on after a set number of hours.
1. To set the delayed start time, press
with the cooler turned OFF. “Starting
in” will be displayed as shown with the last
mode of operation (Manual or Automatic).
2. If you want the air cooler to turn on in
Automatic mode with the previous settings,
then press until “Auto” is displayed.
Alternatively, if you want the air cooler to
turn on in Manual mode, press until
“Man” is displayed and then press
and then or to set the required fan
speed.
3. To set the time until the start, press
.
4. Then press or to adjust the
time. The cooler can start up to 24 hours in
advance.
5. Press again to initiate the timed
automatic start. The timed start will not
repeat.
You can also set the air cooler so that it will
turn off after a set number of hours.
1. To set a delayed stop time, press
with the cooler running. ”Stopping
in” will display.
2. Press or to adjust the number of
hours before the air cooler will stop. The
maximum delay setting is 24 hours.
3. Press again to begin the timed
stop.
s t
s t
s t
4SEELEY INTERNATIONAL – OWNER’S MANUAL 5
®TBA Evaporative Cooler